Caroline's "Spellbound" Halloween Ornament

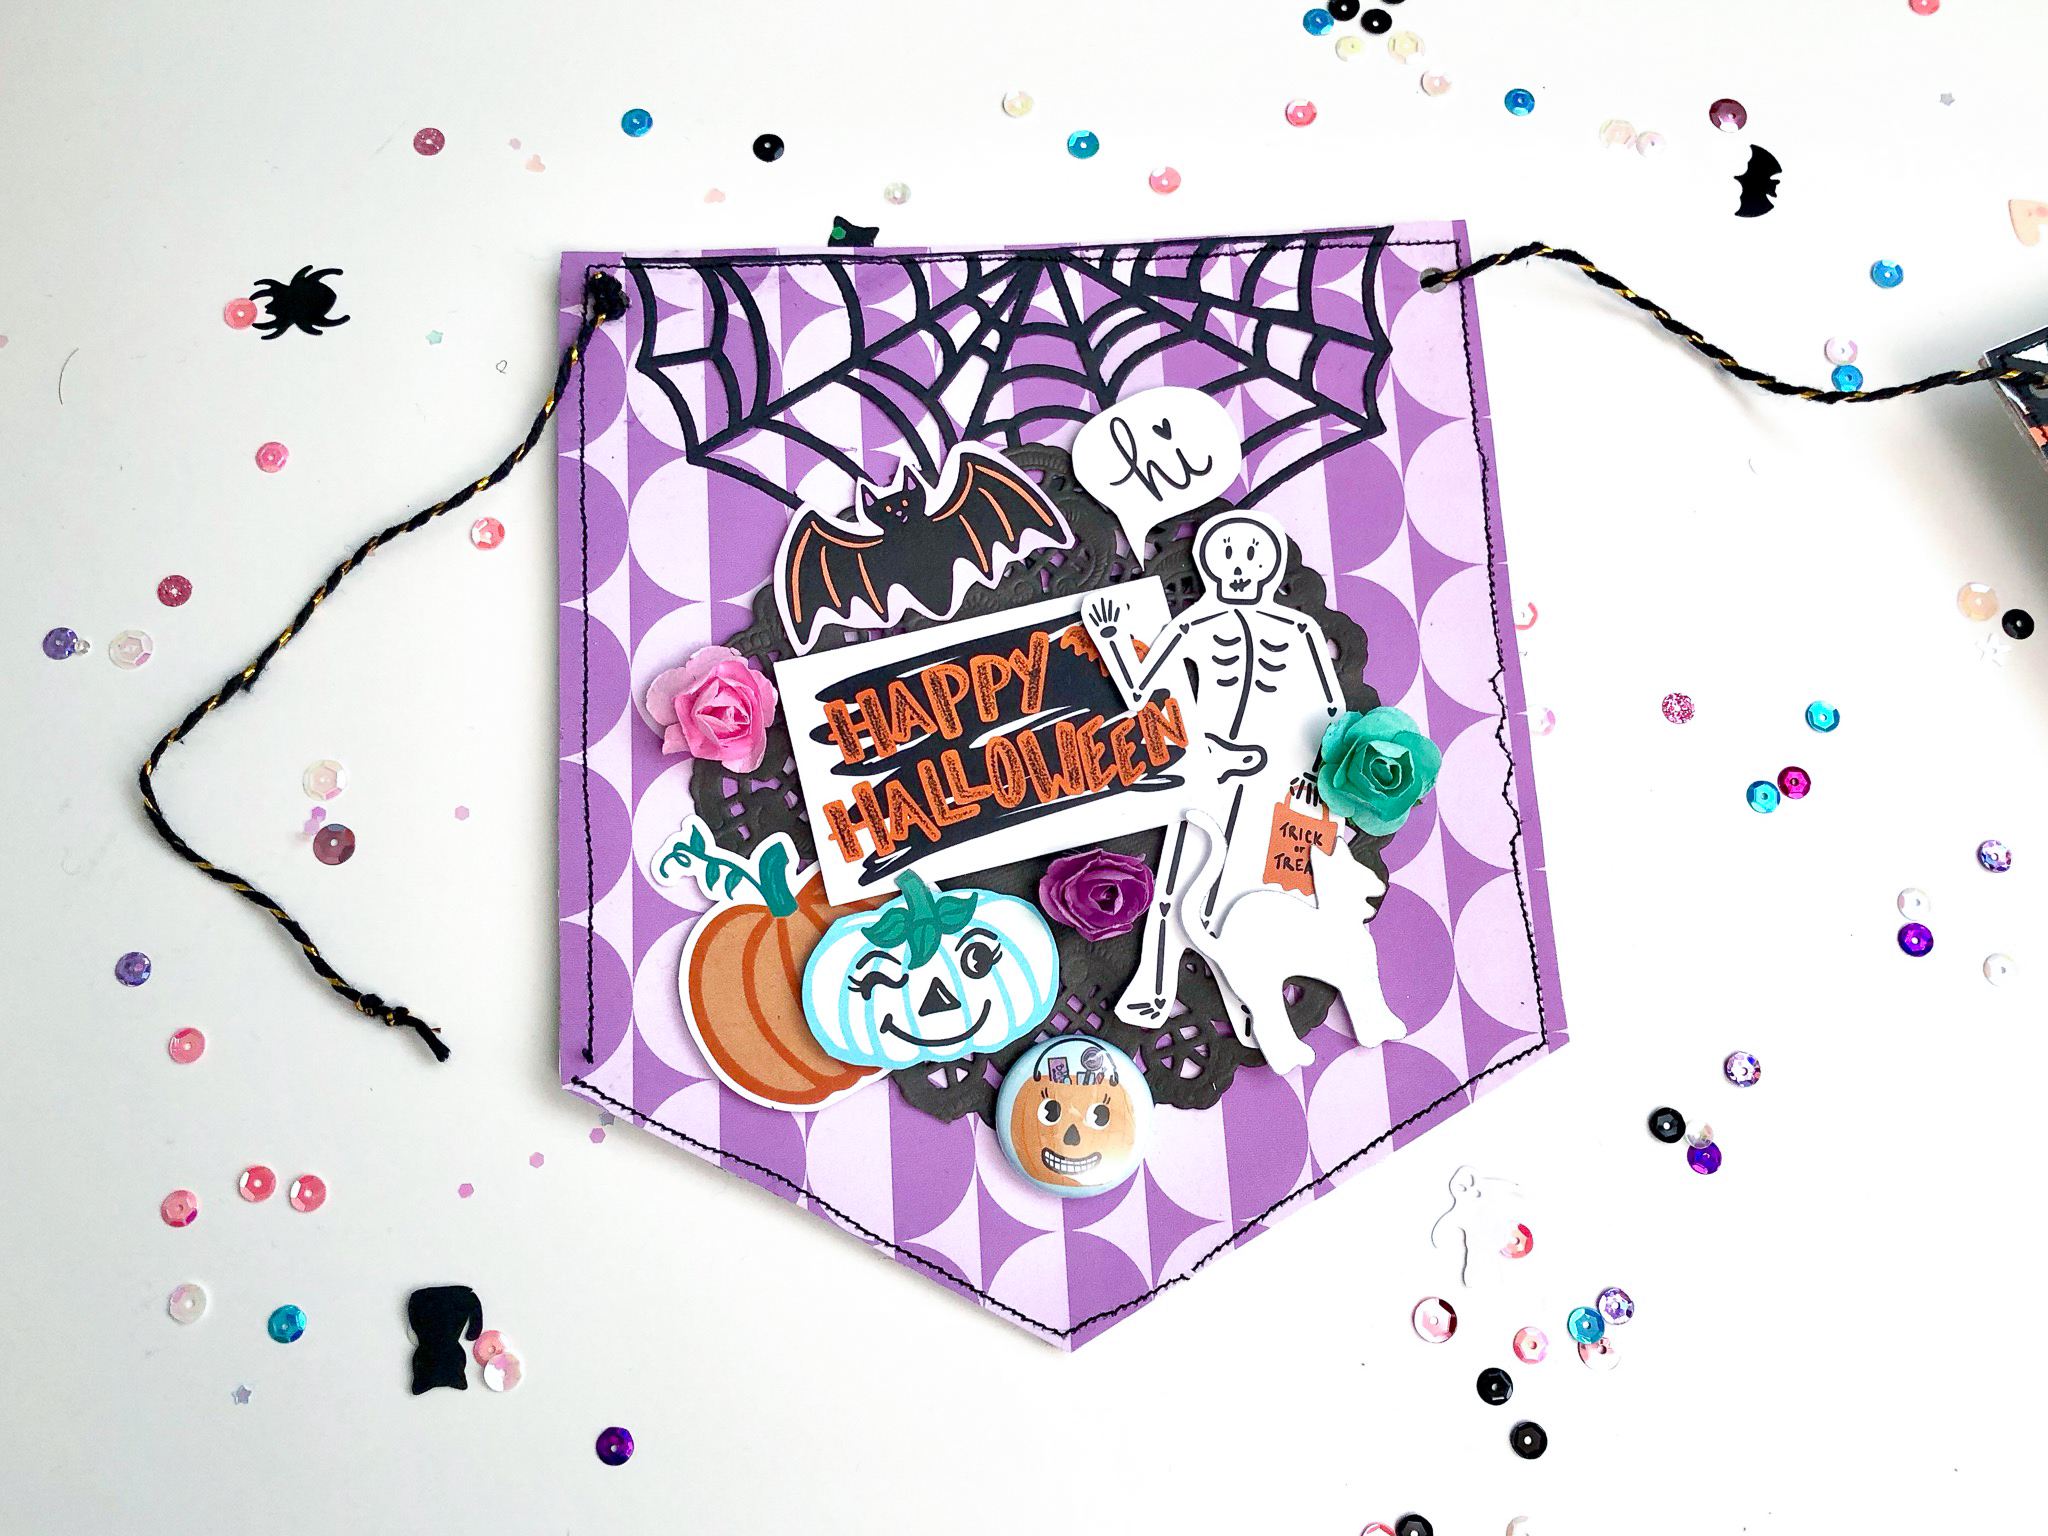
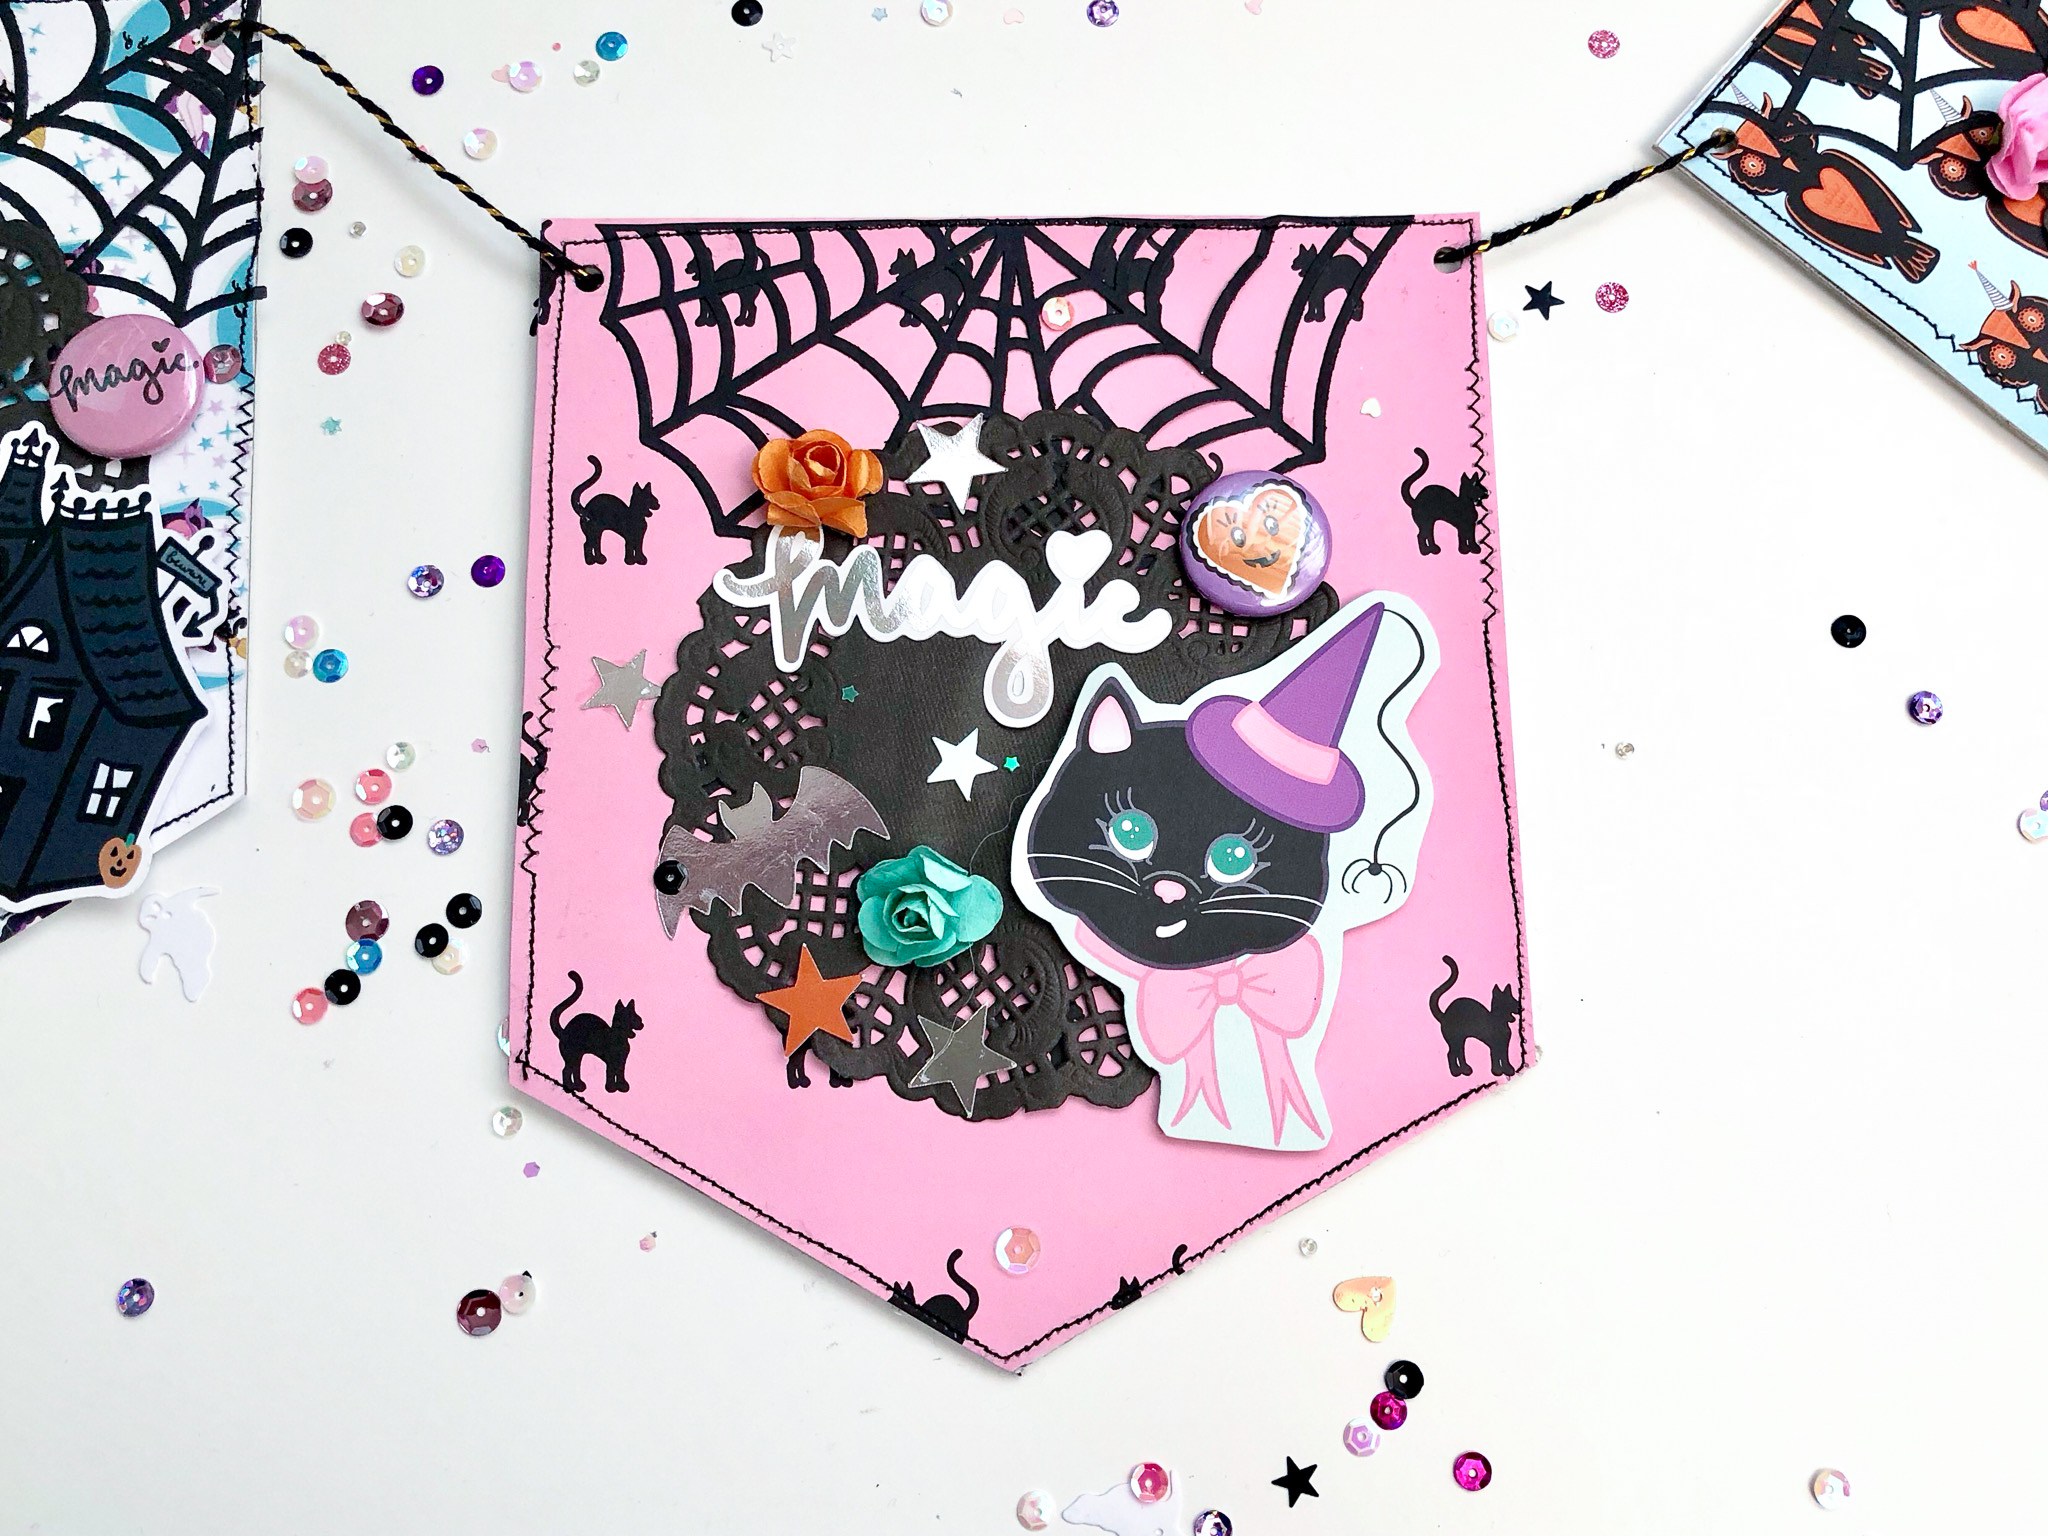
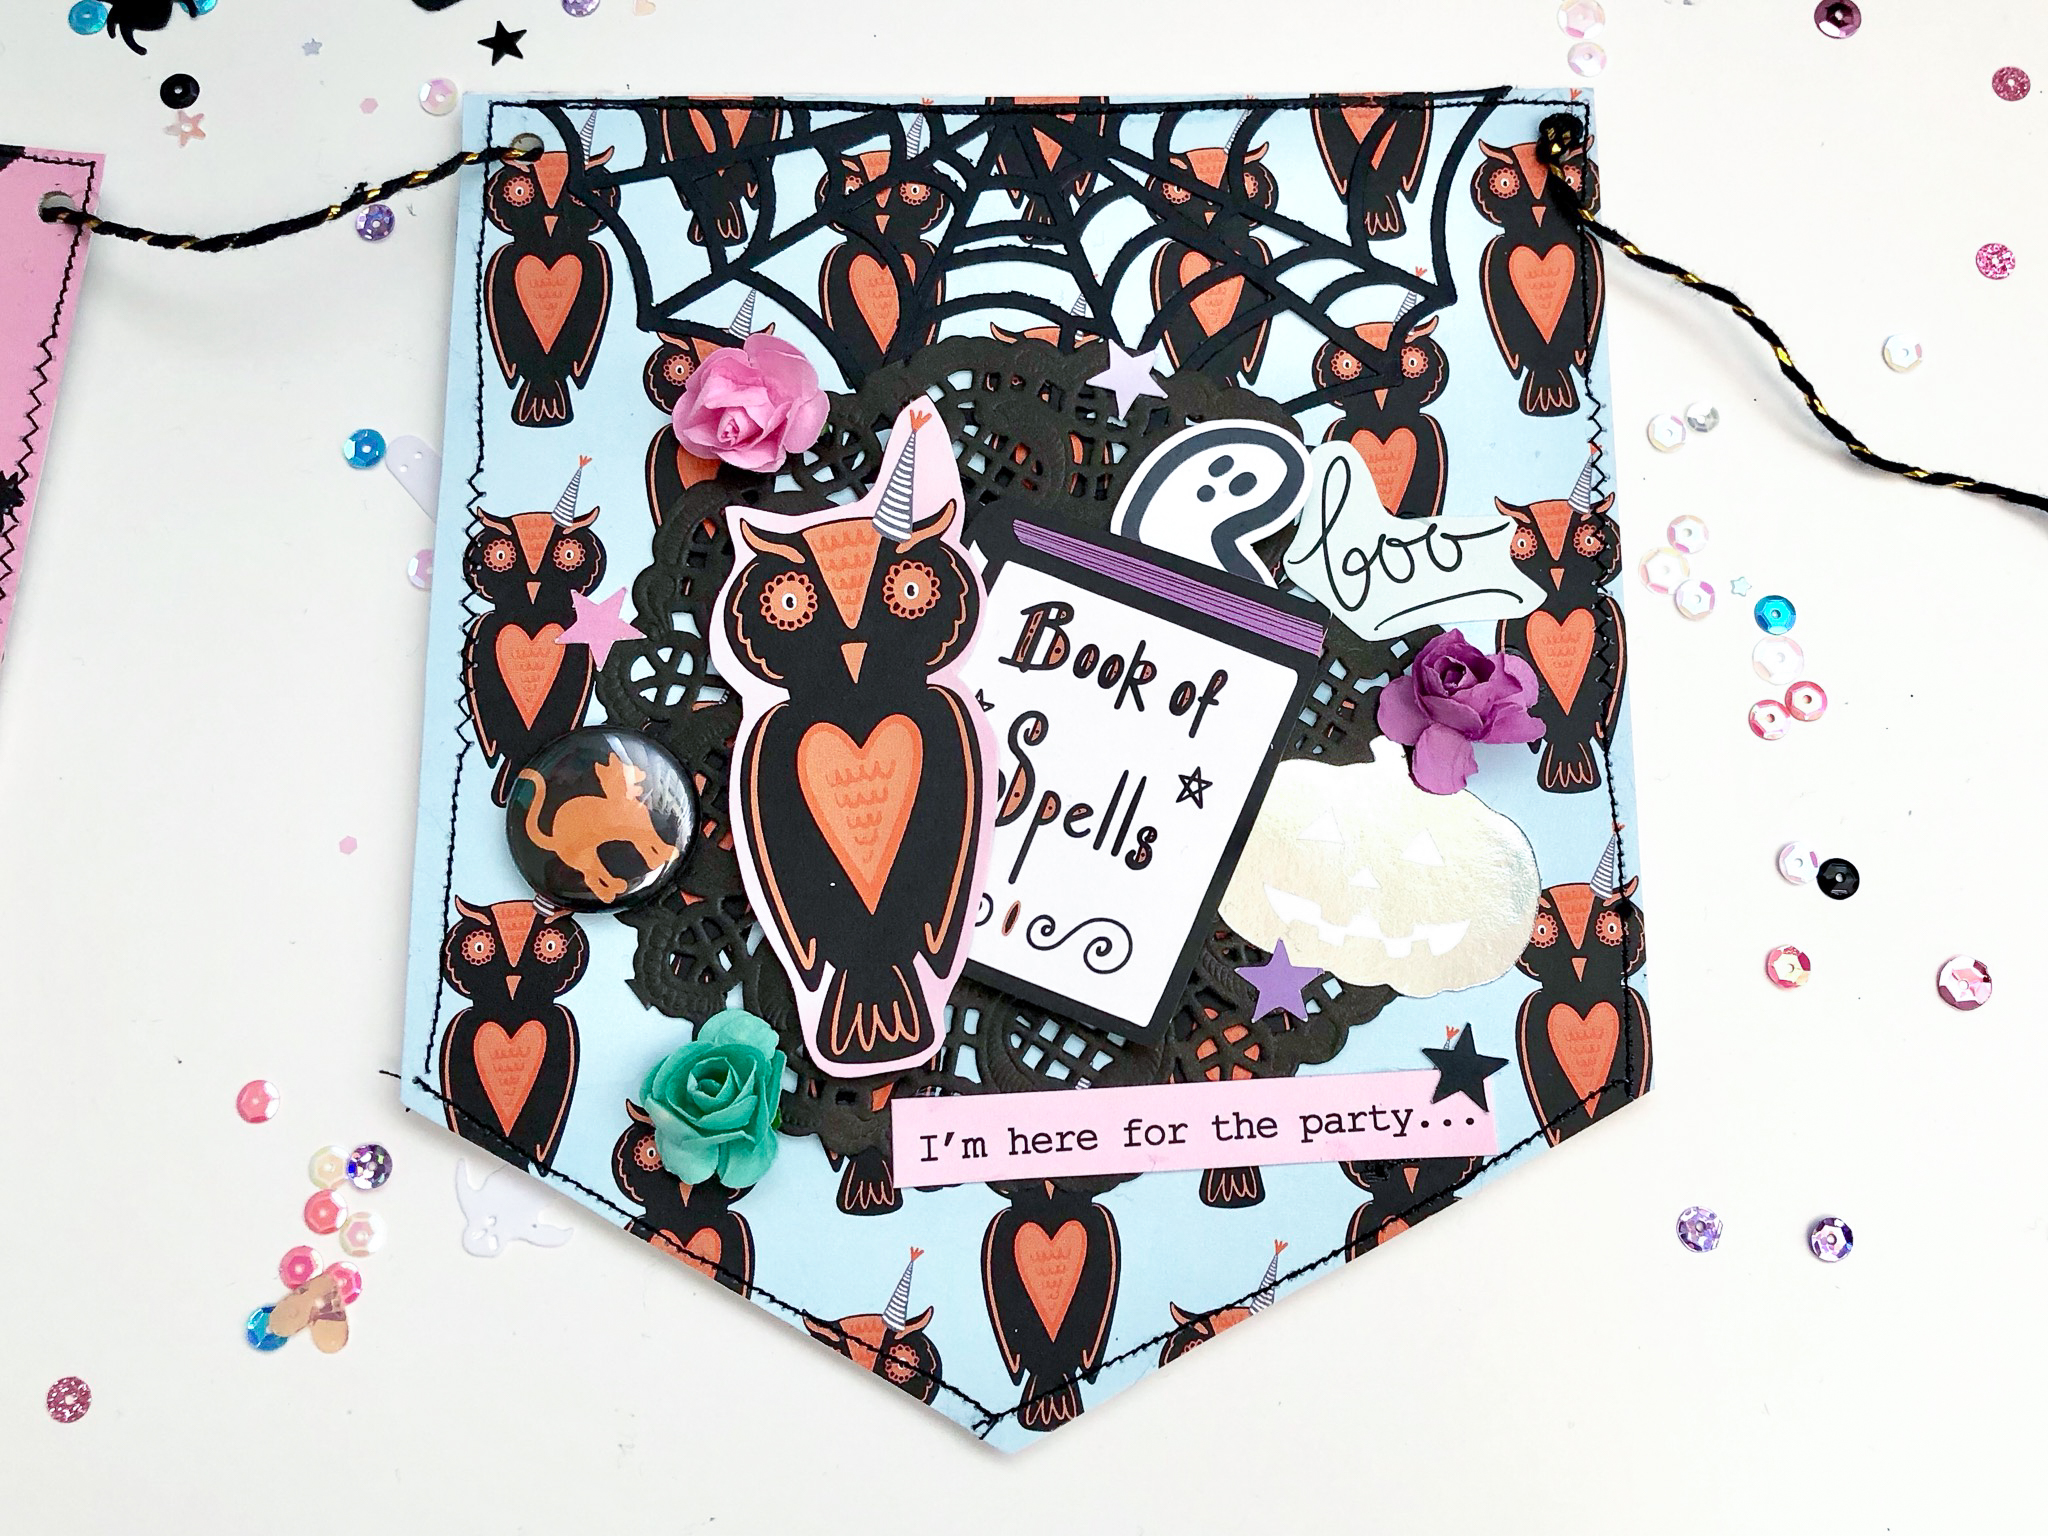
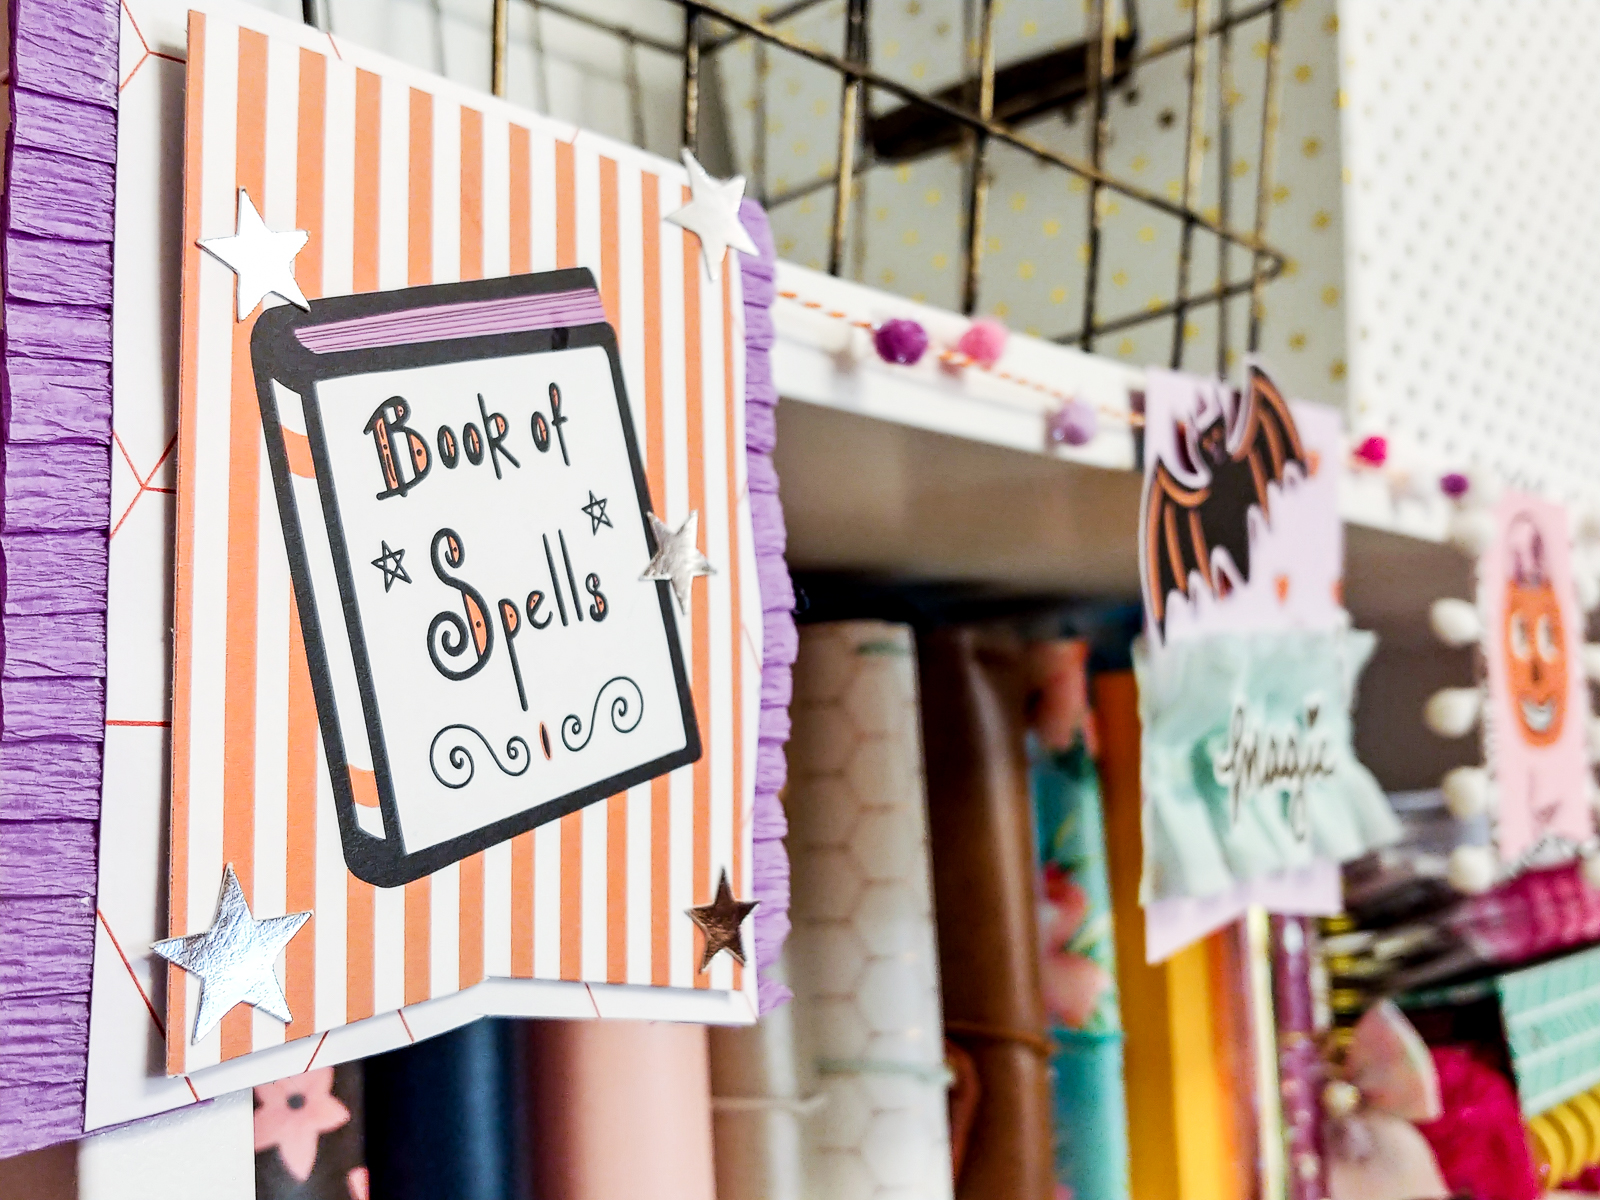
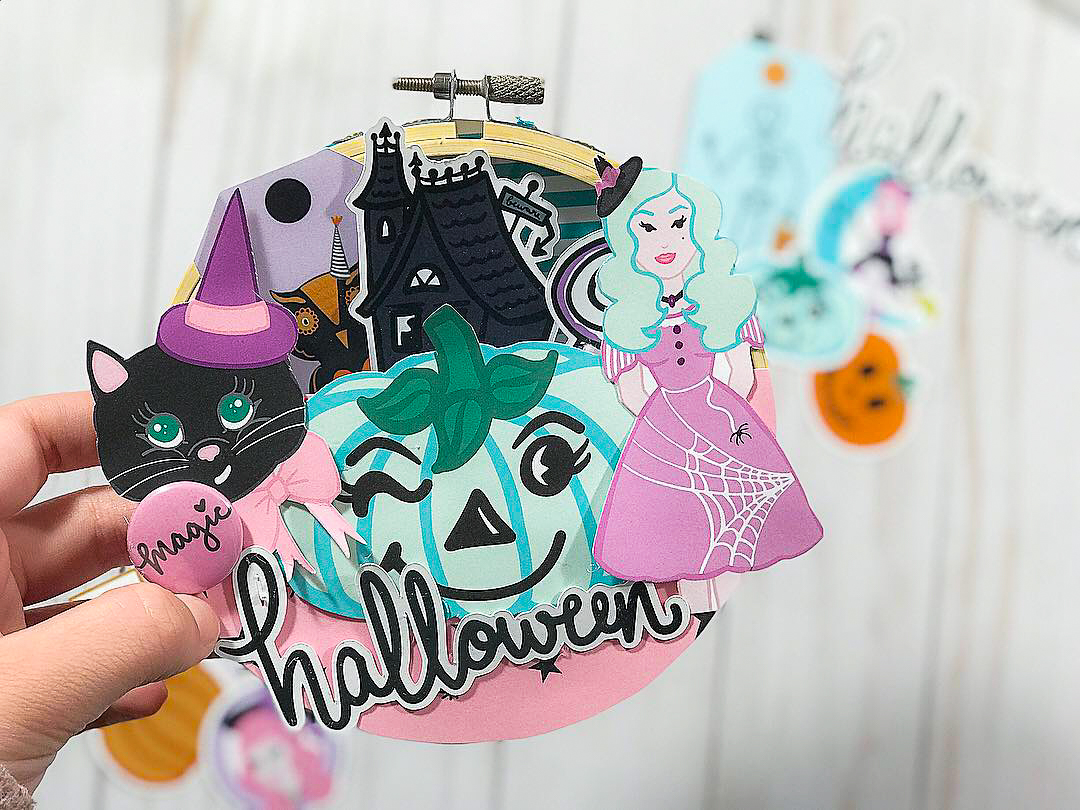
Who says SPOOKY can’t be CUTE?

IMG_6441 4.jpeg

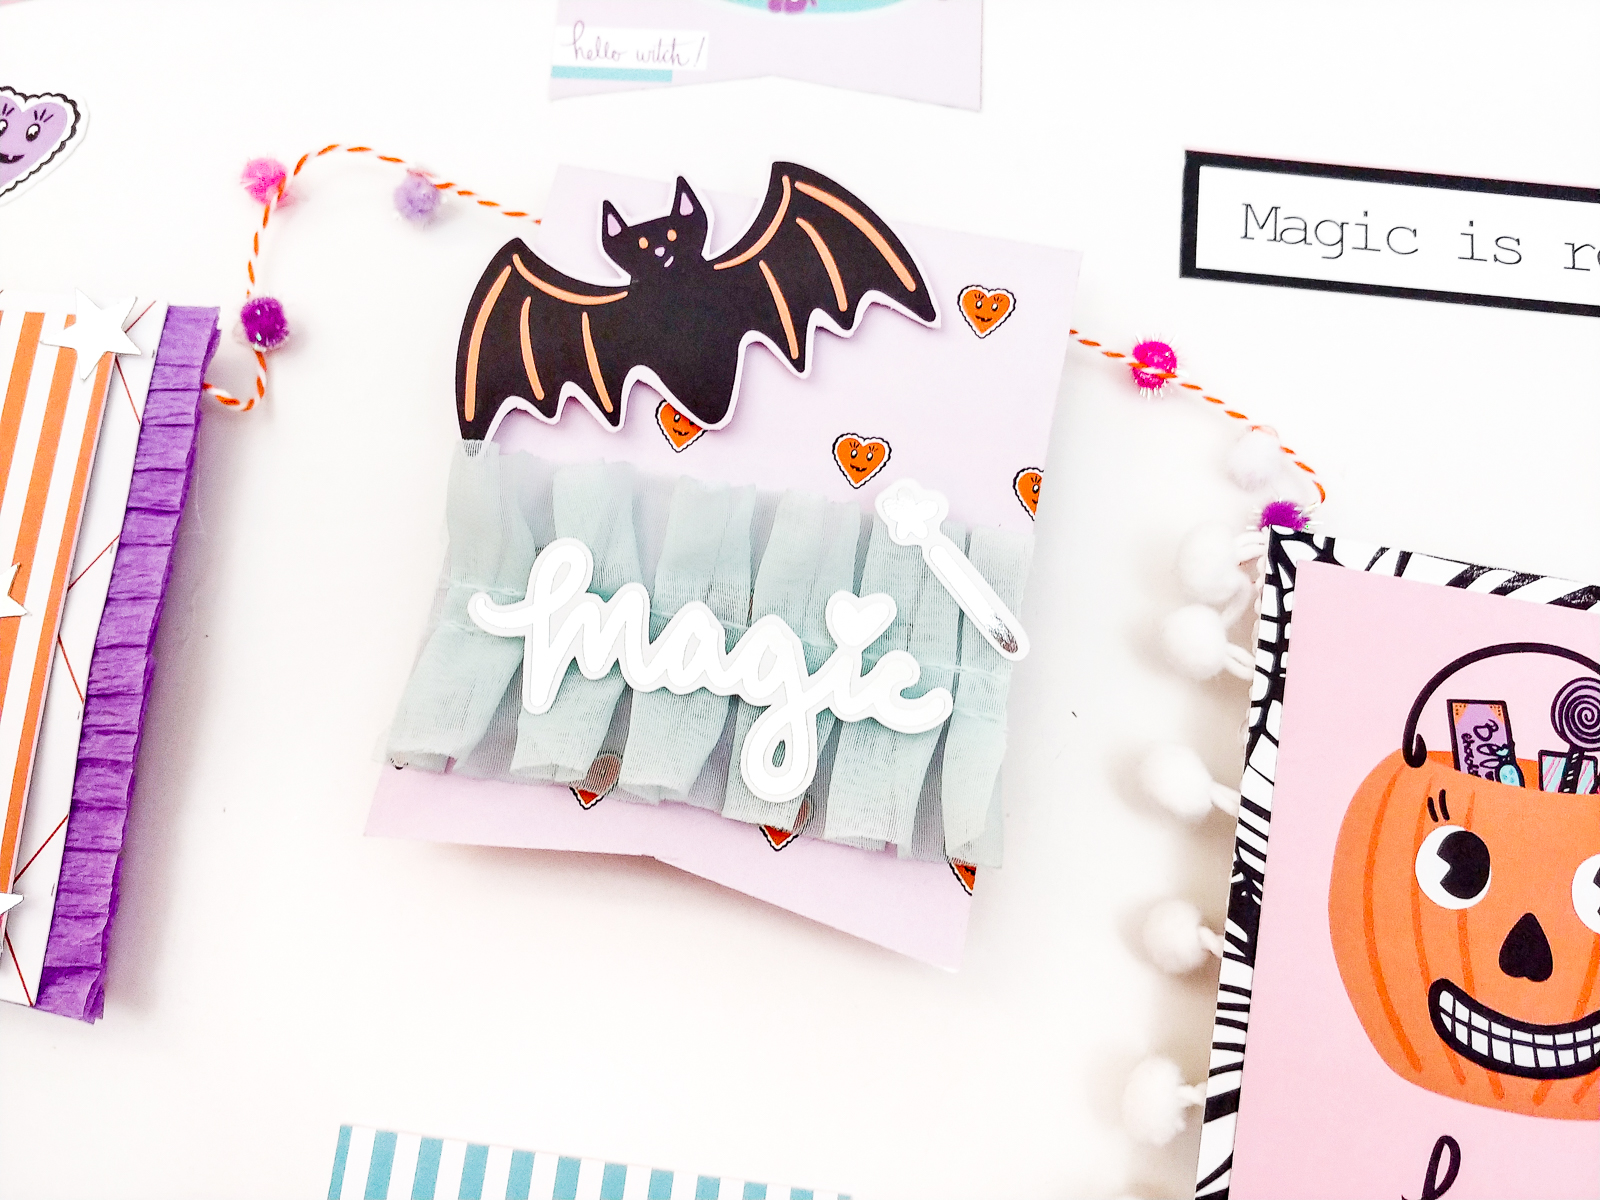
I’m loving the new “Spellbound” collection so much! The characters/icons, the kitschy colors and the assortment of ephemera are all so perfect for Halloween. Honestly, I can’t stop using it! I’ve made memorydex cards for my October Daily, layouts for my 2020 album and even some cute décor!

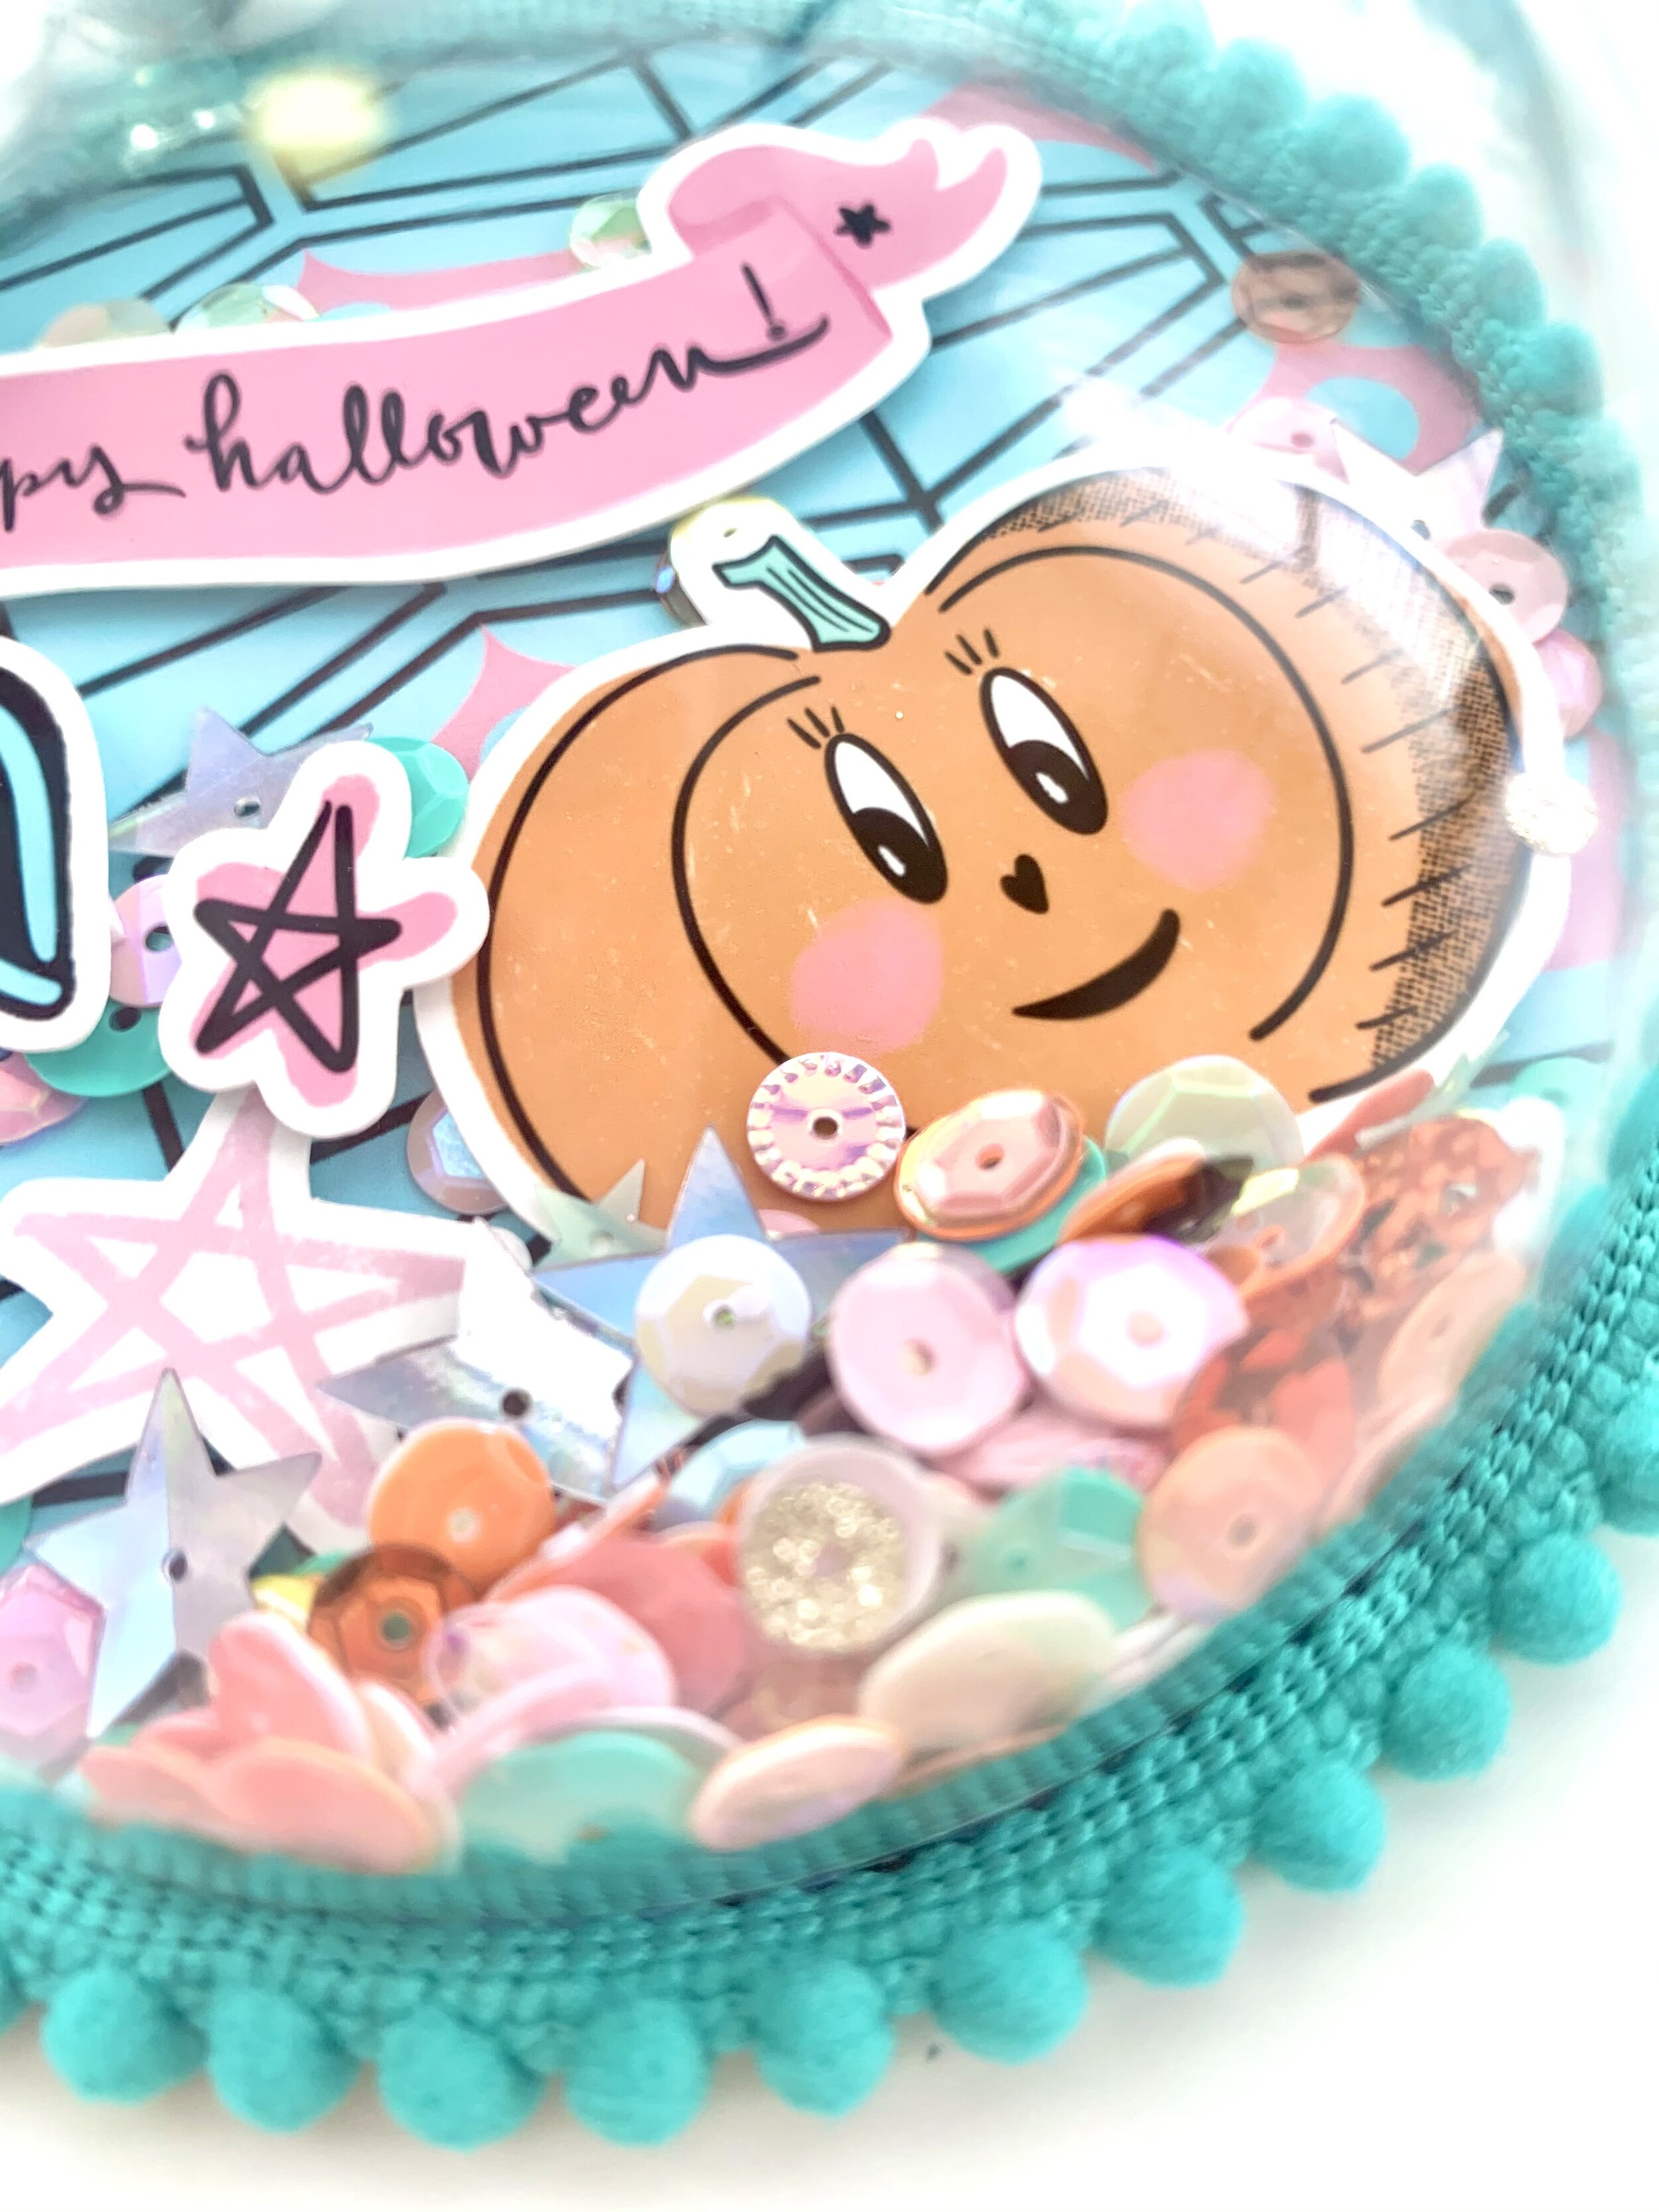
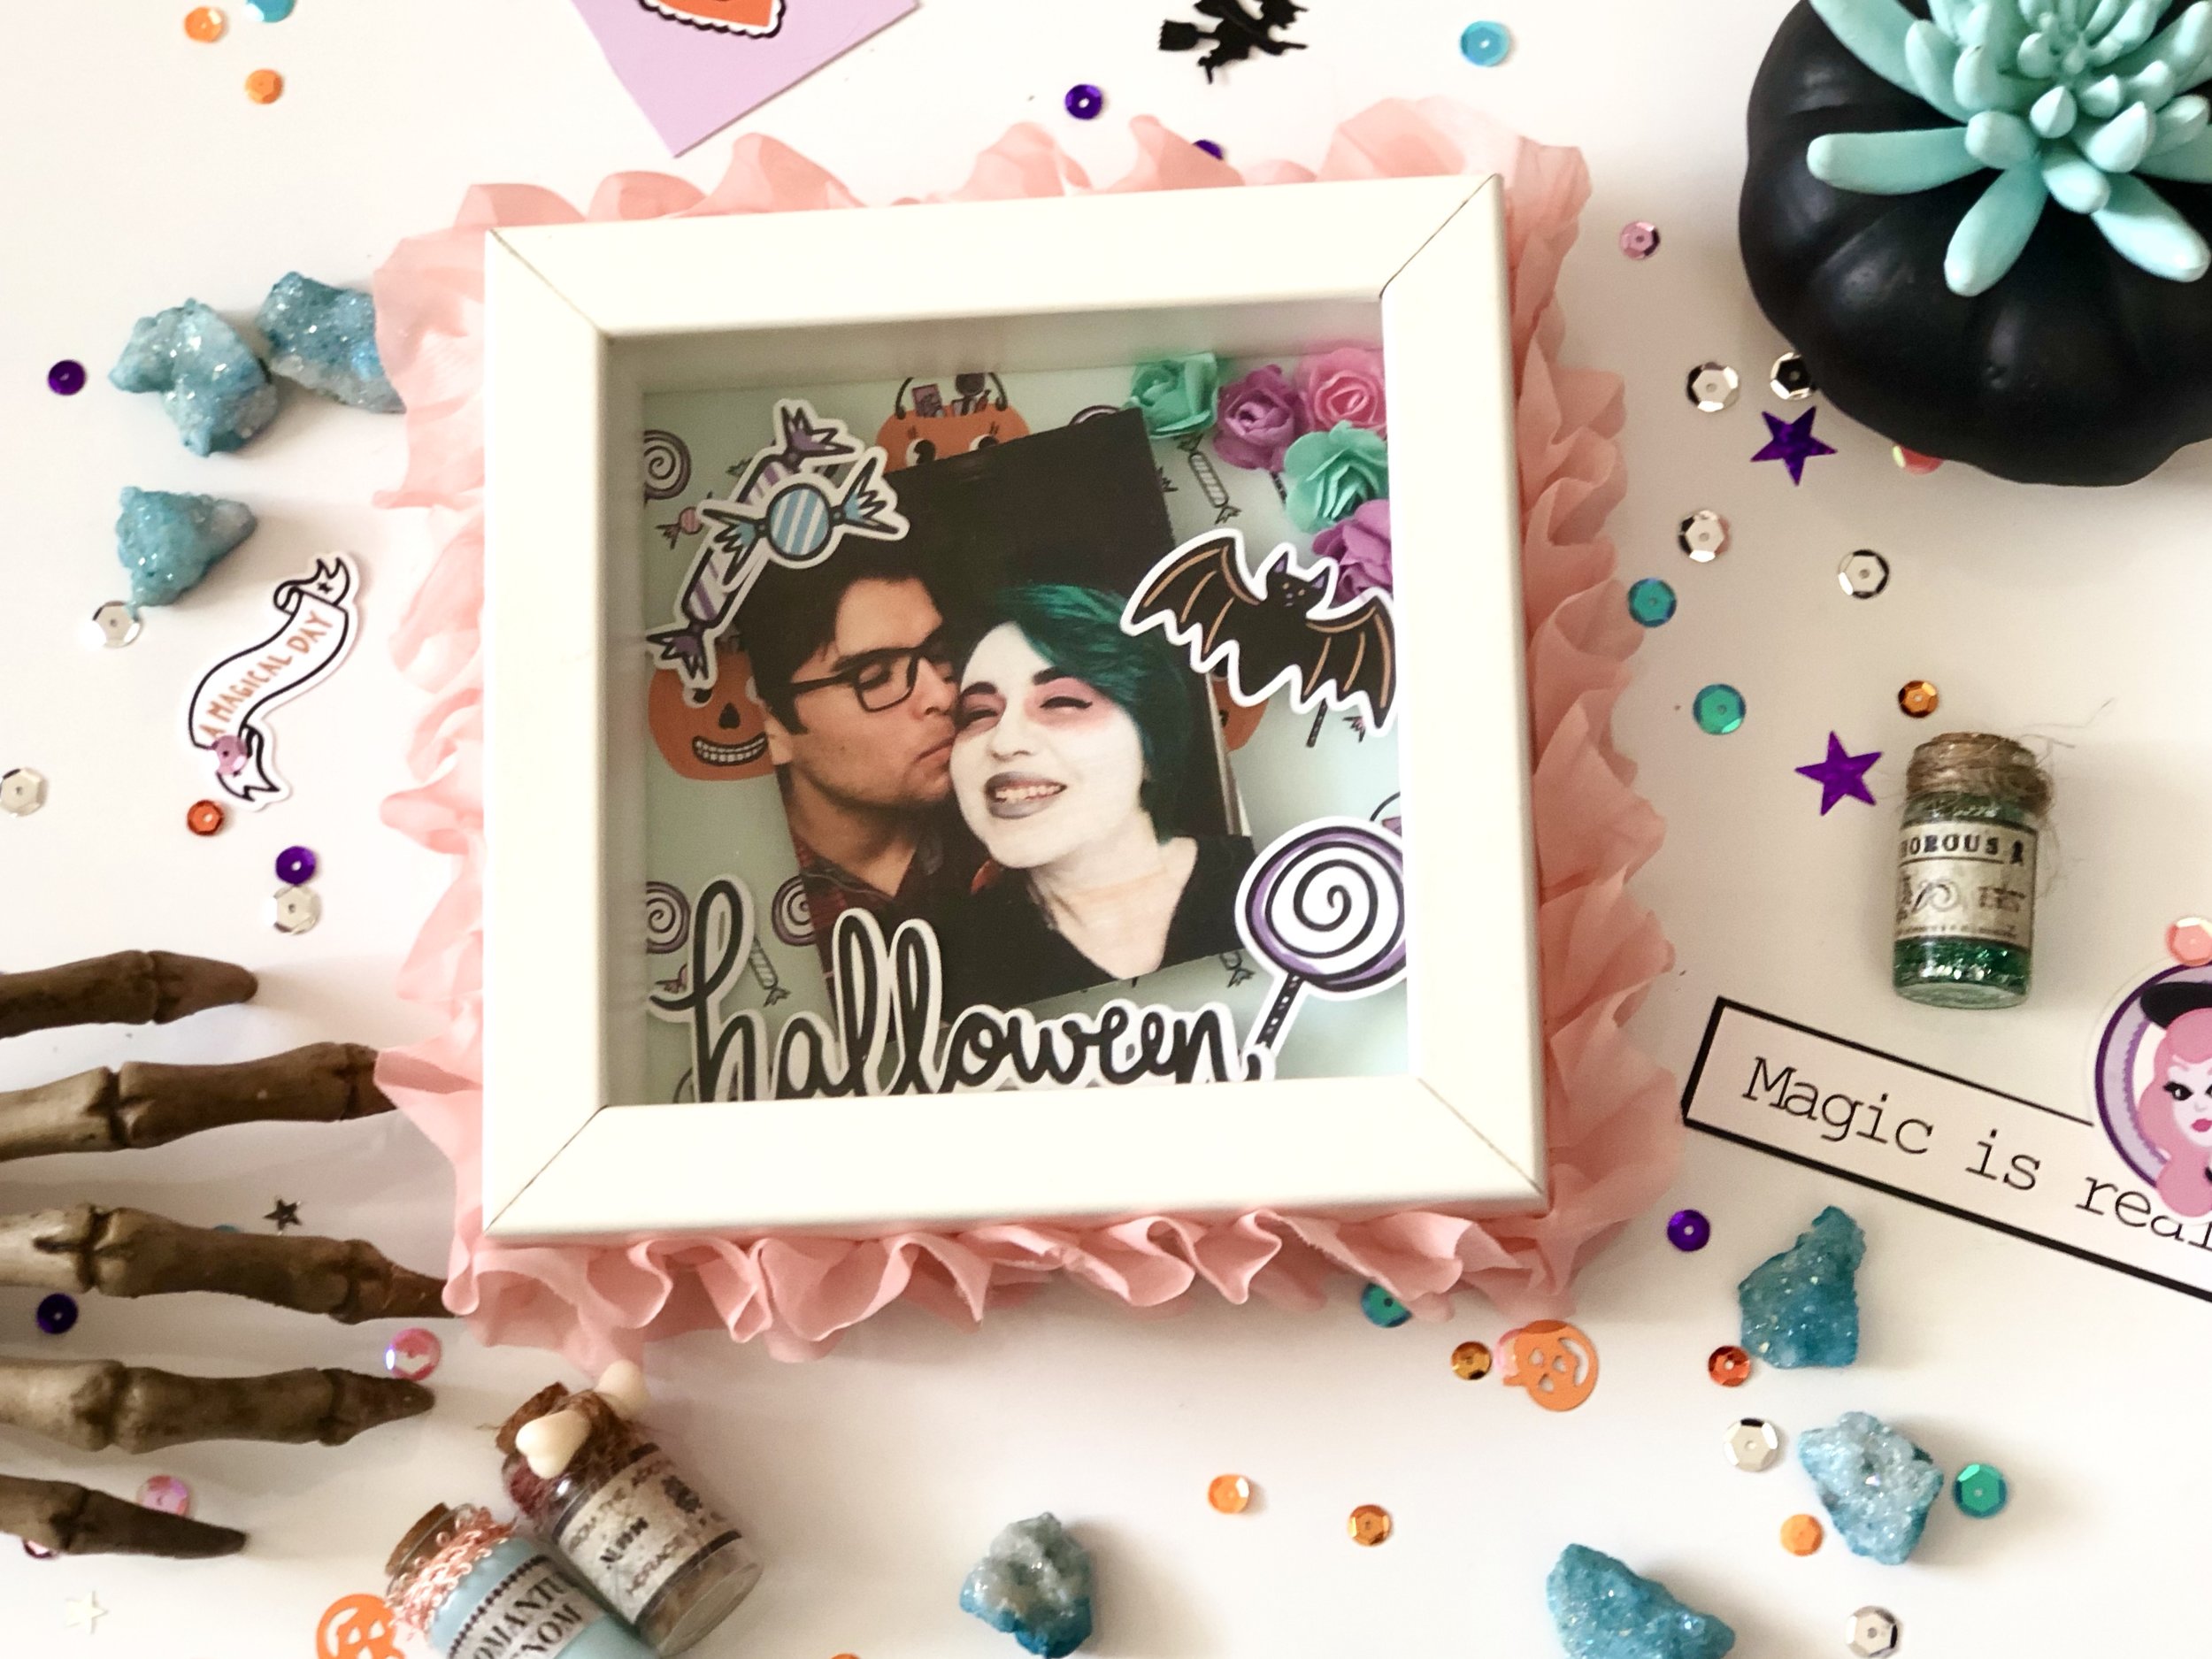
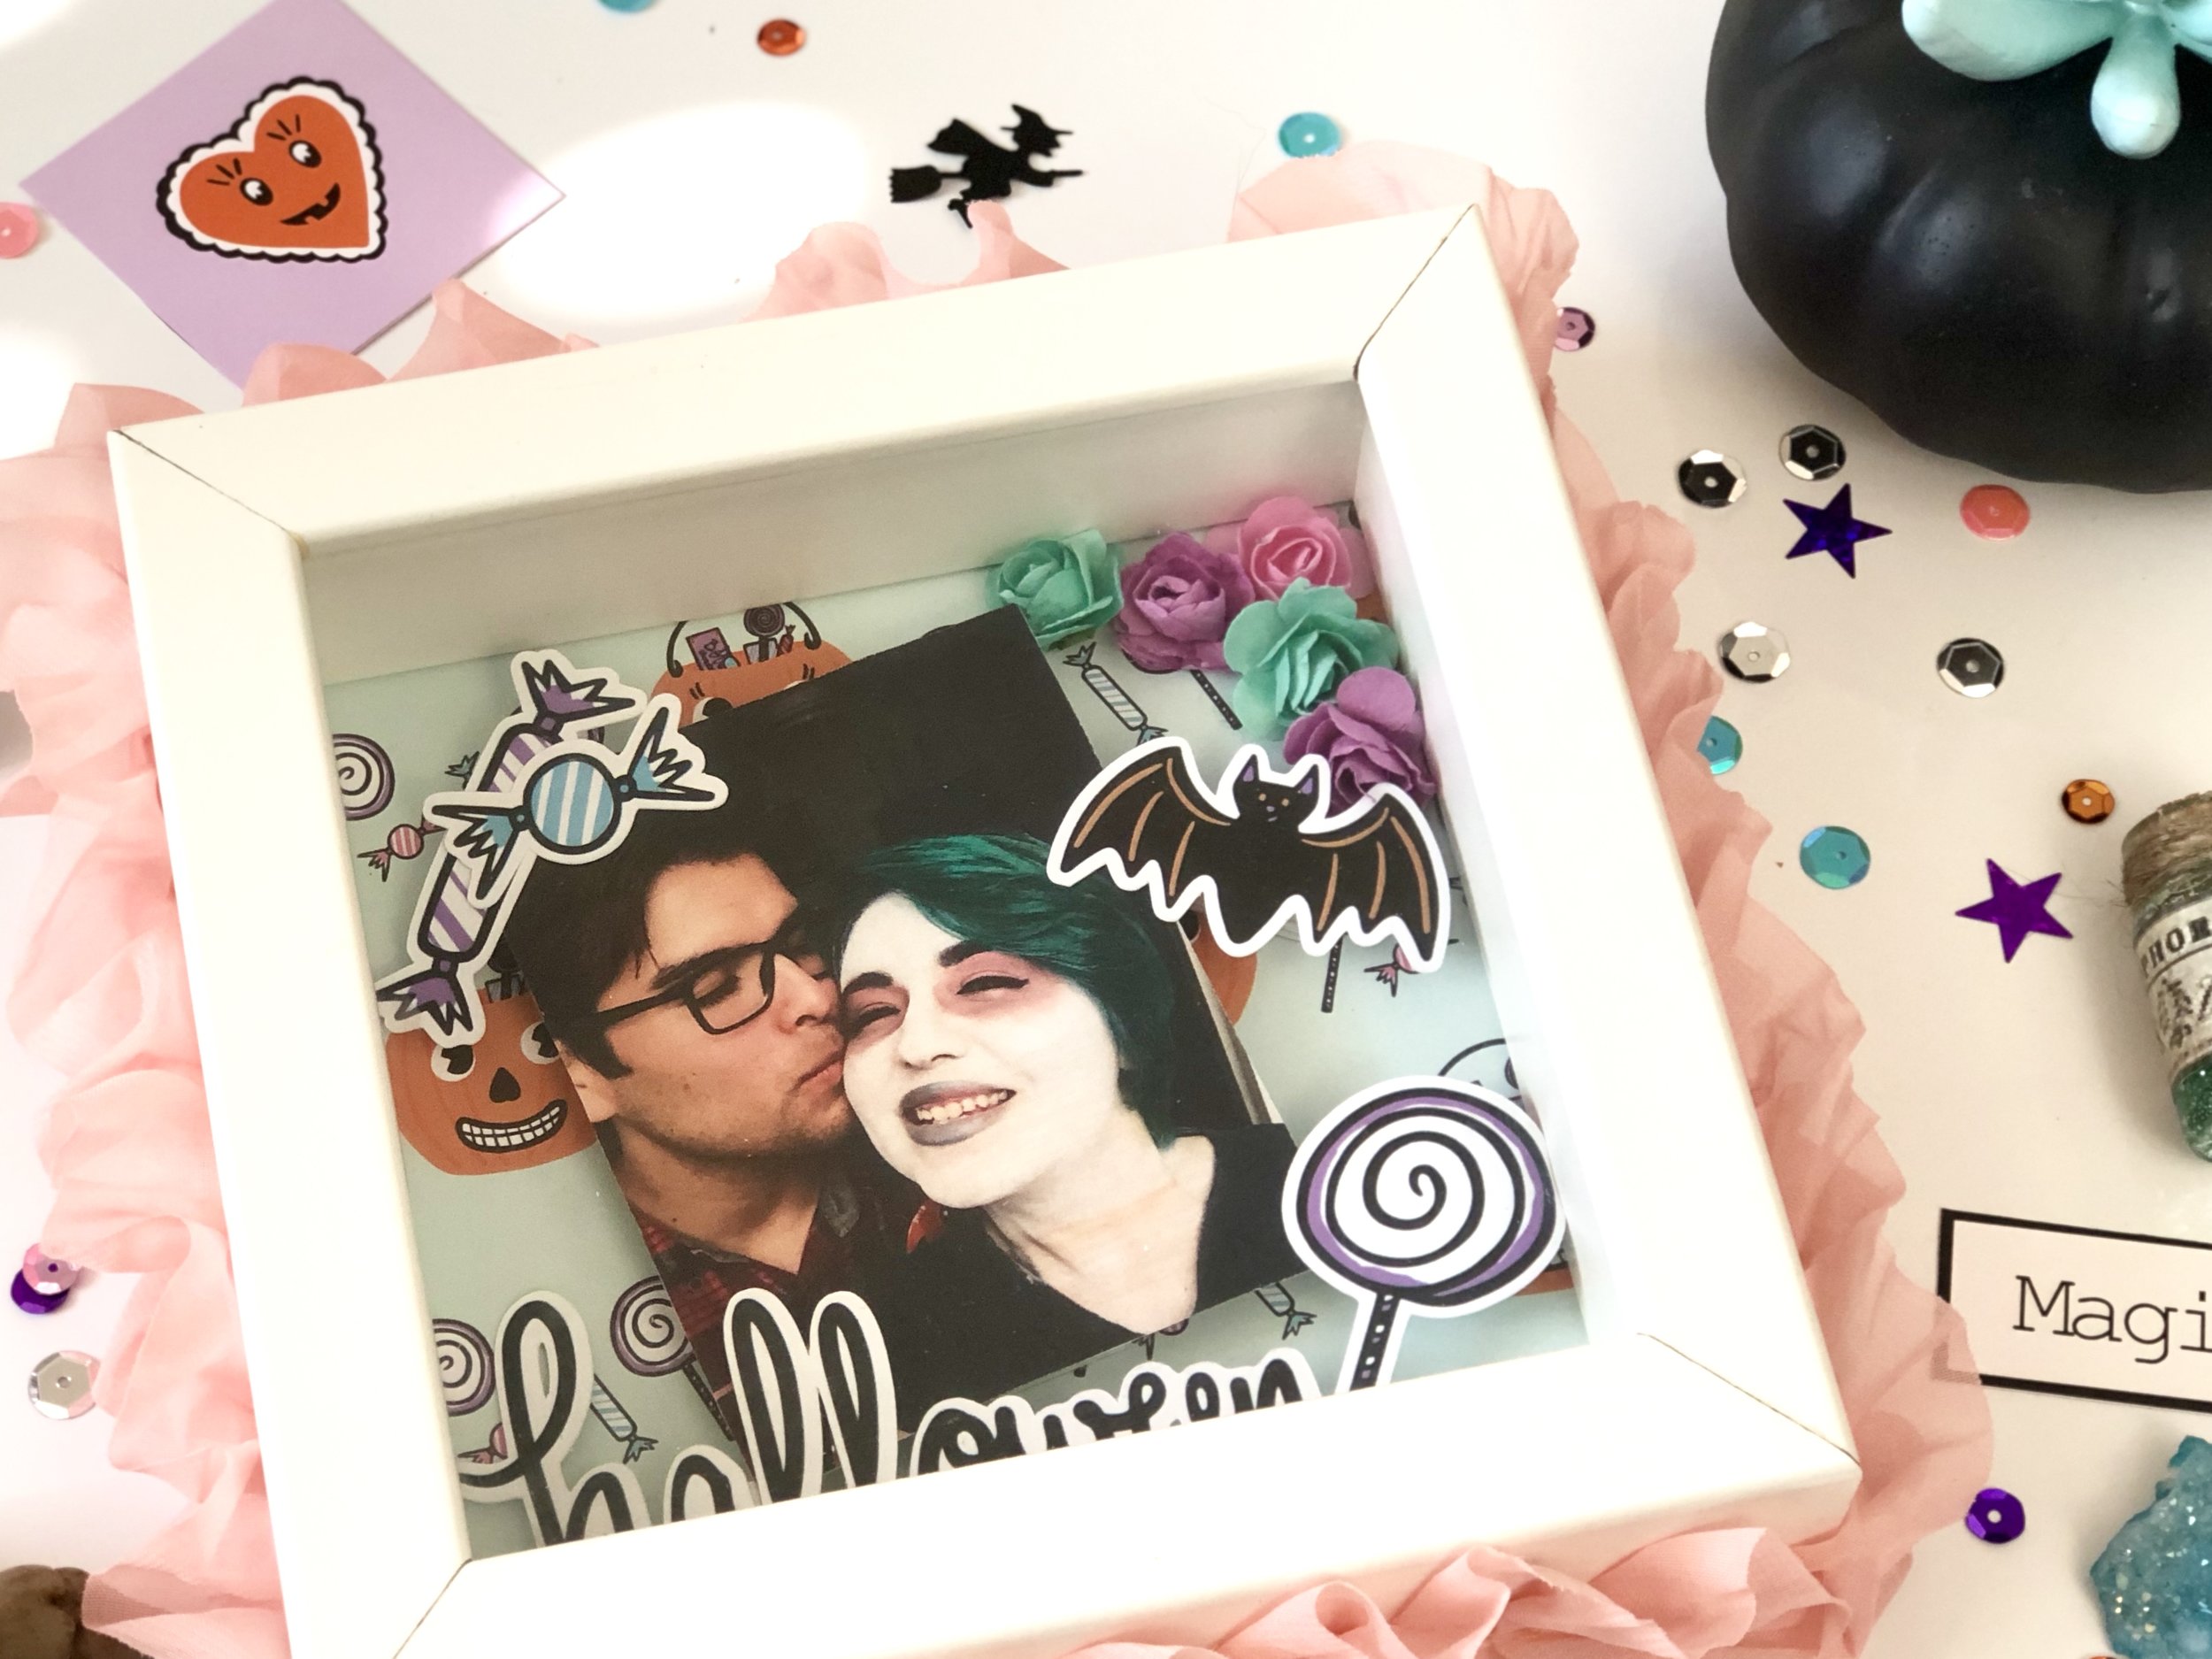
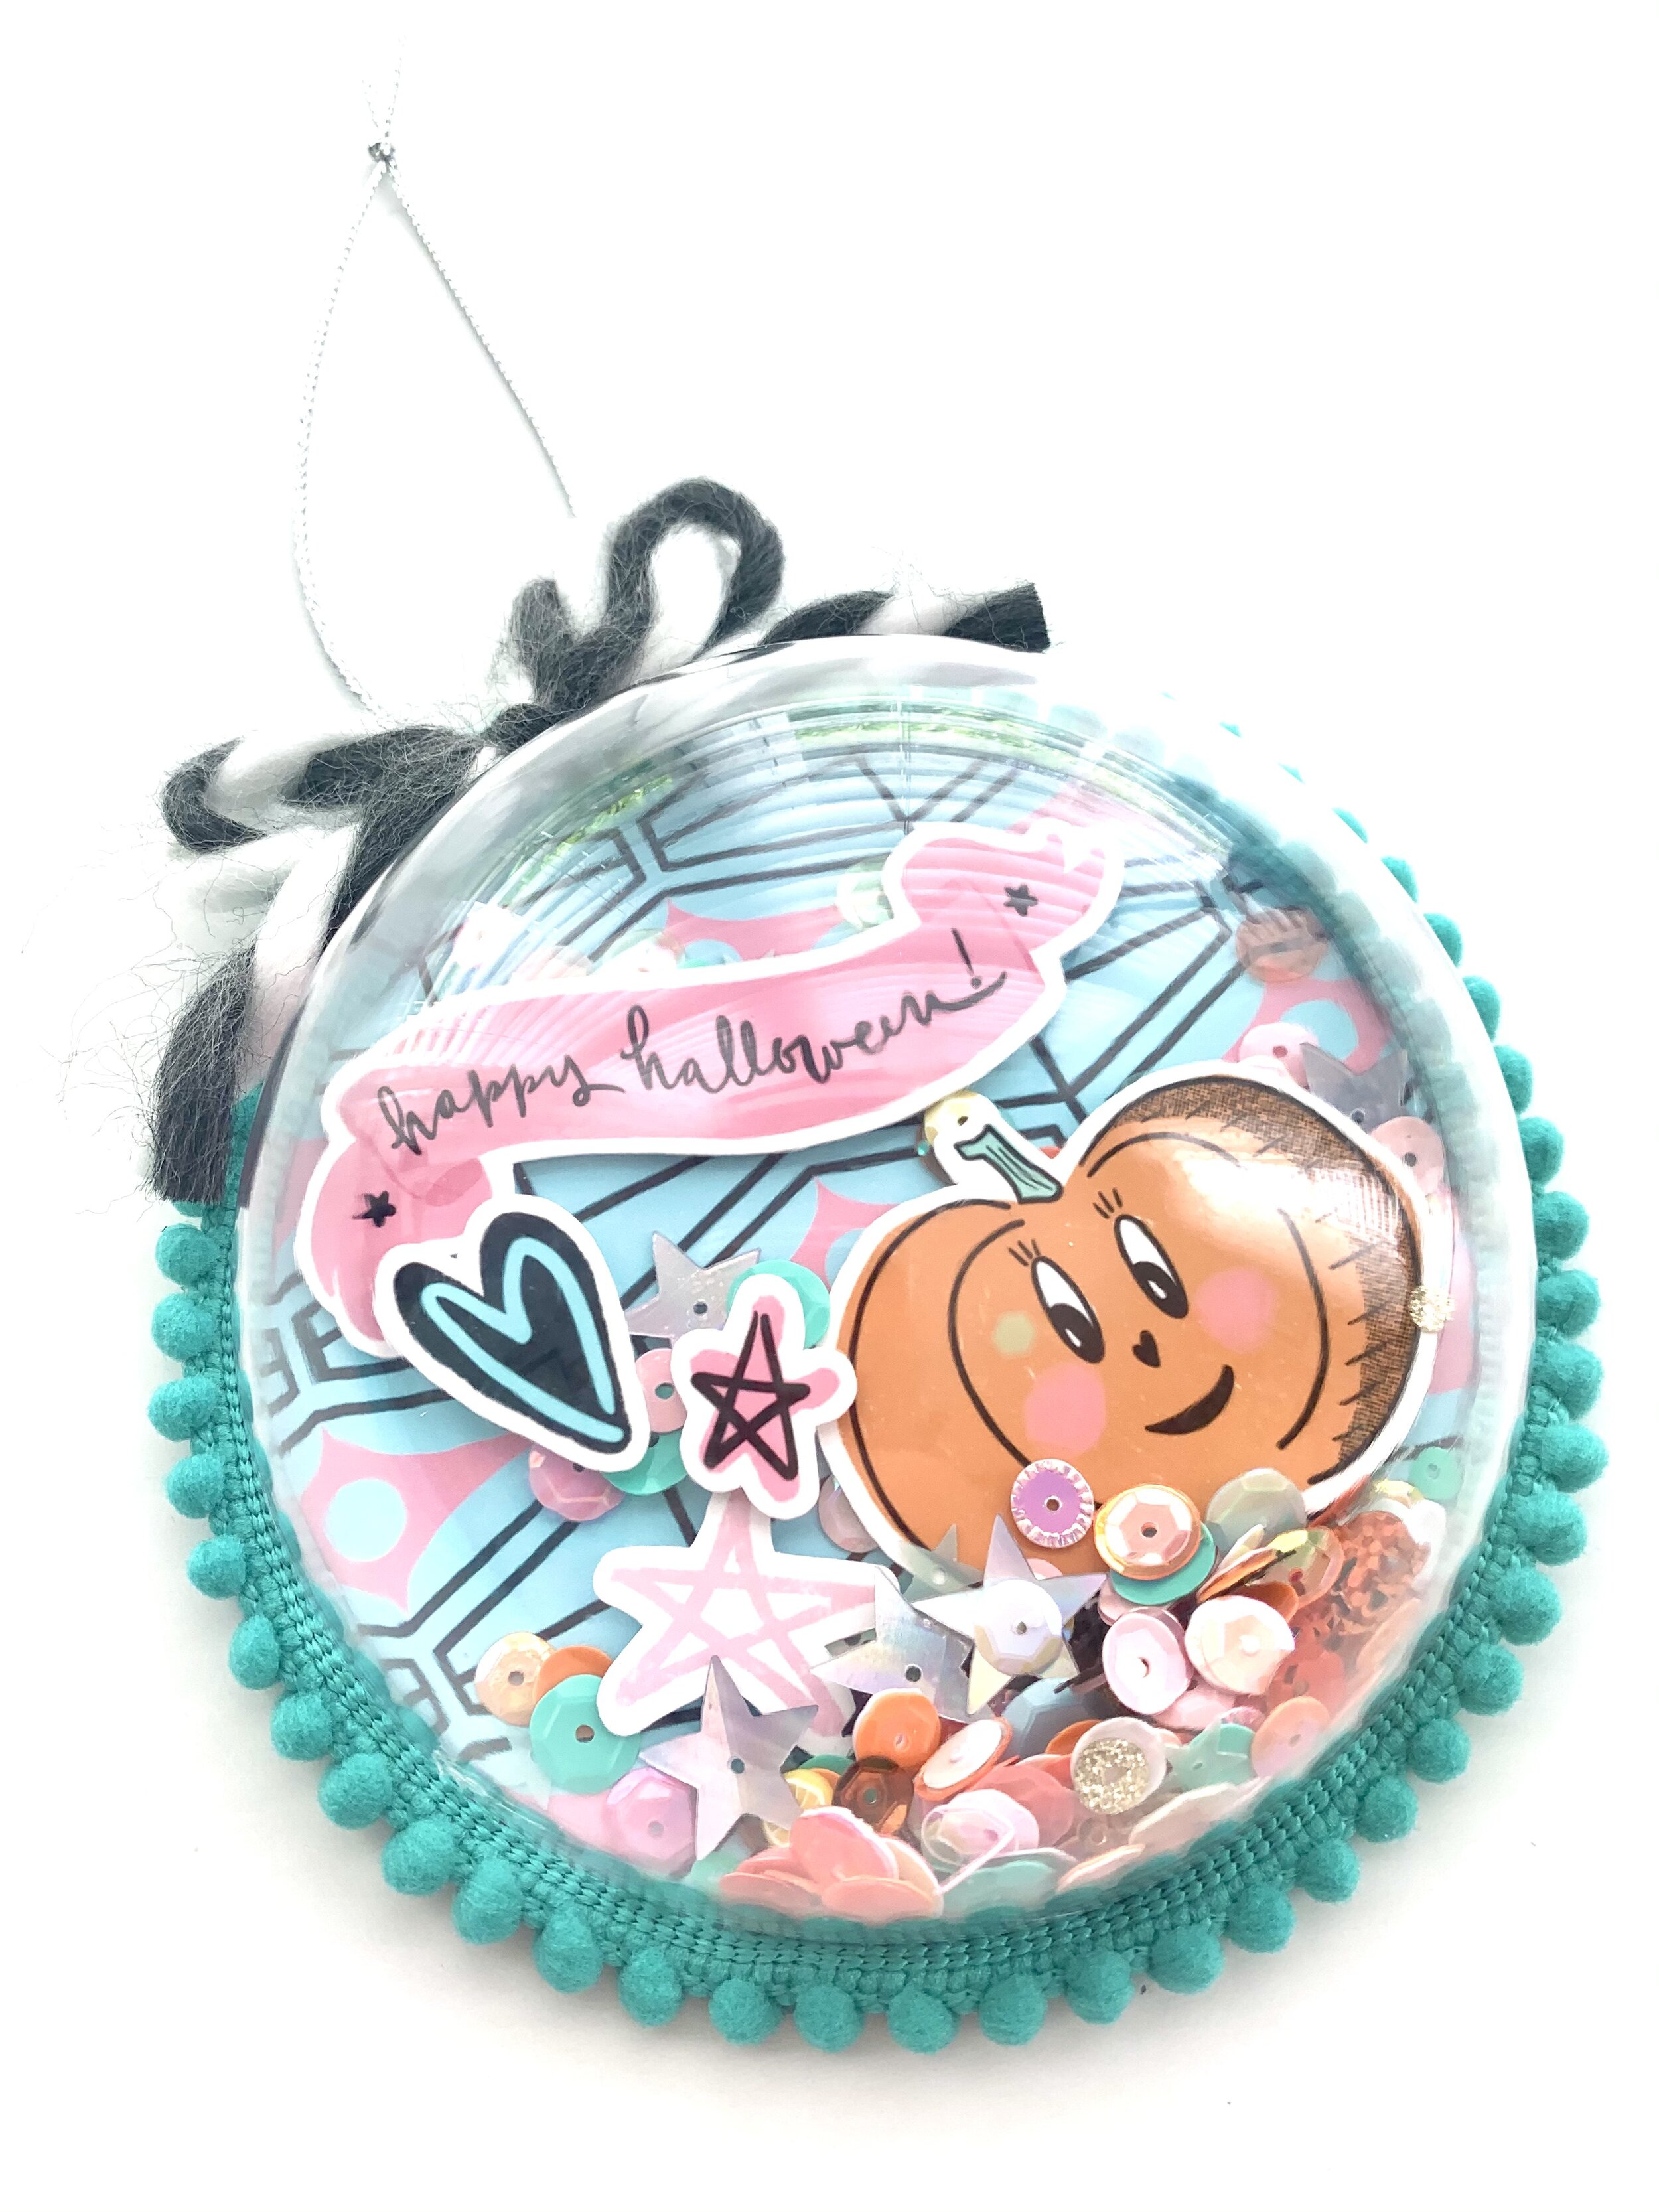
This Halloween ornament features paper, ephemera and sequin mix all from the “Spellbound” collection. I’ve used half of an ornament to create a flat-backed shaker globe that I’ll likely keep displayed year-round. The jack-o-lanterns are so happy, you can’t help but smile! The sequin mix has been curated to perfectly combine traditional Halloween colors with the sweetest pastels. And the papers, my personal favorite, have a fun retro vibe!

IMG_6442 3.jpeg

I’m having so much fun creating so many spooky AND cute things, I’m still crafting with “Spellbound” even though Halloween is over!

Lilly's "Beautiful Dreamer" 3D Suitcase Project

Hey guys!!! Guess who’s back with a super fun 3D project share? :) Meee!!! Ok, ok, on with the good stuff.. (LOL) So when I received this collection I knew I had to make at least one 3D project with it, and here it is you guys ..

Tada!!! Isn’t it adorable?? It’s a functional suitcase that u can load up with goodies and send away to a pen pal.

I got the idea from Jenn on ytube.. Here is her tutorial if you want to make one yourself.

This collection is perfect for a project like this one, and I really hope this post inspires you to create one for one of your friends. It’s definitely easier than it looks, trust me.. I myself can’t wait to make some more :) Thank you guys for joining me on today’s post and I hope to see you guys soon.. Happy Crafting!!!

Kat's Halloween Banner

Hello Spooky Friends!

Kat again! Bringing you my third project using the “Magical and Mischievous” collection. It’s been soo much fun playing with this super cute collection and I’m sad my short residency has come to an end, BUT I’ve had so much fun with you all! Ok ok enough chatter! Lol! Are you ready?! (*que drumroll) for my final project I decided to create a banner!

image1.jpg

OMG! I adore how it turned out! Squuuuueeeeee isn’t it the cutest?! I seriously went ham with the ephemera, but I just love how it looks! For each pendant I created a little cluster of Pastelloween heaven.

I used chipboard as the base of my pendants to create a strong and sturdy surface. I cut out pendants from each of the papers from the collection and sewed around the edges with black thread prior to gluing them to my boards.

I paired the collection with some paper roses, black spiderwebs, and black doilies. By using these elements along with the sewing, it adds more whimsy to the finished piece and creates a variation in textures.

I used a combination of foam squares and liquid adhesive to adhere all my elements to my pendants. After everything dried, I hole punched my pendants and strung it on some black and gold twine.

To create my clusters, I used a combination of all the elements from the “Magical and Mischievous” including the oh so cute flare buttons! I made sure each pendant had similar touches to create cohesion throughout my entire project. As you can see, each pendant has a button and some fun foil ephemera pieces.

Don’t be afraid to trim down or fussy cut some of the elements of the collection to create your own shapes and modifications to fit your project. I fussy cut several of the journaling card to create large focal pieces for my banner (the owl as an example). Thank you so much for graciously having me as your guest inspirer for the spookiest time of the year. I hope you all have a very fun and safe Halloween. Stay Spooky cuties!

– Boos and Shrieks ~ Kat

Michelle's Halloween Banner

Hey there, crafty friends! Michelle here, and I’m back with a new project using the Magical and Mischievous kit from The Fairytale Club! I don’t know about you, but I’ve always wanted to be one of those people whose home is decorated for every season. And since I spend so much time in my home office, I thought I would take this kit of magical Halloween goodies and make a cute banner for my bookshelf!

I started by selecting five patterns from the 12x12 sized pages and cutting them into the banner pieces. Then I selected three cards from the cut-out sheet that coordinated well with the patterns I chose.

Then it was time for the fun part, which was to add all the trim and ephemera! This step always makes the biggest mess but it is also the most fun! I spread all the bits and pieces across my desk, and through trial and error, I see what works best.

I really like to play with different textures, which is something you can see in this project. Most of the banner pieces have cute ephemera bits, as well as some sort of textured elements, such as ribbon or the ever-so-cute pom poms!

1022181015d-01.jpg

After each banner piece was all done, I laid them all out and used hot glue to attach them to the orange and white string I happened to have on hand. Being a crafty lady is so fun! You never know what kind of supplies you may find in my stash.

The final step was to add the mini pom poms to the strand, and hang it up! I love how this came together, and it adds a little seasonal touch to the office!

1022180941a-01.jpg

I hope you enjoyed this fun and festive project! It demonstrates just how versatile paper crafting can be and I hope this inspires you to try something new. Happy crafting!

-Michelle

Solange's Embroidery Hoop Pocket Decor

Hey guys, Solange here with a super fun, easy and fast project using the “Magical and Mischievous” kit! I was super excited when I got this kit and anxious to work with colors that are out of my comfort zone.

image1.jpg

For this project you will simply need an embroidery hoop that you can find in any craft store and your “Magical and Mischievous” kit.

To start out, I chose the papers that I wanted to use for the front and the back of the hoop. For the back of the hoop, I simply traced the outline onto the stripe blue paper and cut it out. I then glued it with hot glue to the back of the hoop. For the front piece I followed the same exact process and then just cut it in half instead so we can form a pocket.

Then the fun part, embellishing ! I used some of the ephemera pieces but I also fussy cut some of the images in the dashboards to use as ephemera.

The last step is to stuff the pocket with some crinkle paper and then add goodies inside! You can use this idea to send gift cards or to share your handmade embellishments, and maybe some treats as well!

That’s it! Super simple, easy and cute project to send to your penpals, give as gift or hang in the wall for the decor!

I hope you guys got some inspiration and I can’t wait to see what you’ll create. Xoxo.

Kat's Halloween Shadow Box

Hello Spooky Friends!

My name is Kat, and I am the guest designer for the month of October. I am so excited to share with you the awesome and spooky cute crafts I have created using the “Magical and Mischievous” collection. The first project I wanted to conjure was a shadow box/memory keeping box.

IMG_7541.jpg

I adore shadow boxes because they are tiny time capsules that capture your work of art and simultaneously displays it in a bootiful fashion. For this shadow box I wanted to merge scrapbooking with it as well.

I love this ghoulish picture of my Wolfie and I, and I really wanted to capture the magic of it and preserve it for years to come. The “Magical and Mischievous” collection paired so beautifully with it and showcased the whimsy of this moment.

I started off with a 6x6 shadowbox (you can purchase them at any hobby store) and cut out a square of my favorite patterned paper, the super spooky cute pumpkin pail with sweet treats. I glued this to the backboard of the frame. I printed out the photo 2 ½ x 3 ½ and added 6 layers of foam squares to give it dimension. Tilting your image gives it even more whimsy.

I then picked some ephemera pieces from the collection, two candies, a lollipop, the black bat, and the Halloween word. I propped these up with 6 layered foam squares cut to size. This allowed all my pieces to be the same dimensional size. I paired the collection with some paper roses to finish off the inside of the memory shadow box.

IMG_7545.jpg

Finally, for the exterior of the box I added some ruffled trim in blush to complete my Spooktacular memory shadow box. I added the trim using hot glue. Incorporating fun elements, such as trim, gives your projects textures that bring it life.

IMG_7548.jpg

I hope you also create your very own “Magical and Mischievous” memory shadowbox this Halloween season. Bring a little spooky cute into your crafty space or office desk. Stay spooky cuties!

Spring Candy Basket with Carrie

Hello everybody! It's Carrie here with a cheerful Spring themed candy basket using the Happy Day kit.

As a general rule I like to have chocolate in my house at all times lol!  So when I saw this adorable basket/purse in the Silhouette Design Store I thought it might be the perfect place to store a piece or two while still looking cute on my kitchen counter.  Plus, I have a fair few birthdays coming up and think it would be fun for holding a gift as well. The basket design ID is #63379 by Lori Whitlock. I started out by enlarging my basket to as big as it would fit on a 12 by 12 sheet of paper using my Silhouette software. Then I used a white piece of textured cardstock and ran it through my Silhouette Cameo to cut out the base. Next I took one of the planner inserts that had a blue background with polka dots and cut out a piece to layer over the front of my basket. Again, I used my Silhouette Cameo for this. The strips on the sides are from the same sheet of paper, and I measured what size they should be with a ruler and cut them down to size with my paper trimmer.  Then, I used red-line tape on the inside flaps and finished the assembly of my base.

Now that my base is complete I decided to find some flowers from the Silhouette Design Store to add to the front of my basket.  I ended up choosing design ID #198967 by Carina Gardner. It came with quite a few flowers as well as a couple different types of leaves.  Again I used my Silhouette Cameo to cut everything out. For all the leaves I chose the planner insert with a super fun pink writing paper design. The backside is a light purple and blue background with a cute kitty, so most of the leaves are pink but three of them I turned around using the purple or blue.  For the center of each of the flowers I used the same white textured cardstock for consistency.
 

I knew I wanted to use lots of color and patterns for the actual flowers to make them pop, so one is cut from a planner insert with a pink background and retro blue graphic design that reminds me of an eye. The other two are cut from 12 x 12 papers. I chose the ticket design, and and the design cut into a bunch of pieces and colors. All are super colorful and fun! Now that all my pieces are cut out it's time to assemble the flowers and decide where to place everything on the front of my basket. I love this part because I get to be creative :-) First I attached the flowers, next the fern-like leaves, and lastly the large and small leaves of the same shape. To finish decorating I decided to add iridescent Swarovski crystals to the center of each of the flowers, and tied the handles at the top together with a pink ribbon.  Now my project is all done and ready to be used!

Thanks for taking a look at my project, and I'll see you next time!
Cheers!! Carrie

An Inspirational Polaroid Tag Banner with Tiffany

Hey everyone! Tiffany here with a fun tag banner project using the Everyday Wishes kit.

I wanted to do a different sort of project this time that not only you can use to document your life, but easily display it in your home as well to inspire you always. So I had a lot of fun creating this little banner from a few tags I made from the pattern papers. I even made these cute little polaroid frames to frame my photos and hang from the banner as well. I’m planning to display this banner over my dresser, so I can always see it and be inspired by it everyday.

TFC-BANNER-2.jpg

Before I strung everything on to a pink and white baker’s twine, I had to make each tag. I first printed out four photos I wanted to use on my banner and looking through the word die cuts from the kit, I pulled out words that I felt corresponded to each photo well. For my first tag, I used a photo of Cinderella’s castle at Disney World and the word “dream.” Disney for me is where dreams come alive and I felt it was so appropriate to use on this project with the Everyday Wishes kit.

I printed out my photo to already have a little white polaroid frame around it. Separately, I cut out a tag from one of the pattern papers to back my photo on. I then layered the “dream” die cut over it so that a bit of the word hung off the edge. I kept these tags simple, so I embellished it with a black and white heart die cut and a blue puffy heart sticker from the Take Note kit, before punching a hole at the top of the tag, reinforcing it with a white reinforcement sticker to make it look like a real tag. I attached it to my string with a mini wood clothesline pin that I painted white.

For my second “tag,” I cut out a polaroid frame from one of the papers to frame a photo of my dog Joey. I paired his photo with the word “heart” because I just love him so much and he’s a huge part of my life and my heart. I layered the die cut over the frame the same way I did with the previous tag, so a bit of the word hangs off the edge, then embellished the polaroid with another black and white heart die cut and a pink puffy dot sticker from the Take Note kit. I then hung it on my string with another white painted wood clothesline pin.

I repeated the tag process with this third tag, using this black and white square pattern from one of the planner dividers. Yet, instead of using a photograph, I fussy cut the princess image from one of the other dividers and pasted her in the center of the tag along with the “wishes and dreams” die cut that I cut into a banner. I embellished the tag with another puffy heart sticker, this time in pink.

For the fourth tag, I created another polaroid frame using the pink polka dot pattern paper. For this one, I used a photo of the Mad Hatter Tea Cups at Disneyland Paris and matched it with the word “happy.” This is by far one of my favorite rides at any of the Disney parks as it never fails to make me laugh. It is just the happiest ride ever. I wanted my banner to remind me to always be happy, so I thought this was the perfect way. I embellished this frame with one of the powder blue bow die cuts from the kit, so that it balanced out the pink.

I made my last tag the same way I made the first one. I printed a photo of myself with a white polaroid frame around it and paired it with the word “brave.” I always strive to be more brave with my life, so again, this was the perfect reminder of that. Since I cut the tag from this minty blue pattern paper, I ended up embellishing it with a pink bow die cut to bring in a bit of the pink color to the tag. This particular tag is very mint/blue in color, so adding a little touch of pink helped it balance out.

I hope you enjoyed this simple cute little banner and that it inspires you to create your own!

TFC-BANNER-7.jpg