Kellie's You + Me Quick and Easy Card

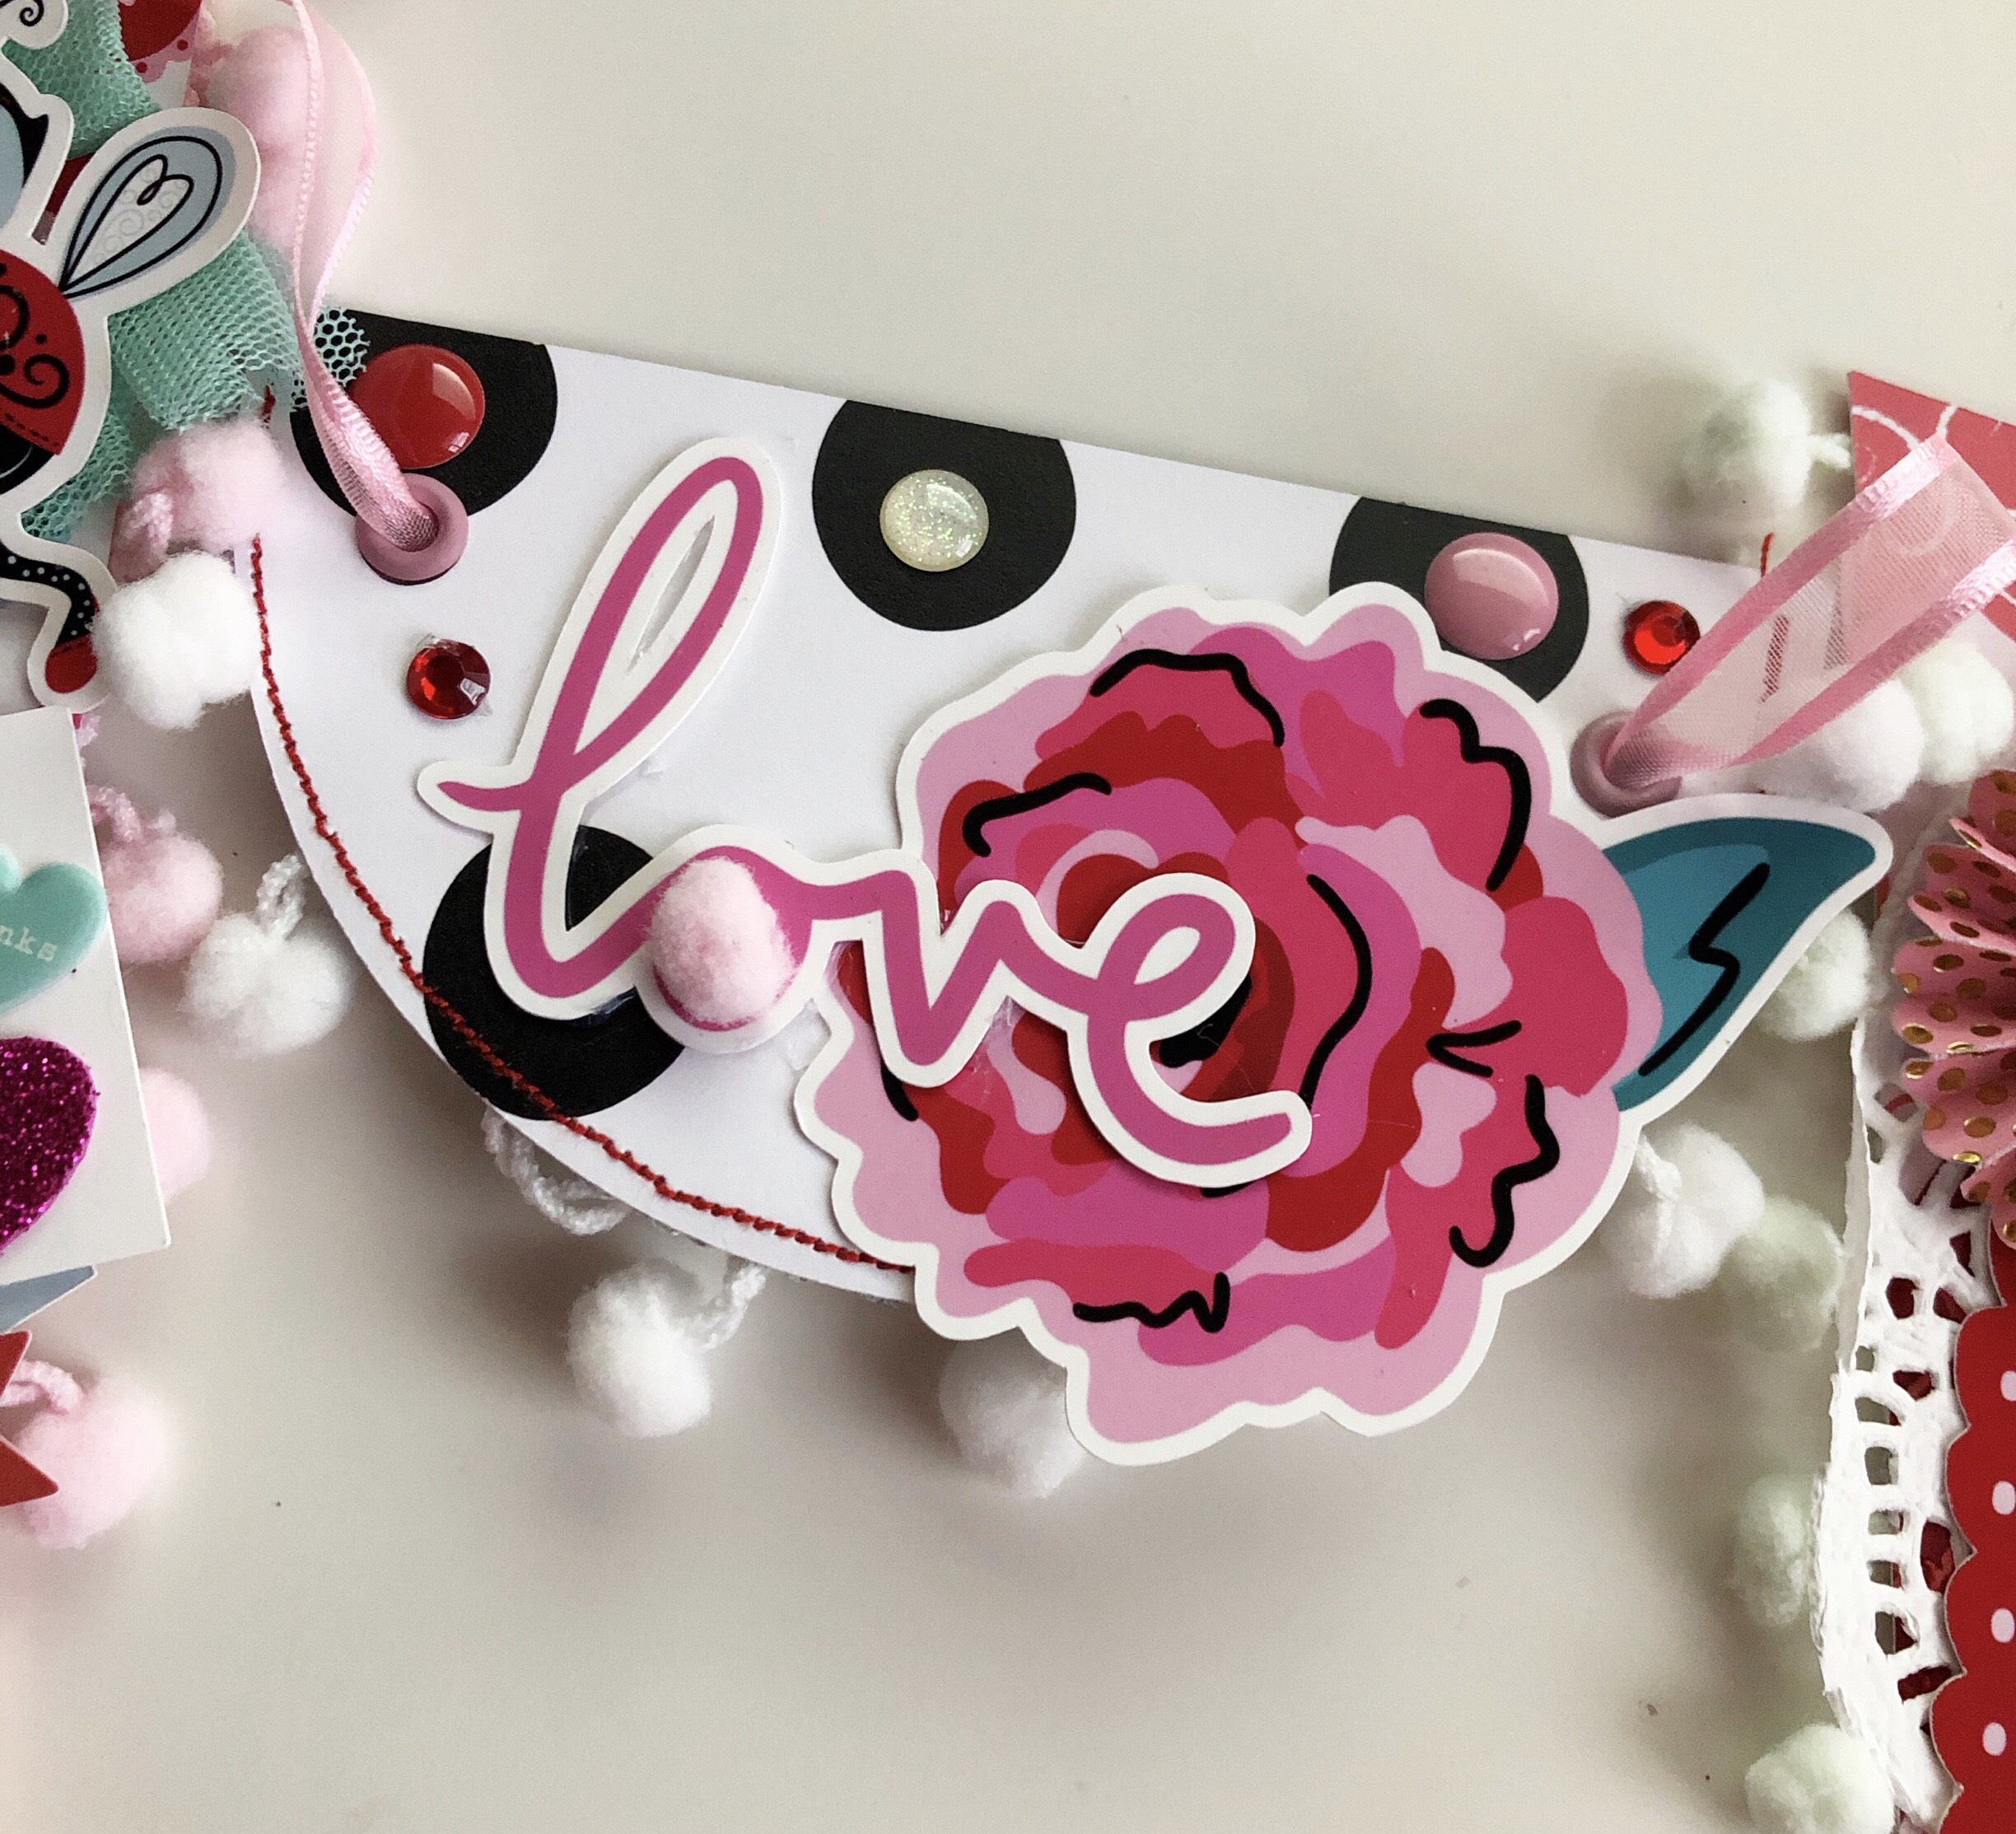
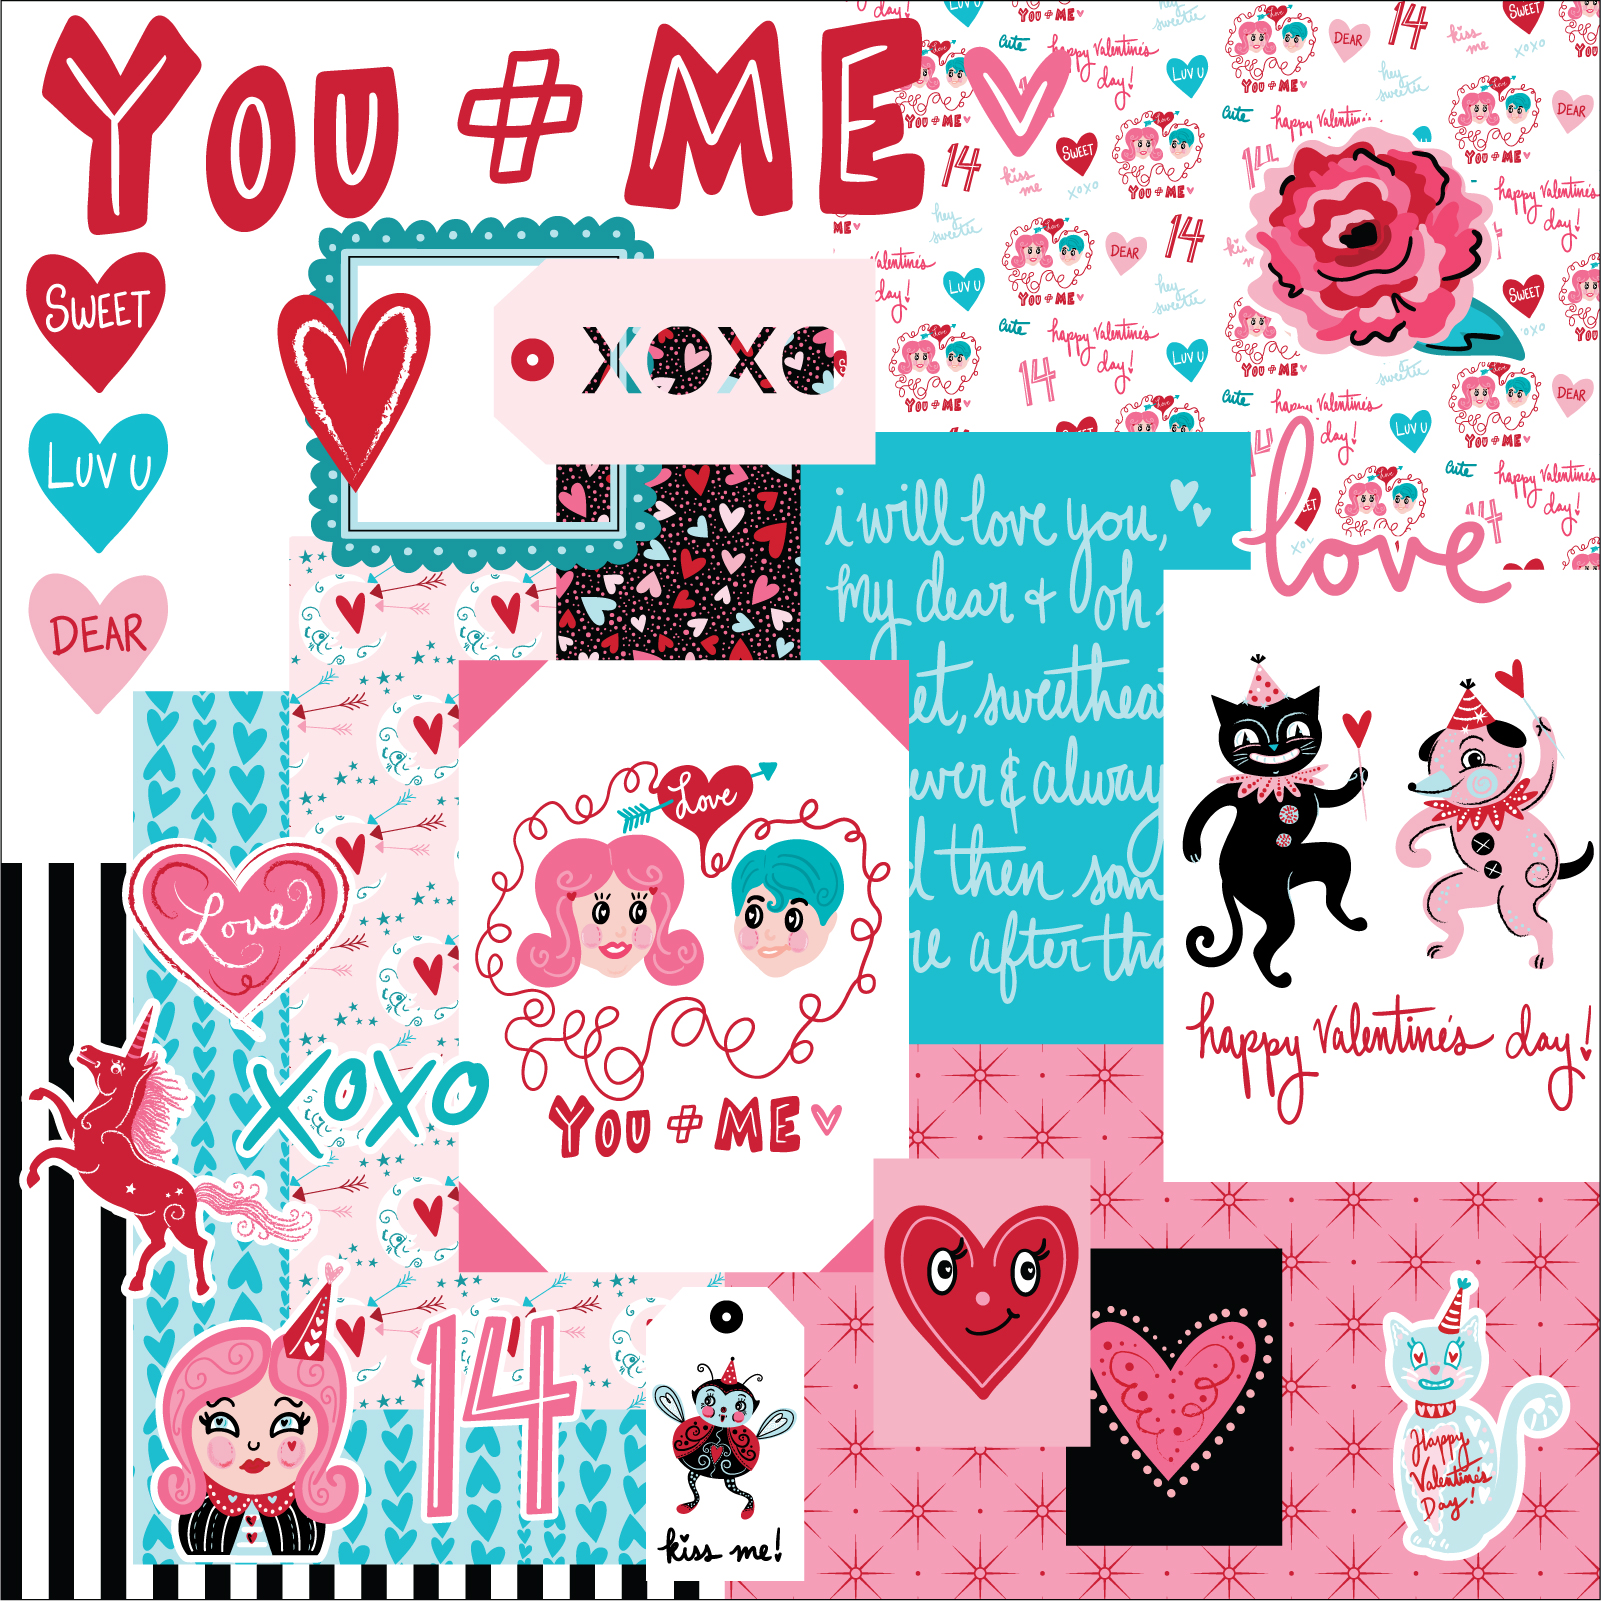
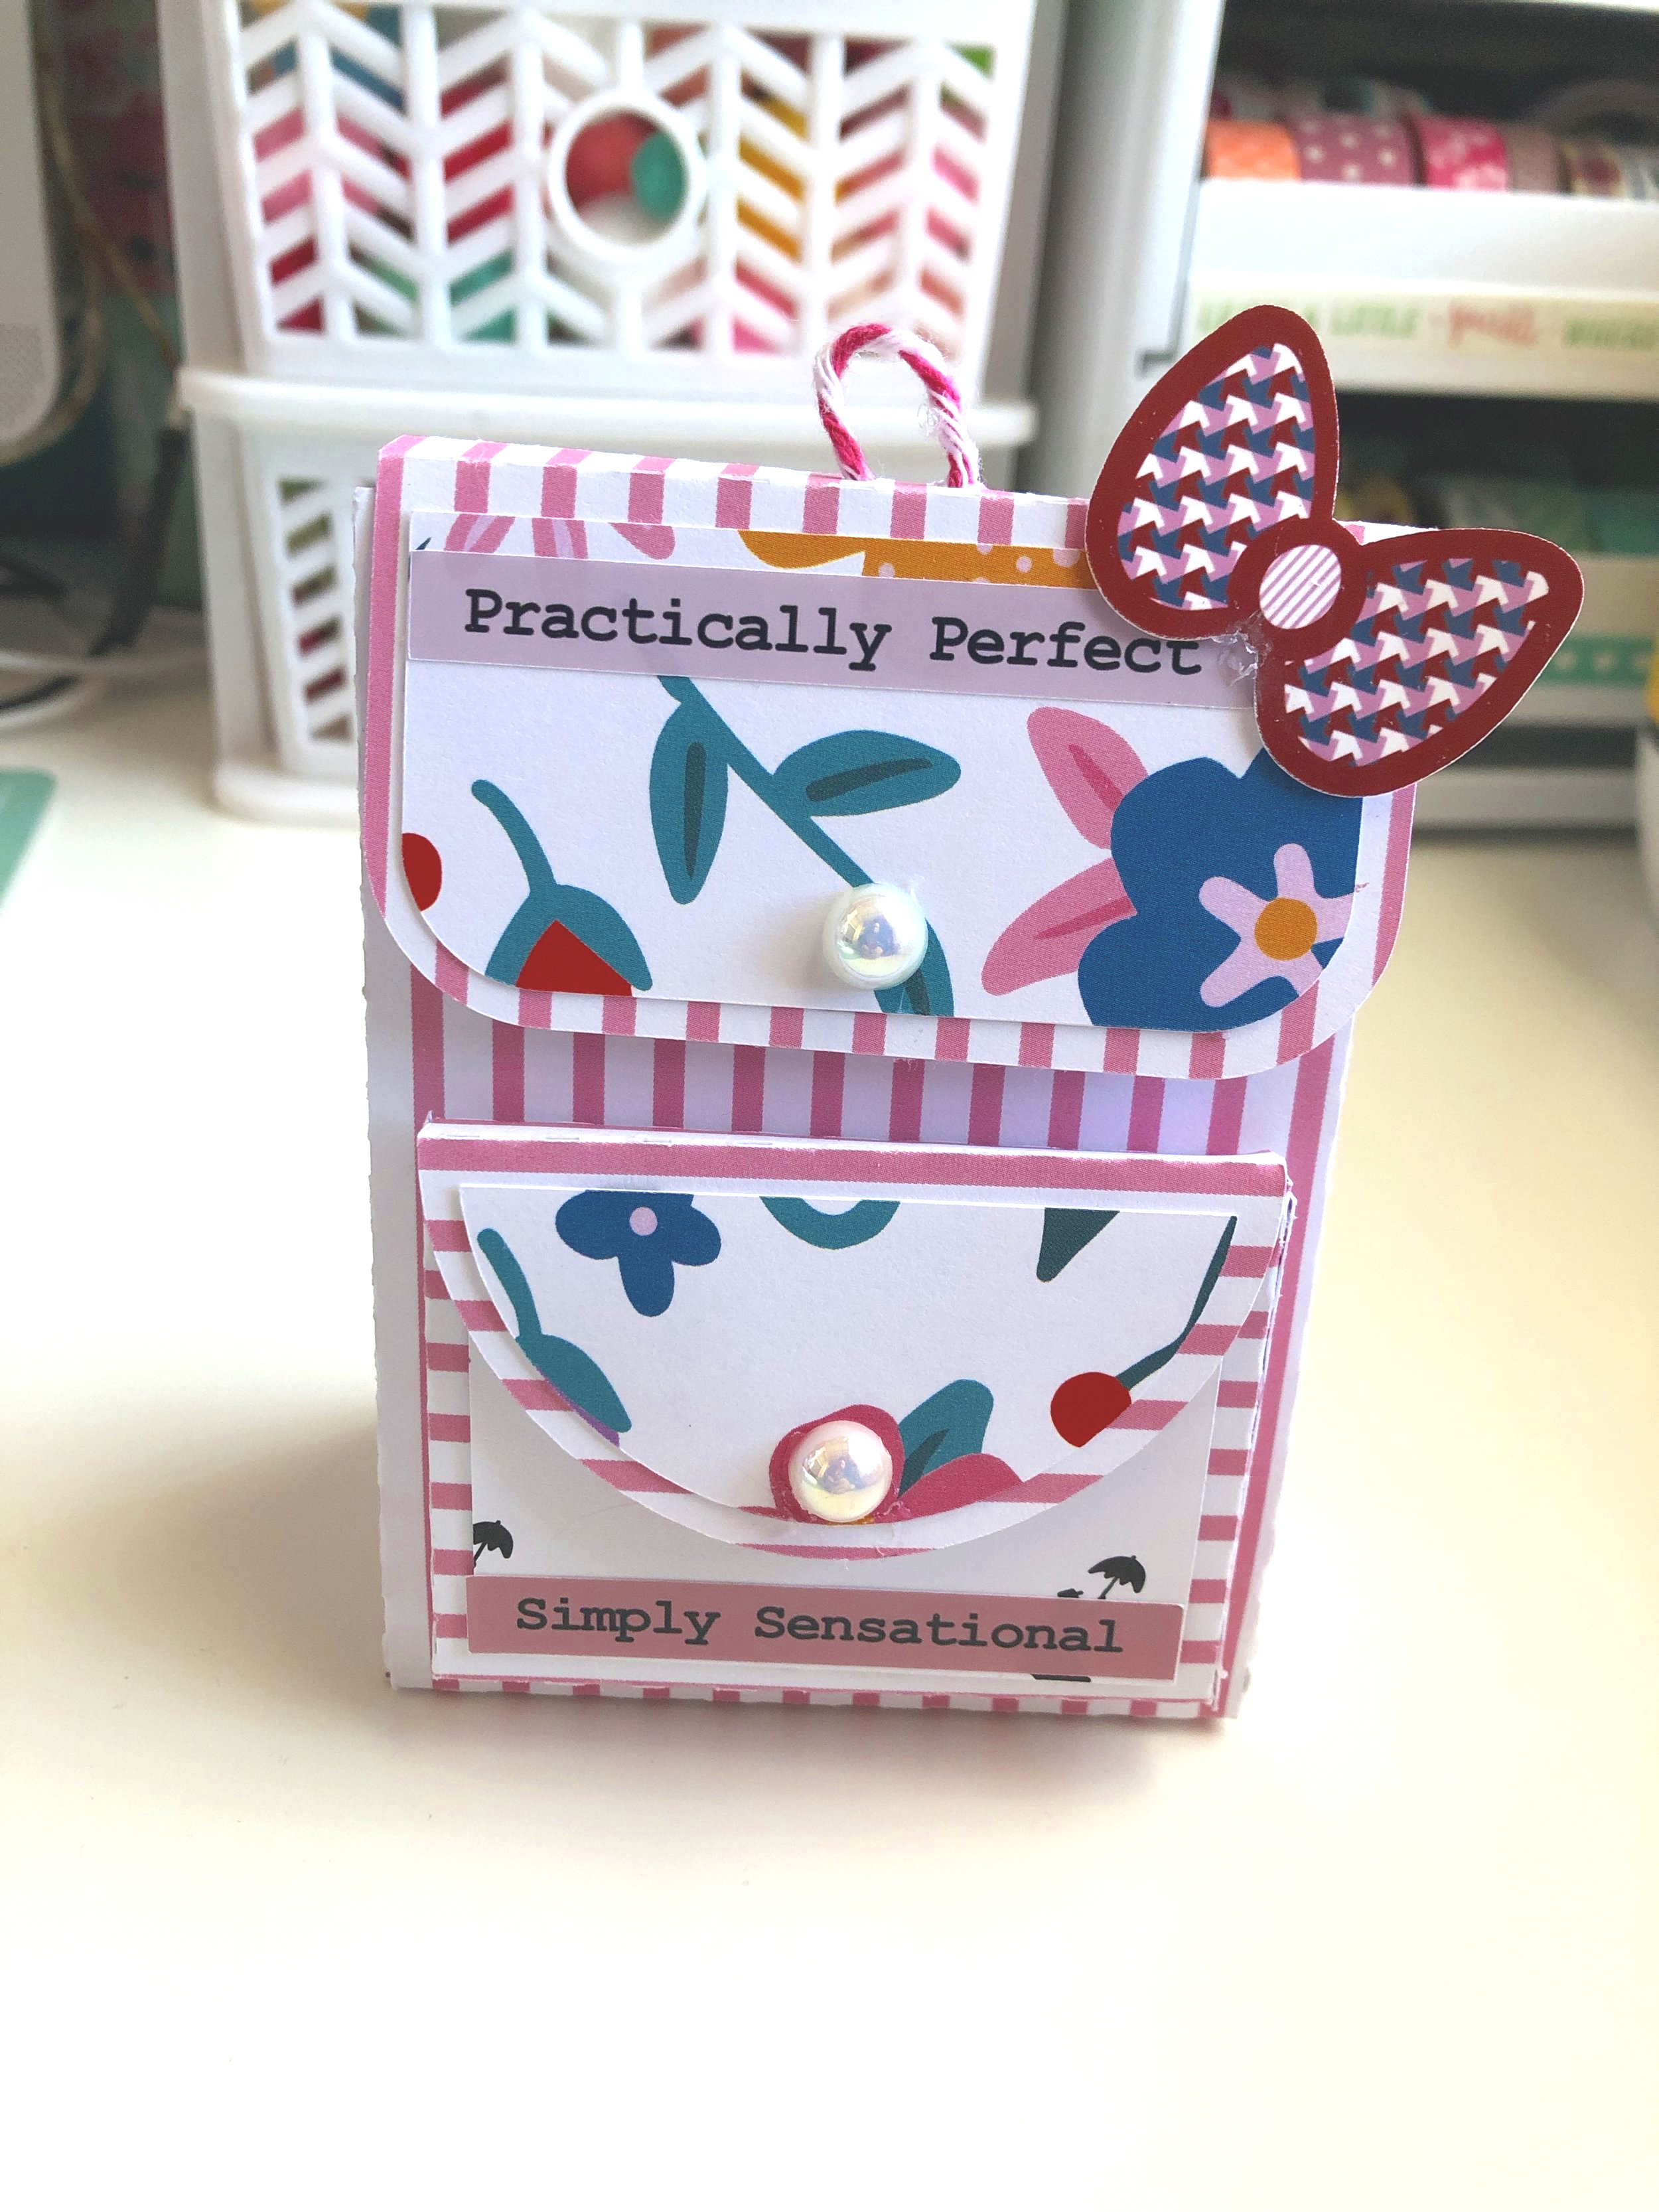
Hi there Fairytale Club fans, Kellie here with you today to share a sweet card I created using the NEW You + Me kit.

TFC_2

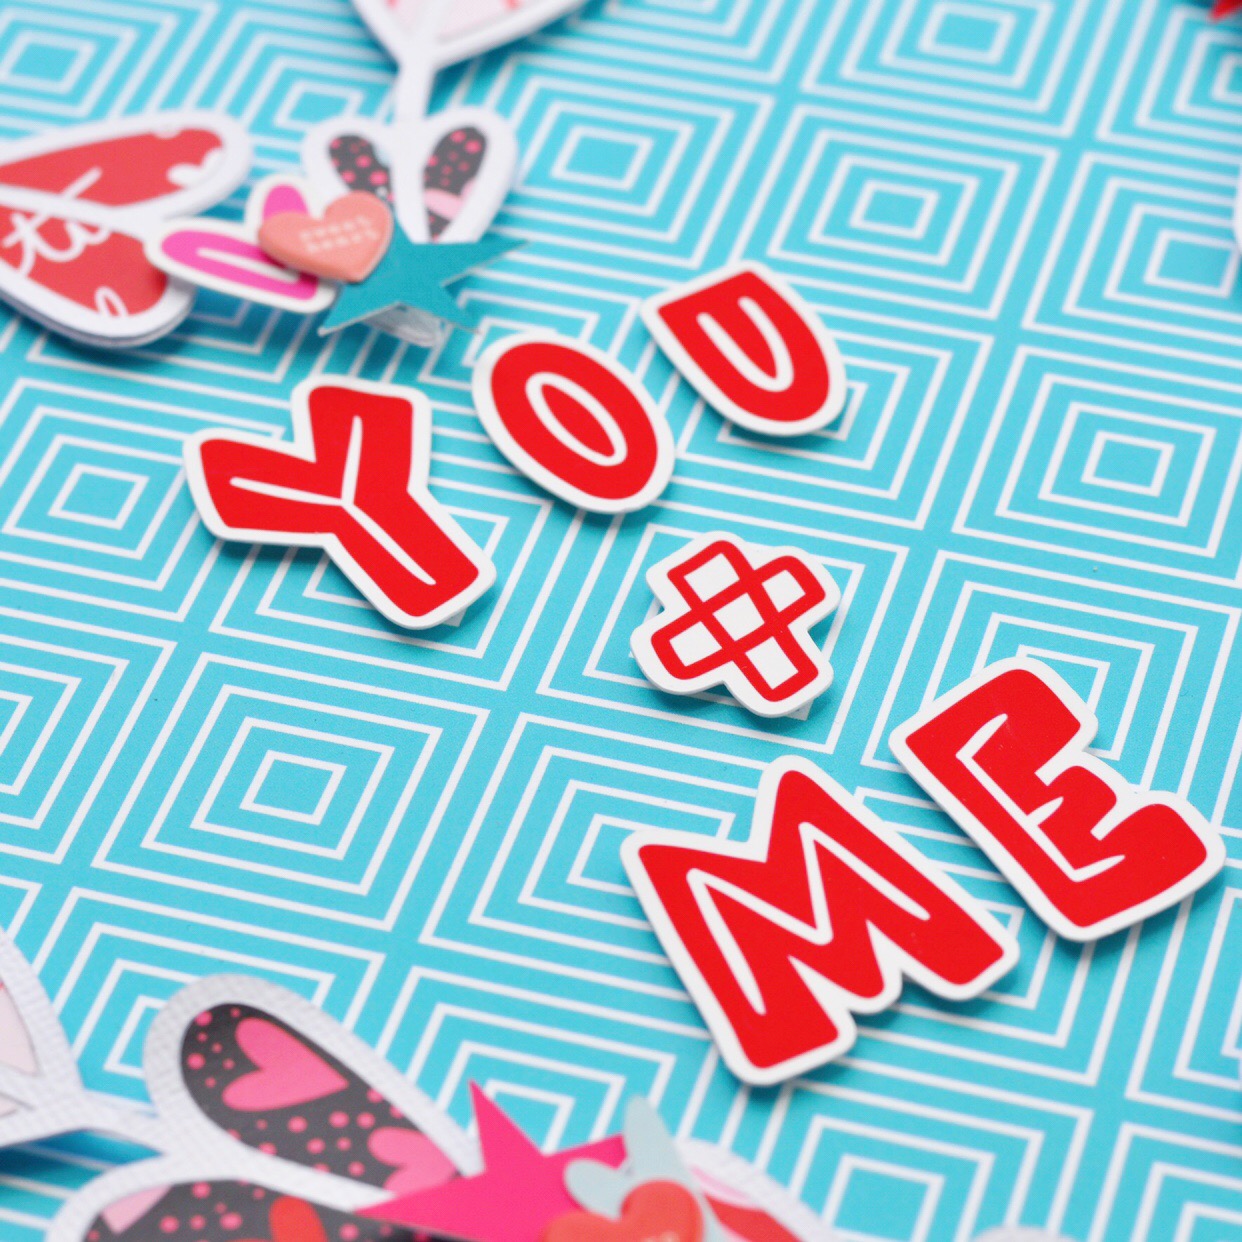
Now if you know me and my style already you will NOT be surprised by the fact that I A. made a card and B. used the strips from the bottom of the 12x12 pattern paper within the YOU + ME kit.  I love them and so far I've been making them with almost every kit since being part of this creative team.

TFC_2

Honestly I usually look back on the card I made the time before and use it as a sketch, so all my cards have the same style, but all so different at the same time, does that make sense?  I'm sure it does.

TFC_2

To make a quick card is SUPER easy, especially with the kits!  Seriously give it a try.  Some pattern and the die cut ephemera and you have yourself a quick and easy card.  Can I also point out that you don't have to make a card to show your love for someone just on one day, share the love any day!


TFC_2

Do you make cards?  I feel like it's not a thing these days, sending handmade cards?  So why not send one to make someones day that little brighter!

Aimee's "GO TO" Sketch

Hi there, it’s Aimee and today I am sharing one of my go to layouts!


2-11-19 1.jpg

I have a confession, sometimes I lose my mojo and don’t want to scrapbook.

Yep I said it. But I have a little secret.

I keep a bunch of “GO TO’S”  in my back pocket.

go to sketch.jpg


Using a sketch is one of my “GO TO’S”. And this particular sketch is one I go to a lot.

Whether I am scrapping 12x12 or 8.5x11, this sketch works perfectly. We all have a ton of 3x4 journaling cards laying around. This is also another good way to use all those extra journaling cards you have laying around.


So, I started with 3, 3x4 journaling cards and 1, 3x4 picture. Now you can configure this anyway you want. You can use more photos if you want, or hey you could use all cards if you wanted.

2.JPG


I started with the 12x12 piece “Supercalifragilitic” Paper cutting out the purple 3x4 card.

Next, I cut a 3x4 piece from the 12x12 “The London Sky”


From the Stationery pack I used the die-cut card “SUPERCALIFRAGILISTIC”. This card is 4x4 and I trimmed it to 3x4.


Ok so now I have all 3 of the journaling cards I plan on using.


I found the photo I wanted to use, in this case it’s a photo of a giant peacock inflatable island {It was one of my birthday presents last year} and I printed it out at 3x4.

3.JPG


I fussed with my cards and photo on my 8.5 x 11 piece of white cardstock {another one of my “go to’s”} and finally decided with this arrangement. I decided that I wanted some dimension on this layout and adhered the photo and the die-cut card with 3-d adhesive foam. The other 2 cards I just adhered with a tape runner straight to the cardstock.

4.JPG


For my embellishments, I used a tiny stapler to attach the 2 cards that were adhered straight to the cardstock. I used the “jolly holiday” die-cut words from the emphemera pack. Which was totally perfect for this layout, since it was my birthday get away!


I rolled some thread between my hands and stuck my die-cut words on top of it for a fun messy thread affect. I then layered 3 word stickers over the journaling card.

5.JPG


To finish my layout, I used a date roller stamp to date the page {another one of my “go to’s”!}


Do you ever use sketch’s when your mojo is struggling?


XOXO, AImee

Lilly's, you + me = banner all year long

Hey guys, welcome back to the blog..

Today’s post is a fun one..

Facetune_15-02-2019-16-53-41.jpg

If I could have Valentine’s Day a few times a year , I totally would.

Facetune_15-02-2019-16-55-50.jpg

Its my favorite holiday of all time ❤️ I love everything about it.. the pinks & reds, the hearts, the candy etc.

So of course today I’m sharing a Vday project using the new YOU + ME collection...


Facetune_15-02-2019-16-55-10.jpg

It’s extremely easy to craft with this beauty.. I created a banner using my cricut and went in with all my goodies from the kit.. I’m obsessed with all the vibrant colors..

Facetune_15-02-2019-16-55-25.jpg

Banners are super fun to create..

Facetune_15-02-2019-16-54-37.jpg

My only issue is I never want to part with them when I’m done hahahahaha!!!

And of course I had to add a shaker to finish it up..

Facetune_15-02-2019-16-54-51.jpg


So what do u guys think?? What fun projects did u create for VDay?? 

Carrie's Sunshine & Snow Project Life Spread

02132019-PL-Snow-Day-01-Final.png

Hello Everybody, Carrie here with a February spread in my Project Life album. I used the gorgeous Practically Perfect Kit and gave it a bit of a love theme for February. We’ve been coated in a bunch on snow here in Seattle the last couple weeks which is not normal, so I wanted to make sure to document some of our snow days. These photos are a little over a week old and we have so much more snow now it’s crazy. The photos from this day in particular are some of my favorites because of the snow and sunshine together, as well as my daughter playing in the yard with one of our dogs.

02132019-PL-Snow-Day-02.png

To begin this spread I quickly decided on using a pocket page of three 4x6 inch photos. I placed the photo of my daughter in the middle and cut two 4x6 inch cards from one of the 12x12 inch floral papers. The floral paper cards I added to the pockets above and below my photo. Next I decided to use two sizes of heart shaped dies and cut a bunch of hearts out of solids sections of paper from some of the planner inserts.

02132019-PL-Snow-Day-04-Final.png

I layered the die cut hearts together on the floral cardstock both above and below my photo. To give them a little dimension I used red line tape at the bottom of each heart and a thin foam adhesive at the top.

02132019-PL-Snow-Day-05-Final.png

As a final touch for this side I used the “superclifragilistic” and “expialidocious” stickers from the sticker sheet and added them with a thin foam adhesive. To give a little more interest I decided to place one on my photo and the other on the paper below.

02132019-PL-Snow-Day-06.png

On the opposite page I started out by adding the “s” and “p” in Pink Paislee Thickers to one of the 2x3 inch photos (it’s a photo of snow), to identify my daughter and our dog. I used the same pink paper as one of the heart dies to fill in the empty space of the “p” because I feel like it makes the letters easier to read and I like the look. To help tell the story of my daughter’s relationship with our dog Ponyo, I also decided to use one of my small heart punches and punched out a heart from one of the same red papers as the other hearts. I used foam adhesive and placed it in between the two initials. To finish off this little 3x4 inch pocket I added the super cute yellow pom pom paperclip from the stationery pack. I love seeing these pom poms stick out of my albums.

02132019-PL-Snow-Day-07.png

Once I had the rest of my photos placed for this 9x12 inch page I added the cute yellow quote card from one of the cut apart sheets in an empty 3x4 inch pocket. I could have left it just like that but thought that the two penguins reminded me of my daughter and Ponyo playing in the snow. Because I didn’t have a lot of space on the card I cut the smallest pair of penguins out of one of the cut apart sheets. I added them to the card with red line tape at the bottom and foam adhesive at the top. To help tell the story of the pair having fun I also placed the “yay” sticker from the sticker sheet, tucking one end under a penguin and popping up the other end with foam adhesive.

02132019-PL-Snow-Day-08.png

I knew I wanted to add journaling to the last 3x4 inch pocket so I cut a notepaper card from one of the planner inserts. Typically I’ll add journaling using my typewriter, but this time decided that the photos told enough of the story that all I wanted to write was a descriptive title and the date. I used the same Pink Paislee Thickers for my text and used the same pink paper to fill in the empty spaces in the letters. To help tie in the floral paper I decided to add the red tulip die cut from the die cut pack, again only popping up the top with foam adhesive and tucking the bottom into the text. Since I thought the sunshine and snow were so pretty together I also placed the “wow” sticker from the sticker sheet above the flower using foam adhesive…..and that’s it!

Thanks so much for taking a look at my project and I’ll see you next time : ) Carrie

02132019-PL-Snow-Day-03.png

Aimee's "You + Me" Layout

Hi everyone, it’s Aimee

you and me .jpg


You guys, I am so excited to be sharing this layout with you.

The You + Me Kit landed on my door step yesterday, and I couldn’t wait to play with it!

ACS_0644.jpg


And I totally went out of my comfort zone with this one. And I am loving it.

ACS_0642.jpg


I used the “You + Me” 12x12 sheet as my base.


ACS_0645.jpg


I die cut the heart garland/wreath with my silhouette and filled it with ALL the papers in the collection.

ACS_0646.jpg


I layered dies cuts, and created my title with pieces from the Emphemera pack


ACS_0641.jpg


How cute is that frame from the Stationery Pack, it fit just perfectly over my photo.

ACS_0643.jpg


I can’t wait to create more with this kit!

ACS_0640.jpg


Do you ever get a kit that your crazy in love with?


XOXO, Aimee

Lilly's Mini Back Pack

Hey guys it’s Lilly,

IMG_6439.jpg

today I am back on the blog with this super cute mini backpack I made with a Lori Whitlock svg file..

IMG_6437.jpg


Using the Practically Perfect collection.. These are cute to add goodies for your pen pals..


IMG_6436.jpg


I received a cricut for Xmas so playing around with cut files have been my obsession lately..

IMG_6438.jpg

That’s all for now.. Happy Crafting you guys 💗

Aimee's "Practically Perfect" selfies

Happy Monday! Aimee here, with a layout using the “Practically Perfect” Kit.

2-4-19_edited-1.jpg


While everybody was watching the Super Bowl yesterday, I was getting my craft on. . .

I created a layout all about me and it was so fun to create. I love a grid layout, with a bunch of selfies!

1.jpg


I started by printing a bunch of snapchat selfies at 1.75x1.75. Once the were printed and trimmed, I started moving pieces around on my paper. The grid that worked best for this 8.5x11 layout was 3 across and 4 down.

2.jpg


I choose to keep my grid even with:


-4 photos

-4 squares of paper

-4 pop up embellishments

3.jpg


Once I was happy with the layout, I snapped a quick photo of it with my phone, so I would remember where I liked everything.

4.jpg


I then divided my paper up, made some pencil marks and then machine stitched my cardstock.

I did the stitching before I adhered anything to the cardstock, this way none of the pop-up embellishments would snag on the presser foot. I really didn’t care if my lines were perfect so I just eyeballed the stitching.

6.jpg


Next, I adhered everything to my cardstock. I used a tape runner for the squares, glue dots for the flair and 3-d adhesive foam for the die cuts.

7.jpg


I really liked the way the layout looked at this point. I was afraid to add any more touches, in fear that it would overdo it, but I went for it. I faux stitched with a black pen around the die cuts. It ended up looking just fine and then I decided to machine stitch a little line on to every square, in different corners.

8.jpg


Sometimes, its super fun to just scrap a page about yourself.


Do you ever scrap those silly snapchat selfies?


By the way who won the Super Bowl? I forgot to even look!


XOXO, Aimee

"You + Me" Collection Full Reveal!!!

Hello there! It's Andrea here, and today I want to share with you a super special new announcement and a new reveal! Are you ready?! Here we go... I have a new collection coming out for Valentine's Day, in collaboration with Johanna Parker! Yay! I'm super excited for this new collection and for the opportunity to collaborate with such a talented, fellow designer! The new collection is called "You + Me," and it is filled with some really beautiful, vintage-inspired designs.

If any of you are familiar with Johanna Parker, you know that she is famous for her iconic vintage holiday decor -- you may have seen some of her seasonal decorations just this last Halloween and Christmas at big stores such as HomeGoods, TJ Maxx, or Marshalls or even at beautiful specialty boutiques like Roger's Gardens. I started collecting her home decor pieces a couple of years ago and I love putting them out for the holidays to add that special vintage whimsy to my house! I especially love her Halloween goodies and her super iconic little black, grinning cat that she does!Anyhow, when I heard she was interested in collaborating with other artists, I jumped at the chance to work with her, and I'm so exciting to introduce the first of hopefully several collaborative efforts from the two of us!

This new collection, aptly named "You + Me" is an Andrea Bethke and Johanna Parker design effort, and because Johanna and I share a love of vintage goodies and all things whimsical and adorable, we worked together to make something really one of a kind and special for all you guys! Now, this collection is a little different than my regular fair...it is not fairytale inspired and technically it’s not under The Fairytale Club heading, but it's still from me to you, and therefore filled with my style and magic PLUS all of Johanna's as well! This was such a fun combination of both of our styles...there is a little of her classic imagery and design, a little of my pixie dusted artistry and charm, and some really cool ideas that we came up with together! I think you are going to love it!

So, let's get started at looking at everything in this new and amazing collection which, may I just add, is absolutely perfect for all your Valentine's Day paper-crafting needs! First, I want to talk to you about the 12x12 patterned paper.  The color scheme is a beautiful, traditional pink and red mixed with black and white and a fun splash of aqua. And the patterns in "You + Me" are a combination of the traditional Valentine's Day hearts and flowers plus fun, fresh and trendy imagery like unicorns, balloons, and even some dancing cats and dogs!

The first paper here, “You’re Magical,” is one of my favorites from this collection.  Can you guess why?  Could it be the Valentine unicorns?!  Why yes, yes it could be.  I am in LOVE with the unicorn, heart, and shooting star pattern, and I also love the ledger print on the other side that is being slowly overtaken by a rising tide of oh so pretty pink!

01 - You're Magical.jpg

The next paper, “Sweetheart,” is aptly named, as it has a lovely and romantic pattern of hearts of various shapes and designs on one side, and a repeating brush script word pattern on the other reading, “xoxo always sweetie.”  I love the use of the traditional Valentine’s Day pinks and reds in this paper!

02 - Sweetheart.jpg

The next pattern, “Luv U,” is another one of my favorites as the front makes use of a very bold, black background behind a confetti shower of different-colored hearts and small pink dots.  And on the other side is a fantastic, fun and playful pattern of balloons spelling out L U V in the main colors of this collection - pink, red, and aqua.

03 - Luv U.jpg

The next paper, “Darling,” is another one that I adore!  The front side is a gorgeous pattern of pink roses on a striking, black background, while on the other side is a large black and white polka dot pattern. I love a good polka dot!

04 - Darling.jpg

This next pattern is so special! It i called "Over the Moon" and it is aptly named! It has a super cute smiling crescent moon with a heart and arrows on one side of the 12x12 and on the other is a very cool happy heart face pattern with various hearts and various fun expressions!

05 - Over the Moon 4 U.jpg

This next pattern is called "You + Me" and it may be my absolute favorite in the collection...although I have so many! This patterned paper is named for the collection itself and on the front of the 12x12 we have a fantastic and beautiful multi-pattern of various Valentine's Day images...there is a cute little boy and girl in love, some fun conversation hearts, the number 14, and some choice happy heart day words like "kiss me", "cute", "hey sweetie", "xoxo", and of course "happy Valentine's day"! On the opposite side of the page is a simple but versatile aqua geometric. 

Here we have a really amazing patterned paper called "You're My Favorite" which is also ridiculously adorable! On the front of the page we have a super cute dancing cat and dog pattern...they are clearly celebrating Valentine's Day together! And on the back there is a sweet vintage pink and red pattern that kinda reminds me of stars.

And then there are our cut-apart sheets... I always love a good cut-apart sheet! This first one is called "Be Mine" and it is filled with fun goodies to cut out and use for your scrapbooking, planning, cardmaking, home decor...really any of your papercrafting needs! We have 3x4's and 2x2's and tags one one side and on the other is a great aqua monochrome heart pattern. I have a lot of favorites in this cut-apart sheet...but I think I am especially smitten with the cute dancing kitty card and the fabulous BINGO piece!

08 - Be Mine.jpg

And finally, our last 12x12 is another cut-apart sheet called "xoxo" and it is just chock-ful of 3x4's! I think my faves are the "xoxo" girl and boy cards, the "happy valentine's day" kitty, the crescent moon and the lovebirds! Oh...I love the "You + Me" card too! Okay, okay...I may love them all...lol! And on the back of the 12x12 is a simple and versatile black and white stripe which is just bold and beautiful!

Alright, now that we have gone over the patterned papers in the collection, I think we should switch gears and take a look at the gorgeous embellishments that come in "You + Me"...such as our ephemera pack.  I love ephemera, don't you?! It is just so great for so many things!  And this ephemera pack is spectacular!  It is filled with love and magic and vintage whimsy!  There are tons of hearts -- heart faces, conversation hearts, lacey hearts, love-y hearts, other decorative hearts...both big and small!  We definitely have you covered in the heart department! And there are so many other beautiful die-cuts in this epherma pack that you are just going to love!  I especially love the big-eyed pink haired girl with the little Valentine hat, the beautiful rose, and the two adorable lady bugs!

And next, let's talk about the sweet sticker sheet that comes in the "You + Me" collection.  We have several conversation hearts that say things like "sweet", "dear" and "be mine". There are other hearts of course and an arrow too. And we also have little label words and  brushscript words that say things like "huuugs" and "always" and "love". PLUS there are some really amazing postage stamp sitckers which are super cool and perfect to place on your Valentine's Day card envelopes! I think my fave though might be that adorable and simple little envelope sticker...it's just too cute!

And next is our stationary pack. I love this pack of goodies!  It has some really amazing pieces in it that are so cool and intricate! I love the Valentine's Day cards like the lovebirds card with the scallop, the "You + Me" boy and girl card, and the "happy Valentine's Day" card with the smiley black cat! I also love the cute decorative tags, especially the cut out "xoxo" one! But my favorite thing in the pack might bee the fabulous little picture frames which are just perfect for a photo of you and the one you love!

Alright, now that we have looked at all the 12x12 patterned papers in the collection, and all the different embellishments in the collection, aren't we missing something?...oh, that's right, the ridiculously beautiful and adorable and magical decorative planner pages that come in the collection! These come in a 6x8.25 size, perfect for a planner, but they can also be used for a mini album, a traditional scrapbook, a banner, some cards, to frame and put up as decoration...really, I have seen our customers use these gorgeous pages for so many things, and they always look fabulous! 

First, let's look at this planner page with the quote on it "I will love you..." It reads, "I will love you my dear and oh so sweet, sweetheart, forever and always, and then some more after that!" I love that!  It is so true and so beautiful! And it's visually pleasing too as a pretty, monochromatic aqua on aqua. And on the other side of the page is a lovely pink rose, and it says "always".

Next we have a planner page that is definitely a favorite of mine!  I just love that dancing, vintage kitty and puppy (so iconic of JP by the way)! And on the other side, a pretty pink and red quote that says "will you be mine, sweet Valentine?".

This next page is anothe one of my favorites! I love both sides so much!  The lovebirds are so sweet! And on the other side is our big and bright eyed Valentine girl...and she is covered in hearts -- on her hat, on her collar, her dress, her cheek and even in her eyes!  She is in love for sure!

The next planner page has a wide-eyed kitty completely decked out for Valentine’s Day, with a heart collar, hearts on her back and belly, and sporting a “Happy Valentine’s Day!” message. And hearts for eyes, too! And on the other side is the beautiful script word “Love” in front of a heart.

This next planner page is another one of my favorites because it features two extremely cute lady bugs in the JP style with the “Be Mine” Valentine’s Day message on one side and a framed heart face with an awesome black and white stripe background on the other.

I love this next planner page because of the amazing moon with heart and arrows graphic on the one side. The moon is one of my favorite designs in this collection and is perfectly iconic of the JP style. The other side is also great for the “February 14th” graphic.

Now, I know I say this about a lot of the paper, but this next planner might actually be my favorite. I love the Valentine’s Day girl and boy in love sooo much, and this design is also the inspiration for the title of the collection - “You + Me.” And the back with its calendar is both beautiful and functional. I love it!

And finally we have the fabulous L U V balloons planner page with the amazing red unicorn on the other side.

08.jpg

Well, I guess that’s it! I am really in love with the collection, and I hope you are, too, at this point. It is so playful and whimsical! It was a great experience collaborating with Johanna Parker, and I’m looking forward to doing it again soon. This collection is available to purchase now, so head on over to the kit shop page and get yours today!

Xoxo — Andrea Bethke

Founder/Owner/Designer

The Fairytale Club