Hey everyone! Tiffany here with a fun tag banner project using the Everyday Wishes kit.

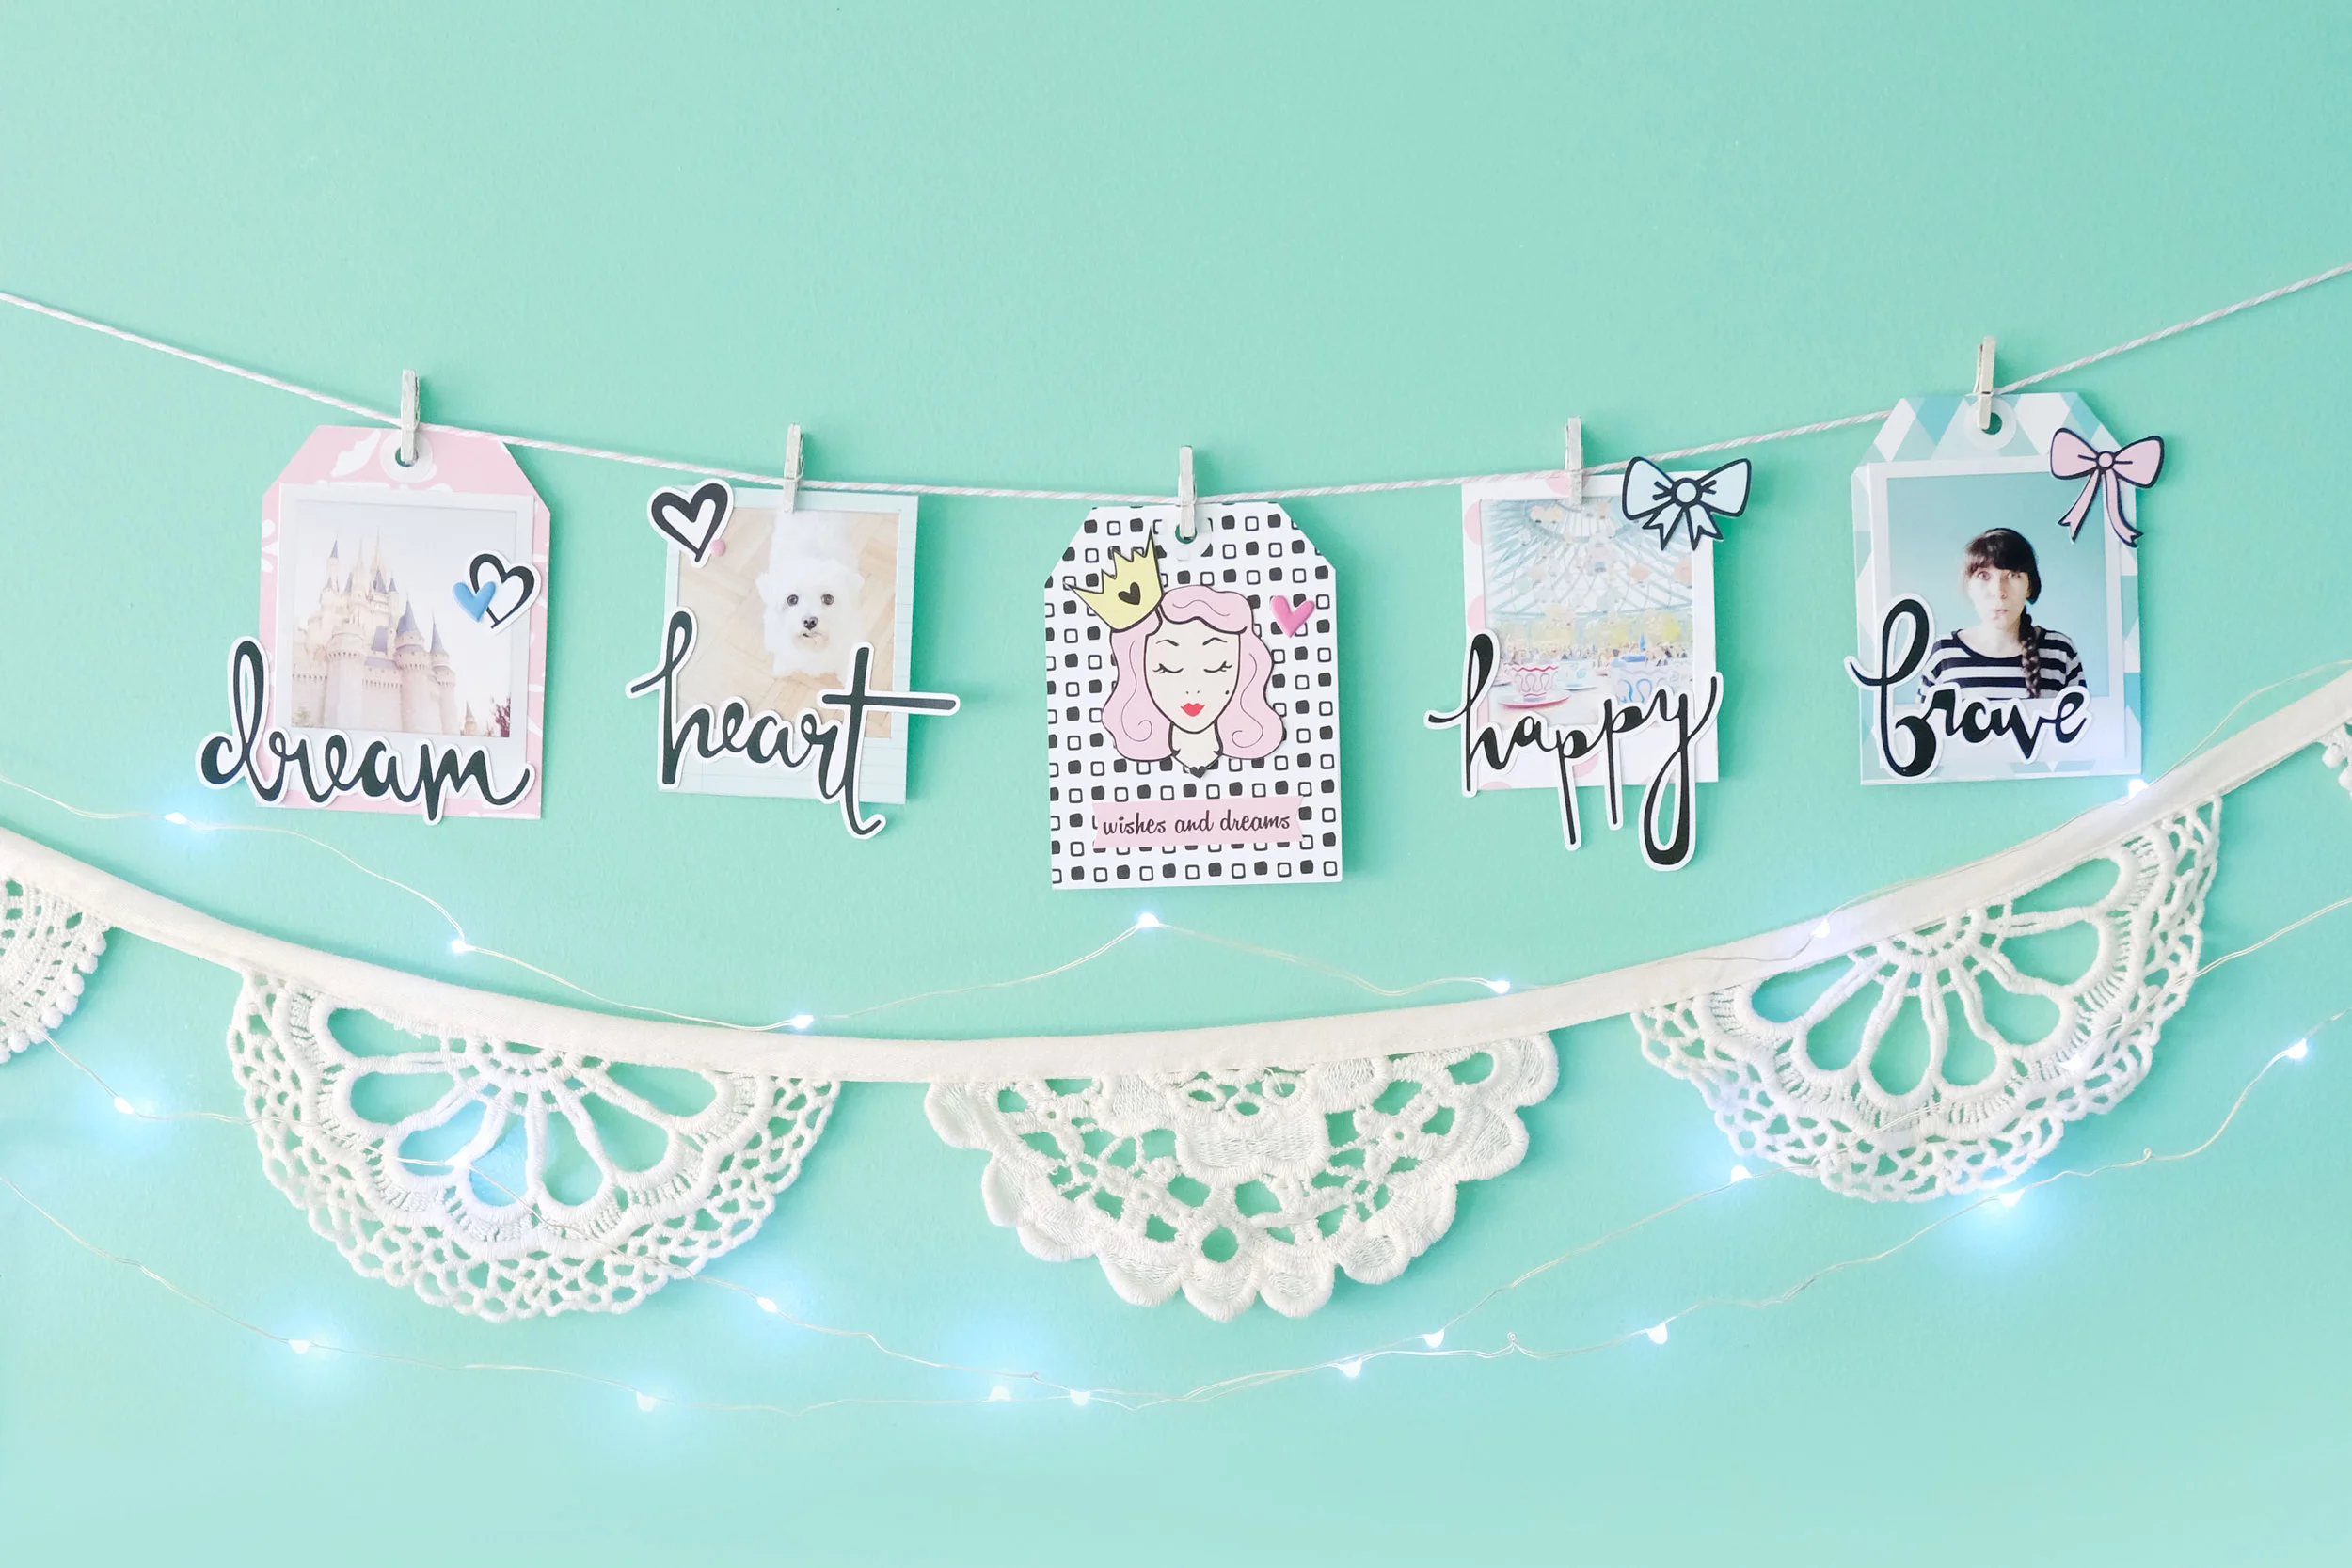
I wanted to do a different sort of project this time that not only you can use to document your life, but easily display it in your home as well to inspire you always. So I had a lot of fun creating this little banner from a few tags I made from the pattern papers. I even made these cute little polaroid frames to frame my photos and hang from the banner as well. I’m planning to display this banner over my dresser, so I can always see it and be inspired by it everyday.

Before I strung everything on to a pink and white baker’s twine, I had to make each tag. I first printed out four photos I wanted to use on my banner and looking through the word die cuts from the kit, I pulled out words that I felt corresponded to each photo well. For my first tag, I used a photo of Cinderella’s castle at Disney World and the word “dream.” Disney for me is where dreams come alive and I felt it was so appropriate to use on this project with the Everyday Wishes kit.
I printed out my photo to already have a little white polaroid frame around it. Separately, I cut out a tag from one of the pattern papers to back my photo on. I then layered the “dream” die cut over it so that a bit of the word hung off the edge. I kept these tags simple, so I embellished it with a black and white heart die cut and a blue puffy heart sticker from the Take Note kit, before punching a hole at the top of the tag, reinforcing it with a white reinforcement sticker to make it look like a real tag. I attached it to my string with a mini wood clothesline pin that I painted white.
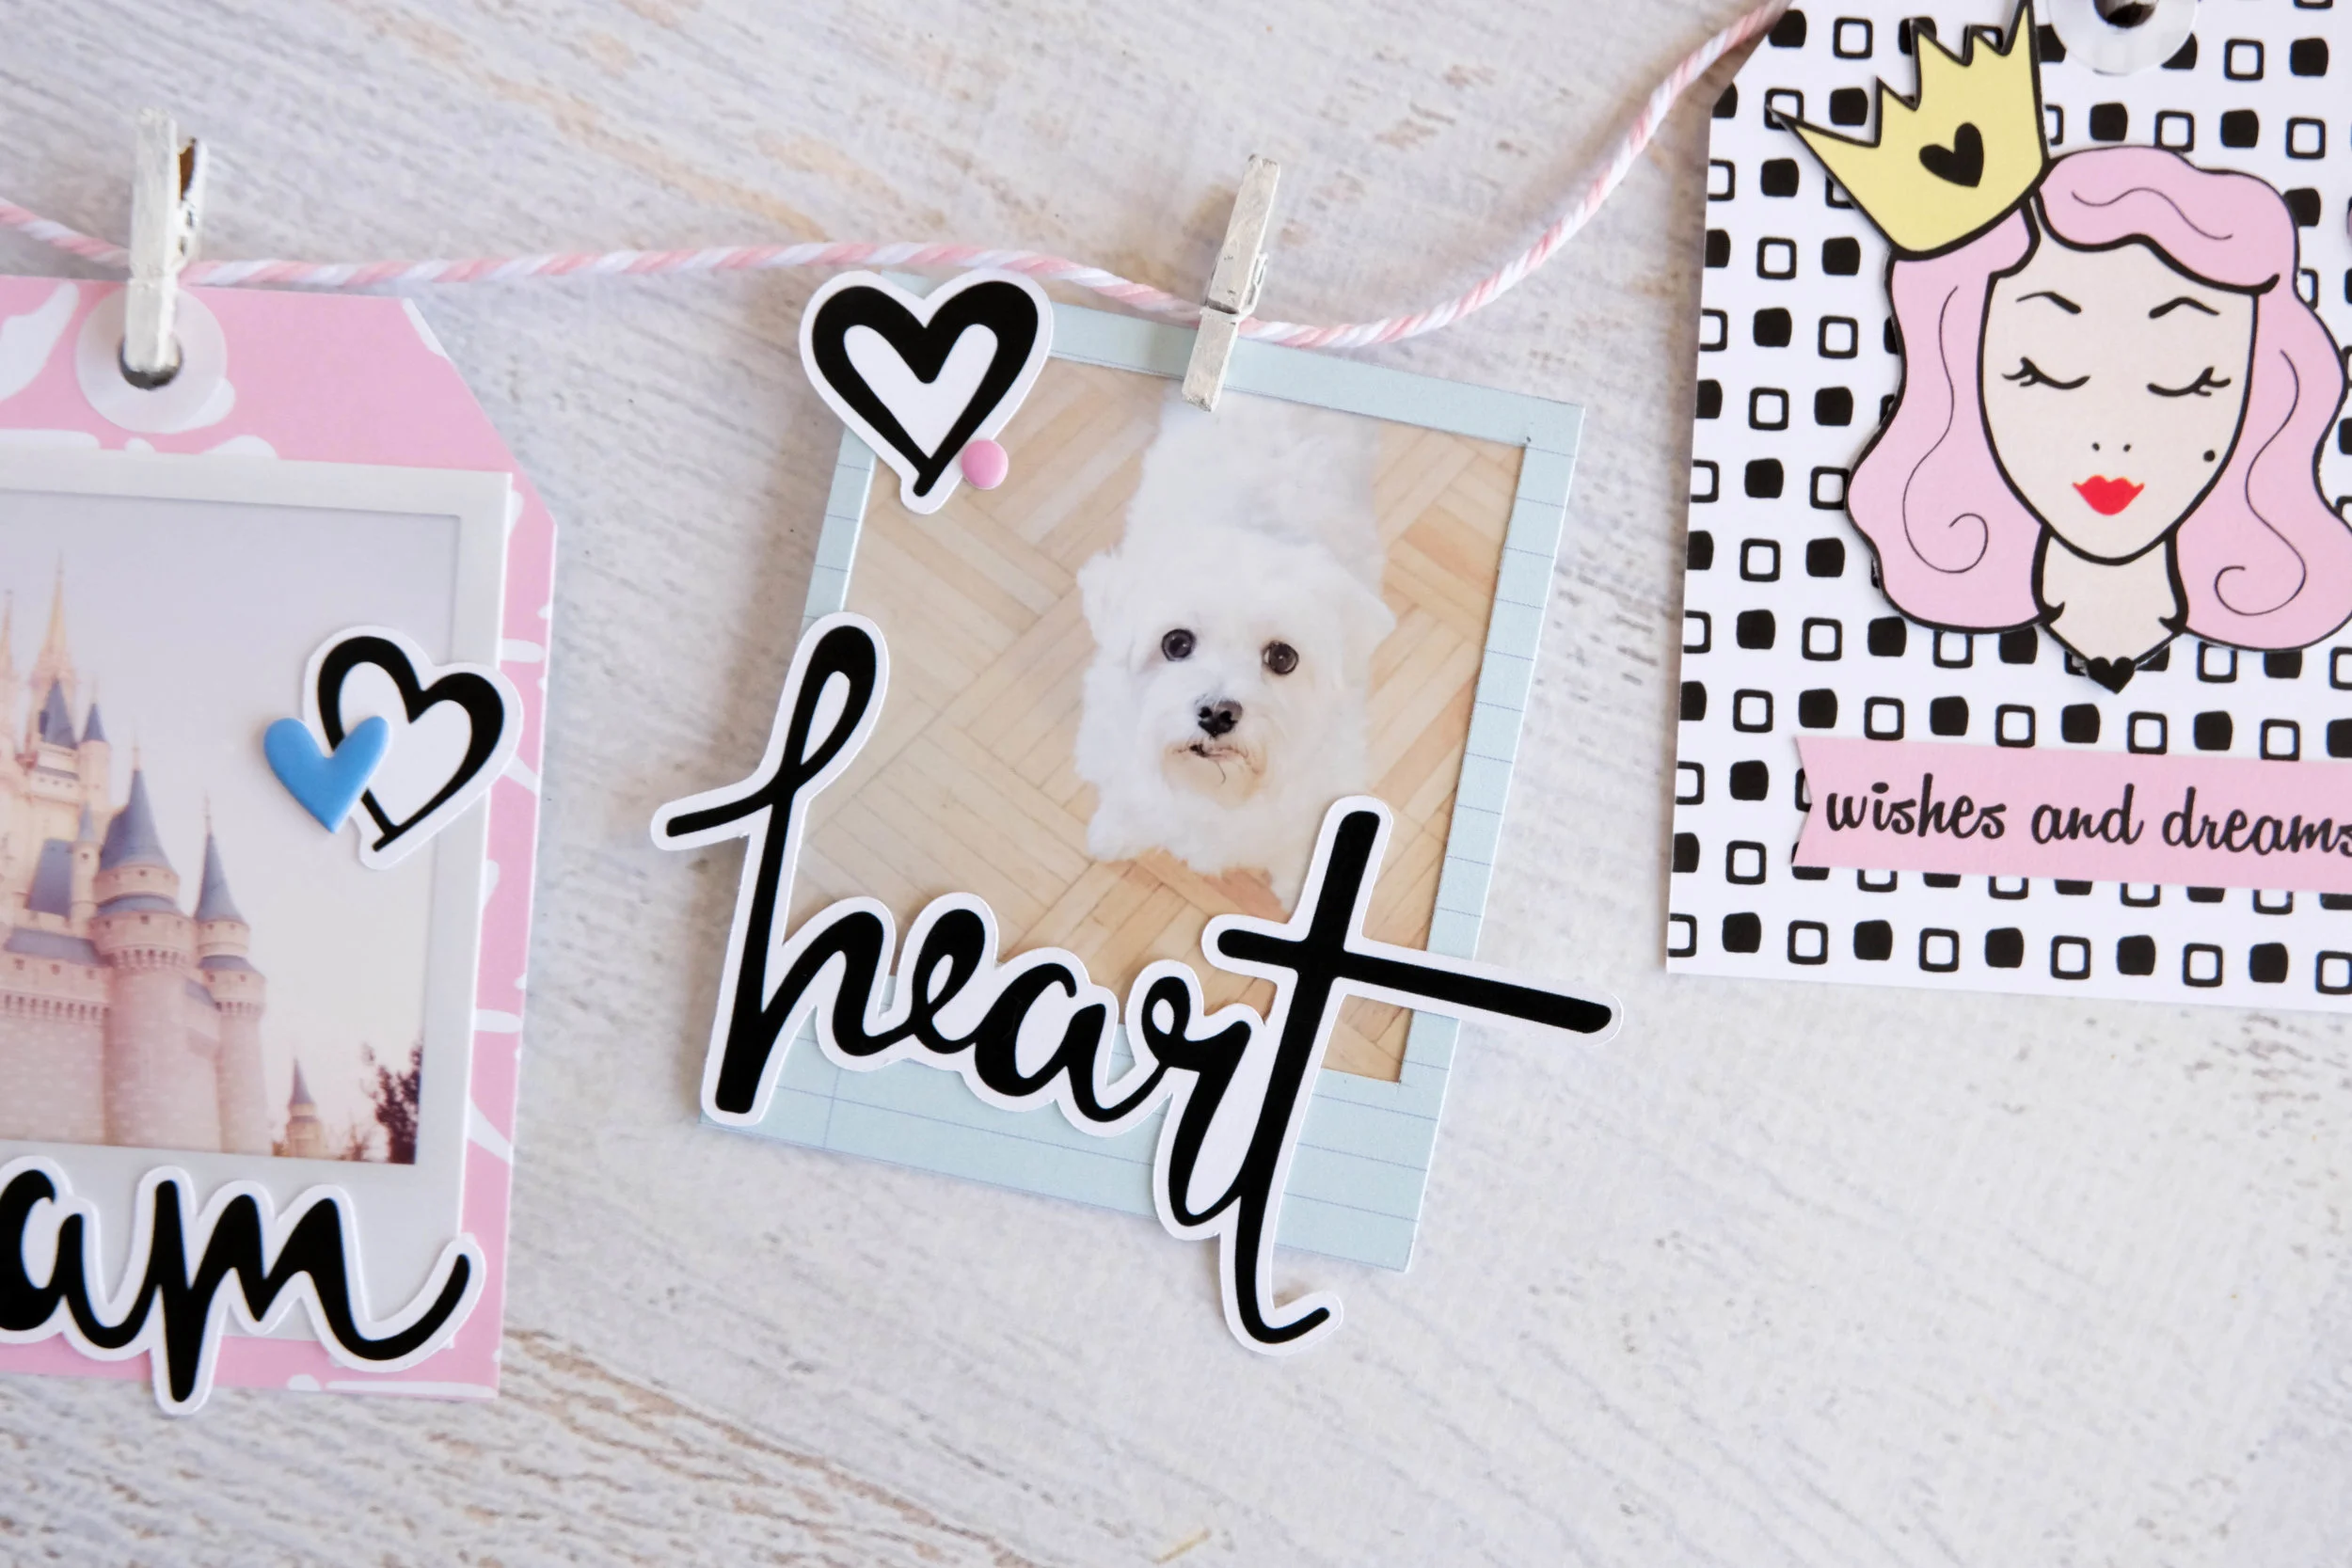
For my second “tag,” I cut out a polaroid frame from one of the papers to frame a photo of my dog Joey. I paired his photo with the word “heart” because I just love him so much and he’s a huge part of my life and my heart. I layered the die cut over the frame the same way I did with the previous tag, so a bit of the word hangs off the edge, then embellished the polaroid with another black and white heart die cut and a pink puffy dot sticker from the Take Note kit. I then hung it on my string with another white painted wood clothesline pin.

I repeated the tag process with this third tag, using this black and white square pattern from one of the planner dividers. Yet, instead of using a photograph, I fussy cut the princess image from one of the other dividers and pasted her in the center of the tag along with the “wishes and dreams” die cut that I cut into a banner. I embellished the tag with another puffy heart sticker, this time in pink.

For the fourth tag, I created another polaroid frame using the pink polka dot pattern paper. For this one, I used a photo of the Mad Hatter Tea Cups at Disneyland Paris and matched it with the word “happy.” This is by far one of my favorite rides at any of the Disney parks as it never fails to make me laugh. It is just the happiest ride ever. I wanted my banner to remind me to always be happy, so I thought this was the perfect way. I embellished this frame with one of the powder blue bow die cuts from the kit, so that it balanced out the pink.
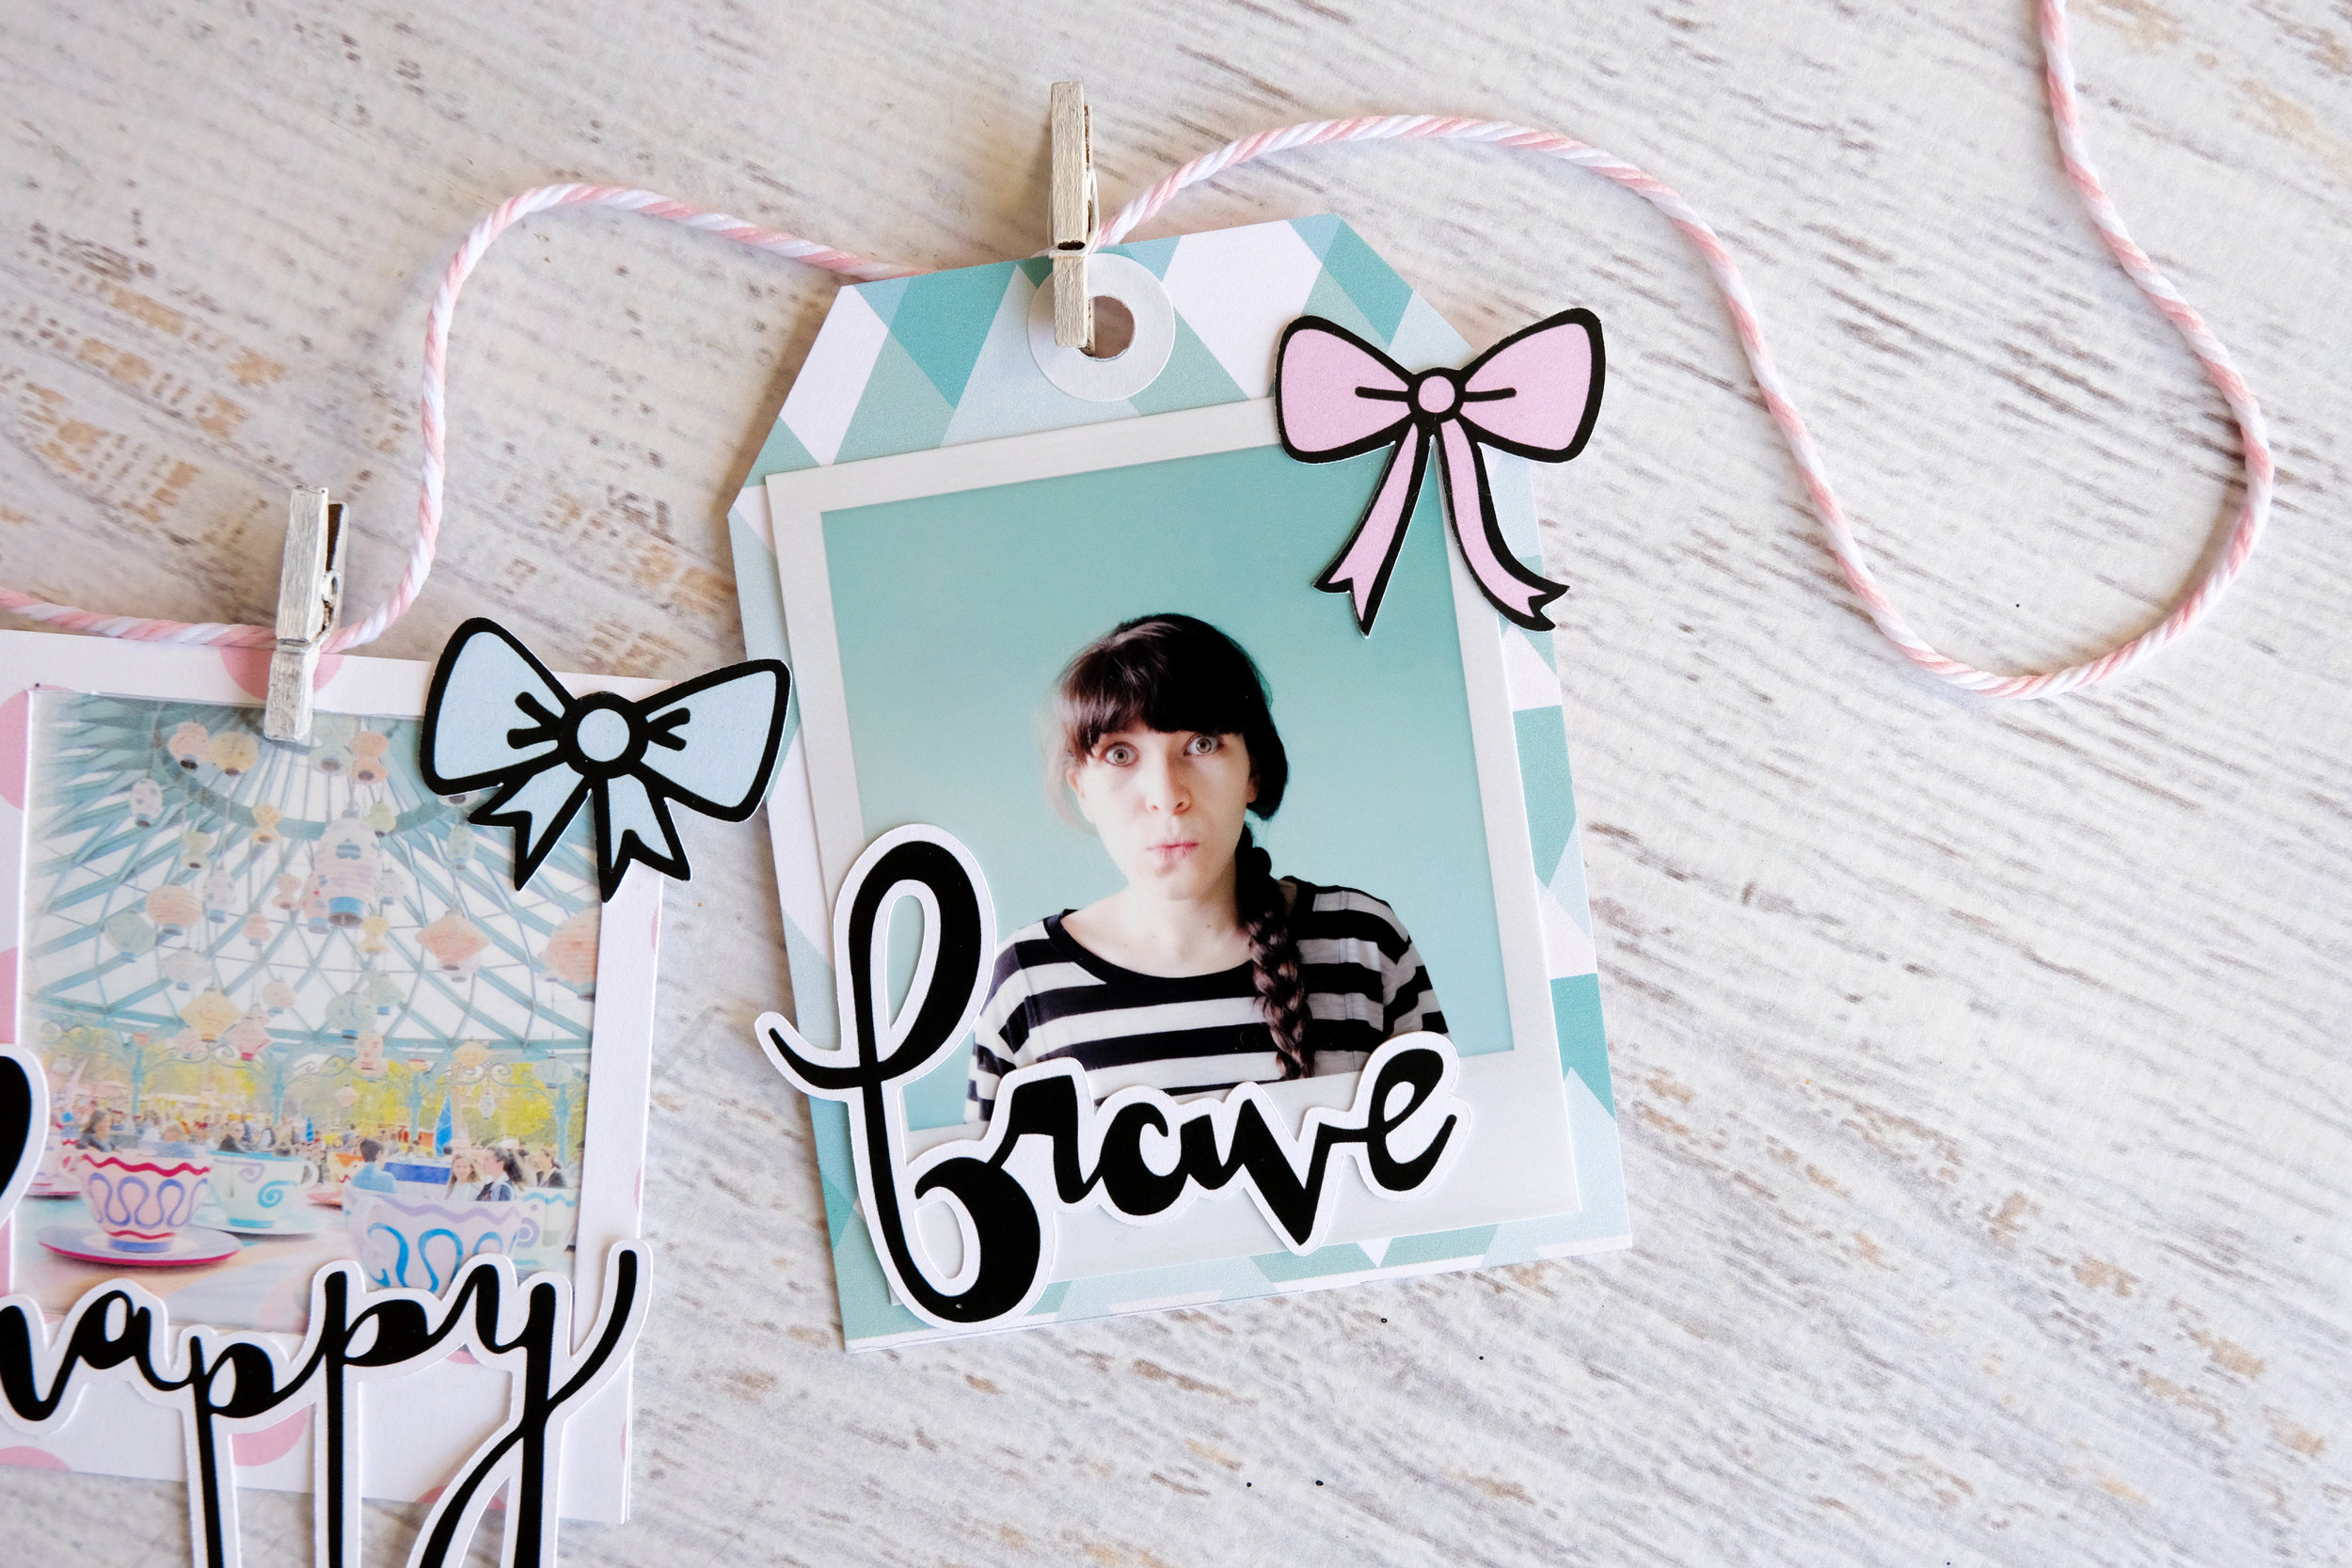
I made my last tag the same way I made the first one. I printed a photo of myself with a white polaroid frame around it and paired it with the word “brave.” I always strive to be more brave with my life, so again, this was the perfect reminder of that. Since I cut the tag from this minty blue pattern paper, I ended up embellishing it with a pink bow die cut to bring in a bit of the pink color to the tag. This particular tag is very mint/blue in color, so adding a little touch of pink helped it balance out.
I hope you enjoyed this simple cute little banner and that it inspires you to create your own!