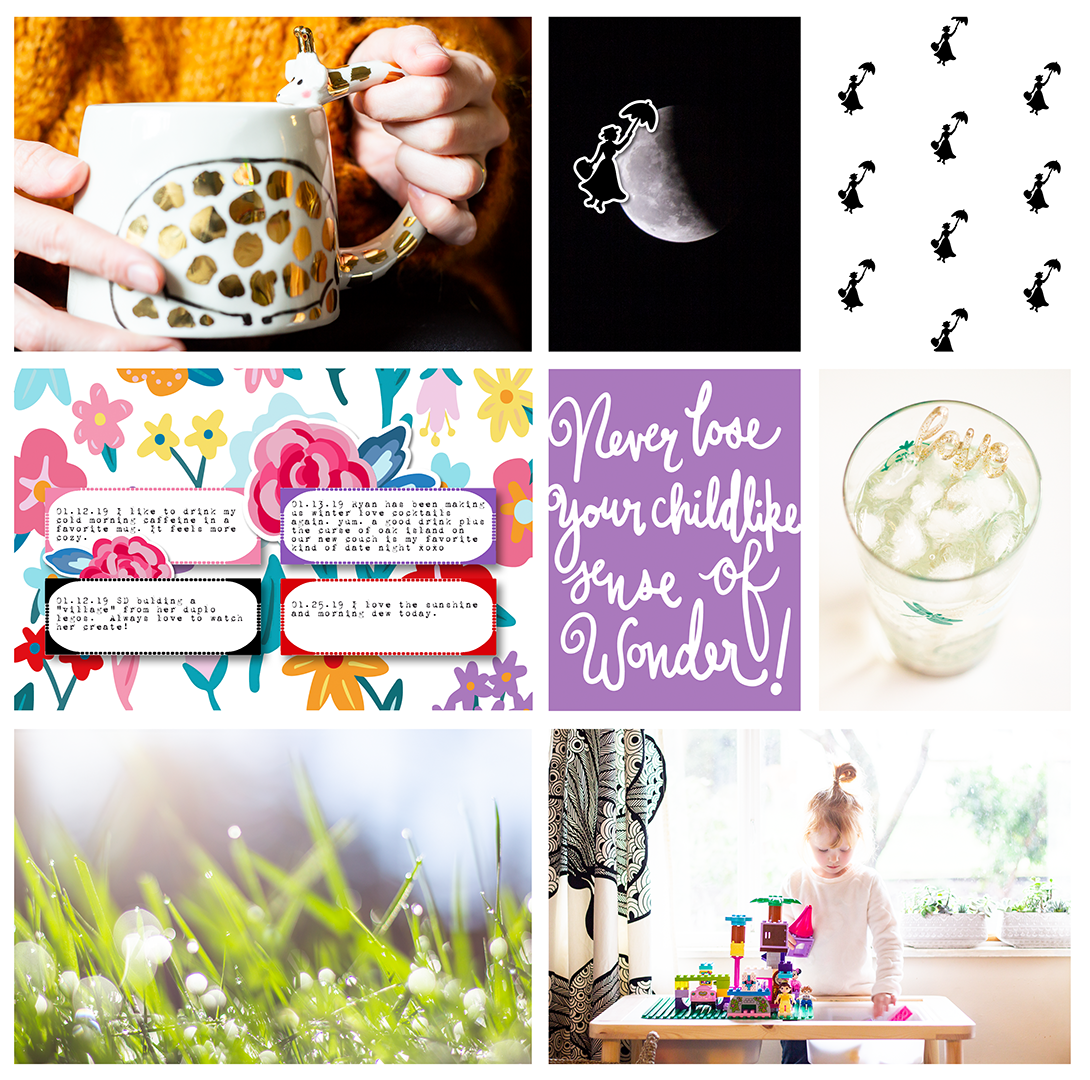
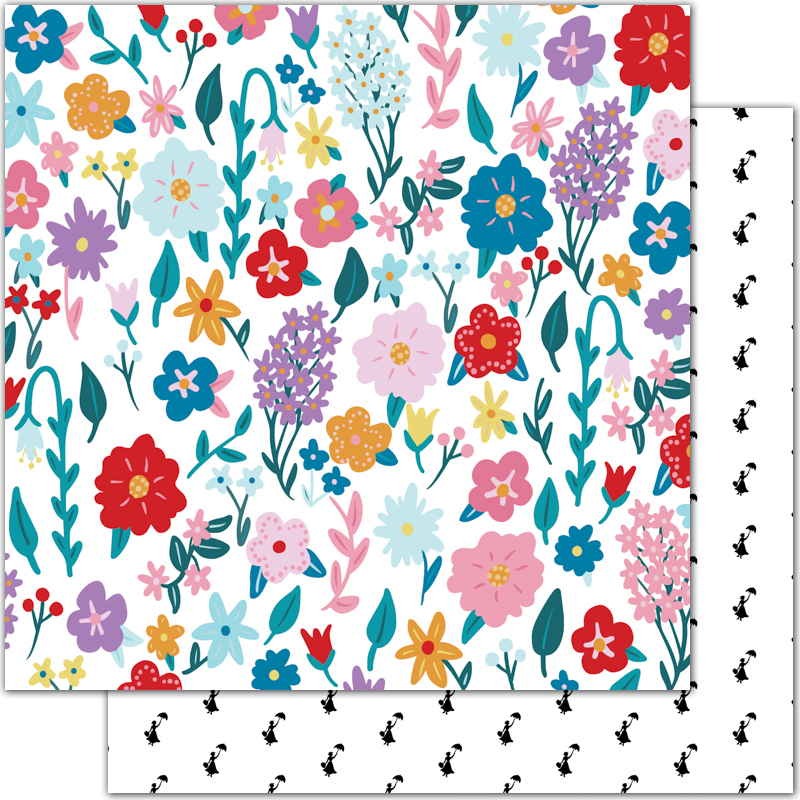
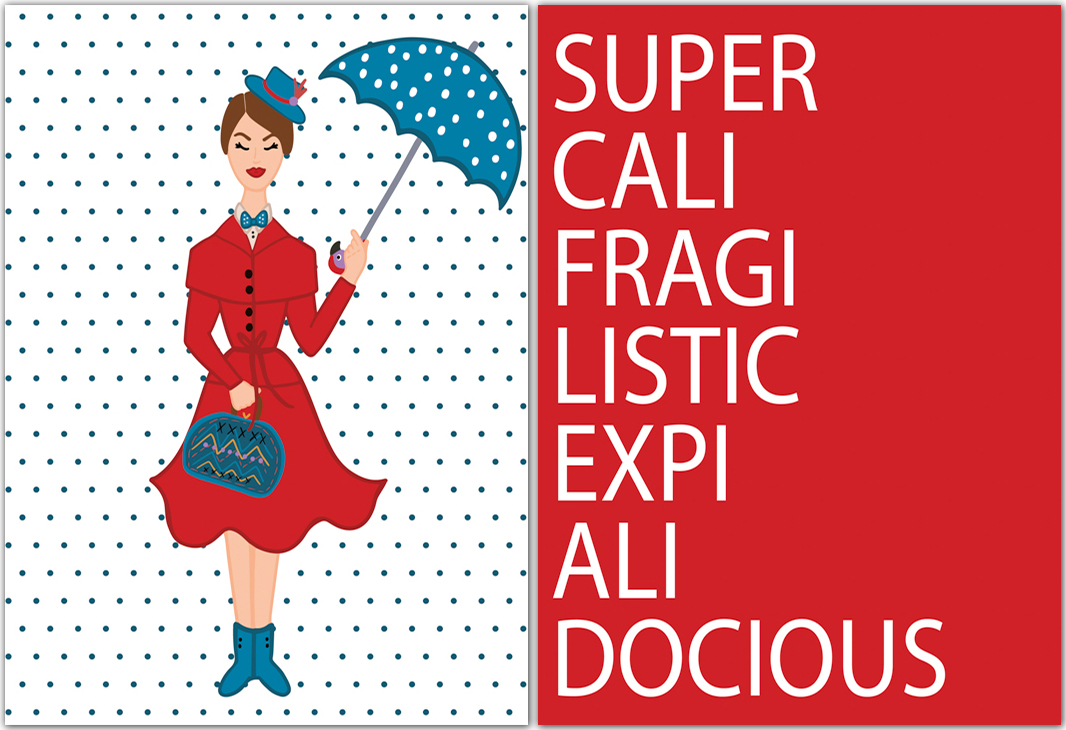
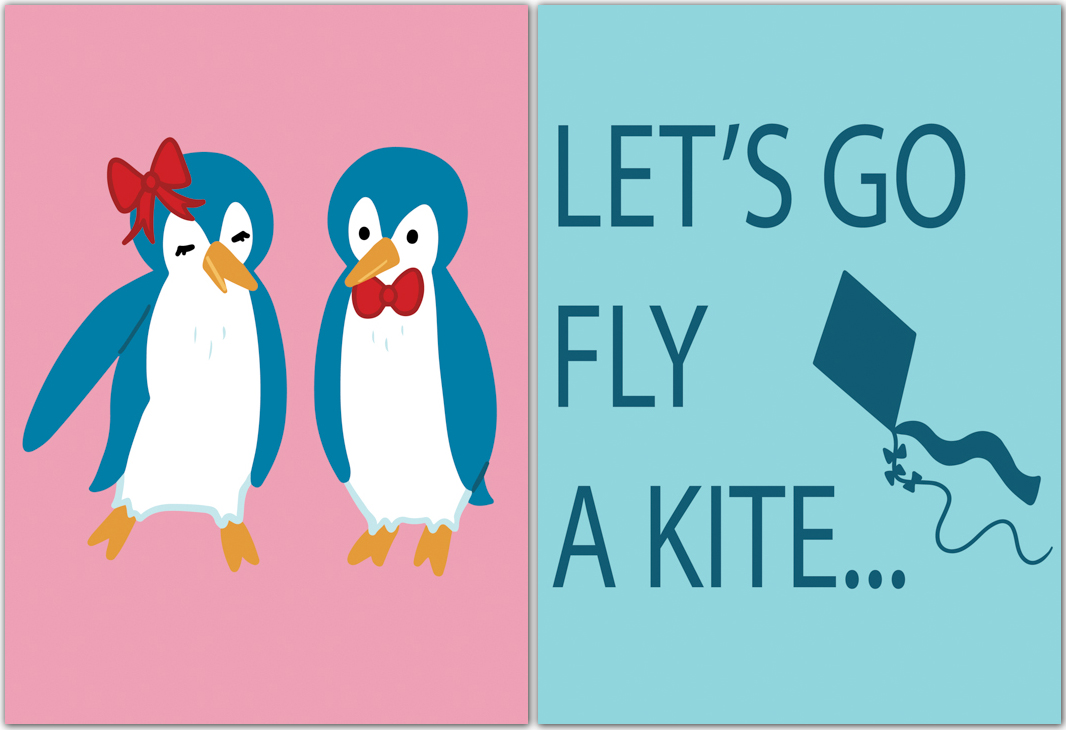
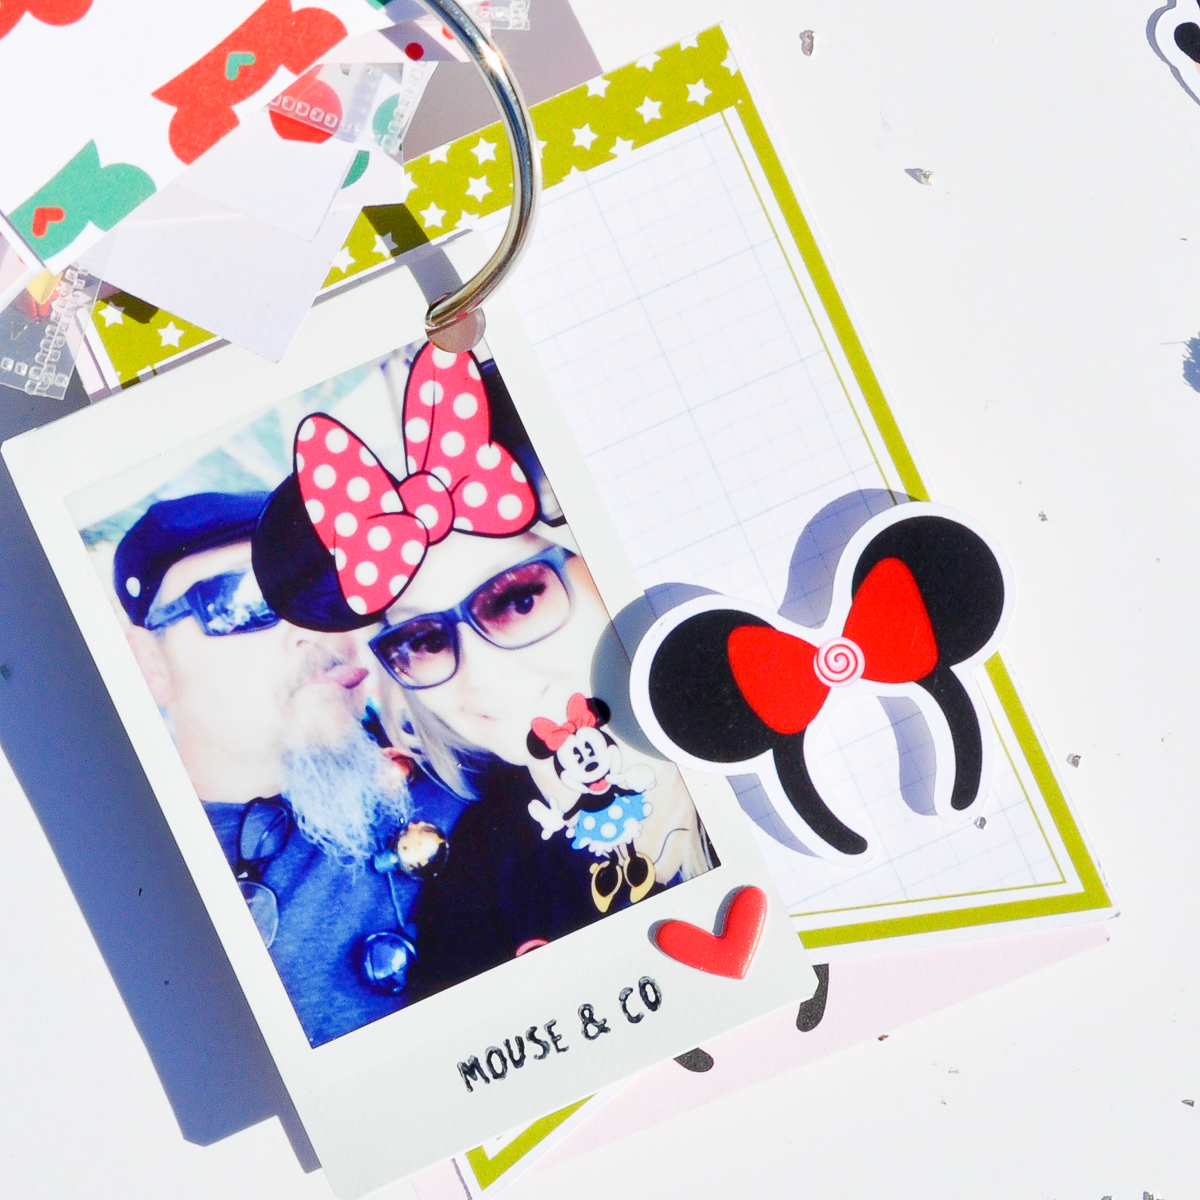
Hello there, everyone! It is Andrea here, and today I am so excited to share with you a sneak peek at our brand new collection, "Practically Perfect!!!” It is a magical and gorgeous collection inspired by Disney's new movie, Mary Poppins Returns (and also, the original, 1960’s Mary Poppins). The Mary Poppins movies are classic Disney at its best, full of whimsy, magic, and imagination (not to mention dancing penguins, racing carousel horses, and one extremely smartly-dressed English nanny), and I think “Practically Perfect” is an exciting extension of that tradition.
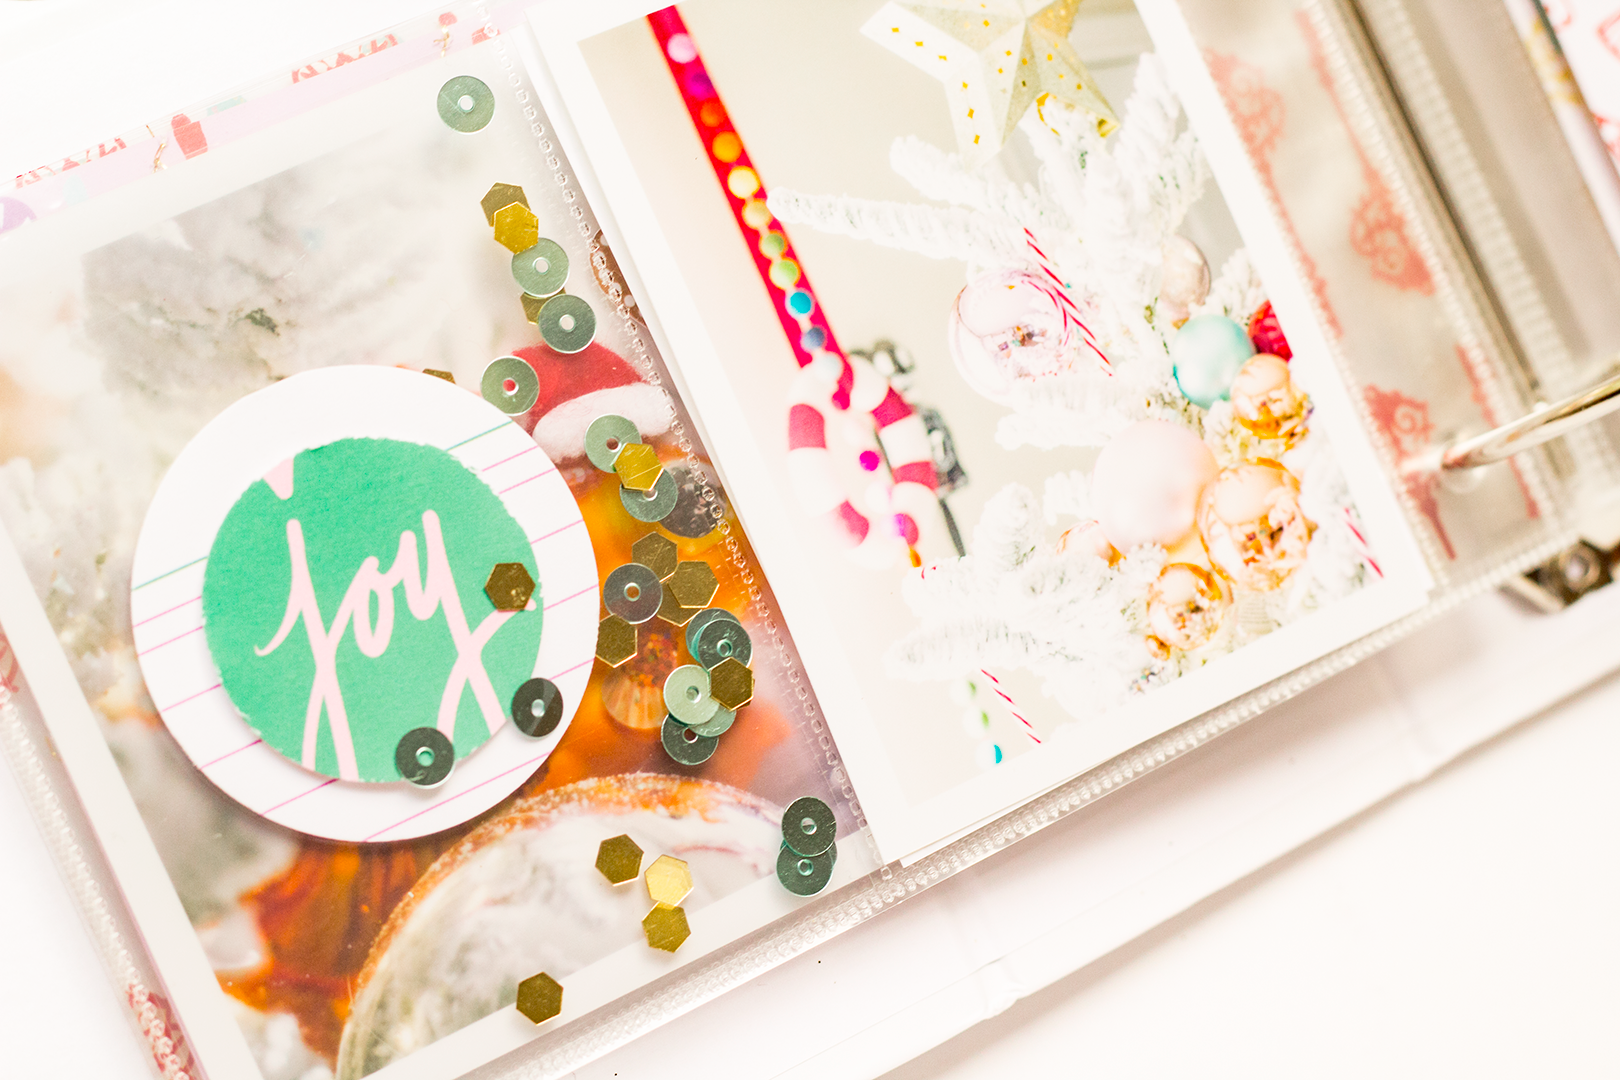
As per usual, along with the fairytale whimsy that I like to bring to all of my collections, there is also a lot of vintage inspiration, and you will see both of those things in the patterns and the embellishments of "Practically Perfect."
I am so excited about this collection, as always, but I think “Practically Pefect,” in particular, exemplifies the core ideals of The Fairytale Club - “all about the magic and the whimsy of fairytales, being kind and supportive, making you feel good about yourself, and making your creative dreams come true!”
So get ready to purchase your "Practically Perfect" collection! We will begin taking pre-orders this coming week at some point (after the full reveal), and kits will begin shipping by the beginning of the following week.
I hope you have enjoyed this sneak peek, and please stay tuned to see all that our new collection, "Practically Perfect," has to offer to help make all crafty dreams come true!