
Hi everyone, it’s Aimee and today I have a step by step tutorial making these cute envelope pockets, using the “Practically Perfect” Kit!

I absolutely loved these 3 papers from the “Practically Perfect” Kit. Since the patterns are a little bit big for me {I personally like when a pattern is shrunk down when I scrapbook, just my personal preference} I found an alternative idea for me to use them.

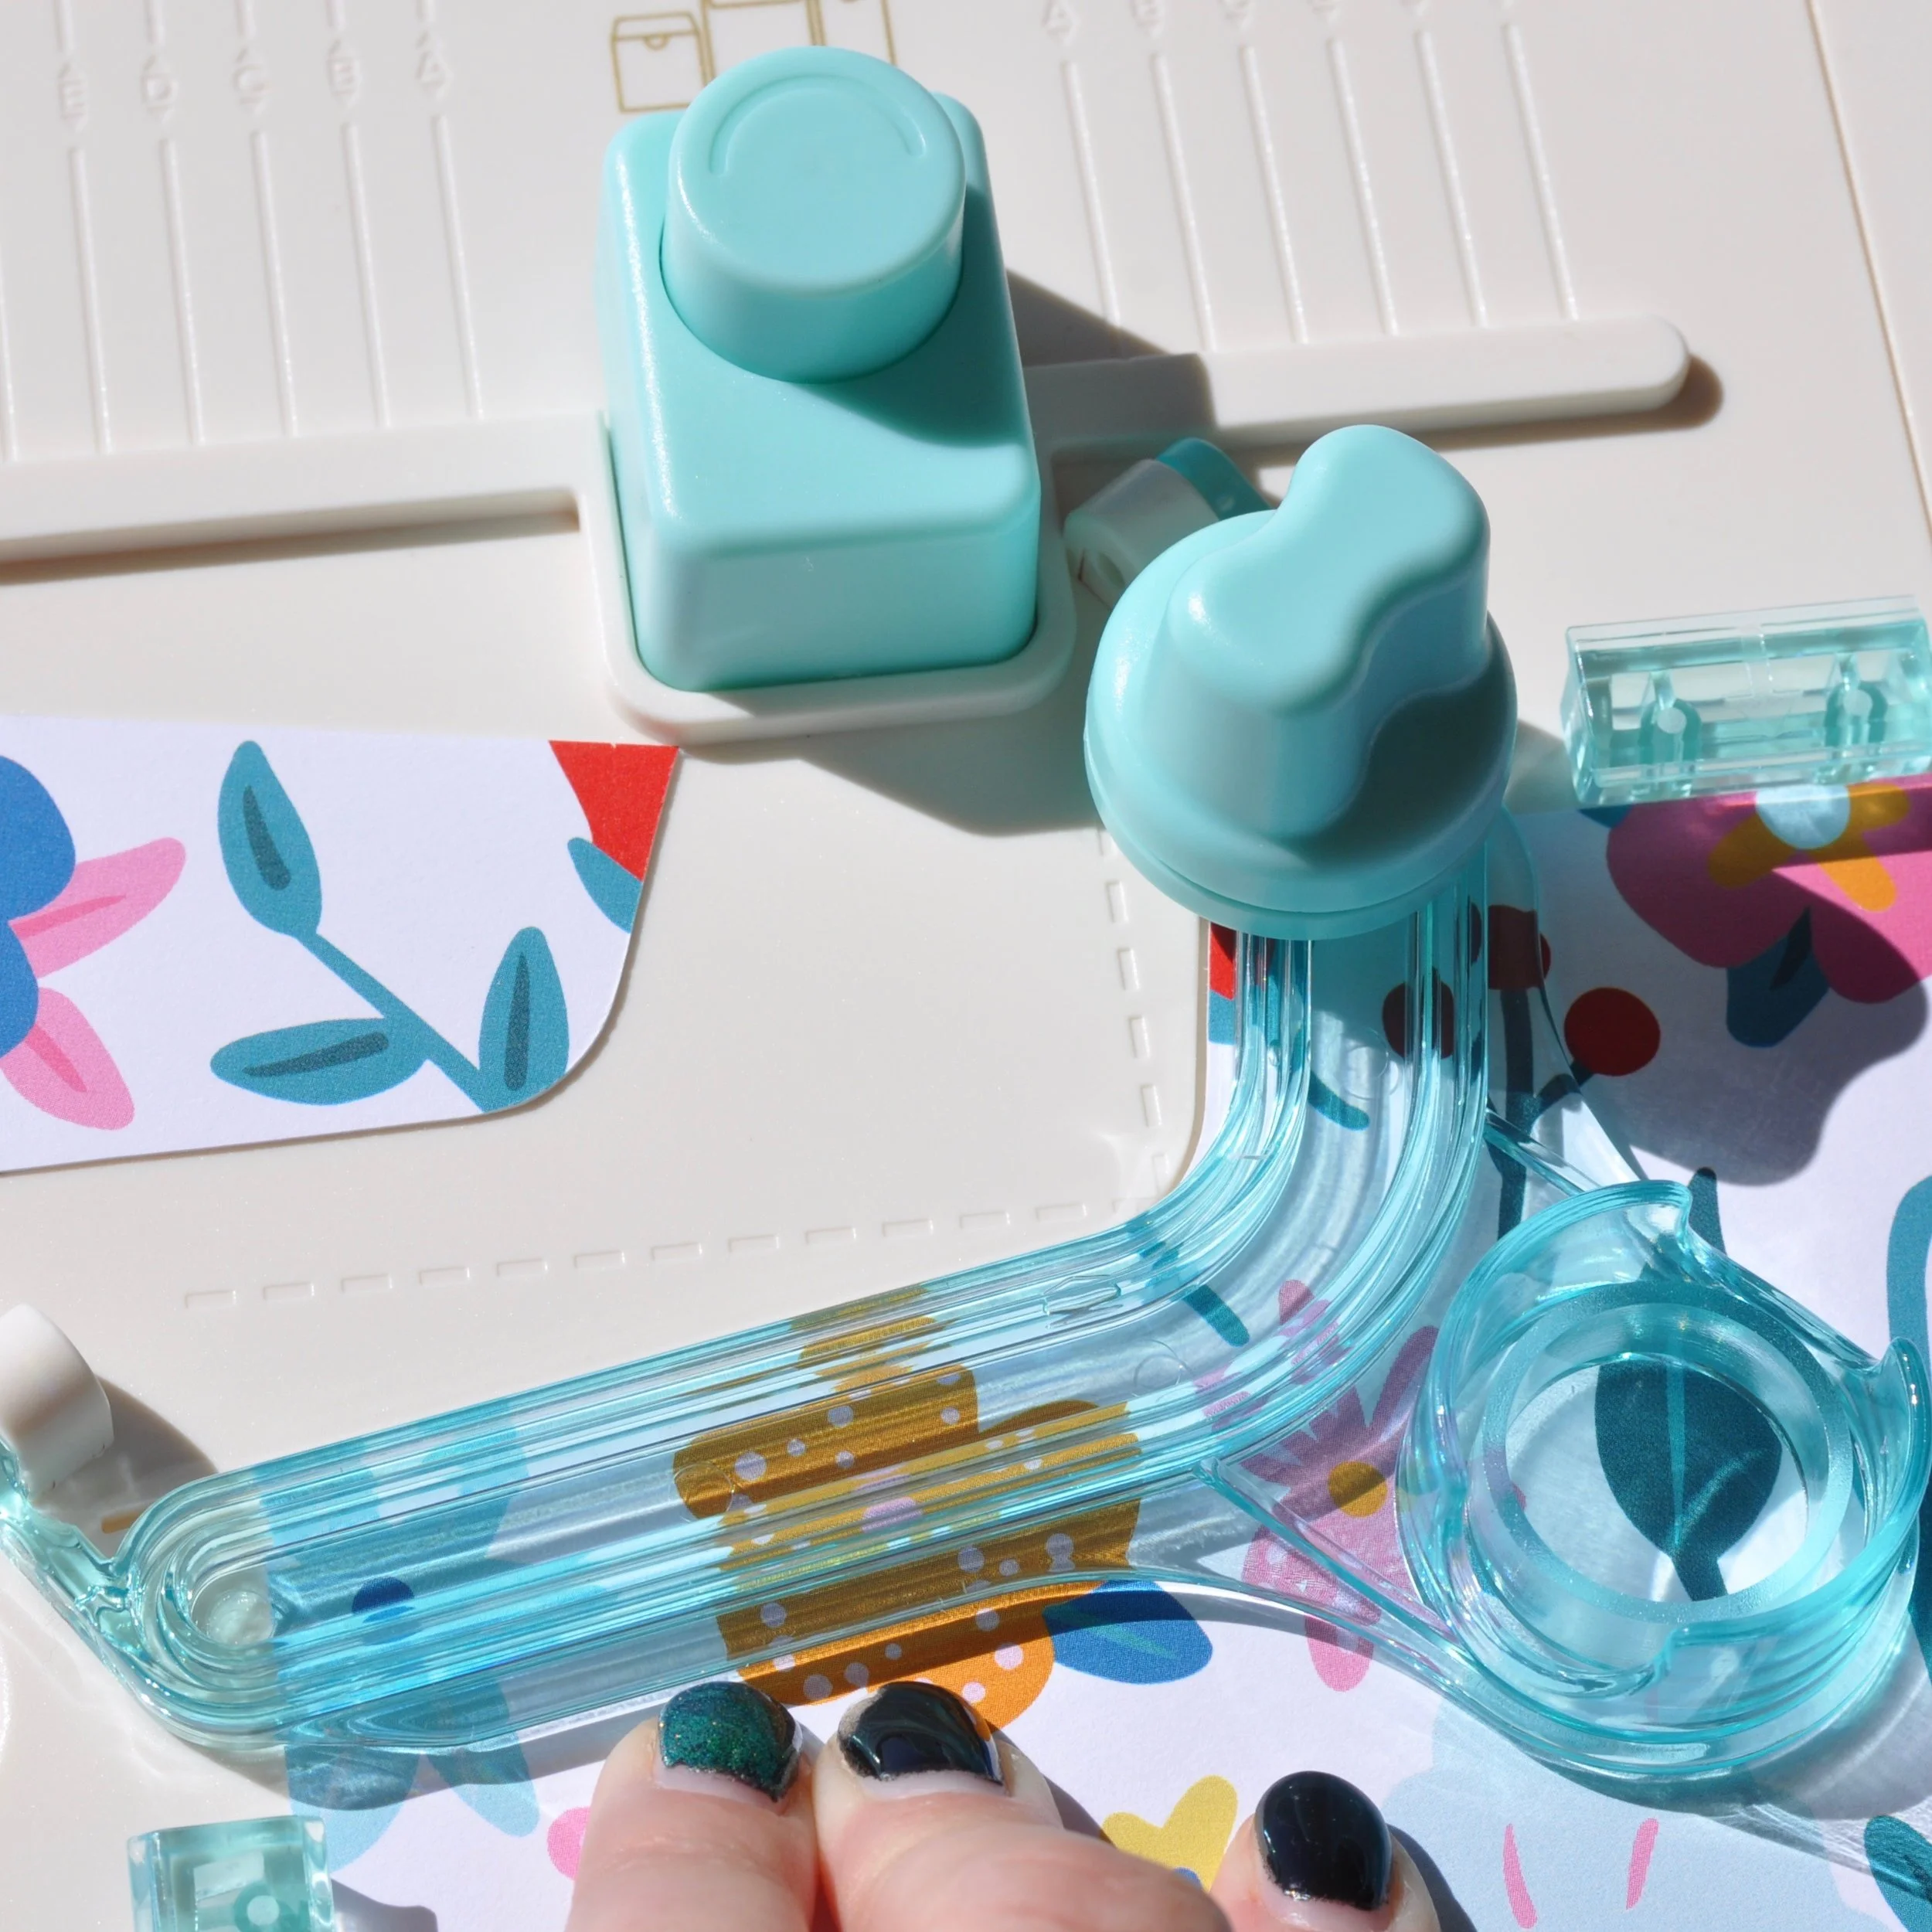
I made these envelopes using the We R Memory Keepers, Envelope Punch Board to include in my project life type album.

I made 2 different sizes and 2 different styles. Both can be used the same way. As you can see, I punched holes in the one to attach directly to my album’s “d” Rings.

· First, I cut my paper down to the correct size. Just follow the guide.

· Here I have trimmed my paper to 9x8 to create a 4.25x6 pocket.

· Open the punch board up so you have your scoring guidelines.

· Line your paper, square into the corner and trim to create the flap


· Flip the paper over and repeat

· Now score your paper horizontally and vertically.


· We are creating the envelope with the flap at the top. If you want to create the one with OUT the flap stop here.

· Flip your paper over and now REPEAT previous steps by trimming both the top and bottom of your paper, both the top and bottom should have a flap!

· Adhere the flaps together, be sure to only put adhesive on the top flap, other wise what you put in your envelope will get stuck.


· Adhere the bottom flap

· Viola you have a cute little envelope pouch!

Now I can store loose bits and pieces I have collected in these pockets inside my album. I could also use this envelope to send some snail mail. The Possibilities are endless, because you can create these envelopes at any size! you could even add them to a scrapbook layout!

I hope you enjoyed my tutorial, this is just another fun way to use your Fairytale Club Kit!
Have you used the envelope punch board?
Think of all the Disney emphemera you could stash in these!
XOXO, Aimee