NSD Challenge- Break out of your comfort zone

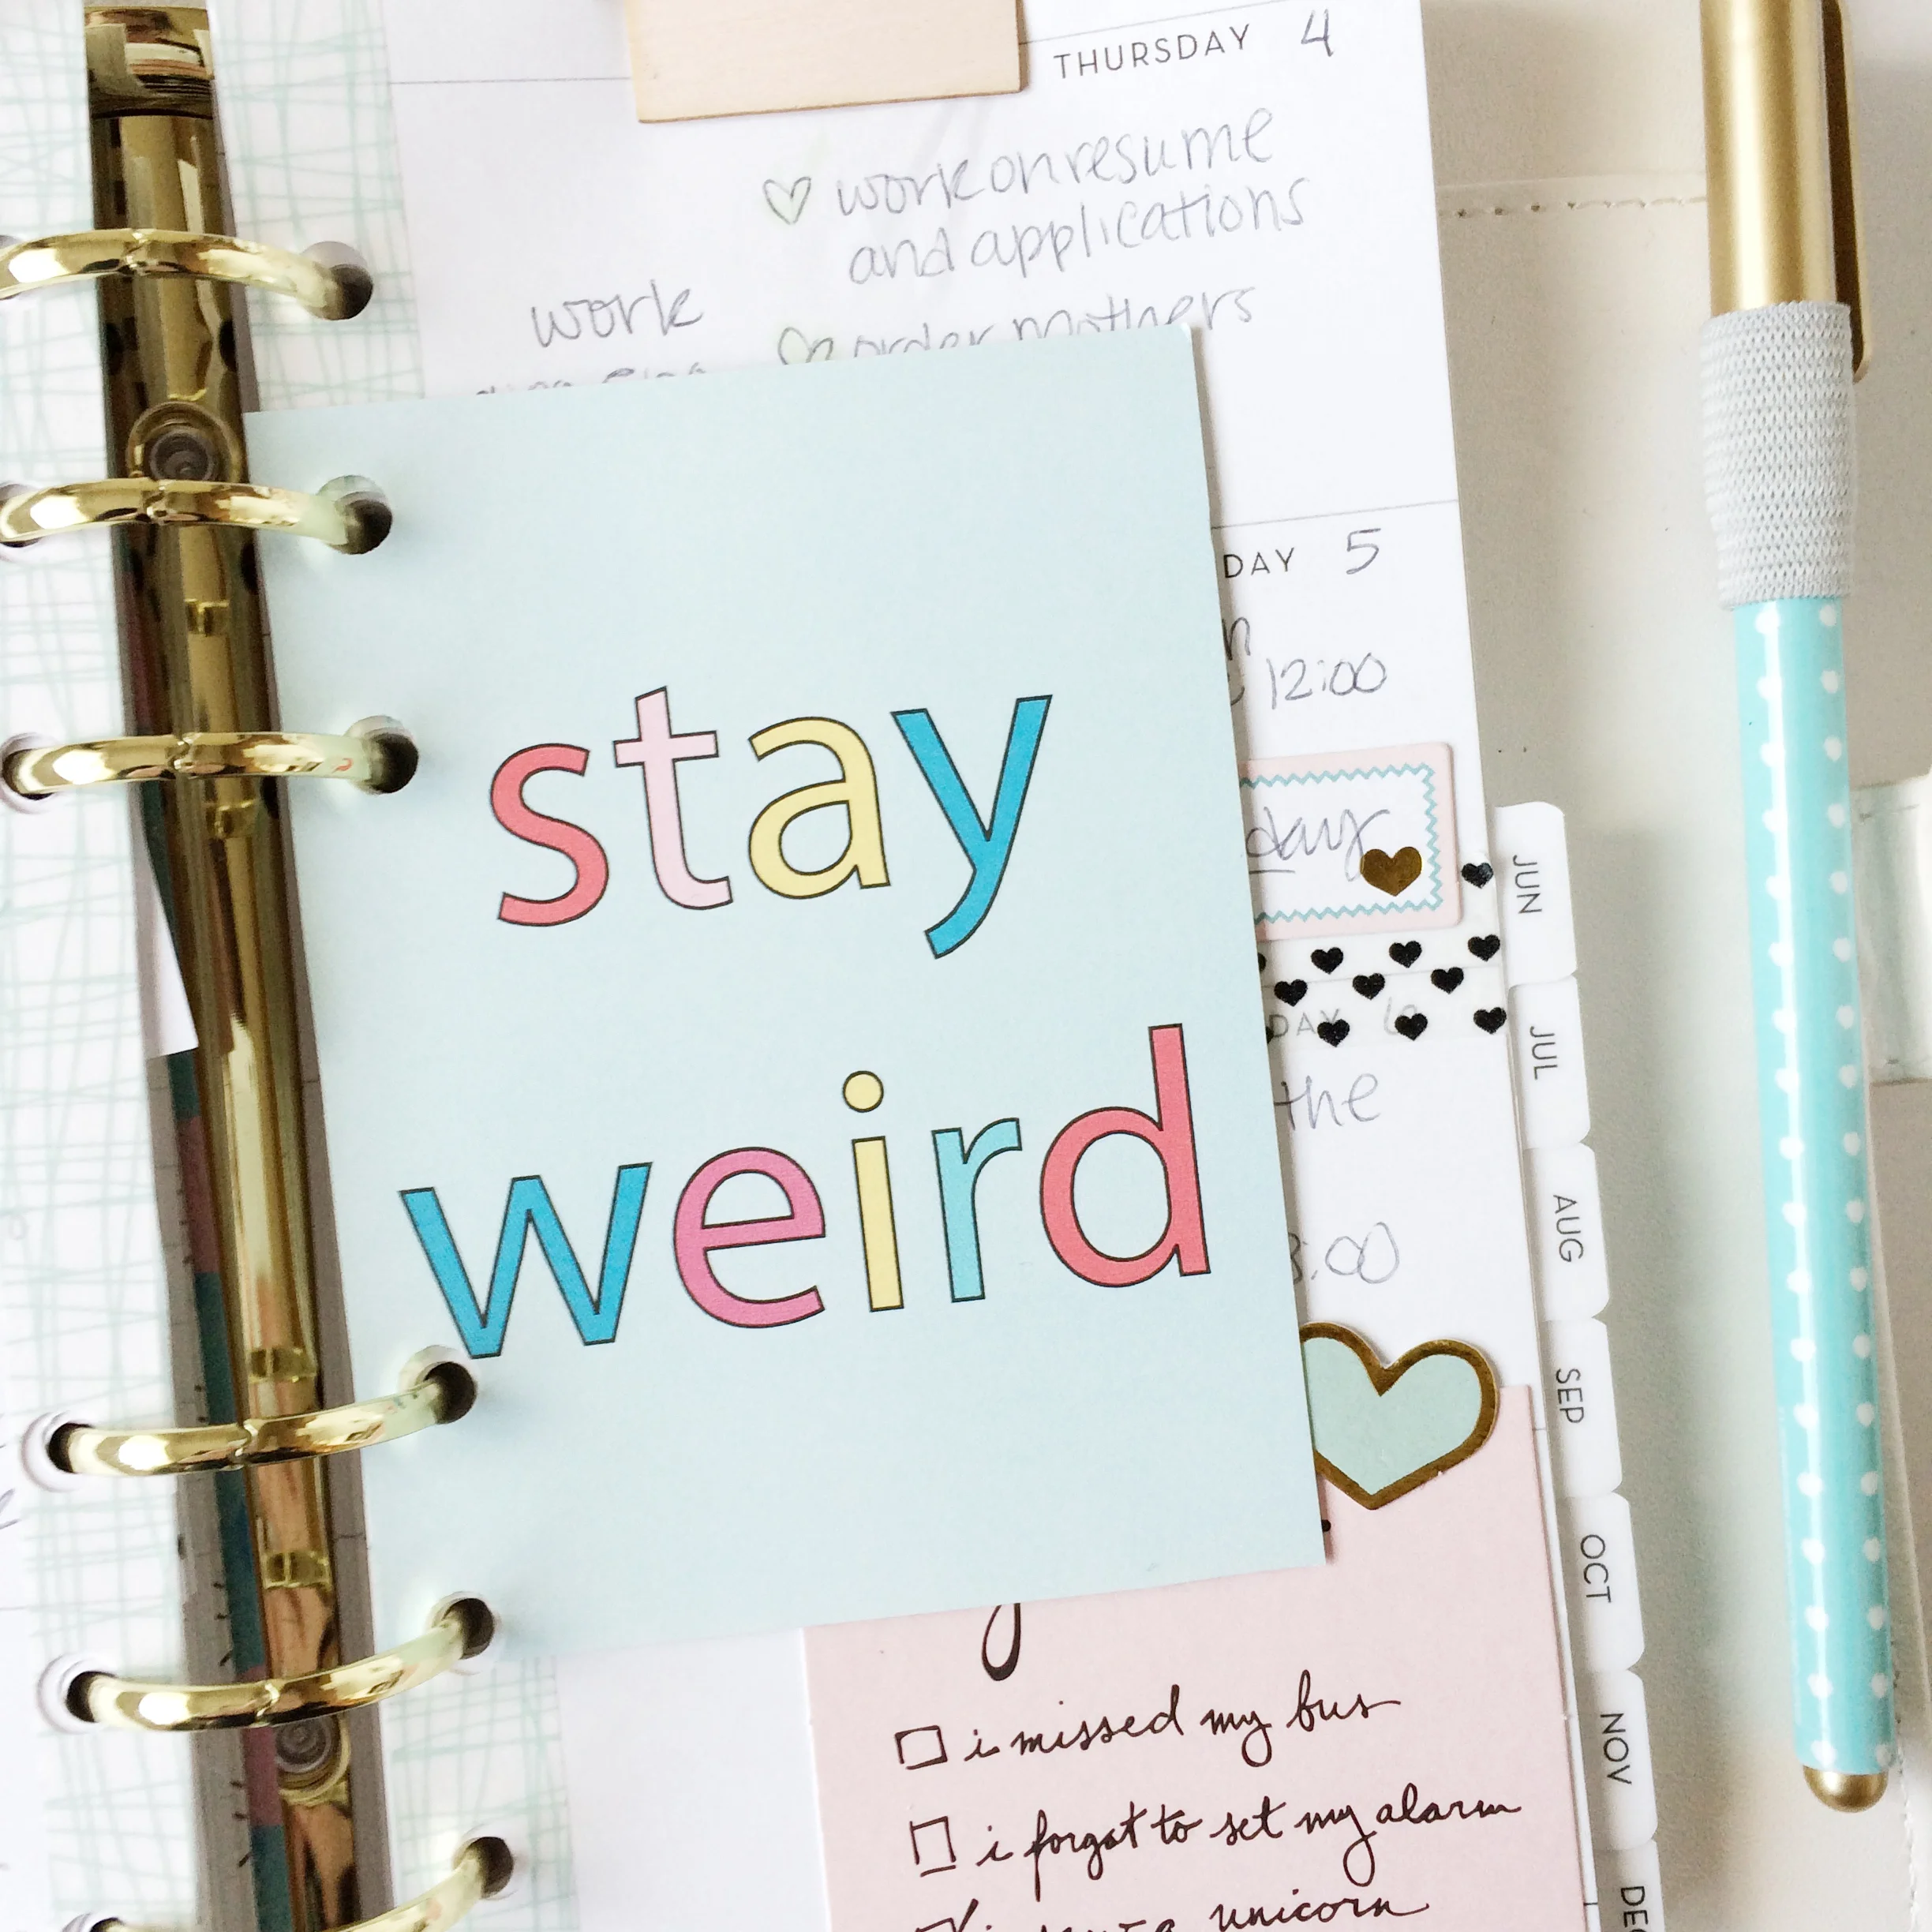
Hey everyone! Becky here! I'm so excited to share with you my challenge for our NSD part 2 celebration!  My favorite part of fairytales is when the protagonist has to step out of their comfort zone, either by setting out on their adventure, standing up to evil, or falling in love! So my challenge to you is to step out of your comfort zone! So you might try doing a layout on a planner page or attempt to go tiny with a little 3x4 mini album, just try something you've always been a little hesitant to and see where the adventure takes you!

FullSizeRender.jpg

I did that by doing an 8.5x11 layout, this might not seem like a challenge to most but for someone who exclusively scraps in planners and pockets this was a huge leap out of my comfort zone! And I absolutely love the finished result... I can see a whole album filled with these fun layouts!

FullSizeRender.jpg

Good luck with the challenge and have fun!  Remember to share what you do on our Facebook page, The Fairytale Club Facebook Group ! Share in the share thread for this challenge and get a chance to win a gift certificate for The Fairytale Club!!! You can also share on instagram with the hashtags #thefairytaleclub #fairytalechallenge #nsdpart2 ...and make sure to specify which challenge you are doing in your post. 

Fairytale Note: Think of Rapunzel when you do this challenge! She totally broke out of her comfort zone when she left her tower and went into the outside world for the first time in her life!... She had an adventure and tried new things and it changed her like for the better! So be like Rapunzel and try something new!!

Disney Magic

Hello everyone ! It's Mindi here again with you here today. I am going to be sharing some pages that I created for my second project this month using Girly and Strong. 

Recently I have been working on creating a separate Disney album. We recently had annual passes and went frequently over the span of a year. So I have soooo many fun photos to scrapbook.

I have always love Merry Go Rounds ever since I was a kid. They have one in Fantasy Land at Disneyland and there are Merry Go Round horses throughout this collection. I decided to scrap some of my Disney photos using this collection. Let's get started shall we. Here is a look at my first set of pages. 

The colors in and around Fantasy Land are a great match with the Girly and Strong collection. I printed out 2 4x4 photos for this left side of my spread. One is of the kids eating some treats and another one is of Katelyn on Dumbo. This page protector is from Simple Stories and it has this fun 2x8 pocket. I cut down some of the patterened paper and used it as a journaling space along with some fun embellishments. 

IMG_4590.jpg

I really love the patterns on the planner pages. They are great additions to your album and can add a different size to your albums as well. I am using one of the smaller size here. On the top I added a photo and then some journaling and embellishments on the bottom. 

Here is what the other side looks like. Again I love this planner page and it was perfect for these set of photos of my son on the Merry Go Round. 

I left the planner page pretty plain to make sure the adorable unicorn was the center of attention. Although I did a few fun embellishments and stamps to the bottom. Here is a close up. 

On the right side is where I have some photos of my son Noah and also his grandma and grandpa who were there with us at the time. So that makes it extra special. 

I chose to go with this Stay Weird card for this page. It was the perfect fit for these set of photos. Noah always loves to be silly when I am trying to be serious and take his photo. 

I am really happy with how this all came together. This kit is so versatile and the colors are my favorites. Thanks for joining me today. See you all next time. 

6x8 Project Life Spread | Jen Schow

Hello again! It's Jen Schow here to share my last project as May guest designer with you. This year, I started doing a 6x8 Project Life and I love the small size! I like to keep it very simple and use lots of photos because I don't have quite as much room. 

Today, I wanted to share with you how I still achieved a playful, but simple look using the Girly & Strong kit to document the week of March 20-26 (I document from Monday to Sunday).

To keep in line with my usual PL style, which is mostly black and white with pops of color, I chose black scripted phrases from the ephemera pack and cut the word "Friday" out of one of the patterned papers.

I often take my photos in such a way that there is a lot of "white space" for me to add journaling and embellishment directly to the picture. I added bits and pieces from the ephemera pack and some of the little phrase stickers in the open spaces for this week.

One of my favorite additions was one of the wood paperclips. They are fairly thin and don't add much bulk, so they are perfect. Instead of attaching it to something, I just put it right on top of my photo and the clip part kind of looks like an arrow pointing to my feet...cute!

I hope you can see how this bright and colorful kit can be used to create all sorts of layouts and projects - even with a bit of toned down color scheme!

Thanks so much for letting me share my projects with you this month. I can't wait to see what you've been making!

Jen

Girly and Strong Travelers Notebook Layout

Hi everyone! I'm so excited to share with you a page in my travelers notebook using May's kit! 

FullSizeRender.jpg

Scrapbooking in my travelers notebook is hands down my favorite way to document! It's fast and easy and a great way to play with all of the kits goodies! 

FullSizeRender.jpg

Ephemera is my favorite to use on my layouts, I love that you can either layer these guys or use them individually!

FullSizeRender.jpg
FullSizeRender.jpg

What's your current documenting obsession right now?

Happiness | Karen

Hey girls, its Karen here to share a layout using the May Girly and Strong kit.  This is my first layout using this gorgeous kit and it was so hard to choose what papers and embellishments to use (insert hoard). Everything is so beautiful and cute. Below is my layout starting with the cute poodle paper that I trimmed down to 9x12, I love that size. I have different creative aspects that I stick to when I scrapbook and one is using a lot of embellishments on the one layout. I find that with die cut packets that the contents are all lovely and its very hard to choose a few so why not just throw them all on together. Trust me the first time I did this was hard, I'm a natural born hoarder when it comes to all things paper. But I loved the final look and its kind of stuck with me now.

I love how the wonderful designer Andrea has combined cute poodles and unicorns with the sweet girly pink hearts, bows and sparkly sequins as well as the patterned paper that is quite simple, yet elegant. There really is something for everyone in this kit.

I'm so excited to wrap up my first post and heres to more layouts coming in the next month.

Keep on being happy!

Karen xx

Fave Girl | Jen Schow

Hey friends! It's Jen Schow again to share another layout using the May Girly and Strong kit. You know how sometimes you love a paper so much that you can't stand to throw even the tiniest little scrap away? Lots of the papers in this kit are like that for me and if the same is true for you, I have a solution for you!

Create a cluster of pretty patterns of all shapes and sizes for a focal point on your layout! 

I sprinkled in some ephemera, puffy stickers, and word stickers too. It's kind of funky and crazy and I love it that way!

I added a little bit to the side of the photos for a little bit of balance and you can see that I added some hand-stitching in a few places as well.

I added my journaling using my typewriter. I thought it was important to use a simple font that wouldn't compete with all of the papery goodness going on. ;)

I hope that you'll take all of your ripped, punched, torn, and tiny little bits of gorgeous paper and make something beautiful!

Jen