
Hello everyone! Andrea here, and I just wanted to let you all know that we are having a Black Friday sale on all kits and kit components, past and present! It starts now and runs through Monday night. Use coupon code 'black' at checkout to get 20% off your order!!! Happy Thanksgiving, everyone, and Happy Holidays!

Easy Christmas Cards with Carolee

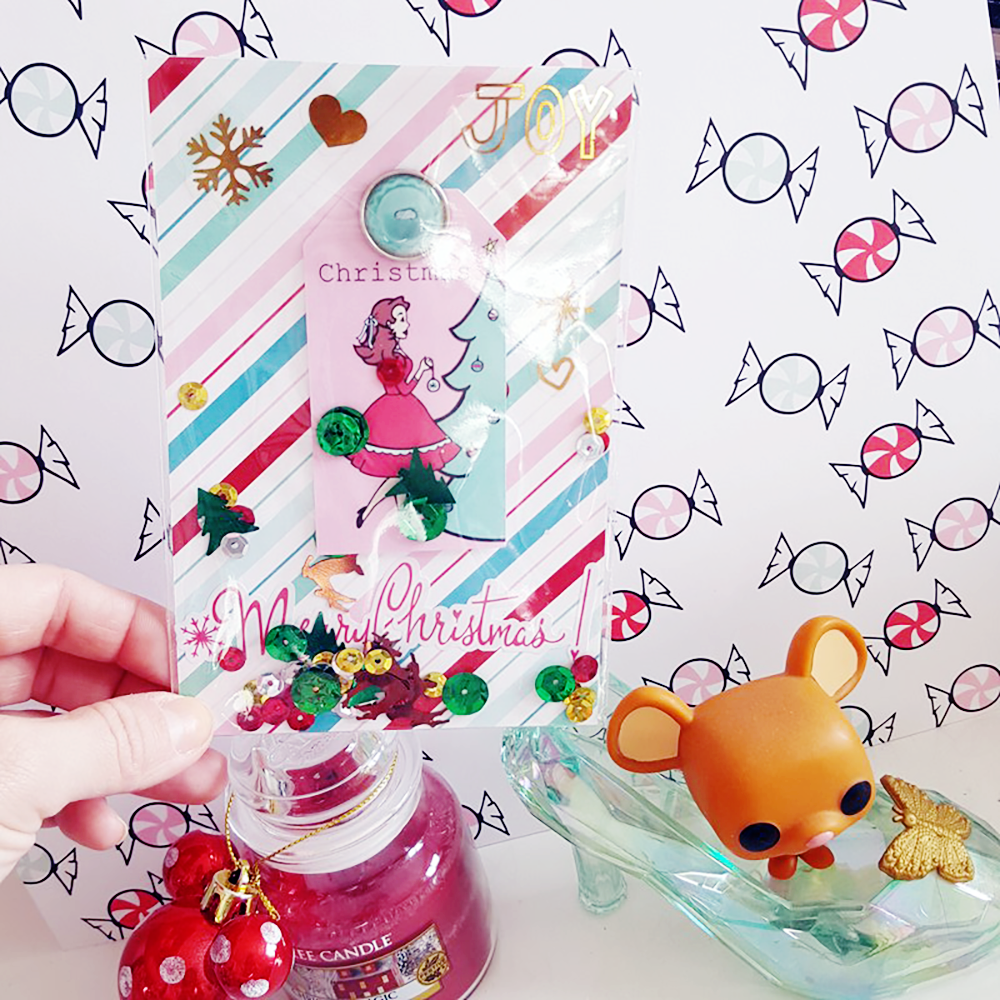
I absolutely love making homemade Christmas cards but when your list gets long, you need to find a fast, fun card to make. With that in mind, I came up with this card which comes together really easily!
First I took a 5"x10" piece of the Merry Christmas paper and folded it in half. I cut down one of the personal size dividers to a 4x4" square. Fold the Merry Christmas paper in half and then attach the square to the front. Grab your ephemera and pick out your favorite pieces. In this case, I grabbed the Santa from the die cut pack and fussy cut the tree from a card in the cut apart sheet.

Next, I decided to add a bit of dimensionality with pop dots. This is a really easy way to add interest to your cards and it doesn't lift it high enough that you couldn't mail it. I adhered the tree directly onto the square then popped up Santa and the Merry Christmas sentiment.

Last but not least, it's Christmas and that means it needs a bit of shimmer and glitter! I added some of the snowflake stickers from the sticker sheet then glued some sequins onto the tree to give it a decorated look.
I hope you like this card and that it inspired you to make some cards of your own. This card came together so quickly and easily that you could have half your cards done in an afternoon! Until next time, happy crafting!
Caroklee
Adeline's Christmas TN using the Jolly collection

Hi, my fairy friends,
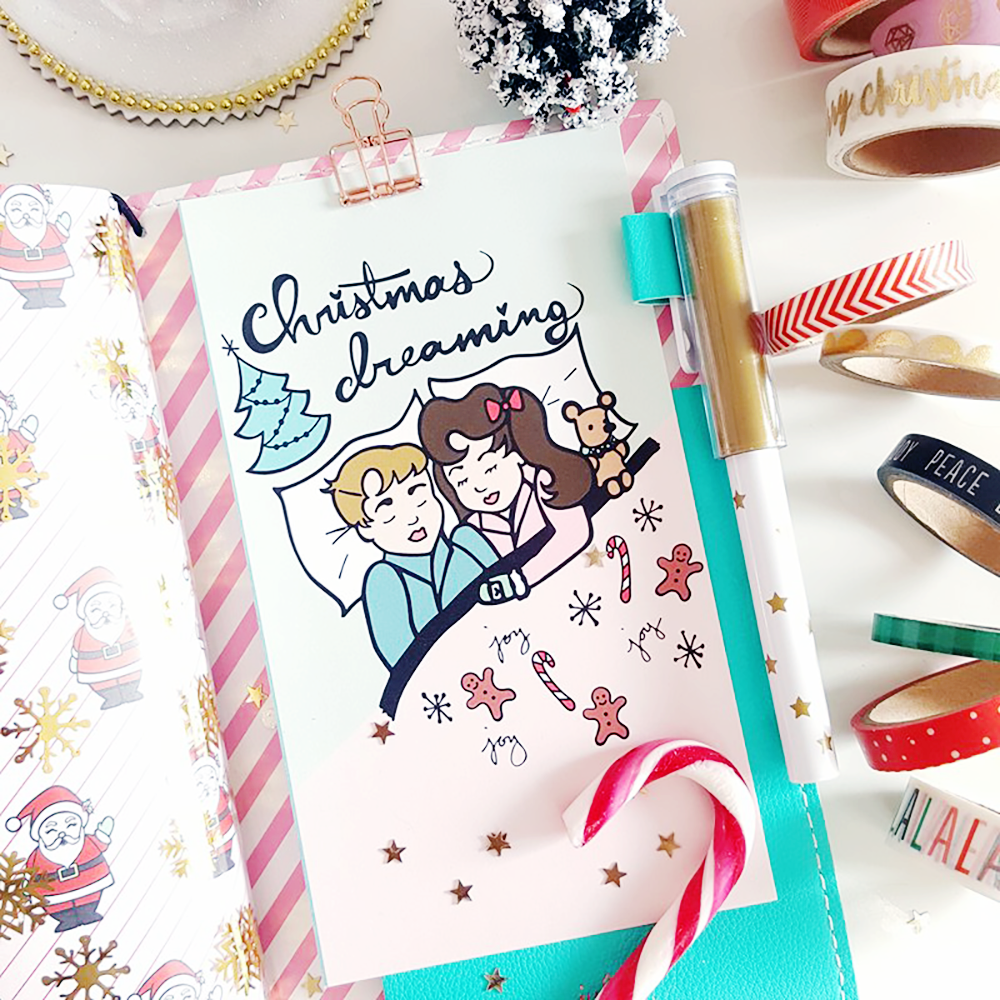
It's Adeline today on the blog, I am so happy to publish this post with the awesome Christmas "Jolly" kit. Like the other kit, I am in love!!!! But I really love Christmas season I am crazy about it!!!!
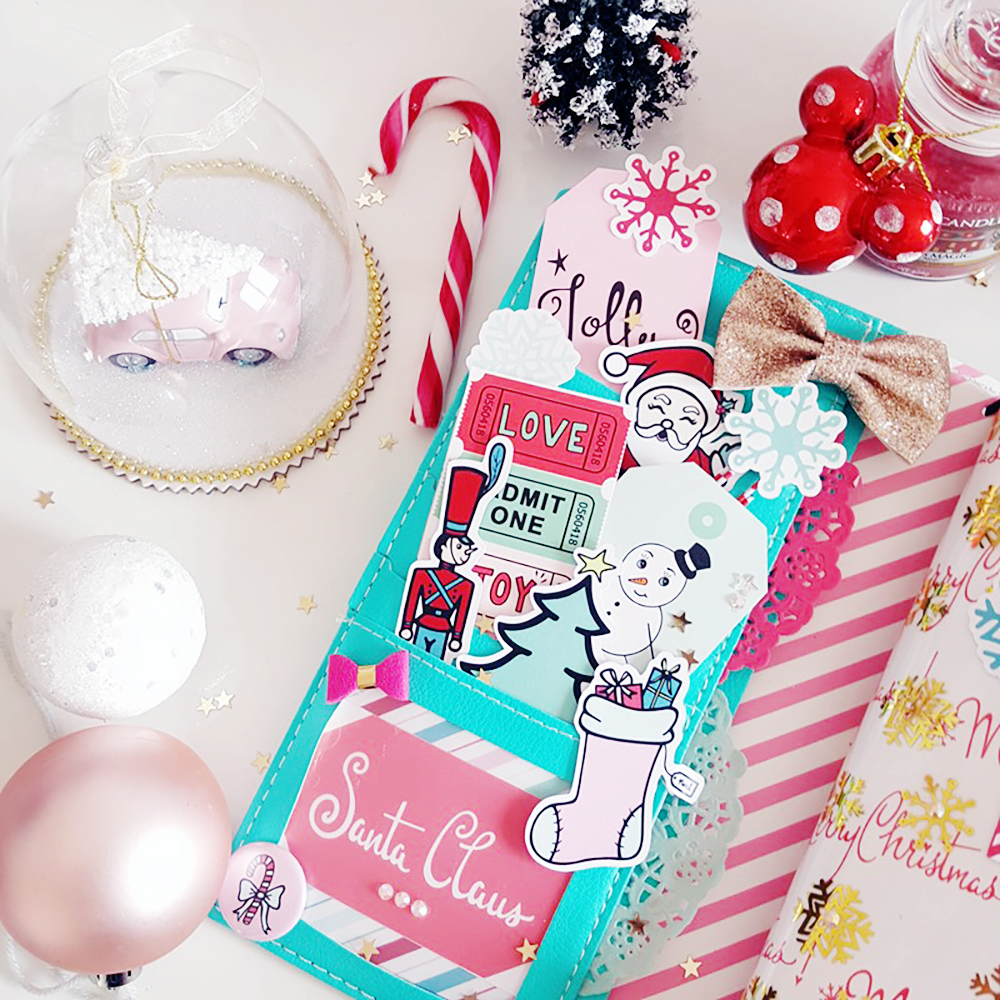
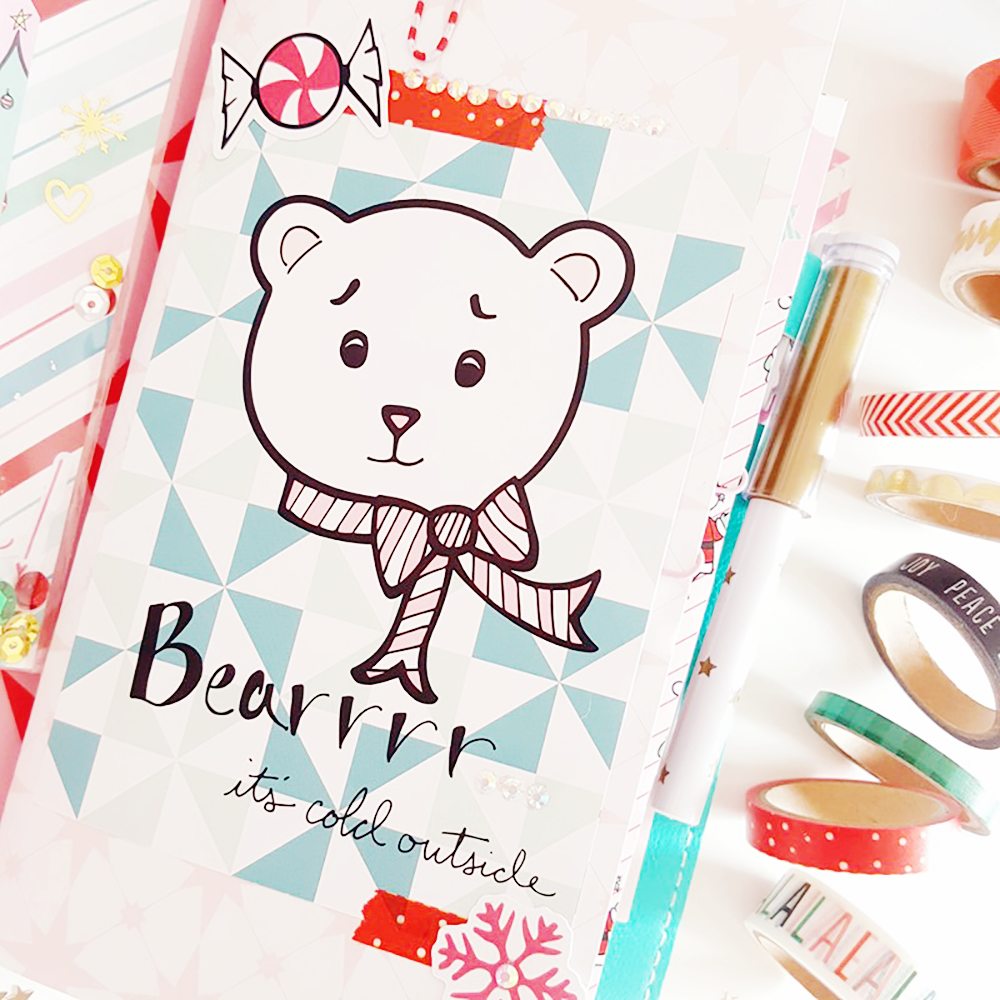
I made my complete Jullie Nutting traveler notebook from My Prima Planner set up with this kit. I chose this TN because of his colors mint and pink, the inside is like a pink candy cane perfect for the Jolly kit.
I decorated my dashboard with the snowflakes gold foil acetate and some ephemera. I also put so many tags, ephemera, and paper clips to make my cover pretty.

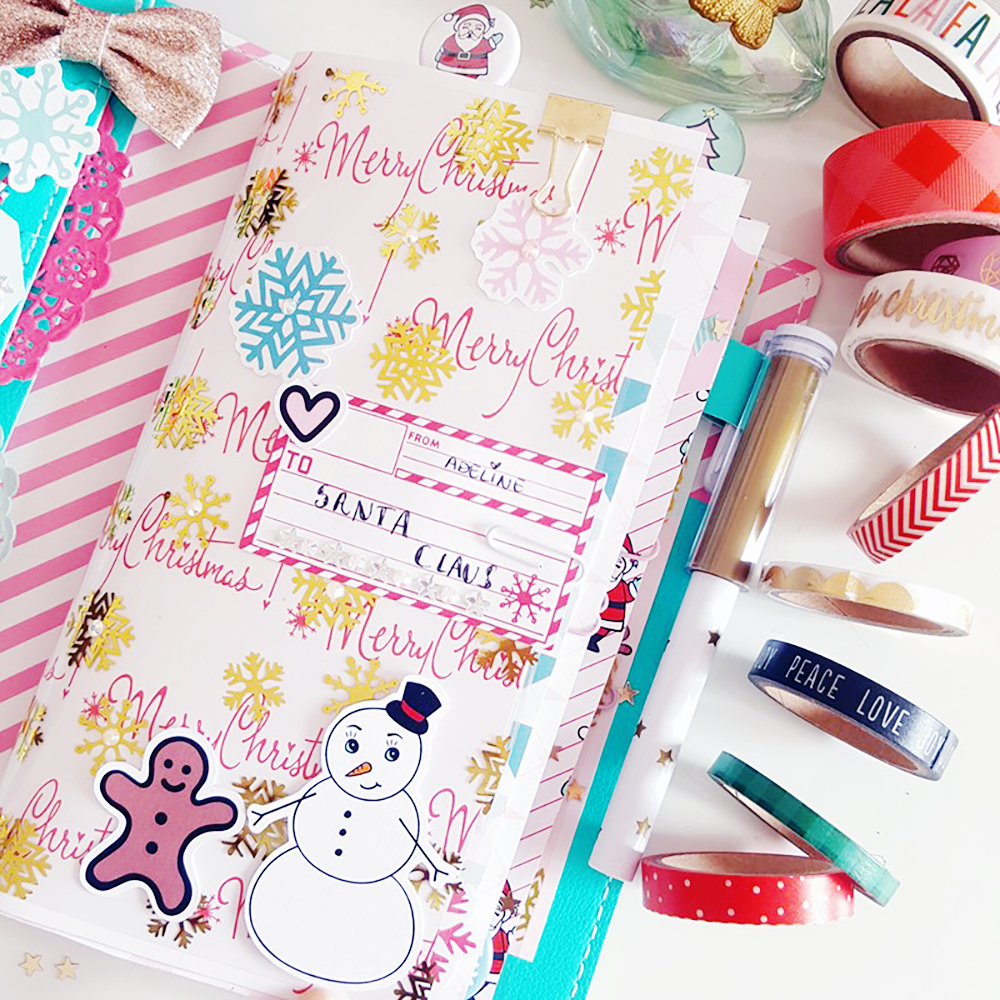
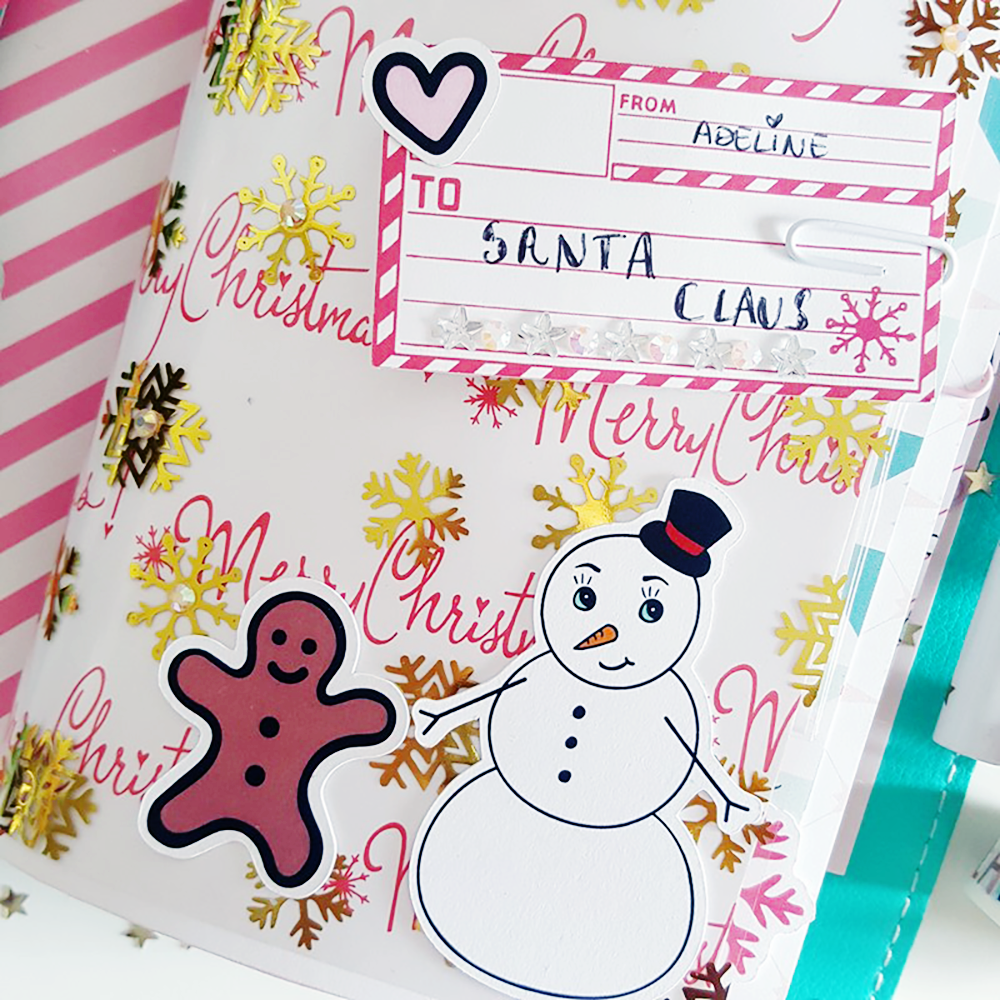
And then I made my notebooks decor with paper and some embellishments of the kit. In this cases I don't calculate anything, I let my creativity speak, that's the way I am having the most fun: Christmas songs enough for me to be in my fairy world!!!
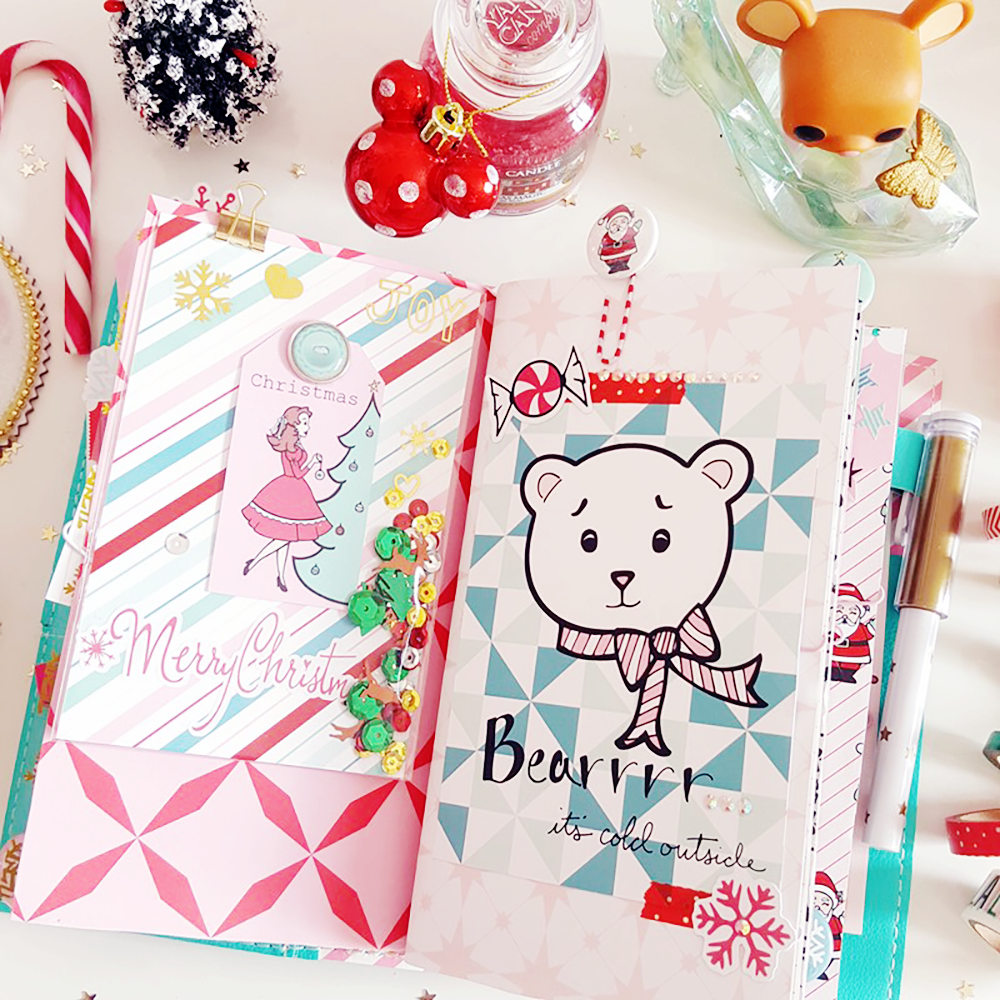
I created some paper clips with the flair button, so cute I can't resist!!! When I saw the sequins my ideas was, a shaker card!!!!! So I did it and I like it so much.
I hope you have enjoyed this post and especially hope I was nice enough this year for Santa Claus to go to my home!!!!!! LOL
Do you like my set up? and you have you made yours????
Merry Christmas my fairy friends.
XOXO
Adeline @thefrenchplannergirl
Jolly Pocket TN with Henny

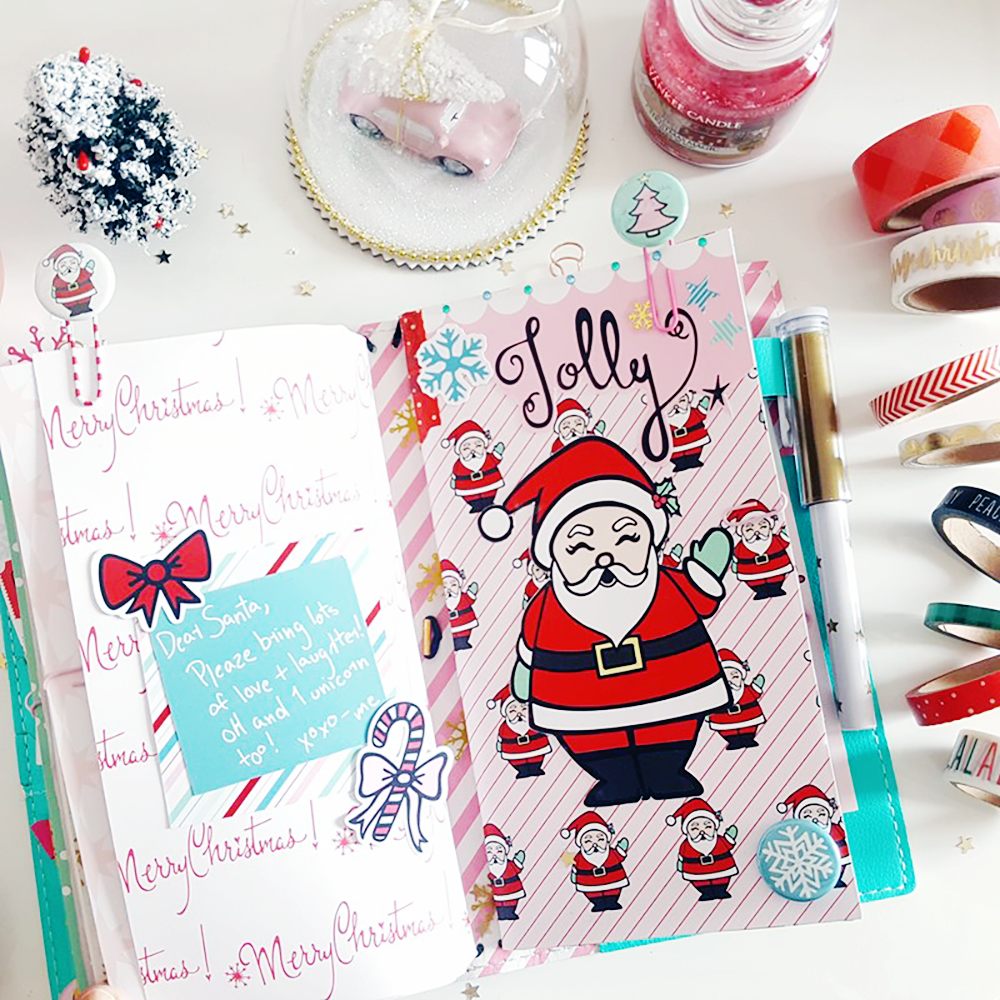
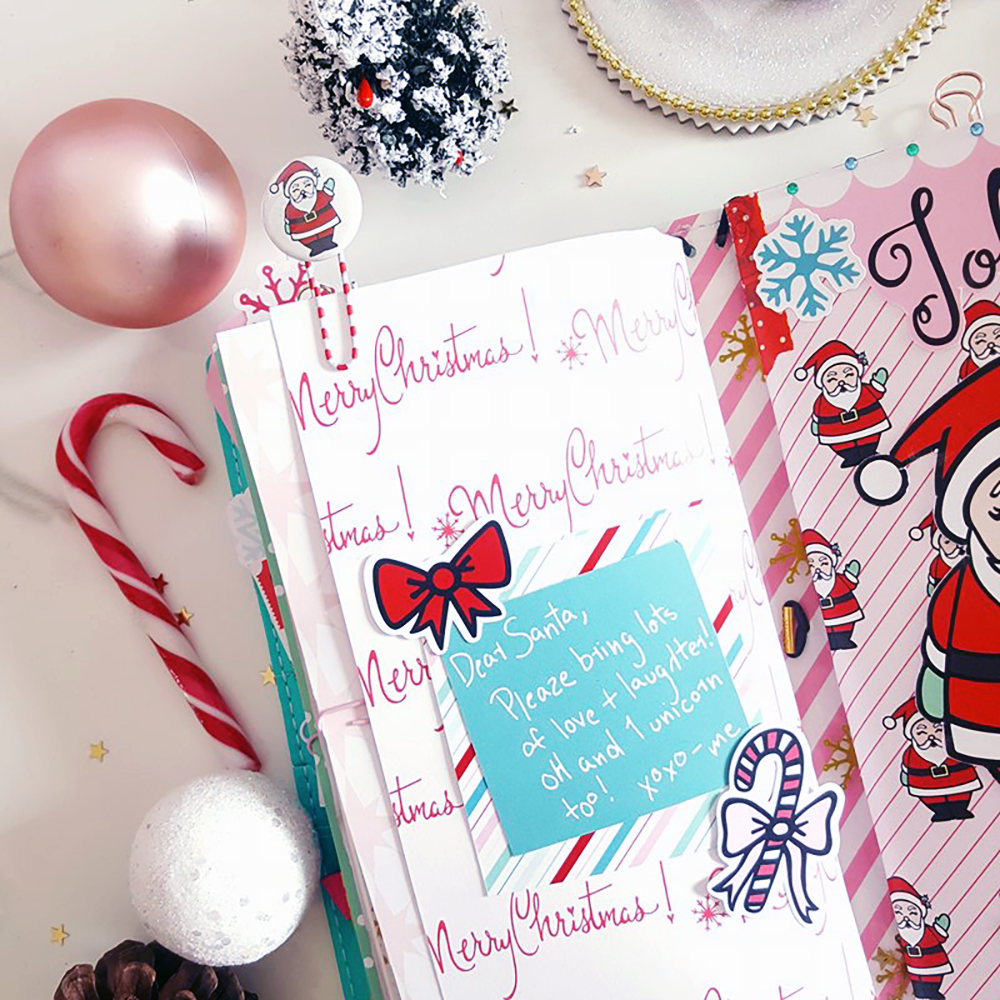
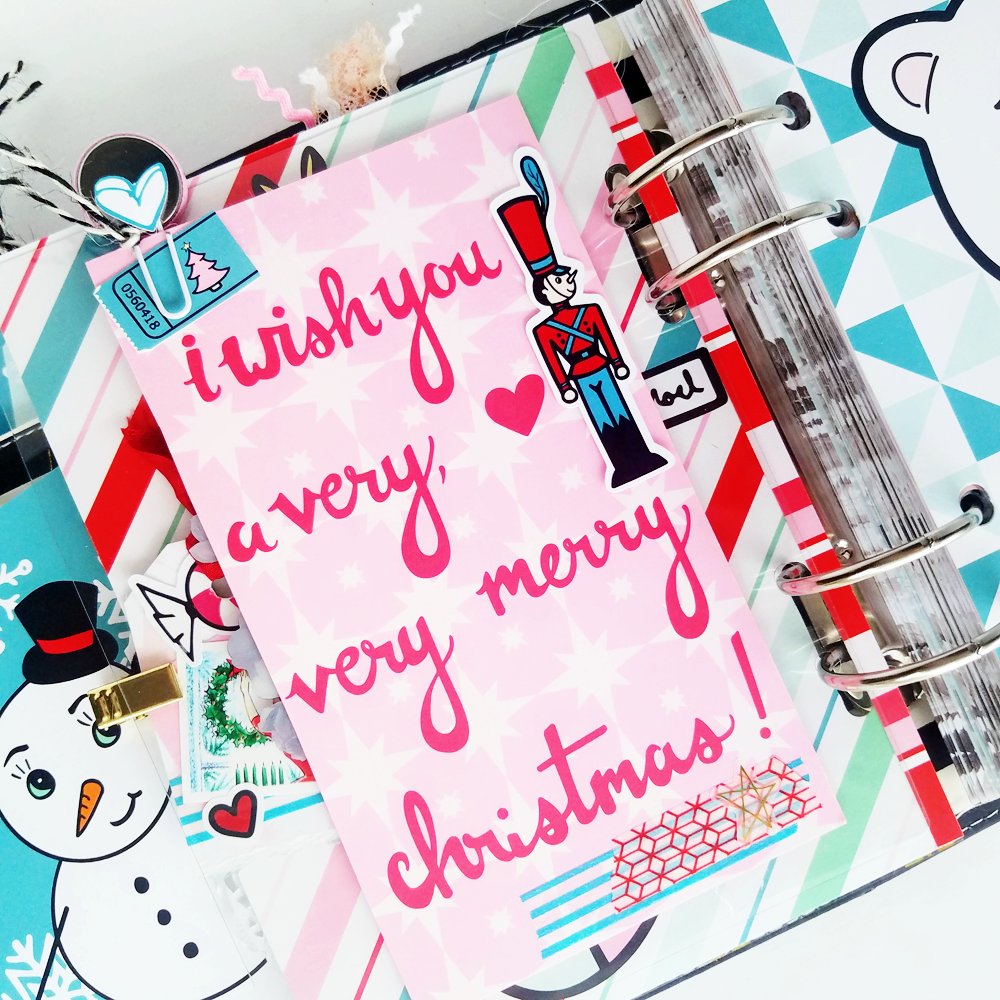
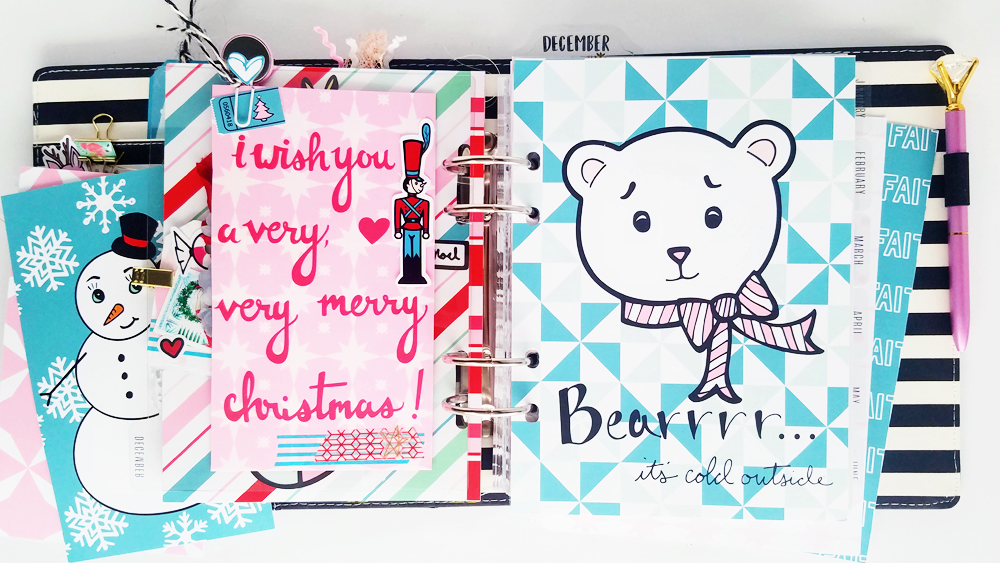
Hello everyone... Today I’m going to be sharing with y’all my new set up for my pocket size Simple Scallop Traveler’s Notebook using the new collection of Christmas theme called “Jolly” and it’s pretty simple set up I’m doing this time.
This pocket-size inserts measured 3.5” x 5.5”.

As you can see the interior of the leather cover originally came with no pocket so what I did was adding an adhesive clear pocket and just stuffed with cute paperclip and some die cuts.


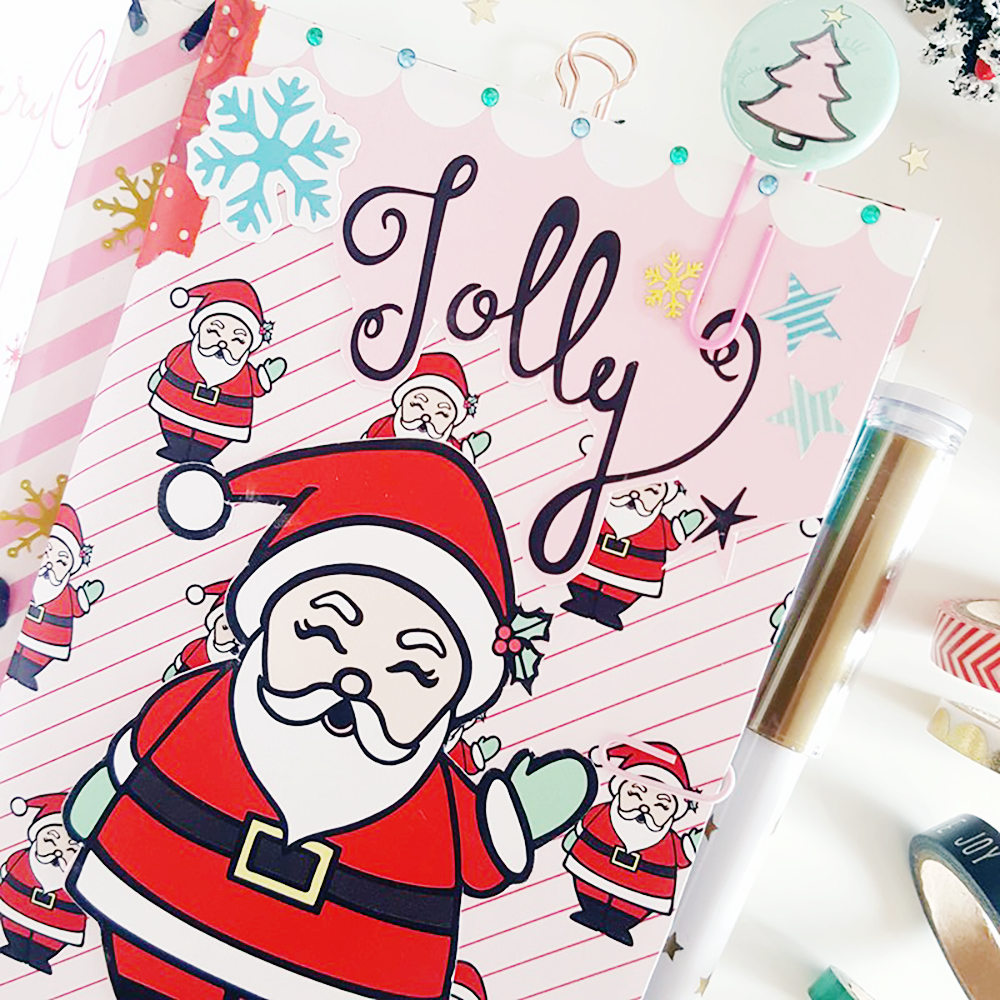
Then for the dashboard, I always try to create something fun yet interesting dashboard in every one of my planners and traveler’s notebook. So this one I used a couple of patterned papers and embellished with some die cuts and other pieces from Jolly kits.

The next page I created a pocket on both left and right sides where you can store your washi, or stamps.

The back side of next page was done with a pretty simple decoration.
Well, I hope you enjoy reading and find some inspirations from this TN set up. Please feel free reach out to me if you have any inquiries. Until next time.
Sincerely yours,
Henny
Kim's Advent Planner
I can't imagine NOT celebrating the reason for the season, Jesus. I also can't imagine not remembering past Christmas joys full of Santas and stockings as a child and making those fun memories for my own munchkins!
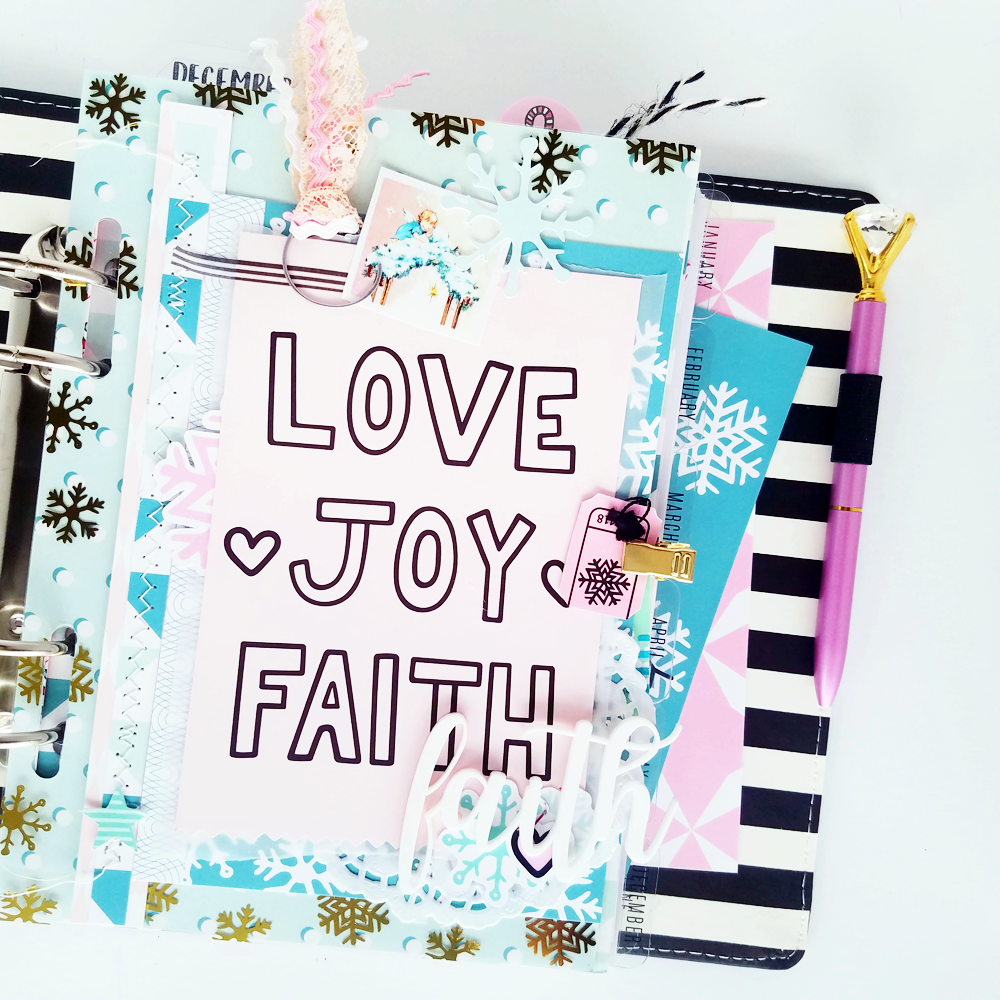
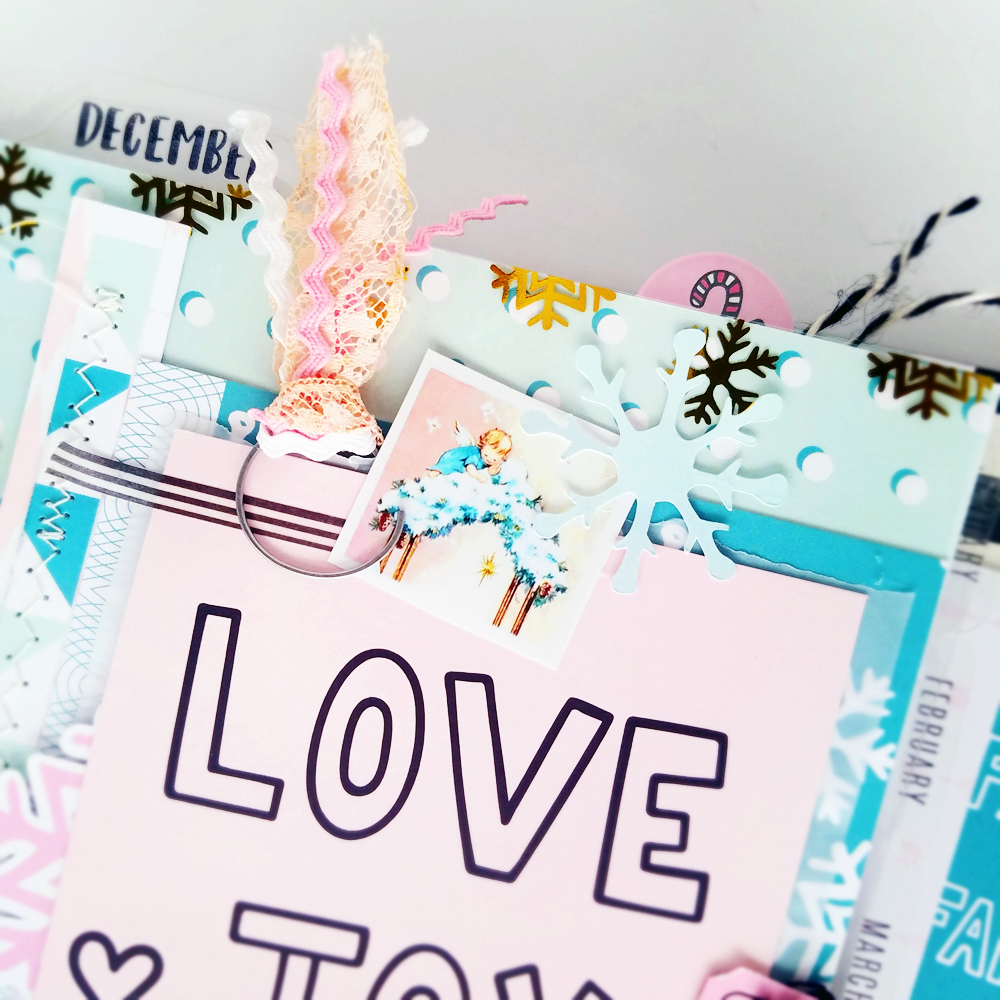
First off is my Dashboard page with a lot of layers. A divider which has the foiled acetate, patterned paper, Vellum and a piece of the cut apart paper. I then added some die cut pieces and a small vintage picture of a Christmas storybook I read as a child.

Let not forget about the planner pockets now! I made a little grouping of patterned paper on top of which I have the die cut Jolly as well as the cutie-patootie snowman. I also made a couple more vignettes for each pocket just to enjoy as I open my planner each day.

The sequins in the kit a bit more sparkle to my fun front, don't you think?!


As we turn the page I used the clear divider that came with the planner but I cut out Santa and backed him with a personal divider in that lovely candy cane paper.

Opposite page, All I added was a quick tag with another vintage image I remember as a child and then a die cut bow. I attached it only in the middle so that it would be 3D-ish.


On the back of Santa, the personal divider that I adhered to the divider, I just added some washi and a nutcracker dude! The quick tag and paperclip always make a fantastic way to spice up a page too.

Lastly, I decorated the monthly pages that will house my verses for the day.

Thanks so much for joining me today!
-Kim
Candy Cane Christmas with Enza
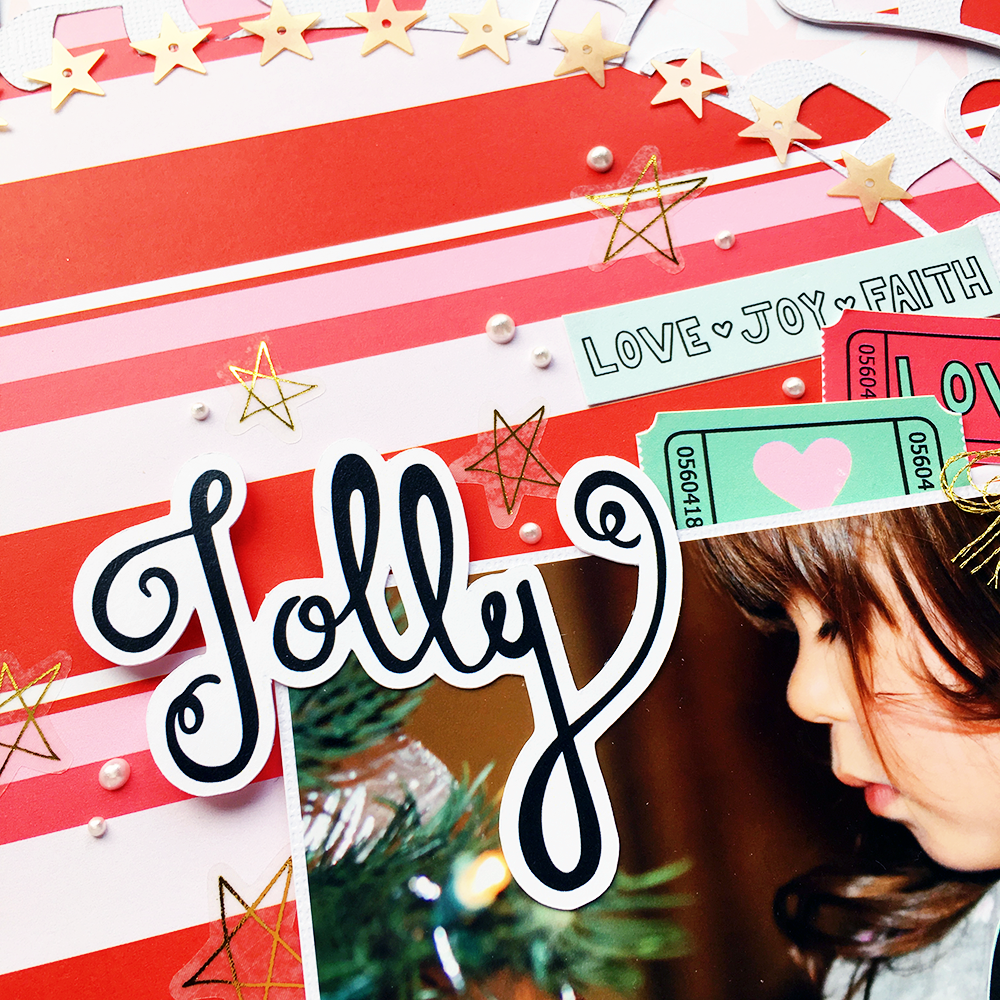
Hi everyone! Enza here, and today I am sharing my first layout featuring the new Jolly kit!!! This kit is just gorgeous. Not only for the vibrant colors, which are absolutely amazing but for its magical feel. My layout was inspired by the candy canes in the collection.

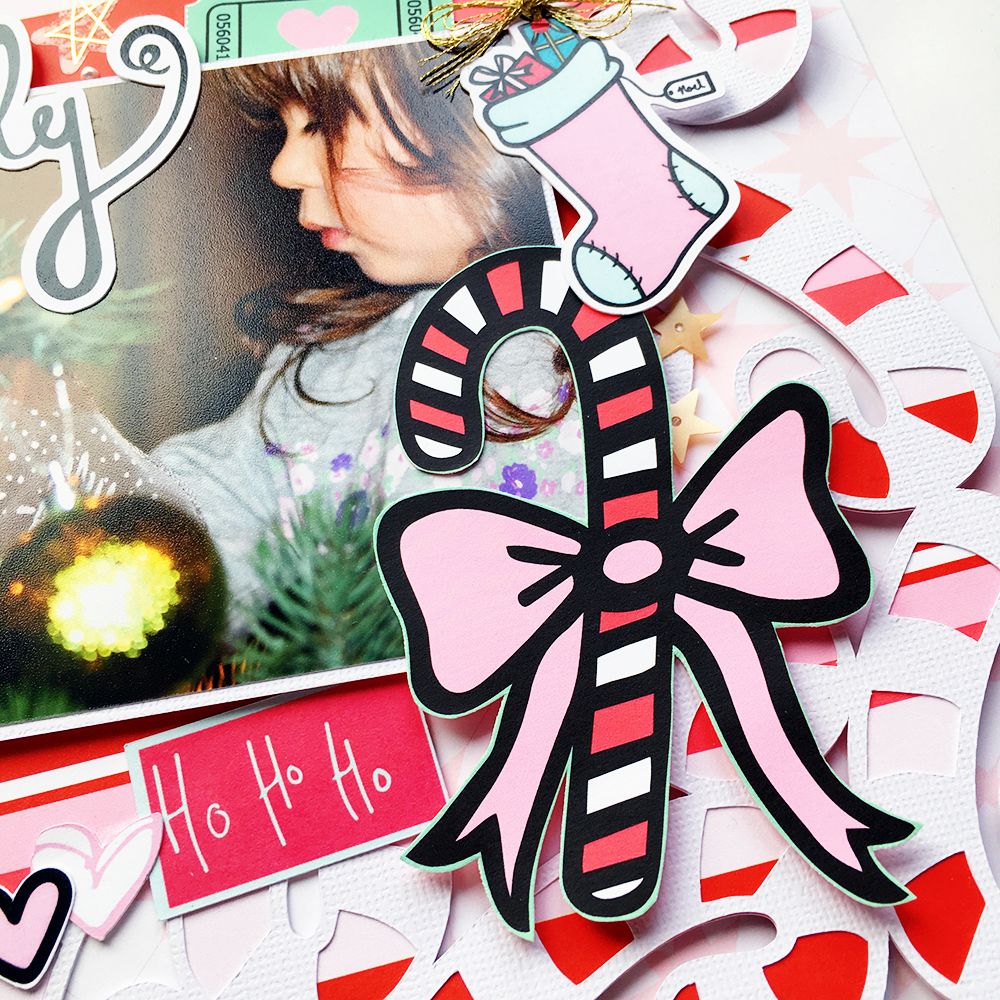
I started with a candy cane cut file. I modified it a little bit, as I wanted to create a space in the middle for my photo and embellishments. The striped pink, red, and white patterned paper worked perfectly with it, as it gives the right amount of color, with a very festive look.
After adhering down the picture with craft foam to give it more dimension, I fussy cut the big candy cane you see at the bottom right corner out of one of the planner dividers. I love the way it stands out! Then, I kept adding die cuts, stickers, and pieces from the cut-apart sheet. Layering is one of my favorite techniques. I find that it adds a lot of dimension and texture, and gives more interest to the page.
I finished the layout with gold star sequins (from my stash) placed all around the edge of the circle, and white pearlescent Liquid Pearls.

I'm very happy with how this page turned out. It's happy, festive, and nostalgic at the same time.
Thank you for stopping by! Have a “jolly” day!
Enza
"Mini Memory" Memorydex Cards with Carolee

Hey everyone! I just discovered the Memorydex system and I love them for what I call "mini memories". Those are little things that you want to scrap but maybe it's too small, you only have one picture or it's a bigger project you want to take your time doing later. I decided to grab my "This is Halloween" kit and use the Memorydex to keep a few of these precious smaller things.

First up is this card. It's probably hard to tell what's going on in the picture, but it's actually the start of the work in my office/craft room. The corners had been painted and I was so excited! That's why I grabbed this Magic sticker and had to add the exclamation point from the ephemera pack. I matted the photo on one of my favorite papers from this pack (I love purple and polka dots!), added a couple of stars and a date stamp and it was done!

Next up is this picture of Andrea and I from the Halloween event at Disneyland. I have a ton of photos from this and will want to do a much bigger project with it later but for now, I wanted to get this fun picture scrapped. This one was really simple because I loved the constellation stamp I found in my stash and wanted to make sure that was seen. I grabbed the star paper from the kit, die cut it into a Memorydex card then stamped it in pink with the constellation stamp. With the purple in the photo and the pink stamp, this little kitty witch was the perfect addition. I put her up on some foam tape to give it a bit of dimension. I finished it off with the gold sticker and it was ready for the Memorydex!

Next up is this card featuring my #spookycute nails! I sometimes get nail art done and I try to especially around the holidays and events. Again, this isn't something that's big enough for a full scrap page, even in my TN, so the Memorydex is perfect for it. I grabbed the tag because it matched the purple on nails but then I realized that it also worked as a great title for the card! I cut the card from the sketched star paper, added the tag and photo, then used the sticker sheet and ephemera to finish it off.

Last but not least is this card featuring movie tickets from a recent double date my husband and I went on. This was actually our second time seeing Thor, it's that good! For this one, I cut the card from my favorite paper and added the pink tag behind the movie poster. After that, I stapled the ticket down and added a couple of hearts to tie everything together.
This system is totally new to me but I'm obsessed with it! Had you ever heard of it or tried it out? Let me know! Until next time, happy crafting!
Memory Keeping in Your Everyday Planner with Tiffany

Hey everyone! Tiffany here with a fun planner spread using pieces mostly from the Take Note kit, with paper bits from the Girly & Strong kit mixed in. This spread turned out looking more like a scrapbook spread to me. I had just come back home from a week at Disney World and well, it took me a bit to readjust to a normal everyday life. I was halfway through the week before I created this spread, so since I didn't have many things that I needed to do for the week, I decided to make it extra fun and just scrap. I included a photo of the castle in it, the first time I included an actual photo in this planner (I normally leave photos for my memory planner) but it's always fun to mix it up and do a bit of memory keeping in your everyday planner.

So I really wanted to work the layers in this spread. I tried to use the scrap pieces of paper I had left over from other projects before cutting into the larger sheets. I ended up backing my photo on this beautiful watercolor paper from the Girly & Strong kit. I have most of my kits thrown in together and absolutely love that they coordinate with each other. After layering some ripped paper from the Take Note kit, a white doily from my stash, and paper bits from Girly & Strong, I began embellishing with pieces from the Take Note ephemera pack and everything just worked so well together! After adding a few epoxy and matte stickers, I finished this little cluster off with a light pink paperclip from my stash that just says "Friday" on it.
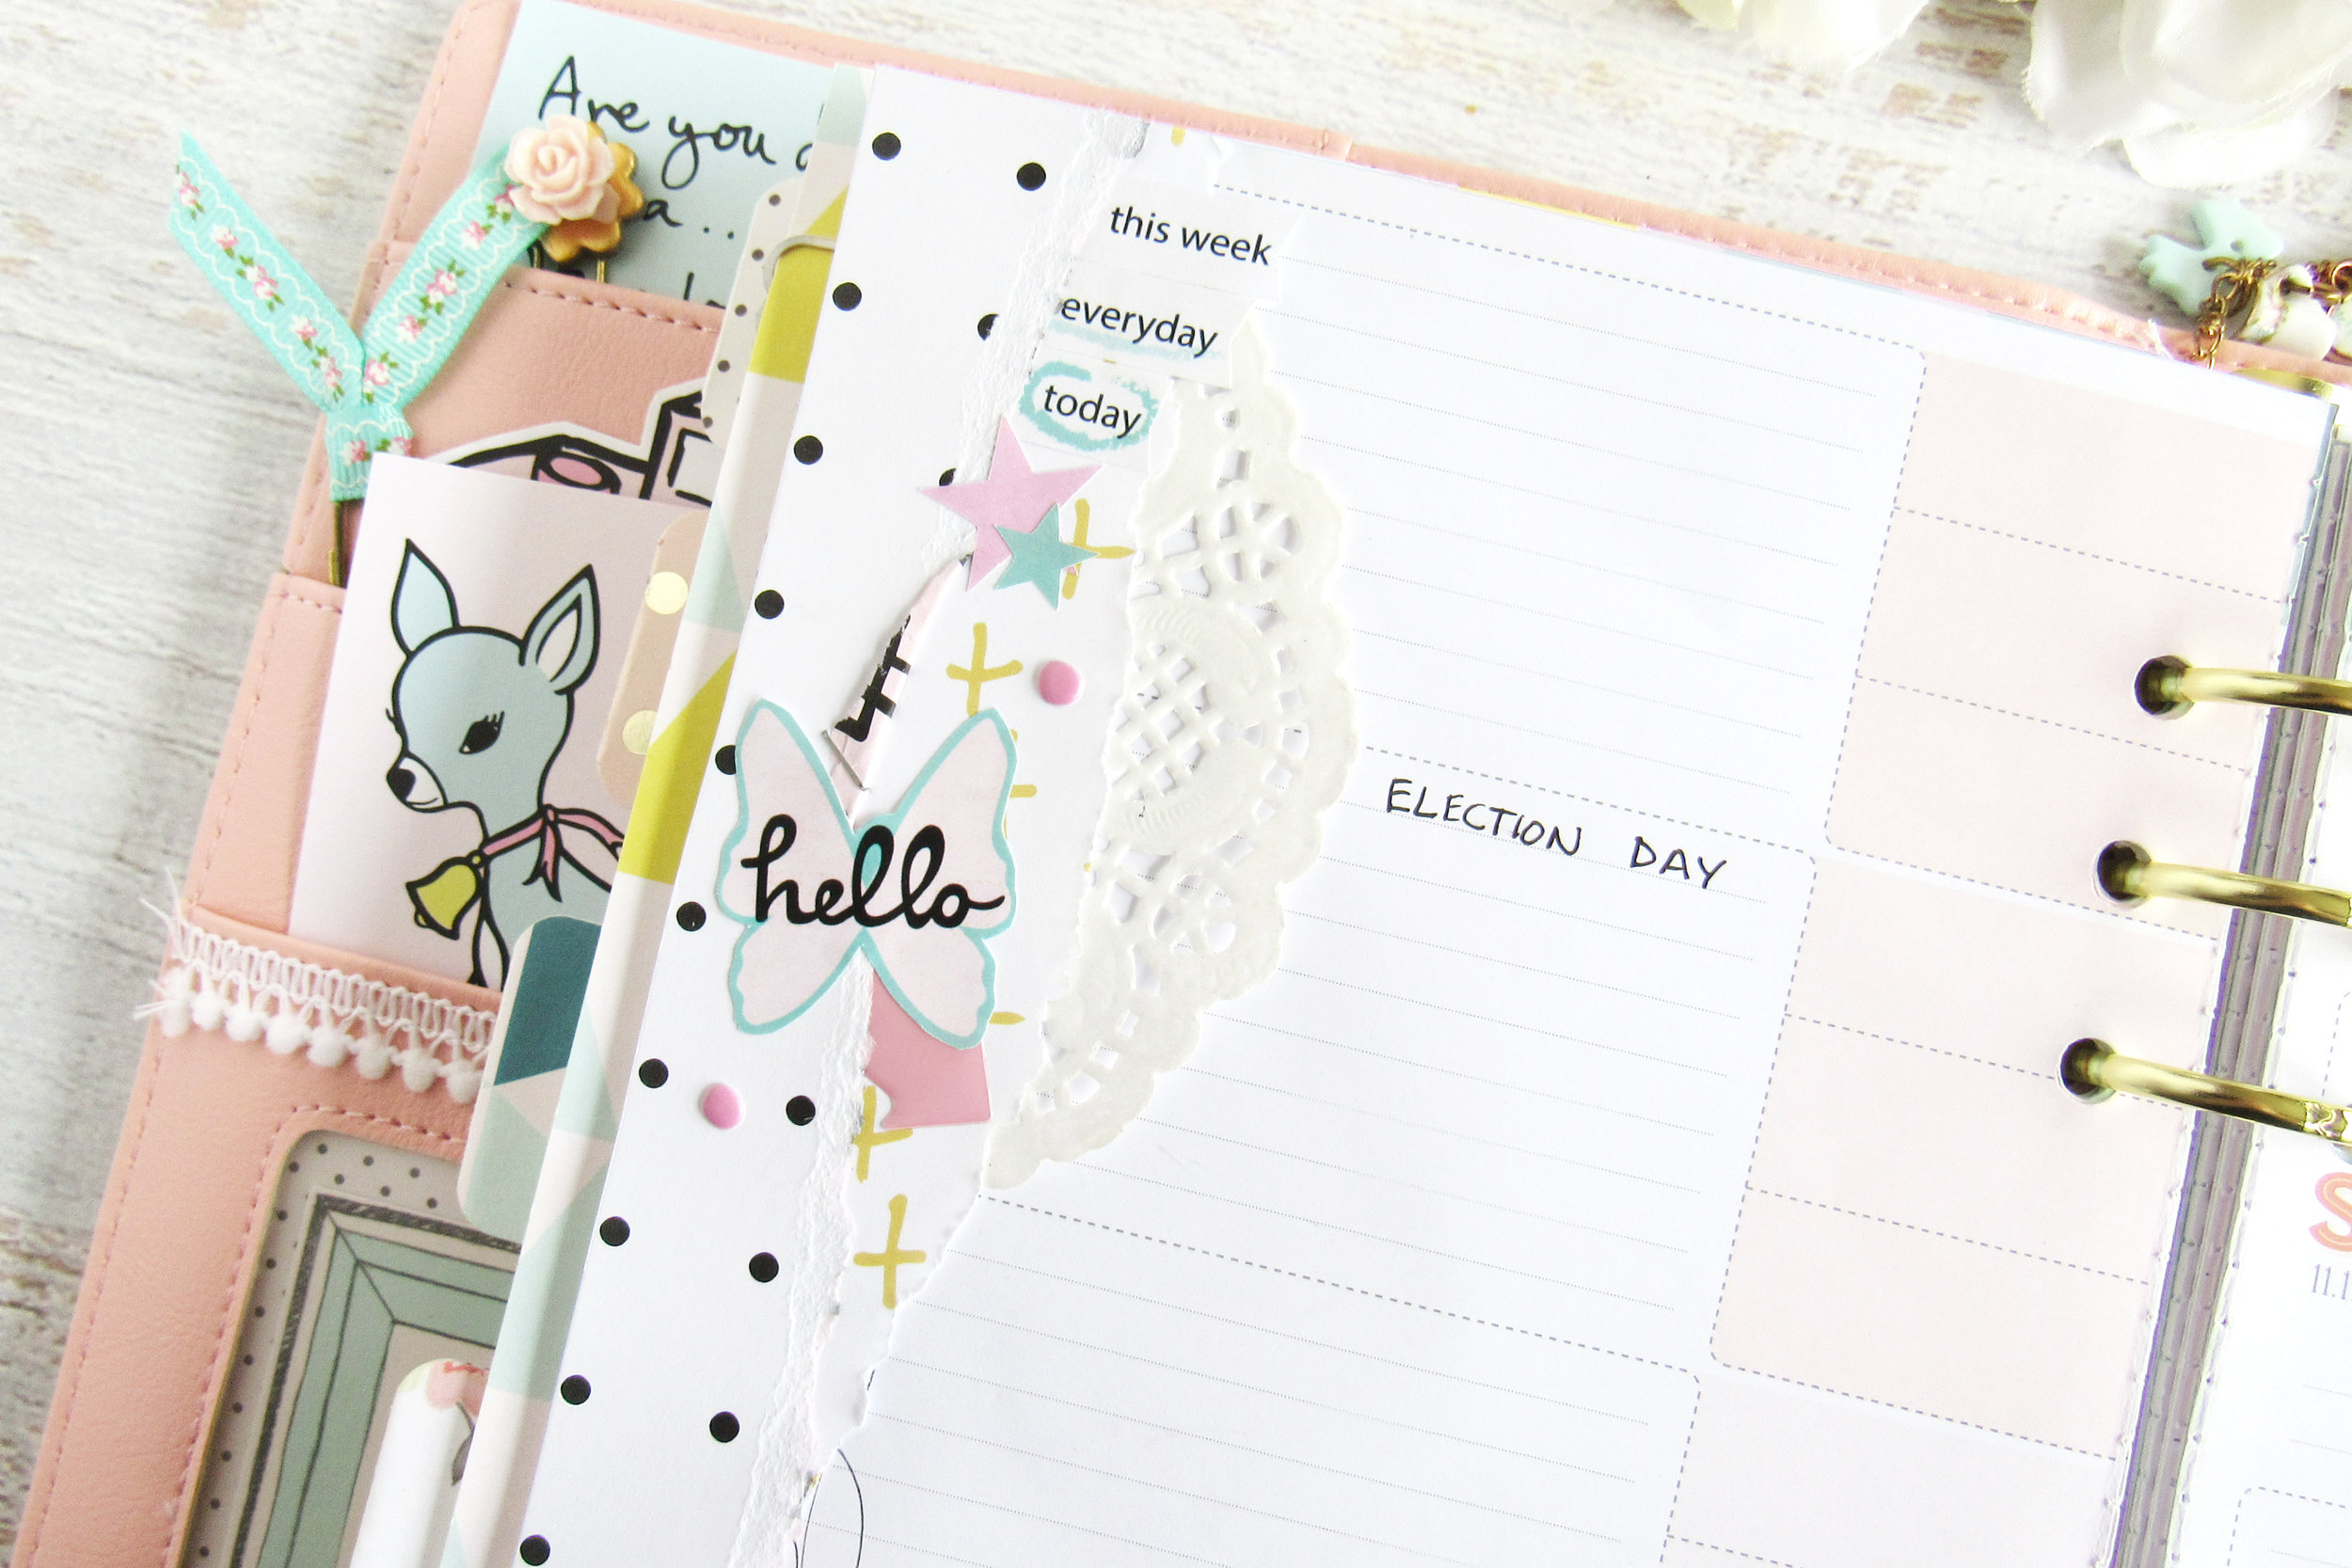
On the opposite page, I built up a small cluster on the top left corner to balance out my main cluster on the right page. I used the same pattern papers and ripped them into strips just to add that same texture to this left side. I added a bit of white doily here as well. I embellished with a few epoxy and matte stickers from the Take Note kit. That "hello" butterfly sticker was one of the boxed stickers that I just fussy cut the butterfly from. I like how it looks this way; it just seemed so out of place on my page when it was in the box. Finally, I added a few puffy dot stickers from the Take Note puffy word stickers. I finished off the spread with some pen scribbles and writing in a few holidays happening that week.

Definitely take a look at the process video below to get a better feel of how I put together this spread. I really enjoyed this process of just playing on my planner page!
Blog at http://www.ariestrash.com/ Follow me on Facebook: https://www.facebook.com/aerialovely Instagram: https://instagram.com/aerialovely/ AND https://instagram.com/createplanlove/ Tumblr: http://aerialovely.tumblr.com/ Shop: http://store.ariestrash.com/ Email: tiffany@ariestrash.com Get $10 off on your first purchase at Blitsy: http://blitsy.com/ref/o20jgx Music: Acoustic/Folk Instrumental - Hyde Free Instrumentals Soundcloud: https://soundcloud.com/davidhydemusic
So Thankful for You with Allie

Hello there! Today I'm sharing a fall layout using the "This is Halloween" kit. I wanted to make a page that had Thanksgiving vibes, but I actually don't have any unscrapped pictures of Thanksgiving! I used a recent picture of my family around a table of food, so I figured it was close enough.

I started out by cutting my title and some leaves from my Silhouette Cameo. I used watercolors to paint my title in colors that coordinated with my layout and backed the leaves with patterned paper from the kit. Next, I created my background with mist splatters and modeling paste. I punched out circles from patterned paper to add to the background and then added my photo and title. I finished off by adding the leaves and some gold die cut hearts from the "Take Note" collection.


I enjoyed challenging myself to create a Thanksgiving themed layout from a Halloween collection. I hope you feel inspired!
Thanksgiving "Grateful" Printable
Hello everyone! It's Andrea here, and I just wanted to share this printable I designed in celebration of the thankfulness of the awesome, upcoming season! Happy Thanksgiving, and Happy Holidays!
Left-click the images to download the full-size versions of these graphics.

6x8 at 300dpi

4x6 at 300dpi