Teresa's Halloween Planner

Hello! Teresa here with my Halloween planner set-up! 

This is a picture of my lil munsters last Halloween! They killed it, and this kit went so great with their photo. 

image2.png

I love adding lil fabric bows and such to Dashboards, to give em a lil pop! I use normal planner Girl glue sticks to and start gluing everything done! 

image3.png

I totally love the tags you get in almost all the kits! I hole punch a bigger hole so they can fit in my planner rings. 

image4.png

These are slightly stuffed pockets with all the adorable Halloween die cuts you get in the kit!

image5.png

Thank you for checking out my post today! Is it bad that I will want to use this kit even wayyy after Halloween. 🖤

Use What You've Got | Re-Purposing Travelers Notebook Insert Covers with Kim

Hey Kim here!  How are you guys today!

I'm one of THOSE people...I've spent so much time, energy and effort on making something I would hate to throw it away when I was done using it. That's why when I set up my Design Team planner, I decided to re-purpose my old pocket notebook insert covers and dashboards to make them bigger and better!

If you haven't had a chance to see them the first time around, below is the YouTube video with a page by page walkthrough and a tutorial on how I made an acetate pocket.

And here is the original blog post on Fairytale Club Blog

Now, let's get to the transformation!  I did a walkthrough video to show and talk about how I organize my Design Team planner using my predesigned items from the Pocket Notebook.  But I also talk about how each part come together so wonderfully from this endless Take Note collection!

I tackled this dashboard by adding a piece of patterned paper as a base and then adding the previous 'everyday' dashboard from my pocket travelers notebook.  Scraps make great additions, in this case, the flower is the last of the littlest bit I had left from the It's mama paper to make a cool little corner piece.

6-FTSC-DTplannerbyKim.png

The next one is with this cute and sweet little guy I couldn't get rid of!  He again is starring once again as an insert cover.  I did have to cover up a couple of bumps and bruises with some more stickers and paper pieces, but you would never know the way it turned out. 

5-FTSC-DTplannerbyKim.png

On the back side, I just played with pattern and color and the flower dashboard on the right is brand new to the setup.  I had to make a few new pieces, you know! ;)

4-FTSC-DTplannerbyKim.png

This time, instead of wrapping the old insert around the new sized one, I decided to slice it down the crease and use only the front. I also added the tag made previously and grounded it on a new background paper.

3-FTSC-DTplannerbyKim.png

I also used part of an acetate to enhance the back side of this cover.

2-FTSC-DTplannerbyKim.png

I love how Andrea has been designing this lined note paper for the kits!  I thought it would be great to jot down some upcoming tasks I wanted to get a head start on.  It's the perfect cover for my projects inset.

9-FTSC-DTplannerbyKim.png

The back side of this cover was newly designed but the one opposite with the foiled adhesive cutie is my favorite!  I had to keep him as is for an insert surround.  

The last insert cover I had to use paper from the "Sweet" Collection because I had run out of all large paper pieces.  BUT the colors work famously together. I then added a few more list papers to jot ideas down right on the cover!

10-FTSC-DTplannerbyKim.png

Love you guys!  See you next time.

-Kim


"Spooky" Halloween Layout with Sarah

Sarah here today to share with you my layout using the spooktacular "This is Halloween" kit!!


I started my layout using a white sheet of cardstock, I pulled a few Shimmers from my stash and sprinkled them on the background. I set that aside to dry and started to add layering behind my photo.

I knew I wanted my picture in the center of the page, as that would give me a lot of room to play and layer. I layered some of the papers behind my photo and then broke into my planner inserts and chose a few to add in with the layering.  After I had the layers the way I wanted I decided to bend up the sides of each of the layer.

Once my sprinkles were dry in the background, I went ahead and added my photo and its layers to the background and worked from there. I like to do this a lot - get my photo where I like it and then work the rest of the page from there. I looked through my planner inserts again and decided to cut the cute black cat sitting on the pumpkin out and use it as an embellishment.  I added it to the right side of the photo and slid the cute little Boo heart sucker die cut behind it.

PicsArt_10-25-06.49.29.jpg

I knew I wanted more on the layout, so I decided to add a strip of the purple polka dot paper to the top and a strip of the orange, too.  They tied in well with the plaid paper in the layering behind my photo, and I decided I would add some of the purple to the bottom as well. 

Then it was on to embellishing!! I pulled out the die cut pack and started to play. There were so many cute pieces, I had to reign myself in or I would have used it all! But instead, I pulled out a few pumpkins, some little bats. and the word 'Boo.'

I knew what I wanted the title to be, and the Boo would be great to mix in. So I added the Boo to the upper left side of the layout with a little pink pumpkin and then added the rest of my title with thickers from my stash, so it says 'Boo @ the Zoo!' That's where we took the picture. It was a fun-filled night for adults at the zoo with lots of fun, scary zombies and some cute things made out of hay.

Well I went on and added the bats around the title and then moved to the bottom of my layout. I added two little pumpkins and that adorable tag that says, 'xoxo.' Finishing off my layout. I added some stitching and ruffled up the edges of the rest of the papers.

Thanks so much for coming by and seeing what I created today!

"Jolly" Full Kit Reveal!!!

Hey Everyone! It is Andrea here, and today, finally, I am going to share with you our super amazing, oh so adorable, new kit! It is Christmas-y and vintage meets modern, with lots of beautiful pinks and reds and greens and blues...and it's got Santa and a reindeer and a snowman and lots of other classic Christmas gorgeousness! One might even say that it is "the most wonderful kit of the year, for the hap-happiest season of all"! So let's take a look at our newest collection, "Jolly"! Yay!!!!!

"Jolly" is the perfect way to document all of your Christmas magic!  It is inspired by the classic Christmas movie, Babes in Toyland, and has that whimsical and kitschy-cute, retro vibe.  Babes in Toyland is set in a fairytale world where magic, especially Christmas magic, abounds, and happily-ever-after wins the day.  I wanted "Jolly" to have the same, magical feel, and child-like sense of wonder that is expressed in the movie.

I used a lot of classic Christmas imagery in this collection, such as Santa Claus, candy canes, reindeer, Christmas trees, snow flakes, etc.  And I tried to create patterns that were reminiscent of vintage Christmas wrapping paper.  I think you'll find that "Jolly" is filled with Christmas magic and perfect for documenting all those magical and traditional things that you do during your holiday season.

Now that we've talked a bit about "Jolly" as a whole, let's take a look specifically at the product that comes in "Jolly."  First, let's talk about all the cute patterned paper.  As I said, I was inspired by vintage wrapping paper, and I think the patterns that resulted are really special and do capture that vintage feeling.  This is due to the classic imagery used, but also the types of geometric patterns I've done, and also the fabulous color scheme! In Jolly you get the traditional reds and greens, but there are also some lovely blues and pinks mixed in which help to work together and create that retro vibe.  ;-)

The first paper I want to talk about, "Merry Christmas," is a good example of the vintage wrapping paper feeling I was trying to capture.  Both sides could be wrapping paper really. I think the pink and red geometric print is super cute and lovely and kinda reminiscent also of a vintage quilt. I love that hand-drawn Merry Christmas text on the back side of this paper too! It feels very vintage-y and is perfect to use as a background but would work great to cut up too to make lots of little"Merry Christmas" labels.

As you may know by now, I love taking familiar graphics and giving them somewhat unexpected color schemes, like the Christmas trees in this pattern, "Oh Christmas Tree!"  I love pink, and together with the dark blue-y, teal-y color that is in the collection, it just works to make such a vintage meets modern vibe! It makes me smile!  And on the back, you have a great white on mint dimensional polka dot!

I am so so in love with this next paper, which happens to have the same name as the collection it represents, "Jolly".  Isn't that Santa just adorable?!  He is just so very, well, Jolly!!! And on the back is that amazing red and pink stripe pattern, with the different shades of red and pink that come in the collection, so reminiscent of wrapping paper and so versatile!

03 - Jolly.jpg

"Let it Snow" is the next paper in the collection, with large snow flakes on the front and a geometric pattern on the back which is strongly evocative of ice and icicles.  This one is perfect for any project involving fun snow activities, like building a snow man, sledding, or ice skating!  And I love that shade of blue!

The next paper has a simple, diagonal, multi-colored stripe on the front with a dual-tone pinwheel pattern on the back.  This paper really reminded me of the awesome techni-color colors and whimsical design of the movie that inspired this collection, so I gave it the same name - "Babes in Toyland."  Both sides are super versatile and will work great as backgrounds of cards or mini album pages. I think they are perfect to use for 12x12 layouts too -- like in a large strip at the top of the page, or as a border to frame a white paper, or a small square piece to layer behind your pic, etc!

I love this next paper, "Happy Holidays," ! I enjoy the fact that the outlines of the circles in the pattern are made of little white dots...so they are circles made of circles, essentially.  And the green of the background is such a fabulous vintage Christmas tree green!  And the back side with the retro star pattern definitely brings to mind some vintage wrapping paper but also reminds me a of a cool vintage tile floor in a super retro kitchen from the 50's or 60's !  I love it!

One of my absolute favorite papers in the "Jolly" collection is this next one, which I have named "Candyland."  The front side has adorable, wrapped mint candies in three different colors that kind of seem like maybe they're raining down from the sky, while the back side has this amazing "Love Joy Faith" print with hand drawn block letters on a great, red background.

And now we get to the cut-apart sheets for the collection.  The first one is called "Dear Santa," and I absolutely love it.  Not only is the front side filled with pocket cards, tags, and labels of all different sizes, not to mention that great column of tickets, but you also have a wonderful back side with a colorful Christmas stockings pattern!  I just love everything about this!

The other cut-apart sheet is called "Love Joy Faith" and features pocket cards in 2 different sizes -- 3X4 and 4x6.  It also has some cute word labels that you can cut out too! I can't wait to cut this sheet up and use ALL of them!  They are so stinking cute and useful!  And of course I love the adorable red and green bow pattern on the back side.

So, that was all of our beautiful patterned paper from the collection!  I can't wait to use it for my Christmas projects!  Now let's take a look at the gorgeous embellishments, starting with the ephemera pack.  We always do an ephemera pack in our kits and that is because they are super cute but also super versatile and useful and can be used for multiple purposes. They look great on a layout, but are also perfect for tucking into the pockets of your planner...and they can be used and re-used if you want because you don't necessarily have to adhere them down.  Now, I put a lot of time and effort into creating the pieces for this collection, as always, but I honestly think this is one of my favorite sets of die cuts so far.  My favorite pieces are the waving Santa (so adorable!), the reindeer with her cute little antlers (yes, girl reindeer grow antlers...they are magical that way), the mint candies, the snow man, the snowflakes, and the pink tag with the vintage girl trimming her Christmas tree!  But really I love them all!!!

The flair buttons from last month's "This is Halloween" collection were such a hit that we knew we had to include them in the "Jolly" collection, too.  The six flair buttons for this collection  are the hand drawn white "Joy" on red, the pink Christmas tree on green, the candy cane with a mint bow on pink, the pink reindeer on mint, the cute Santa on white, and one of my little snowflakes on our dark blue-y, teal-y color .  If I had to pick a favorite, I think it would be the Santa...or the deer...or the snowflake...or maybe the candy cane...or...ok, ummm...well, really all of them!

Flair Buttons with packaging.jpg

The shaped sticker sheet continues to be a new favorite with our customers, so it returns again for the "Jolly" collection!  I love the reindeer, of course, now in a light blue-y, minty color, and both "Merry Christmas" stickers!  Ooooh, and I also love the striped stars and the pink gingerbread man! But my fave will have to be the cute little kids cuddled up in their bed!

October 2017 - sticker sheet.jpg

We are also bringing back the gold-foiled-on-vellum word and shape stickers.  I just love how these look on the page! So shiny and pretty!!! I think the golden snowman is my fave!

So that's all the embellishments for the collection.  Let's return to paper and take a look at the awesome planner dividers, just filled to the brim with Christmas and seasonal images and phrases!

A5 Block.jpg

One of my favorite dividers is, you guessed it, the one with the waving Santa!  This time he has the title for the collection hovering over his head.  And I love those scallops at the top and bottom!

1.jpg

Here in southern California we almost never actually get snow, but I wanted to create a divider with the "let it snow" mantra anyway.  You never know! Fingers crossed!!!

I love my happy snow man, don't you? He is very frosty, but very fun as well! And he just makes me smile!

I love the sentiment of this divider.  It's something we all need to remember from time to time during this very busy time of year.

This is perhaps my favorite design in the whole collection.  Aren't they cute, all shnuggled up in bed? They are a couple of "babes in toyland", dreaming of Christmas, with all those great visions of sugar plums and such dancing in their heads! Meanwhile, you can imagine Santa tip-toeing in, putting their presents under the tree for a magical Christmas morning!

And this Candy Cane planner page is way cute too! I love the big pink bow on it...it makes for a very sweet little gift to hand out during those "Happy Holidays" !

I love the graphic of the girl trimming her tree, so of course I had to put it on a divider.  She is just so vintage and cute! She was modeled after the main character in Babes in Toyland, Mary Contrary, played by Annette Funicello. She has the same kind of dress that you see the character wearing in the movie, but in red instead of yellow...I thought I would change the color to make it feel a little more Christmas-y. And I love the pink trees with the pink background on the back side of this planner page too! All of it is just way cute and definitely a big fave too!

This wooden toy soldier really wants to wish you a "Merry Christmas!" He is inspired by the march of the wooden soldiers in Babes in Toyland . An army of wooden soldiers are brought to life through the magic of the Toymaker and his Toyland and used to save the day by Tom so that he can rescue Mary! It is such a cute movie and if you haven't seen it yet, you have to!

This next divider is so great too!  I really love the red lettering in front of the pink retro stars on the darker pink background. And the sentiment is perfect for the Holidays!

My little reindeer, back in pink again, makes for a great divider graphic, don't you think? I just love her! She is a big favorite too for sure! So cute with her little antlers and her bell! I think I want one of her for Christmas, please...thank you!

I haven't talked about the polar bear in this next divider yet, but isn't he just so cute with his bow and that adorable look on his face!?  And how do you like my silly pun?! Do you get it?! It is super corny, I know!

And for the last divider, we have a big stocking, in pink and green, stuffed with presents and ready for Christmas morning.  I love it on the diagonal stripe background! It is super retro looking and exactly the stocking I wish I would get for Christmas!

Ok, so we're bringing back one more thing, and it's the transparency.  But this time, in honor of this special season, it's been upgraded to gold-foil!  This transparency features the snow flake pattern seen elsewhere, and it's called "Winter Wonderland."  It's perfect for you to use for your TN inserts, for your scrapbook mini albums, for card-making, for a planner divider, a shaker card...really anything you can think of!

October 2017 - Gold metallic transparency screen res.jpg

Well, that's everything!  I am so excited to finally have been able to share this collection with you.  I hope you enjoyed this reveal as much as I did!  "Jolly" is sure to set your eyes a-twinkle and get you humming Christmas songs to yourself, so stay tuned for the kits to go on sale soon, and join in the magic!  Merry Christmas everyone!

xoxoxoxoxoxo -- Andrea :-)

Happy Halloween and Dia de los Muertos!!!

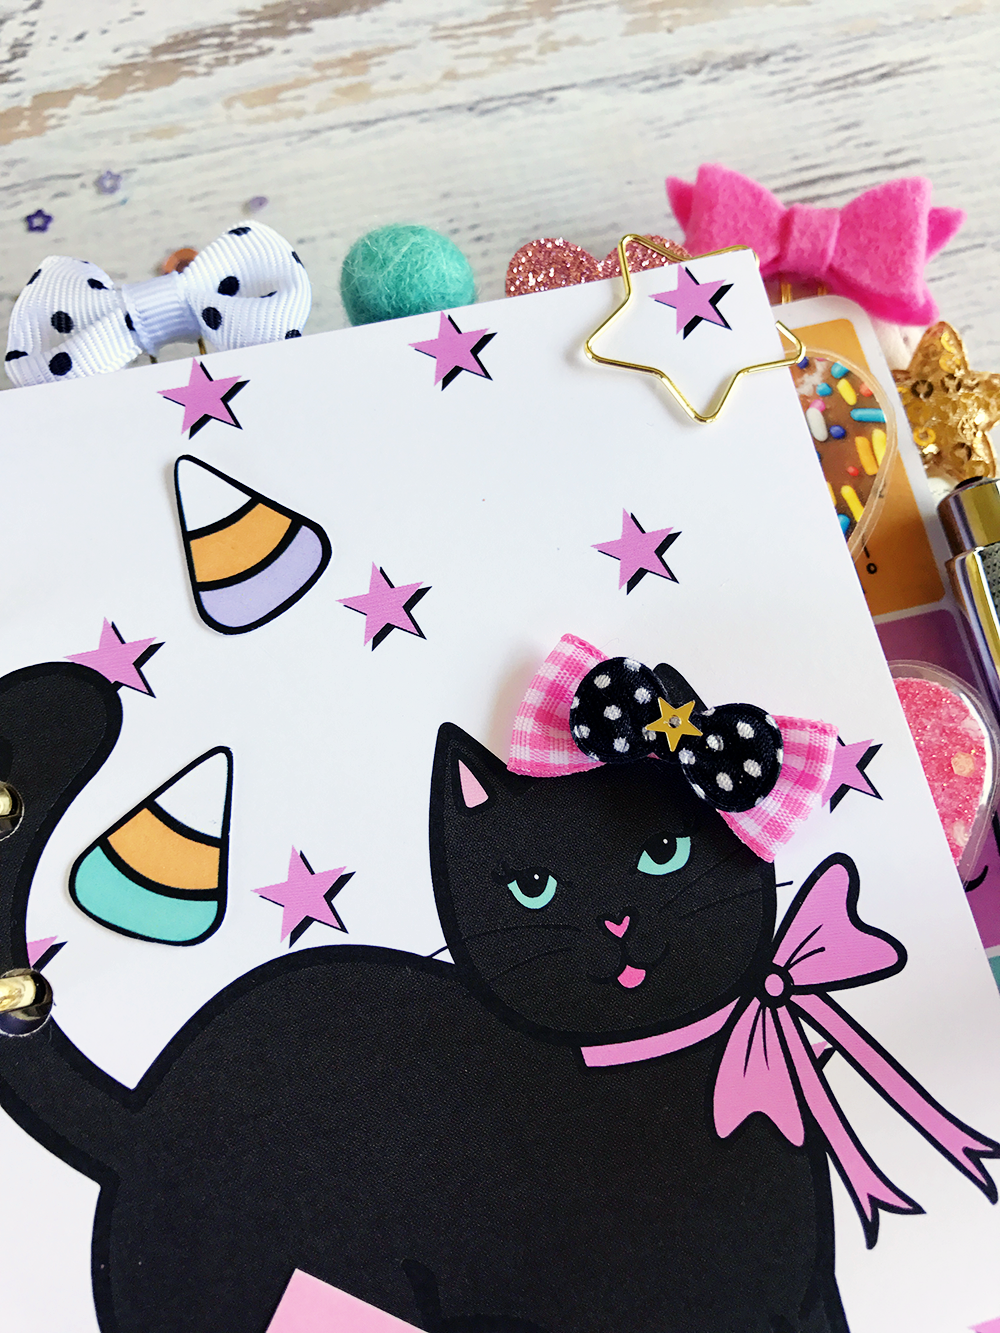
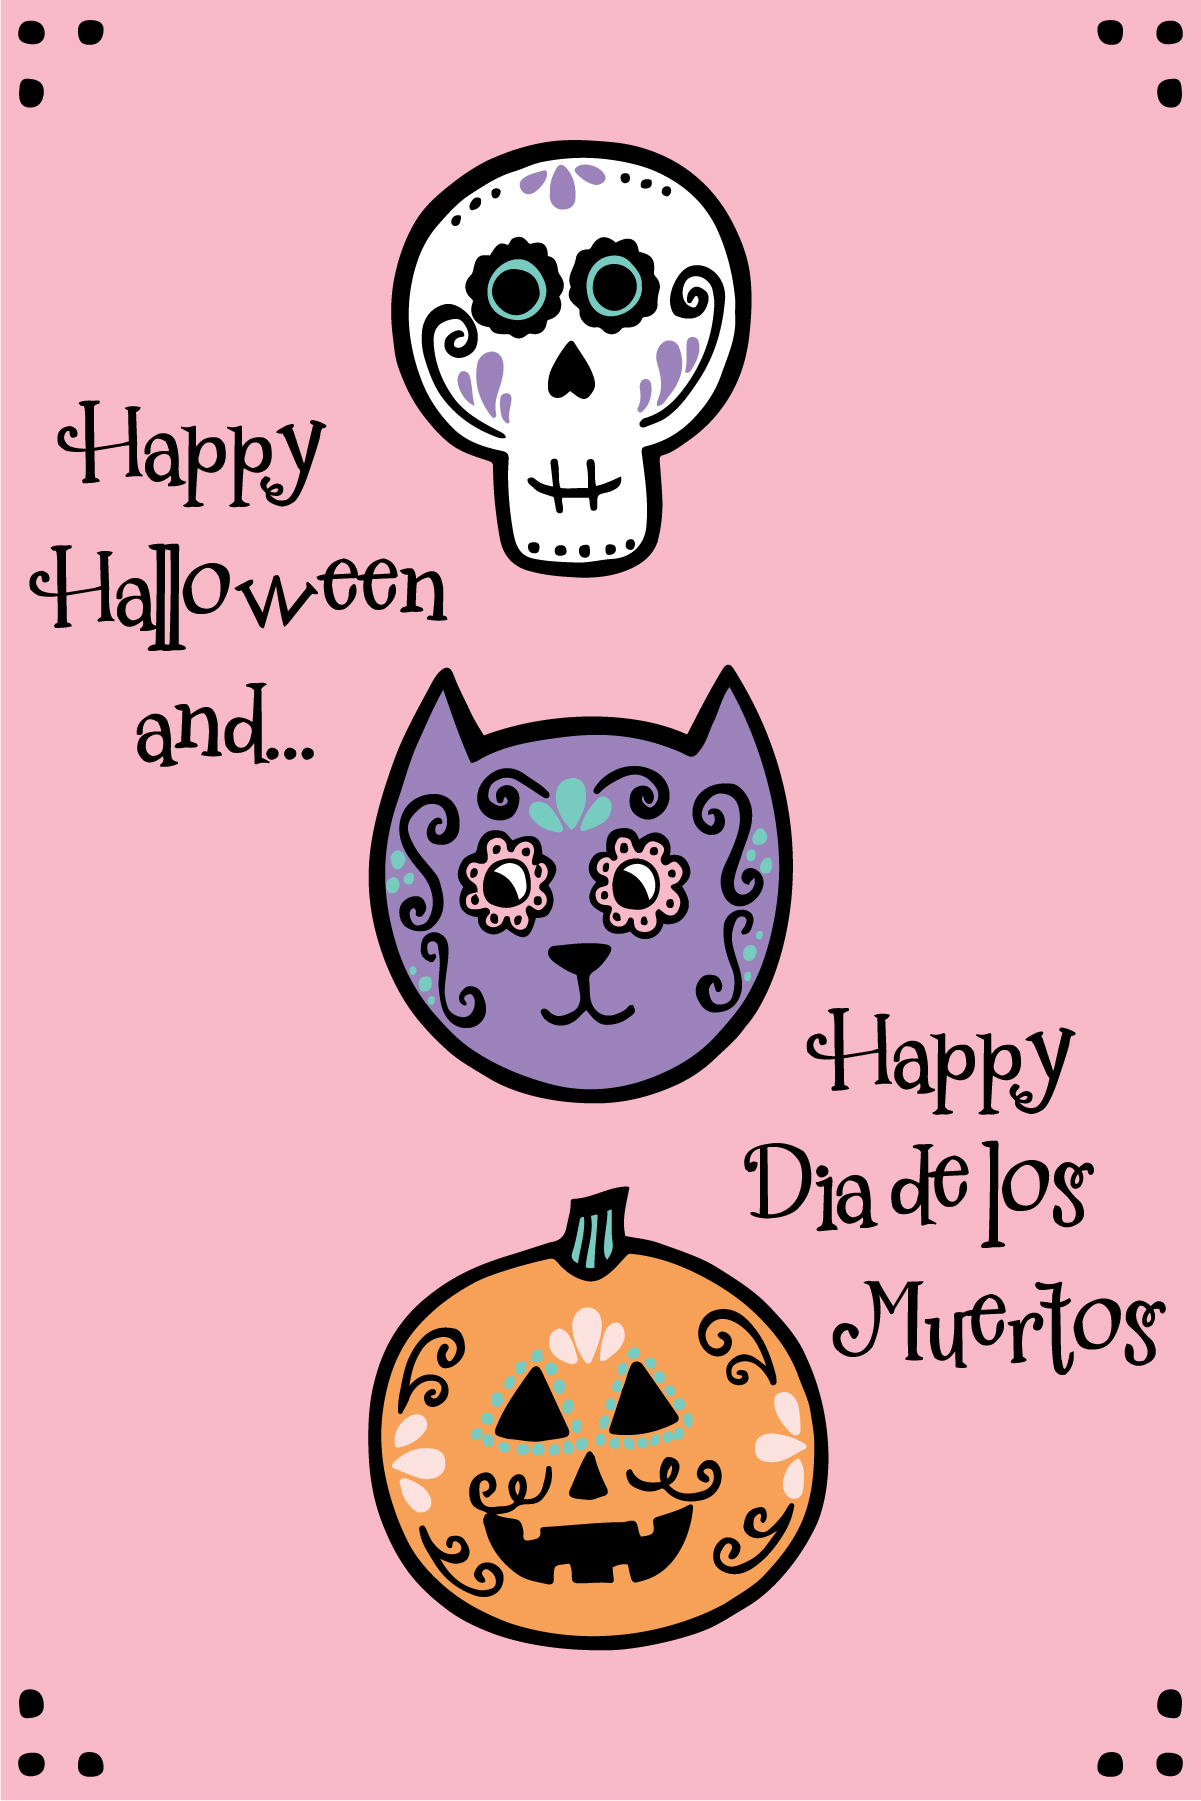
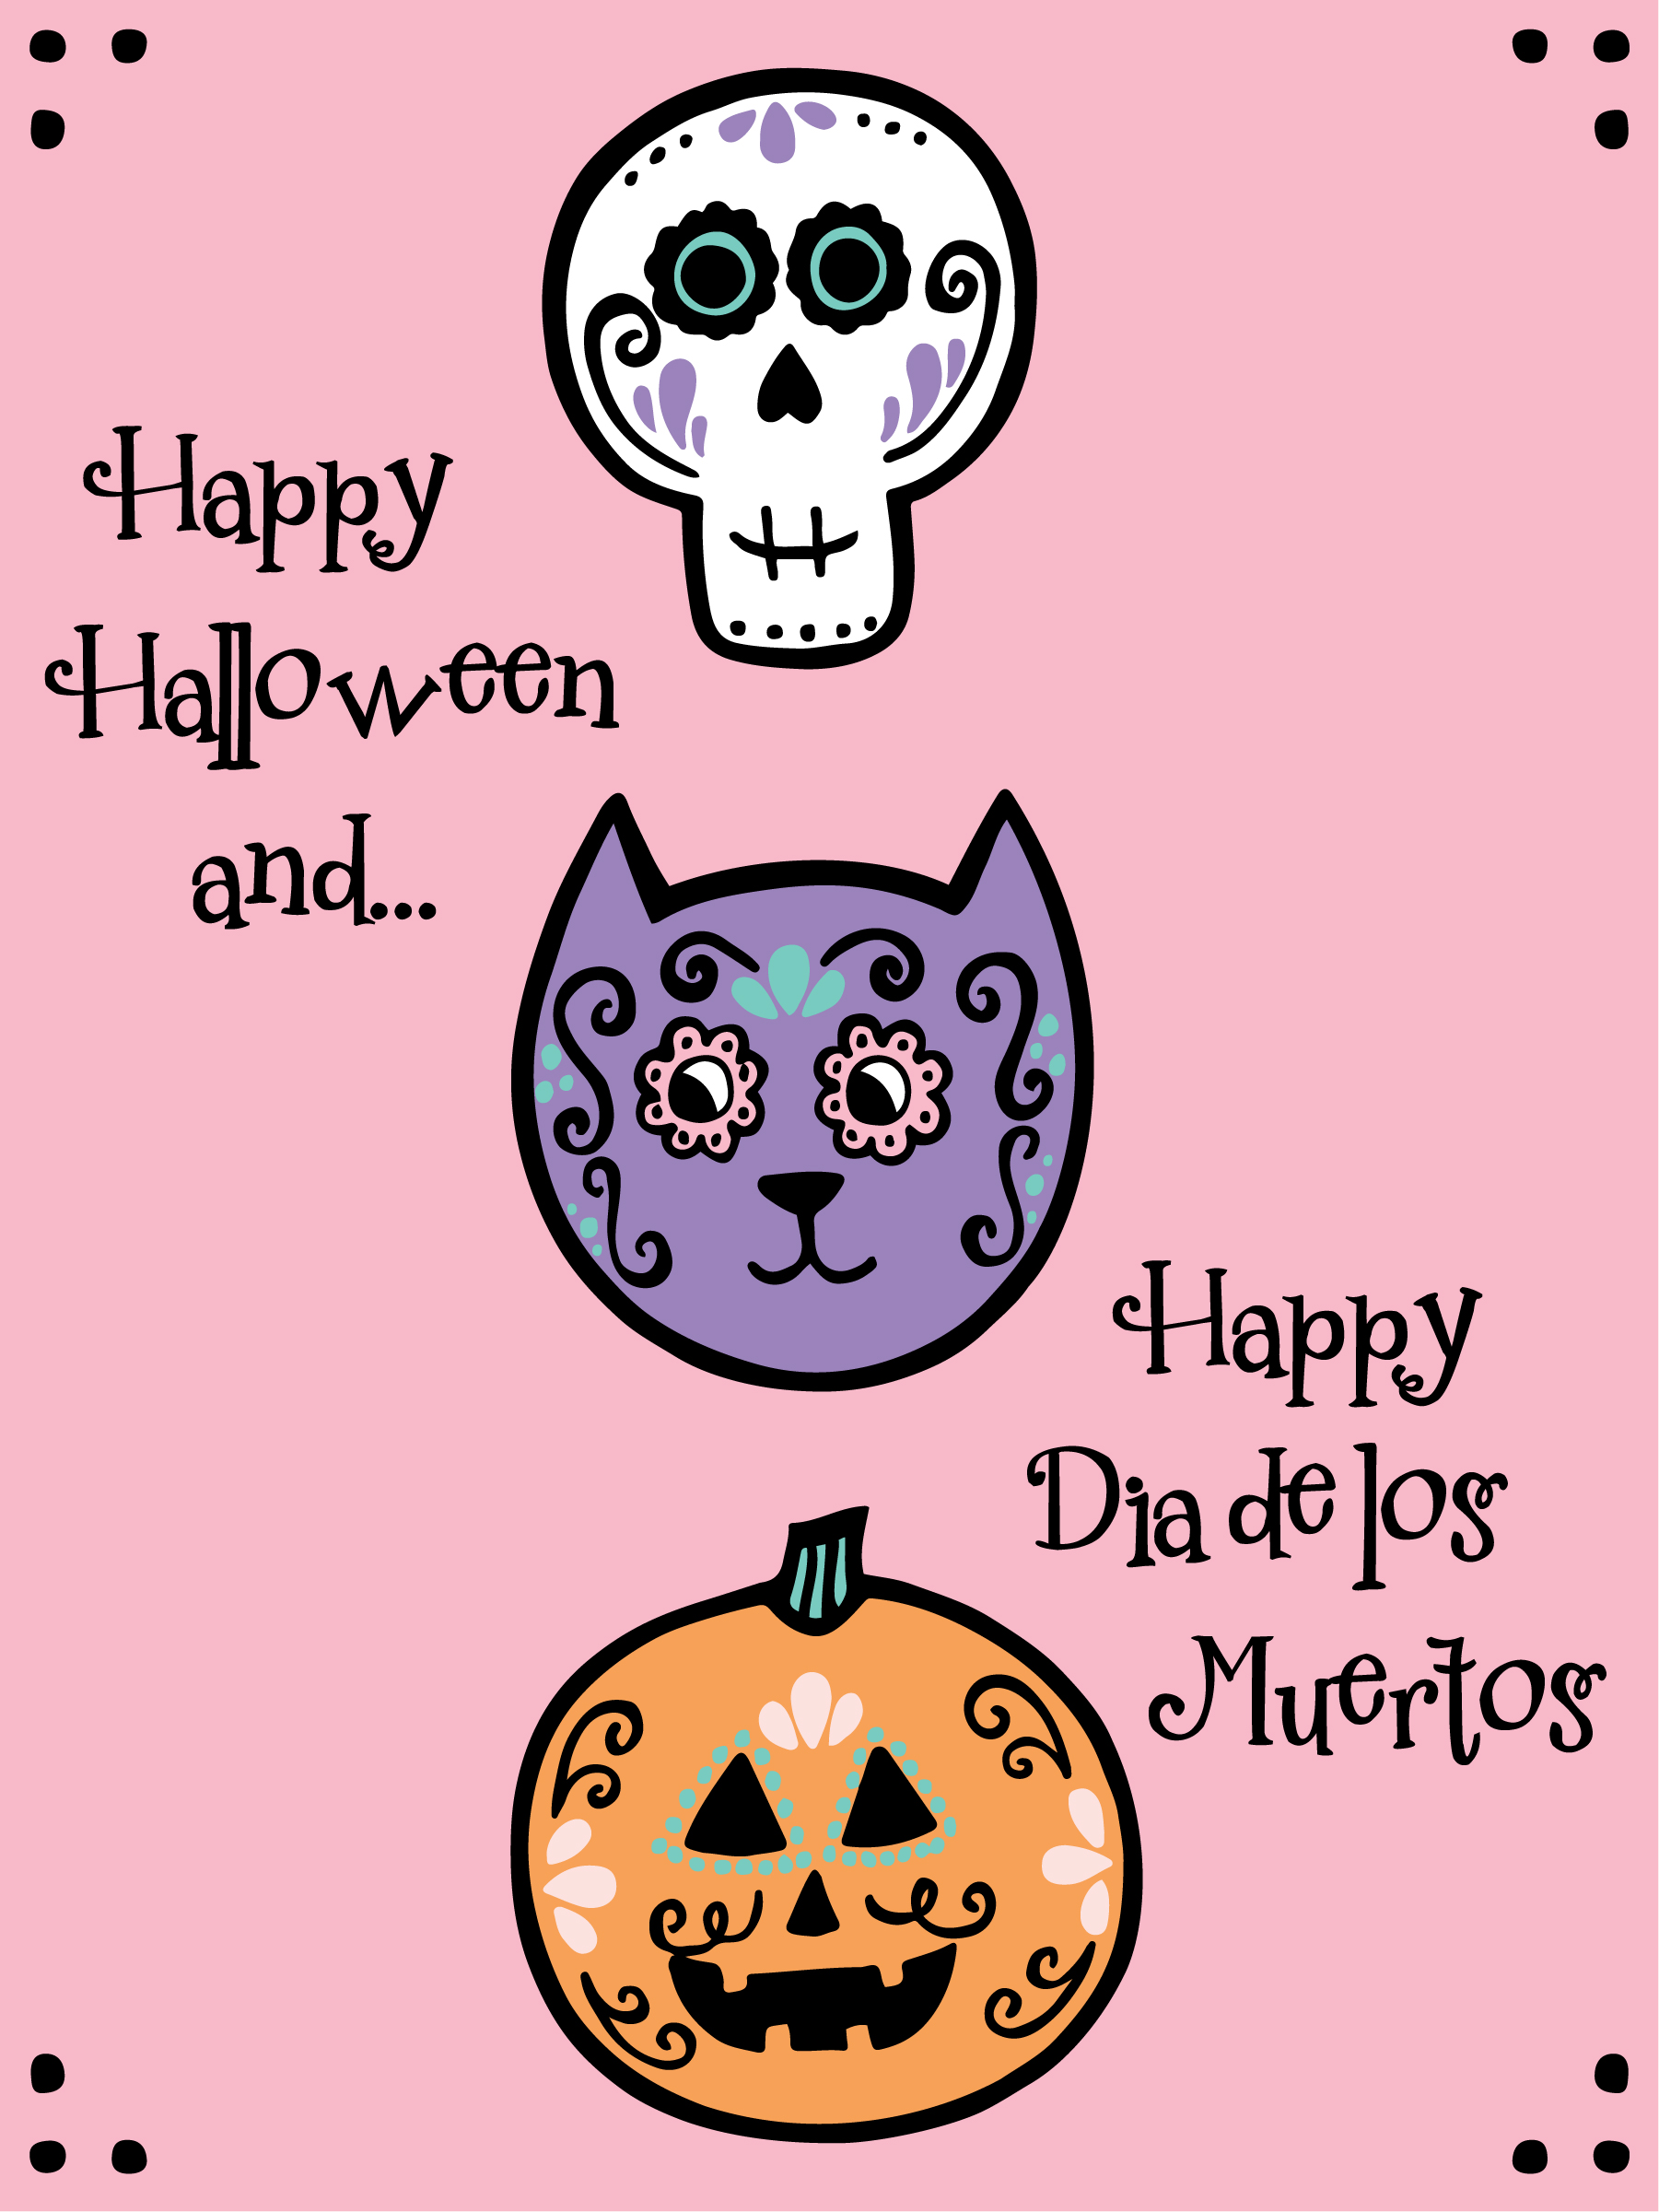
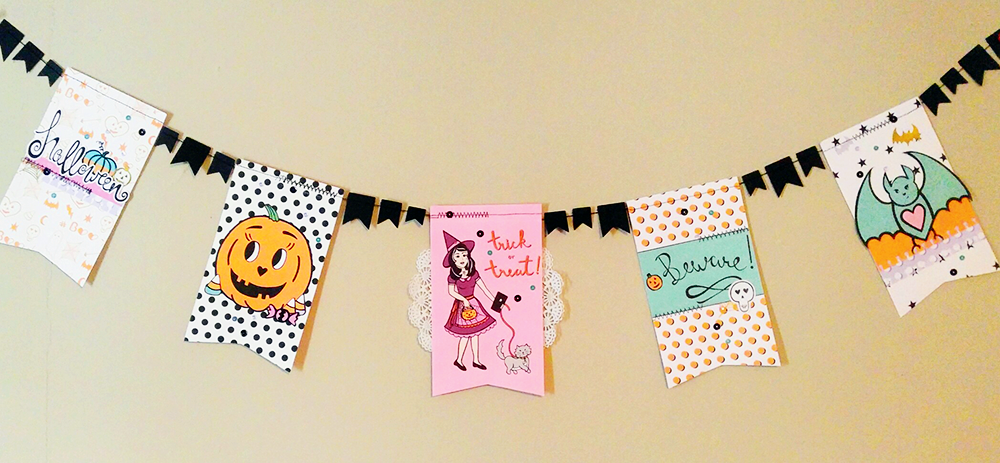
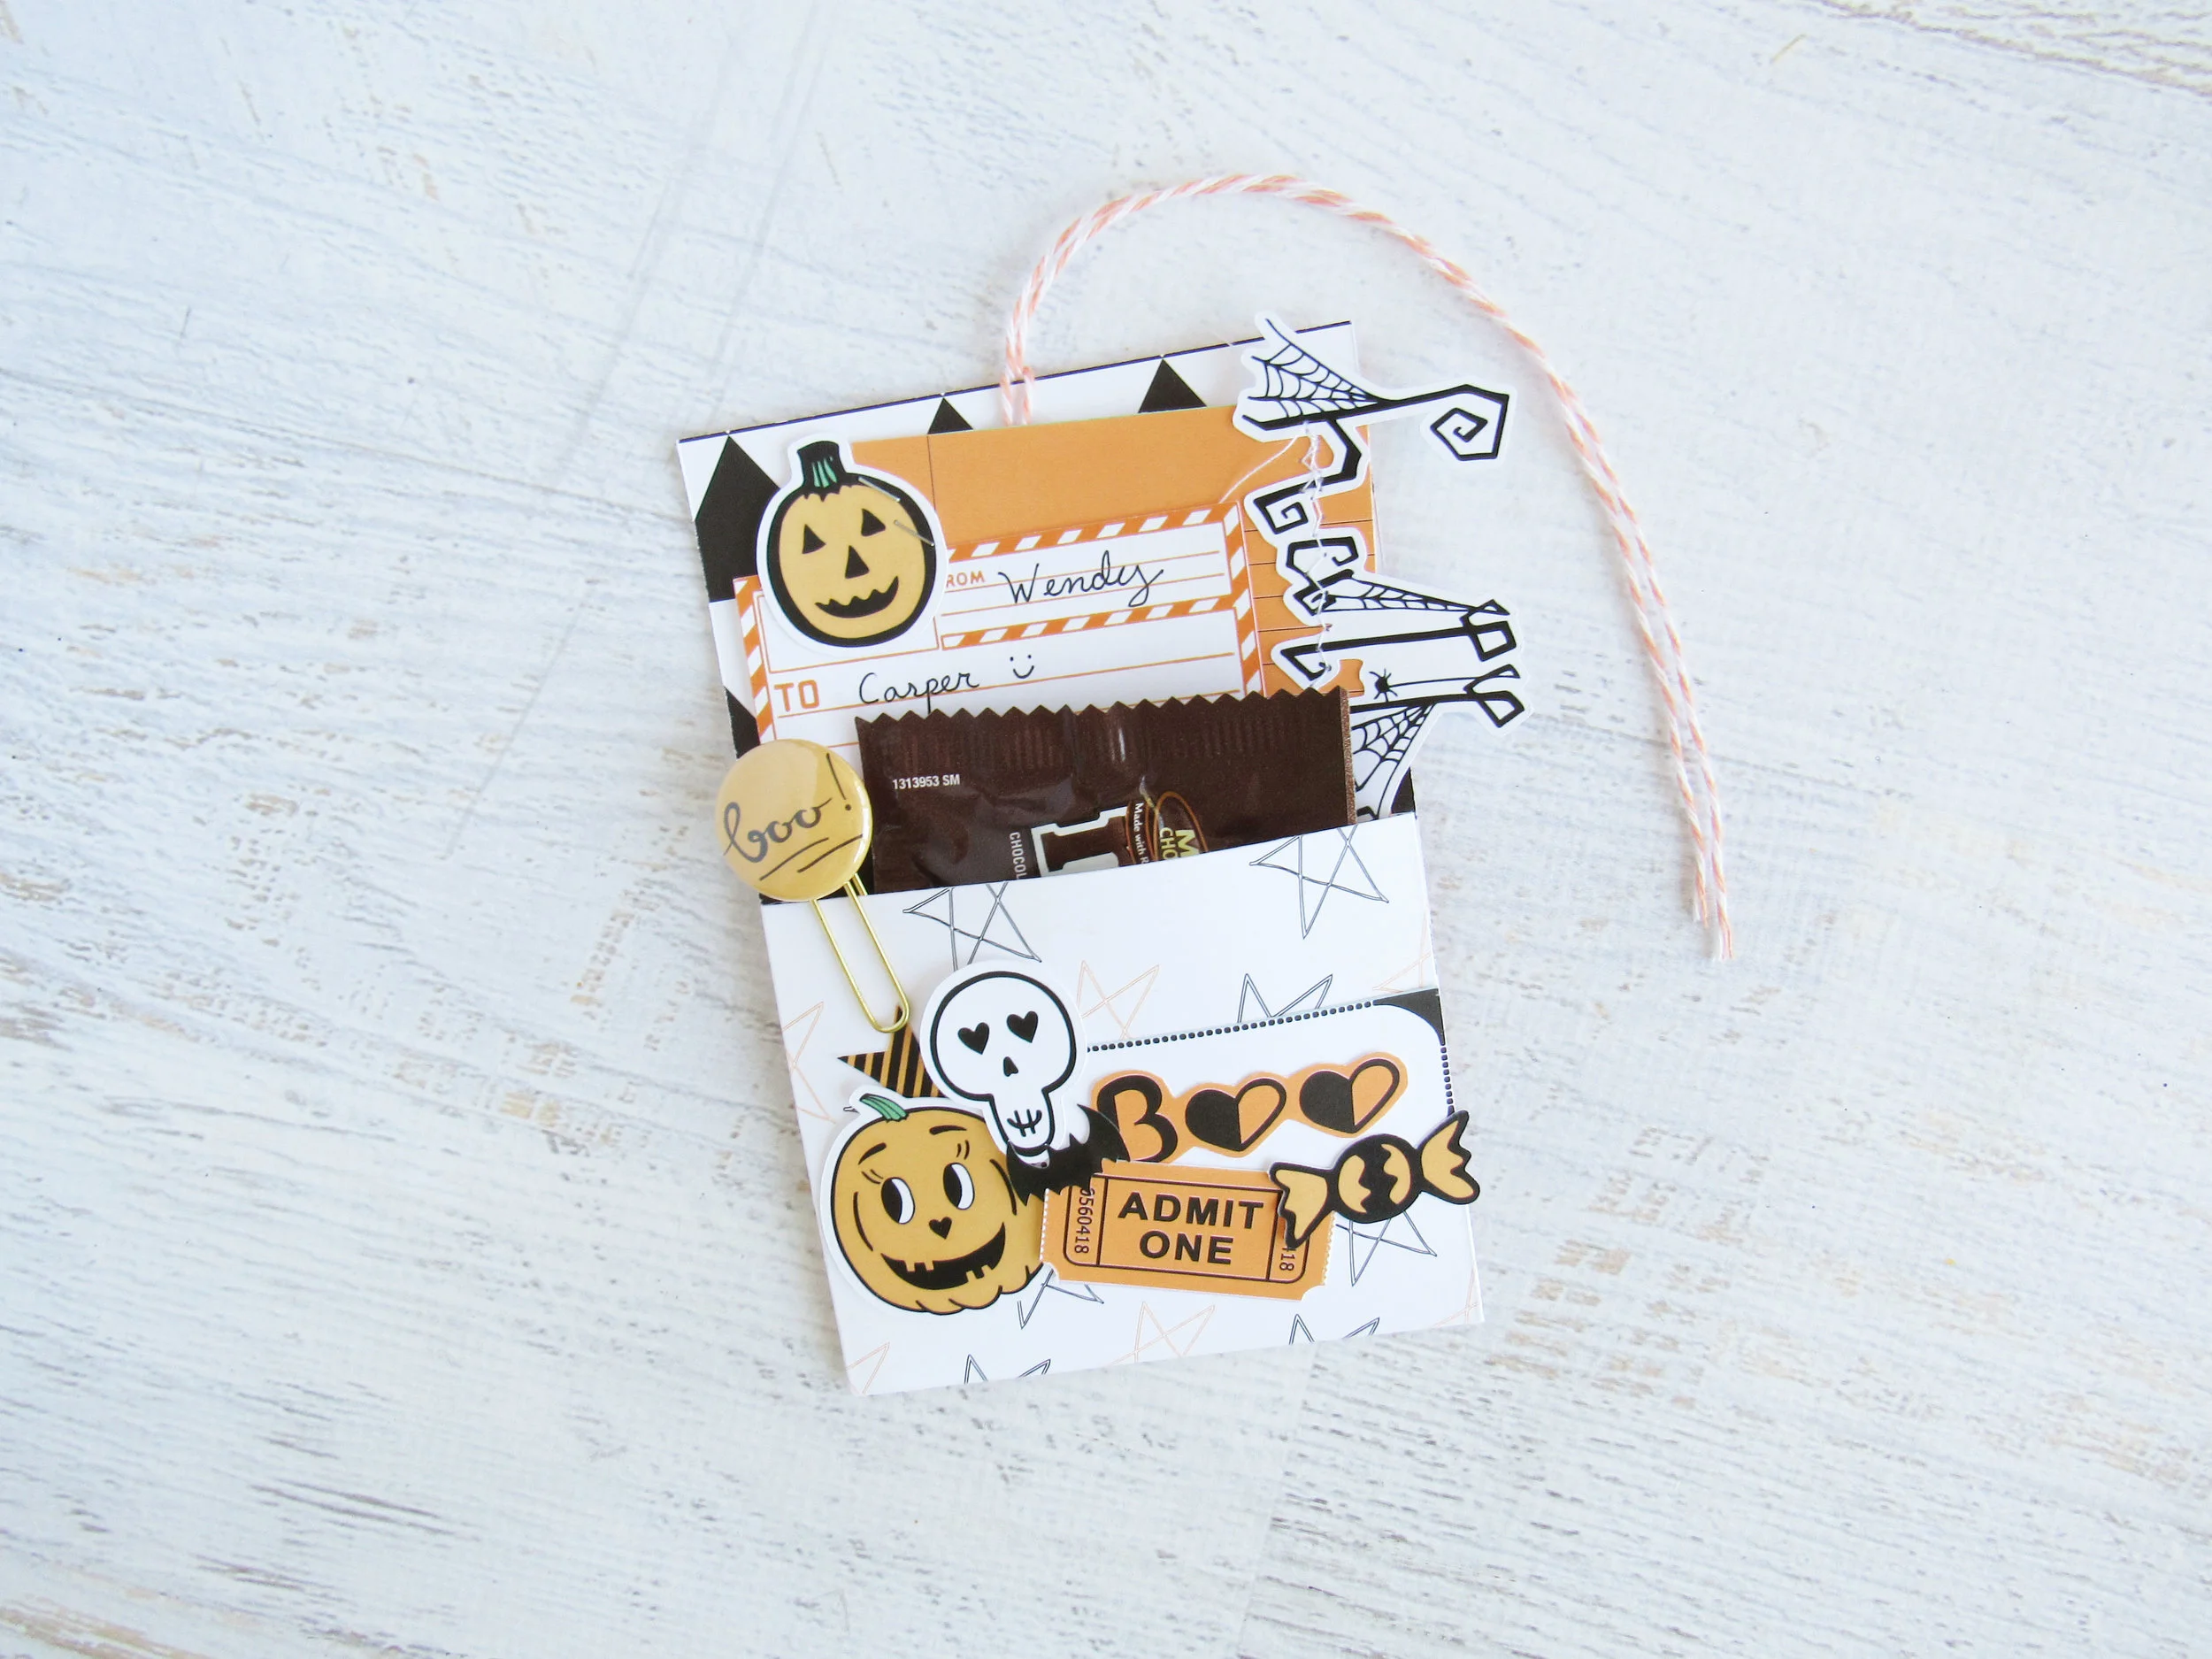
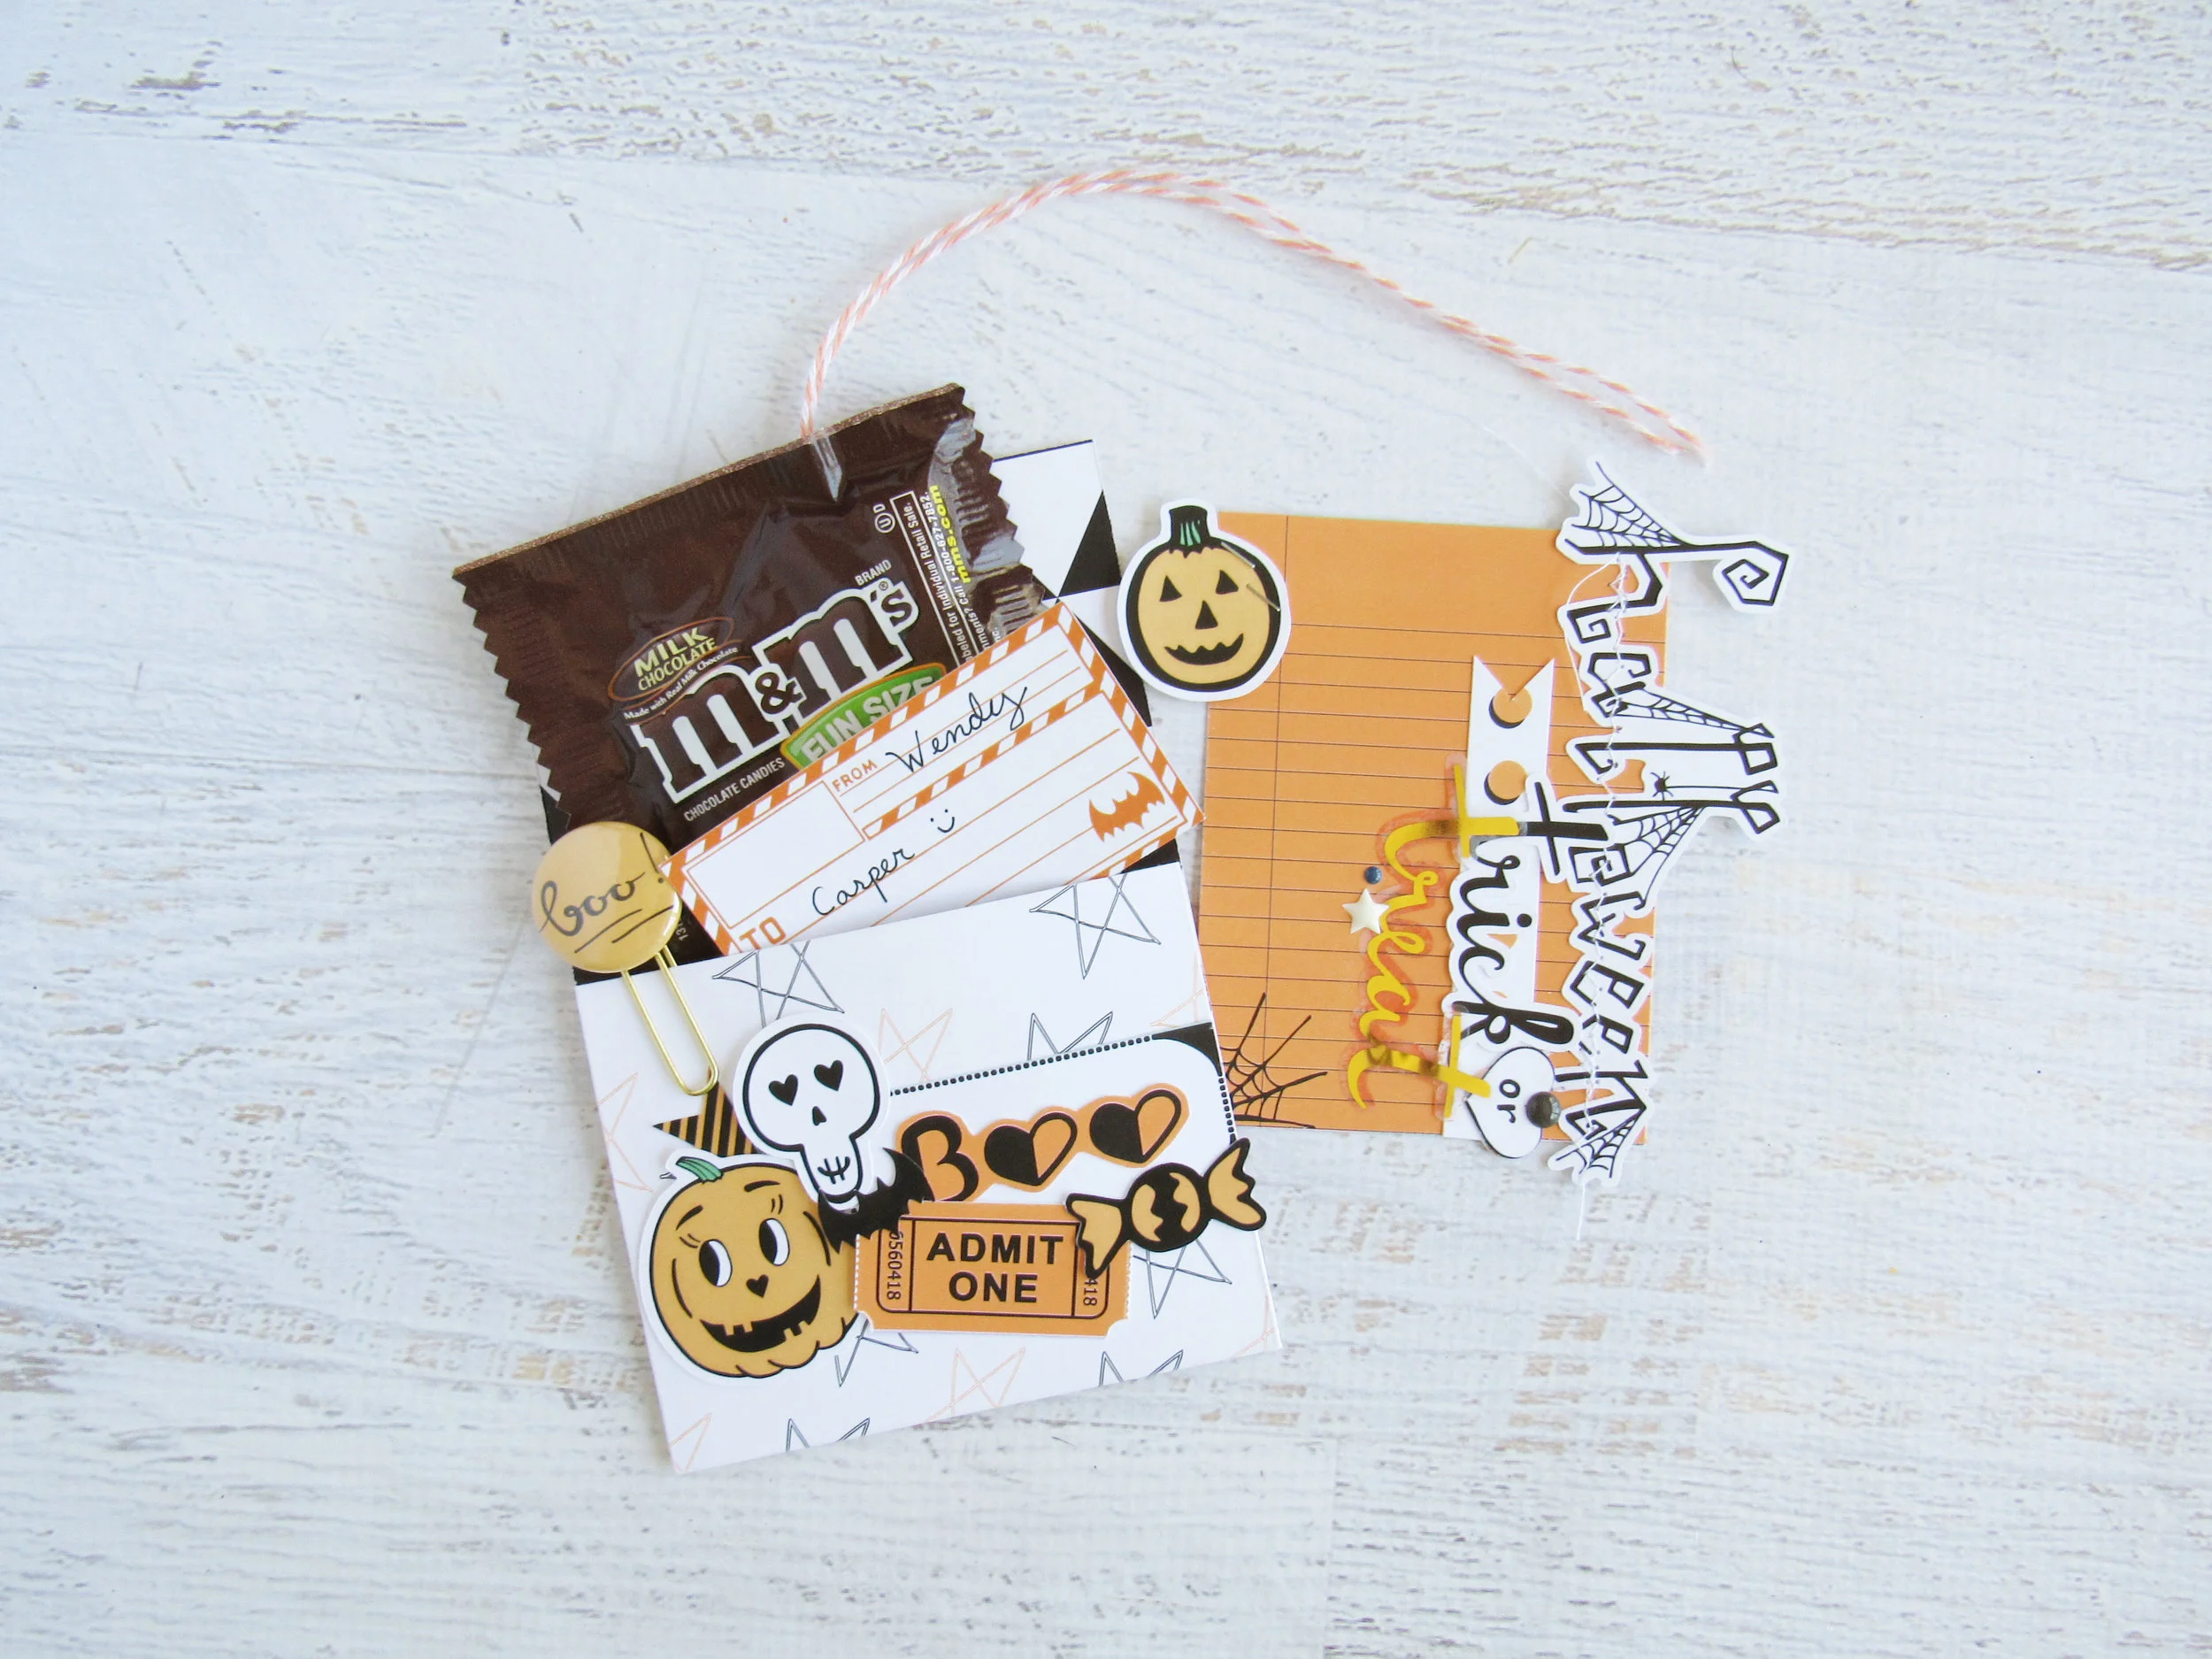
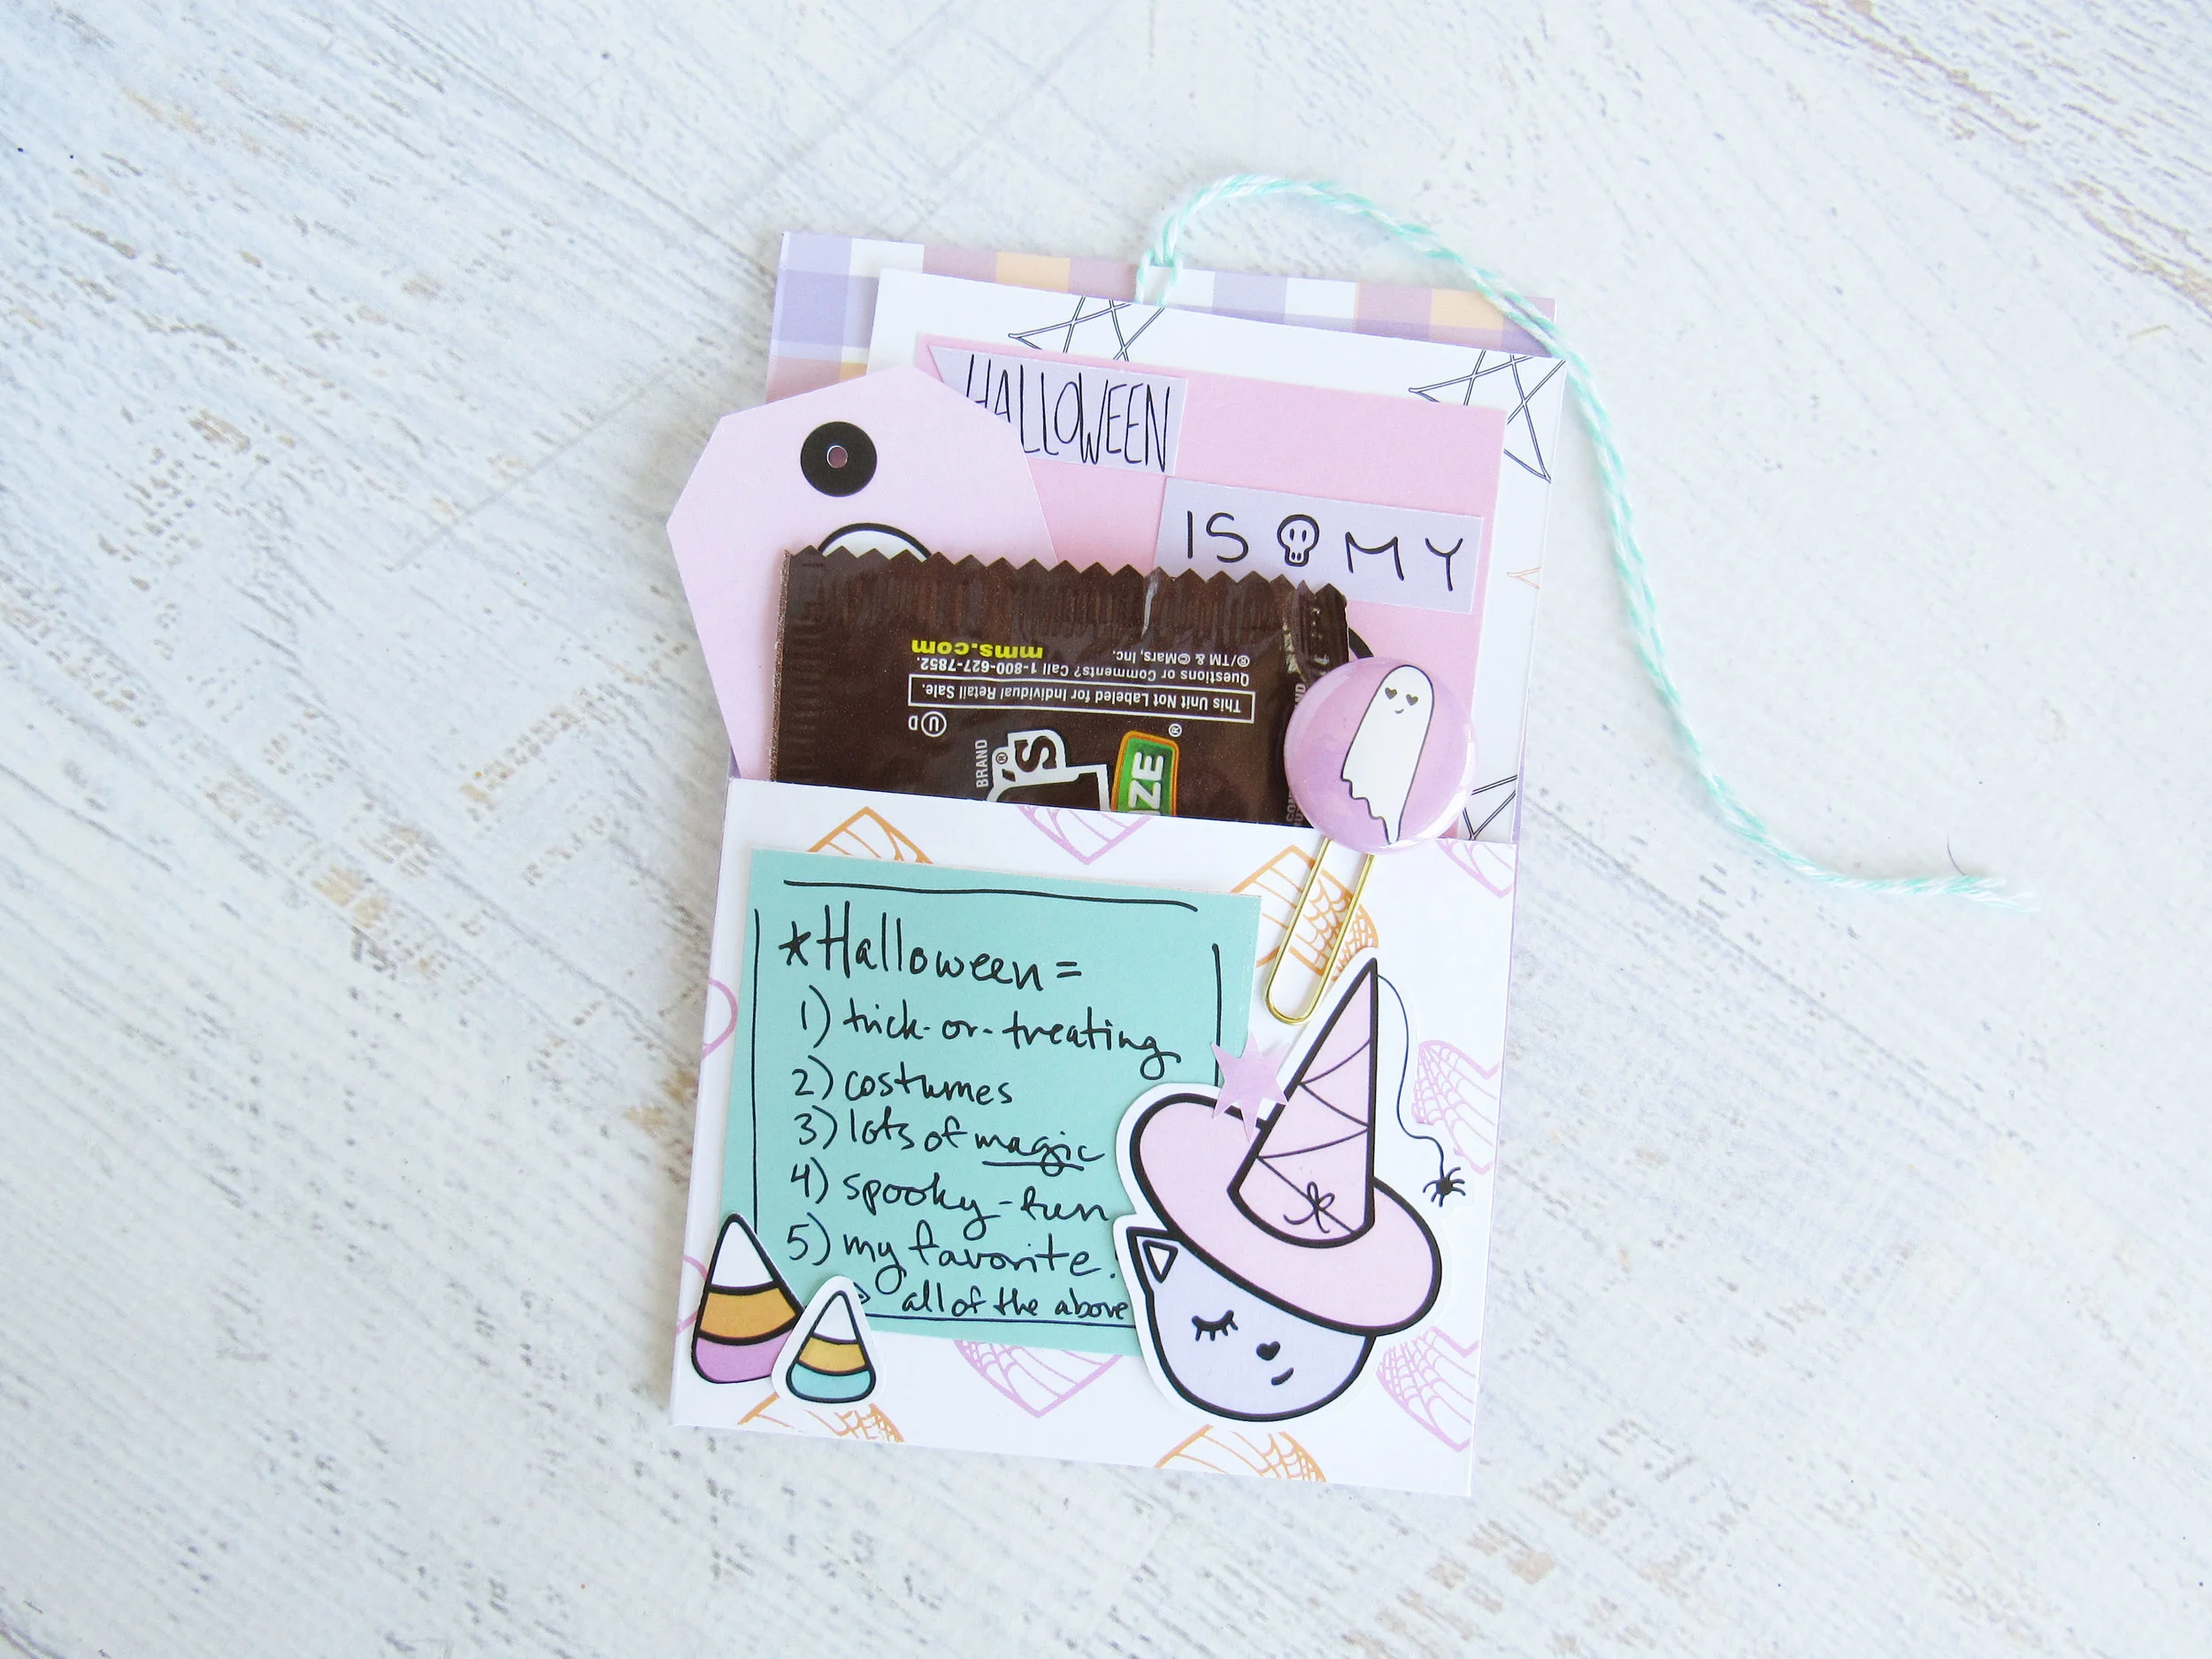
Hi Everyone! It's Andrea here....I wanted to wish you all a very Happy Halloween and Happy Dia De Los Muertos! I know I am a little late with this post, and I'm sorry about that. I have been having a very hard time with my health lately. It's really no fun when you don't have good health. It makes everything, even things that should be easy, really quite difficult. I love Halloween, though, and Dia de los Muertos, and this whole spooky and magical season...so I really wanted to give you all a little something in honor of my favorite holiday...it's just a little printable, which you can use now in your scrapbook or something, or use it next year for a card maybe or a planner divider. Anyways, I hope you all have had a wonderful and magical October/Halloween-time! Mine wasn't perfect - there were a lot of bad pain days, unfortunately, because of my CRPS, and some bad news too...but there were also really special and magical moments with loved ones that I will always cherish!...and which I am documenting, of course! Ok, I will talk to you all later and get ready to start transitioning from one magical holiday time to another... Christmas time is coming everyone! Yaaay! And on that note, I will be posting the new kit reveal ASAP (and it's really cute and Christmas-y)! Sorry that got pushed back, too, because of my bad health...but it will be up real soon (tomorrow I believe), so stay tuned!

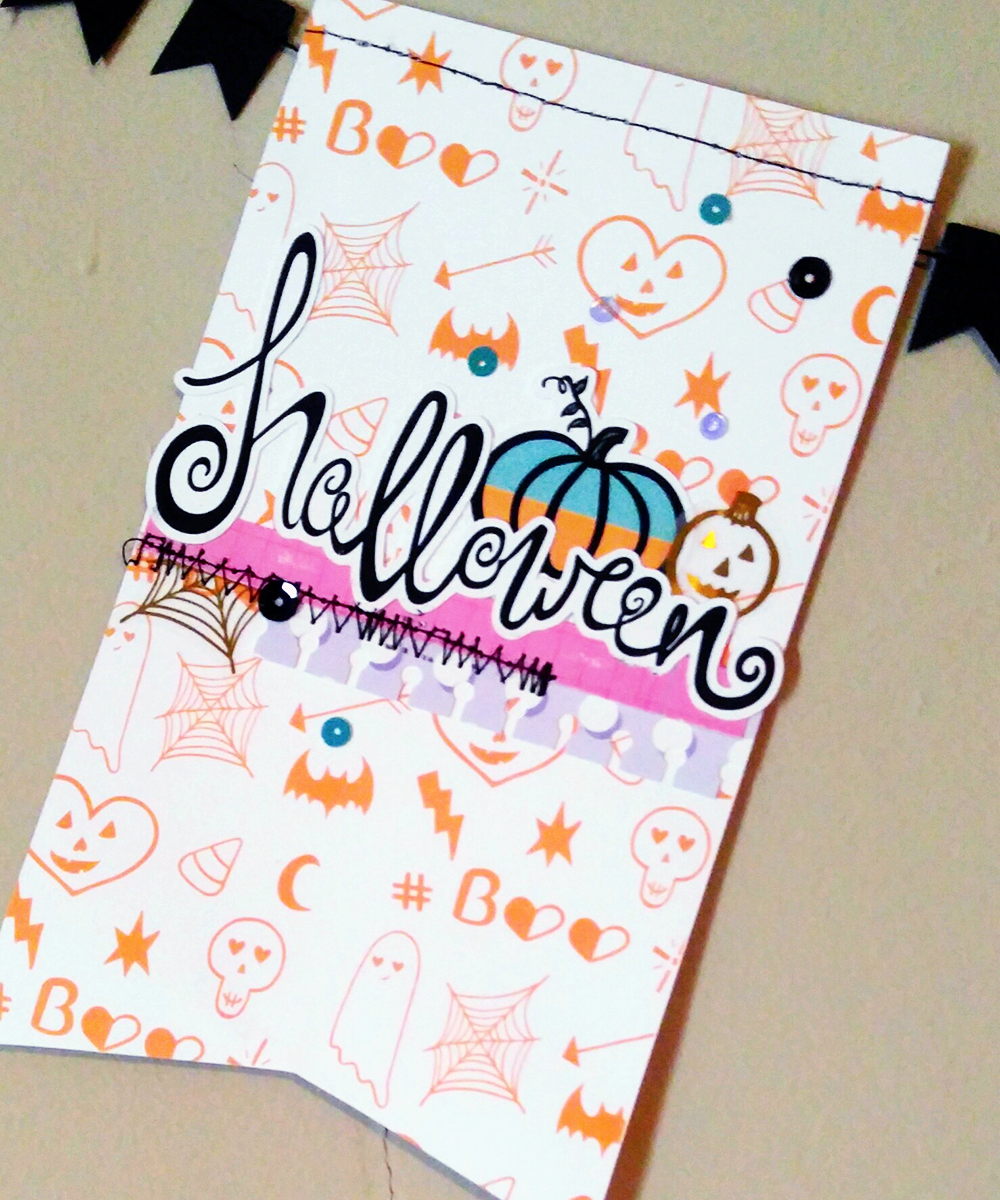
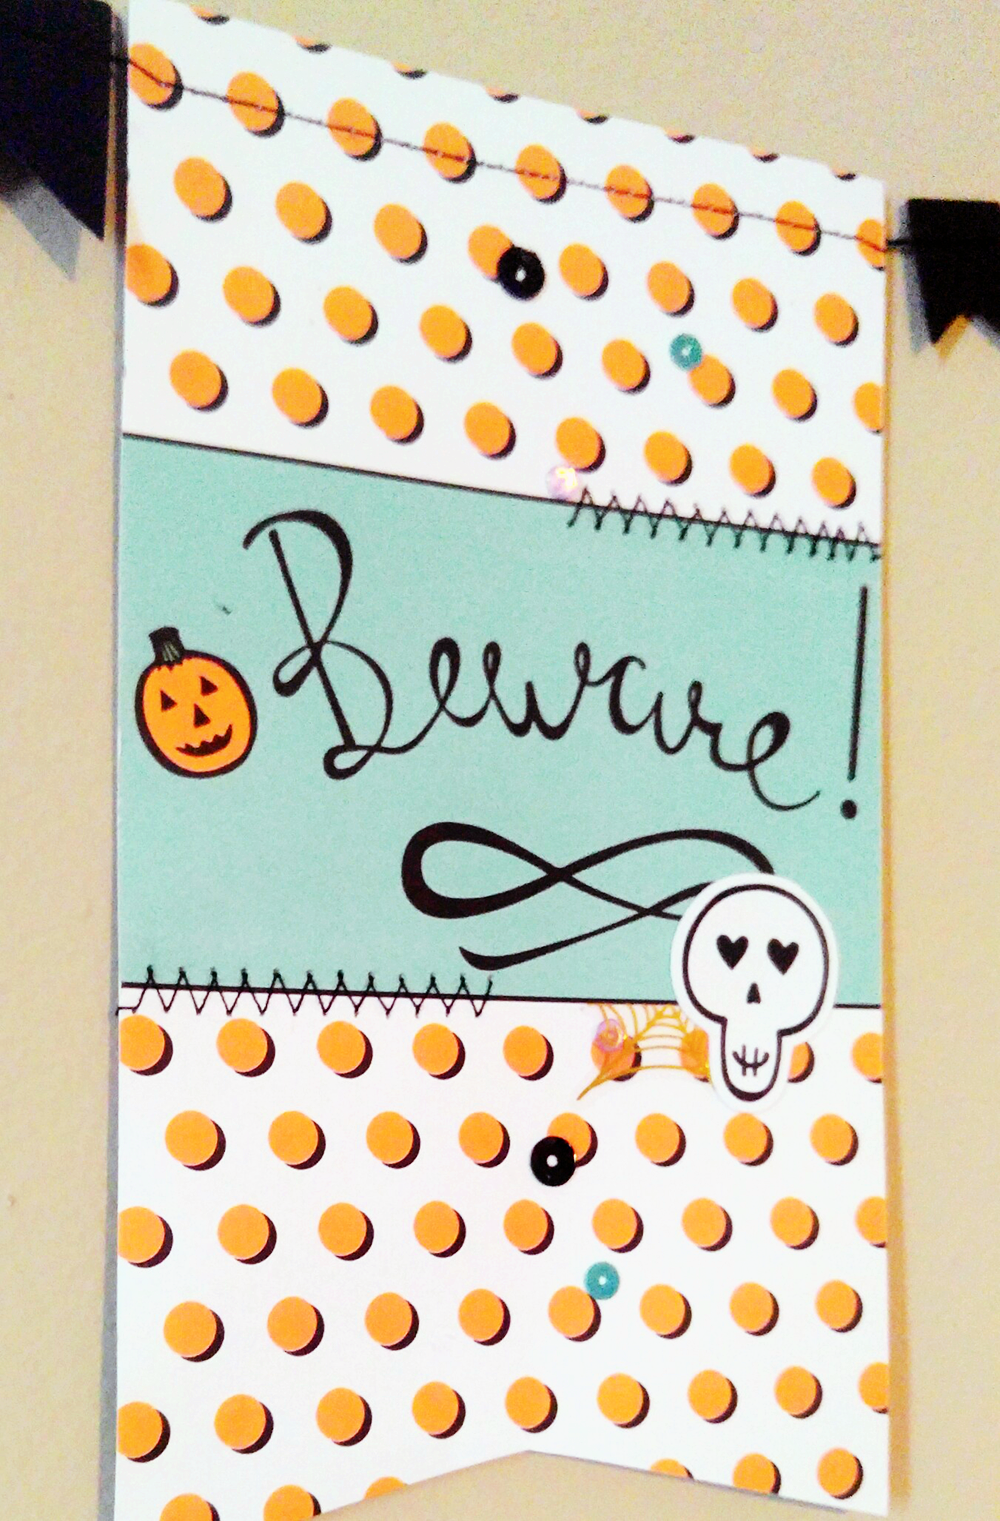
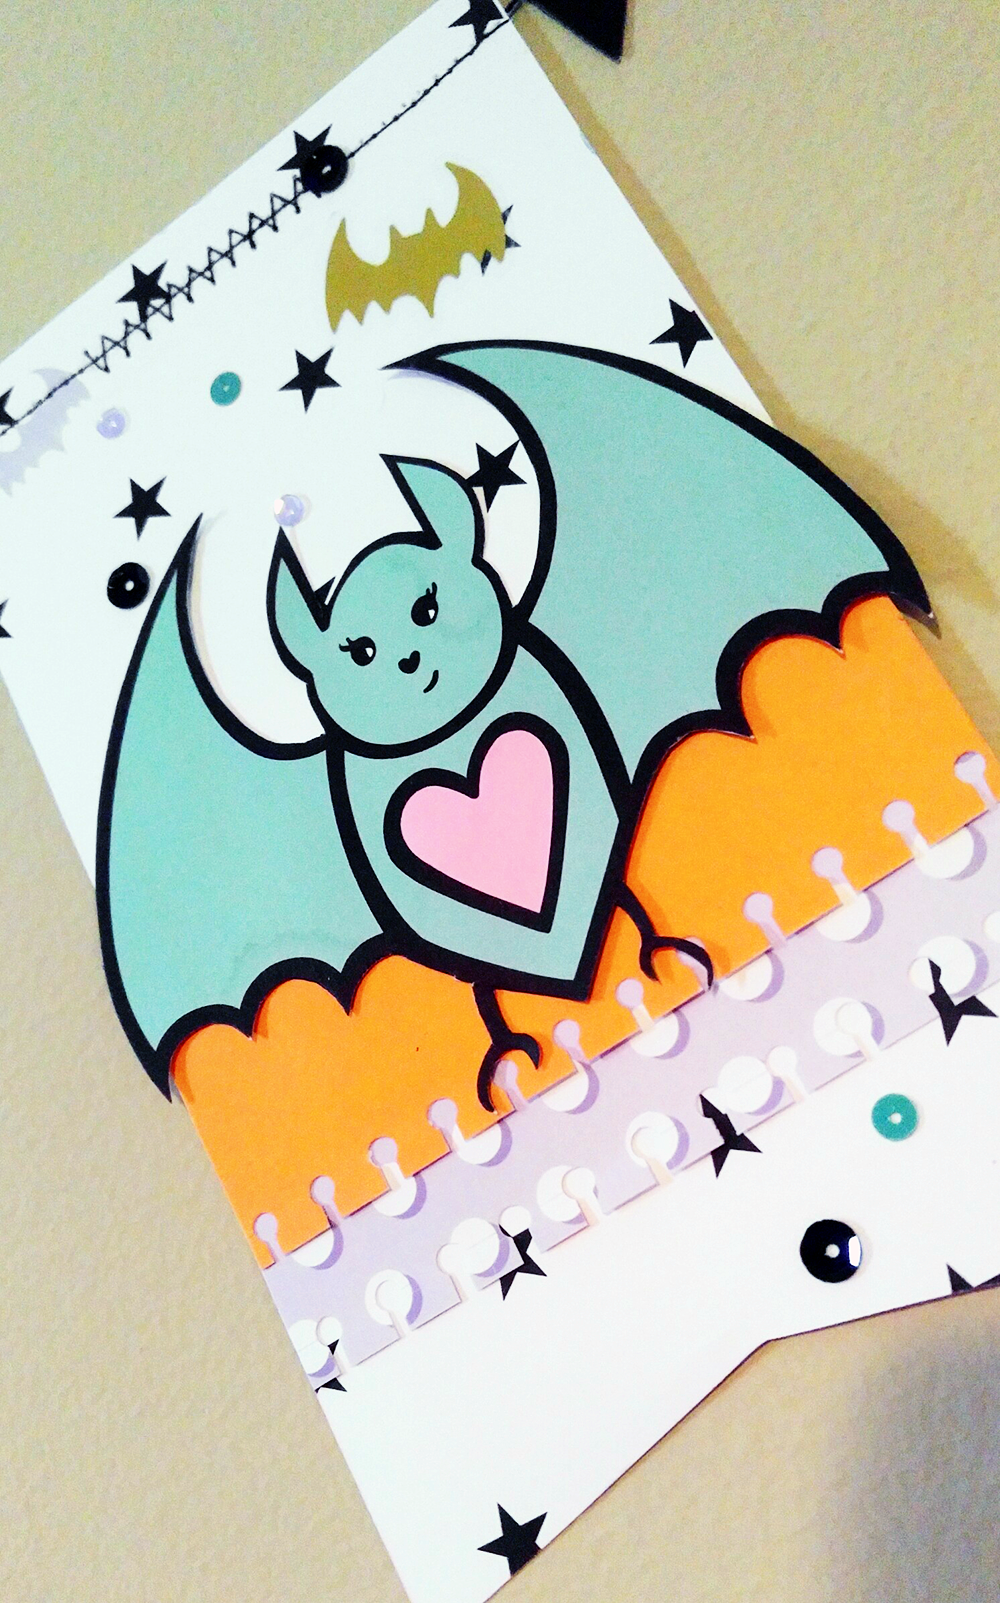
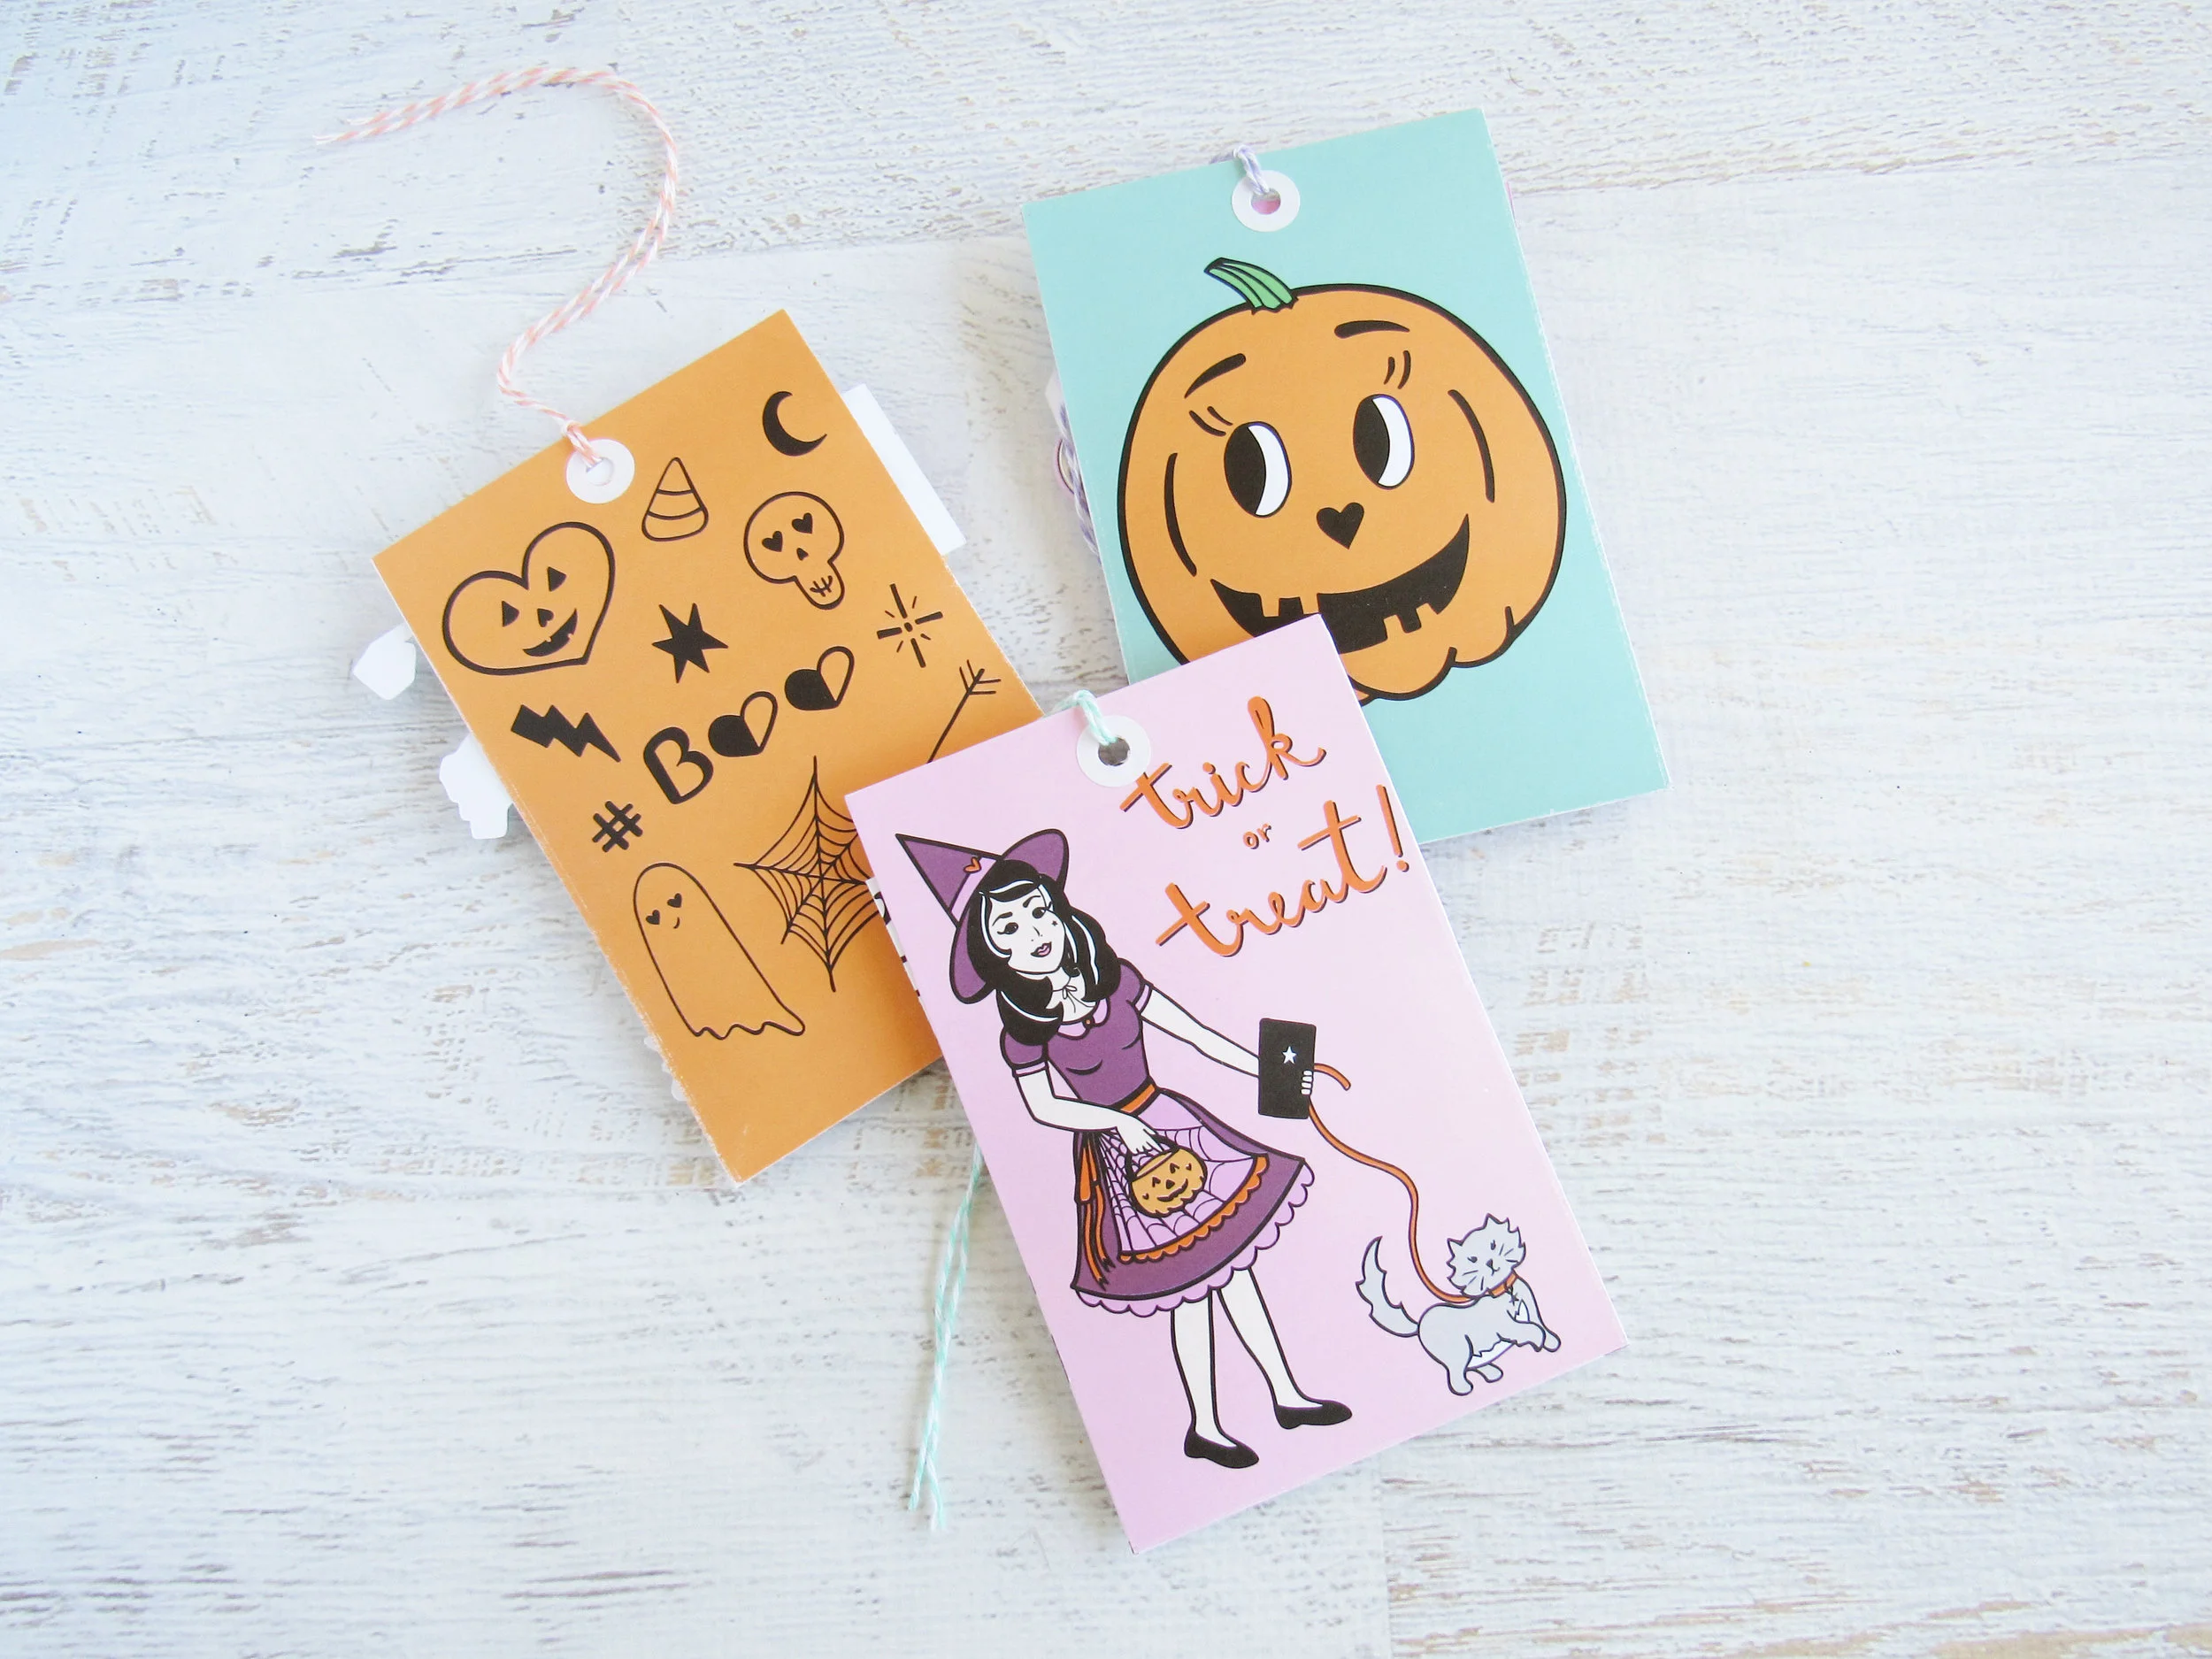
Click on the images to download the full-size jpeg files.

4x6 at 300dpi

6x8 at 300dpi

Spooky Framed Layout with Enza

Hello everyone! Enza here to share a new layout featuring the super fun “This is Halloween” kit and some more pictures from our recent trip to Disneyland.

Fairytale Club - Full.png

I wanted to incorporate multiple photos and also several patterned papers and embellishments. What better way than using a cut file with lots of frames! This one is from The Cut Shoppe and it is called You've Been Framed. I cut it out of black card stock to go with the Halloween theme.

I started by filling up the open spaces with some of my favorite pictures, then picked patterned papers and die cuts to go with them. The journaling card from the cut apart sheet worked perfectly to tell the story of our Disney adventure. 

Fairytale Club - CloseUp2.png

I love how the kits are jam-packed with embellishments every month. It certainly makes it easier to create fun and colorful pages.

Fairytale Club - CloseUp3.png

Thank you for stopping by today. I hope I have inspired you to create a multiphoto layout in a super easy way.

Enza