It's a Mad Tea Planner!

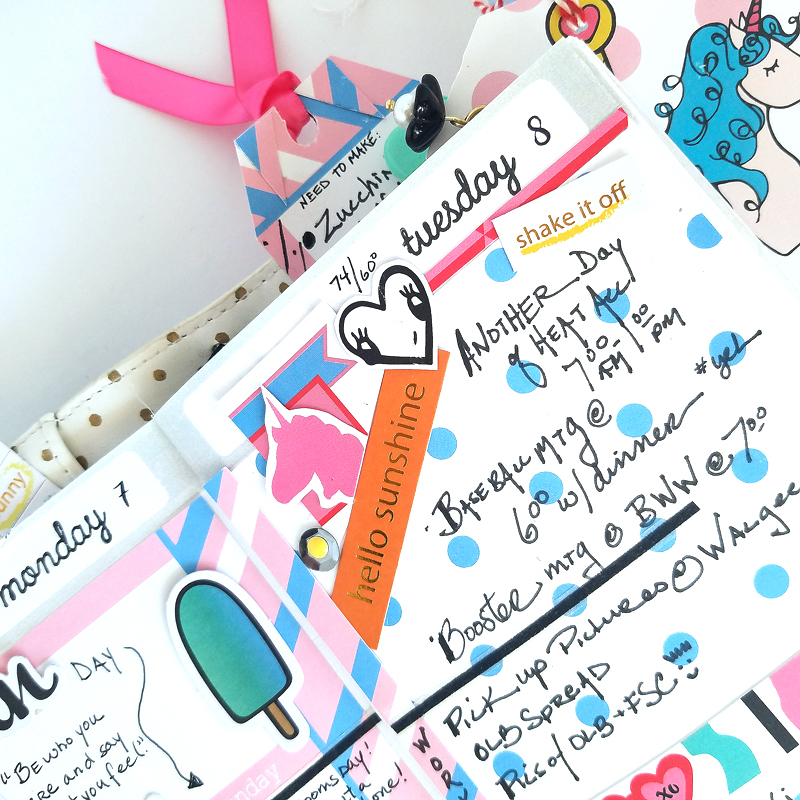
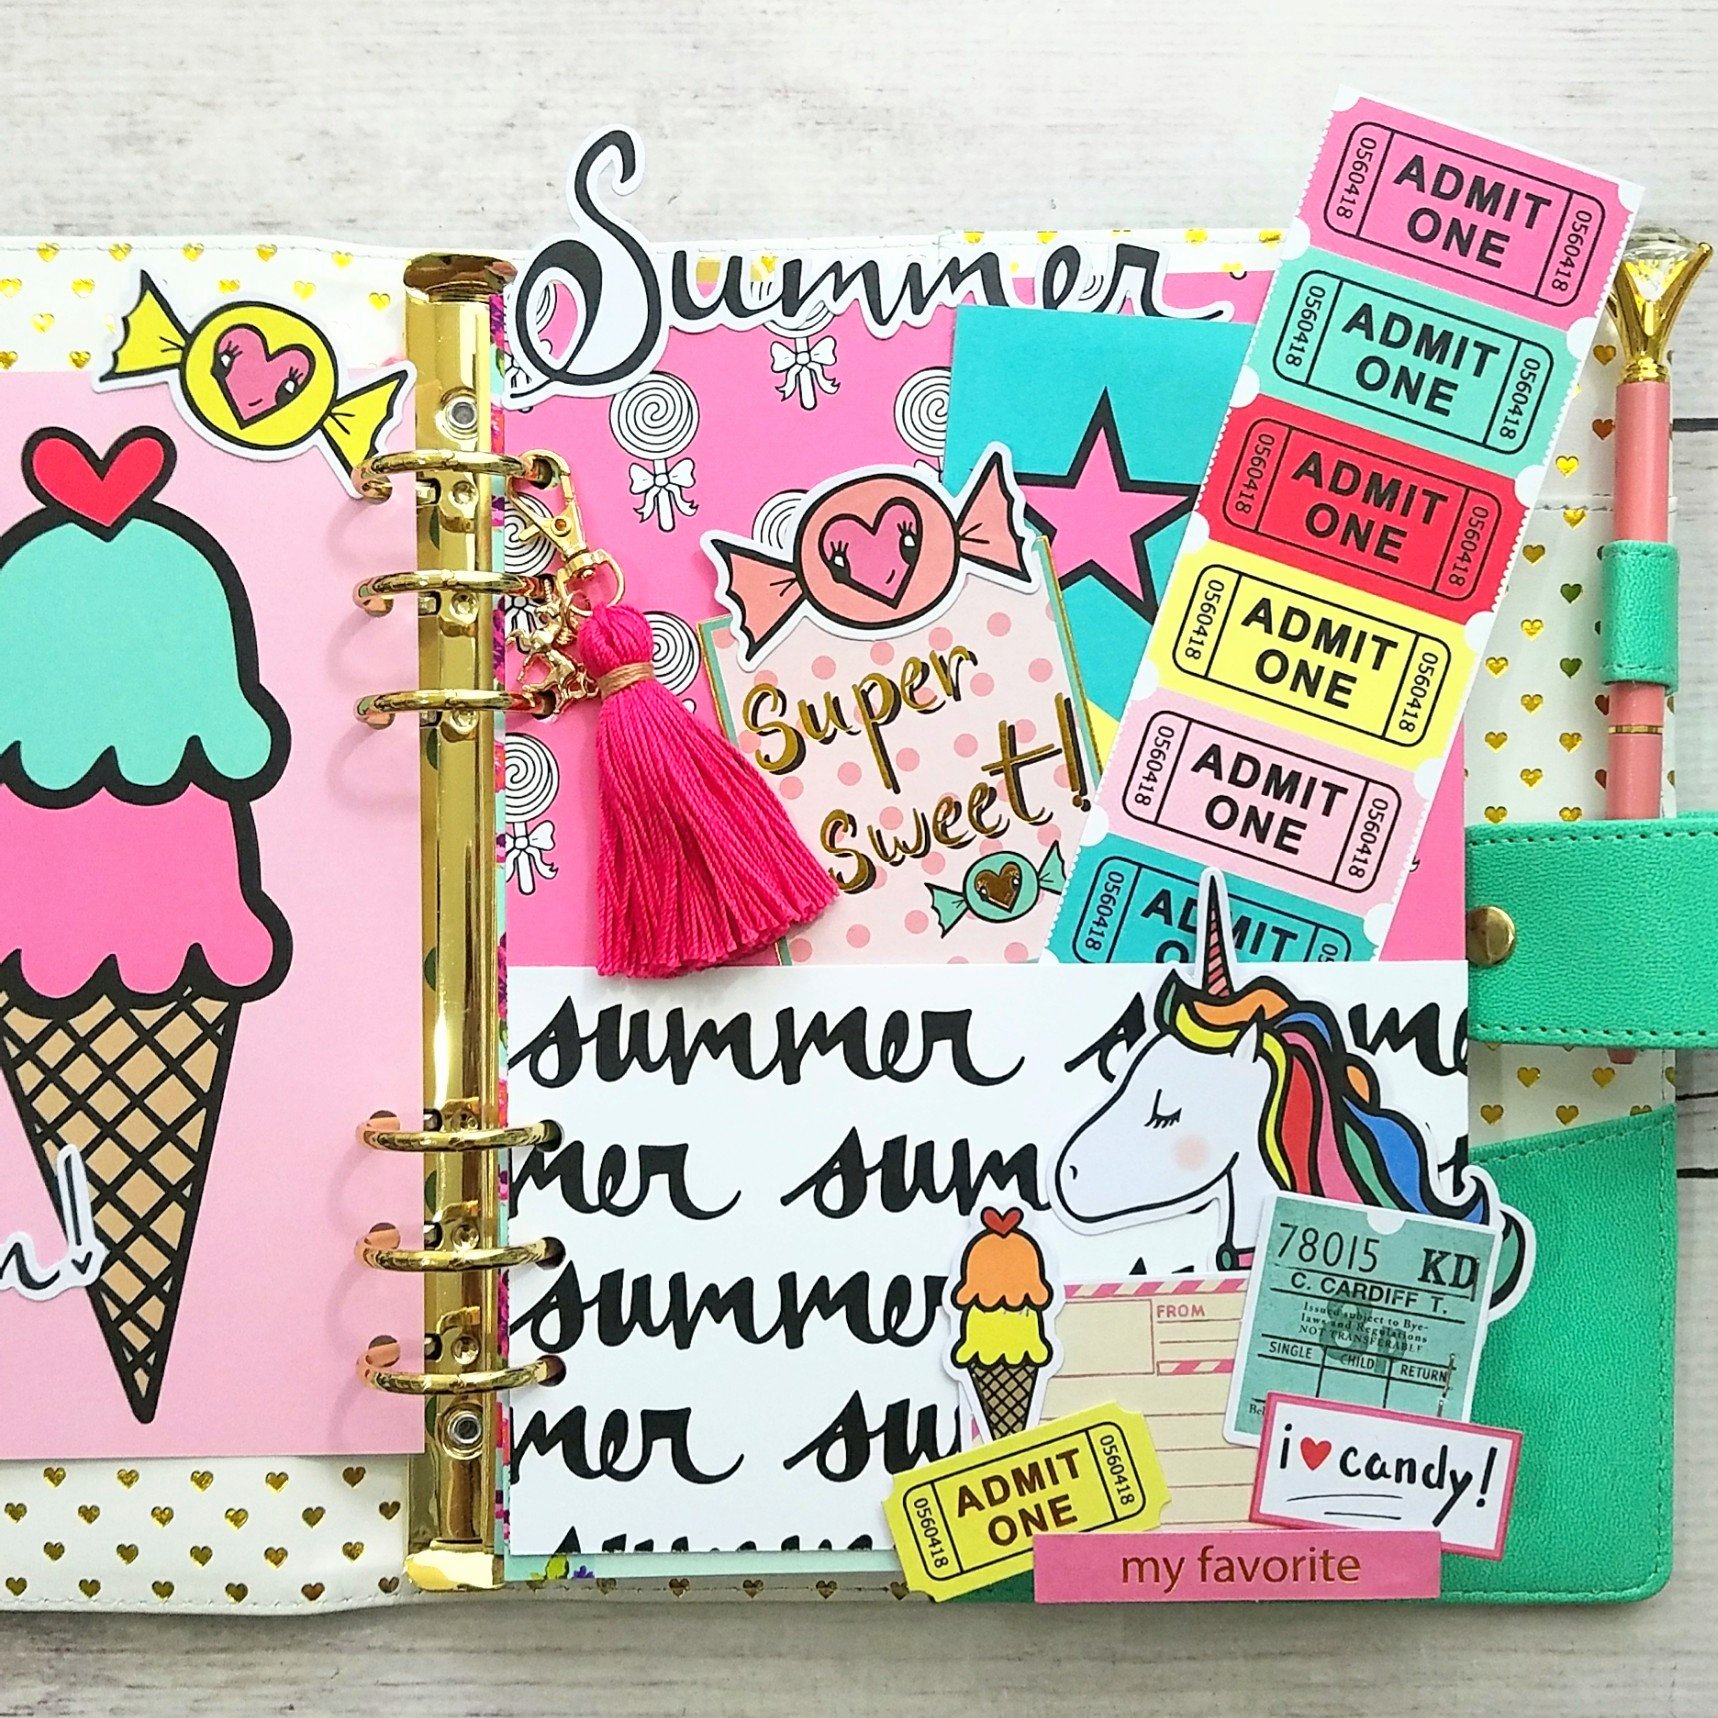
Hey y'all, its Teresa! Here's my planner set up using The Mad Tea party kit! Which is my personal fave! I love the pinks and the teals with the splash of purples! It's just perfect!

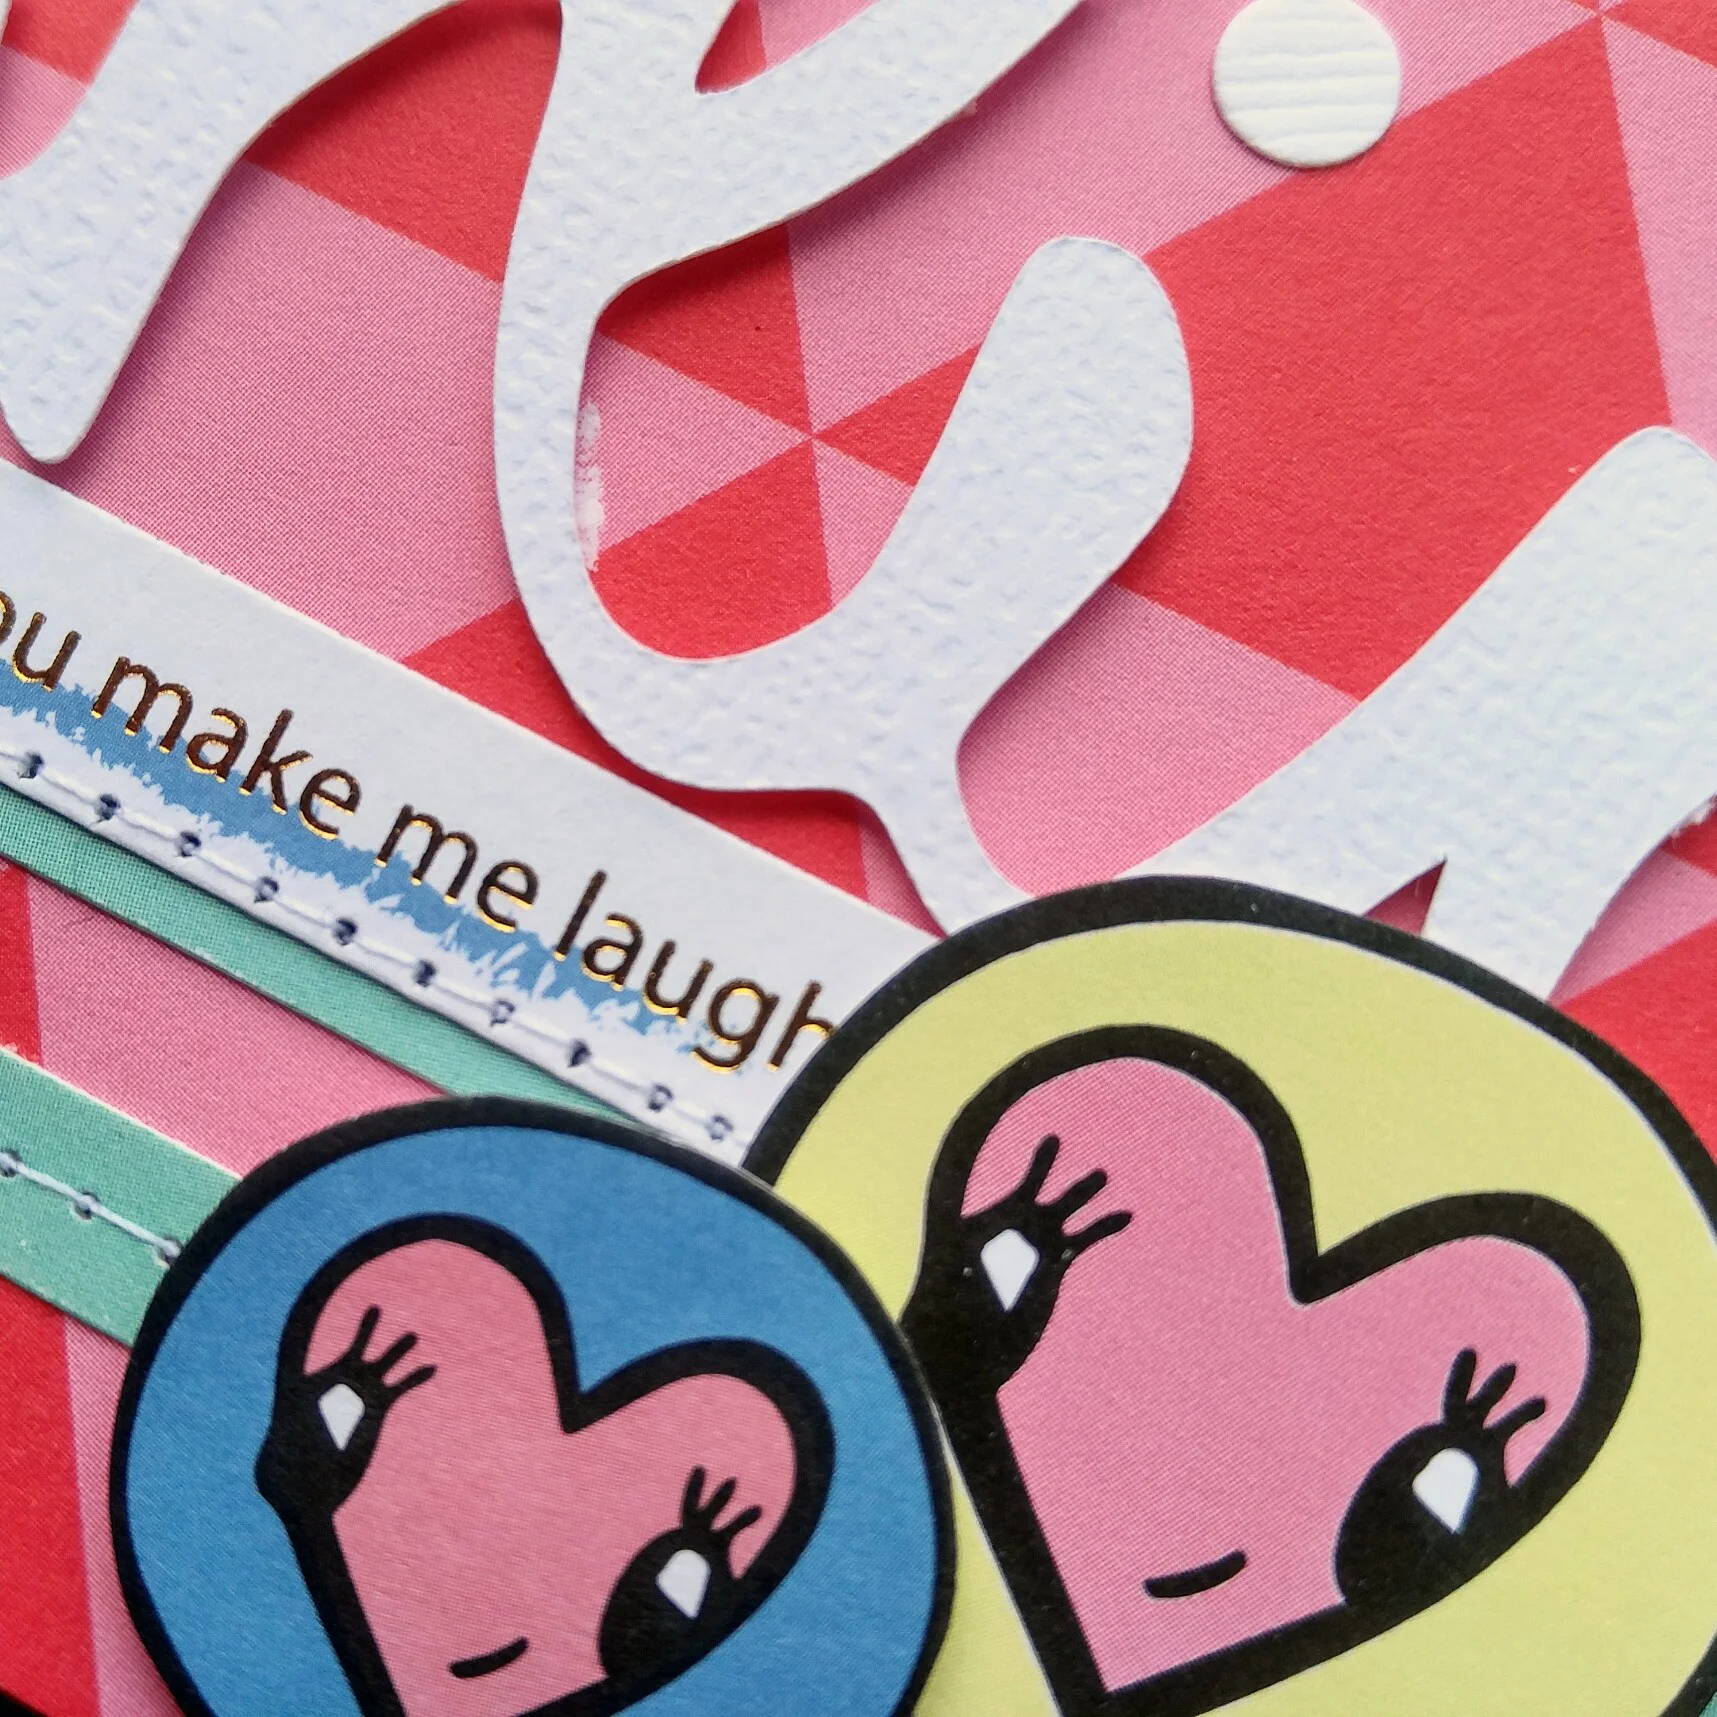
I love making my own dashboards! And with these kits it's sooo easy to do! How cute is the tea cup! Like come on!

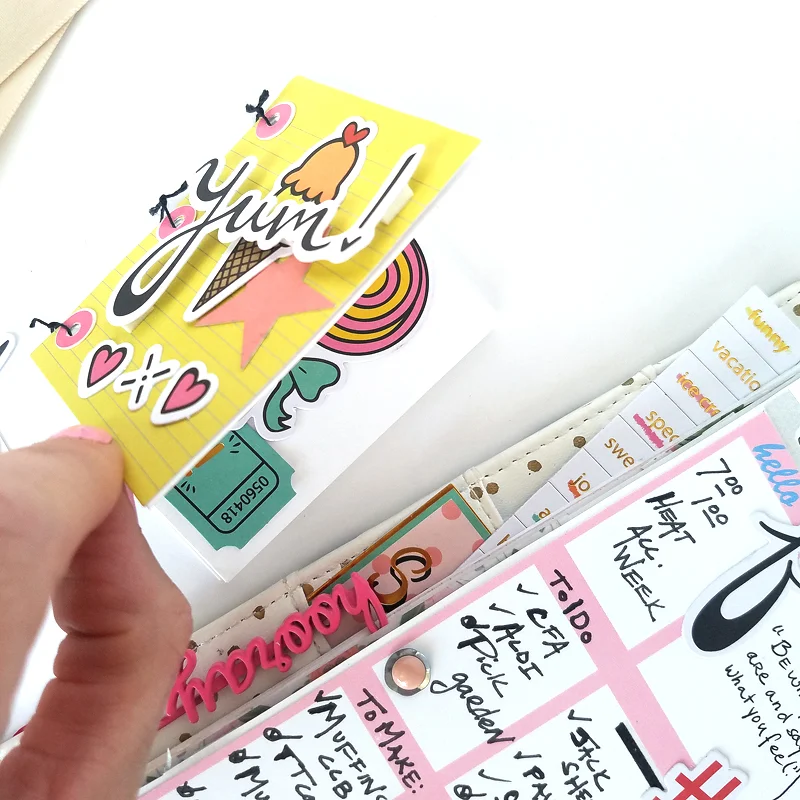
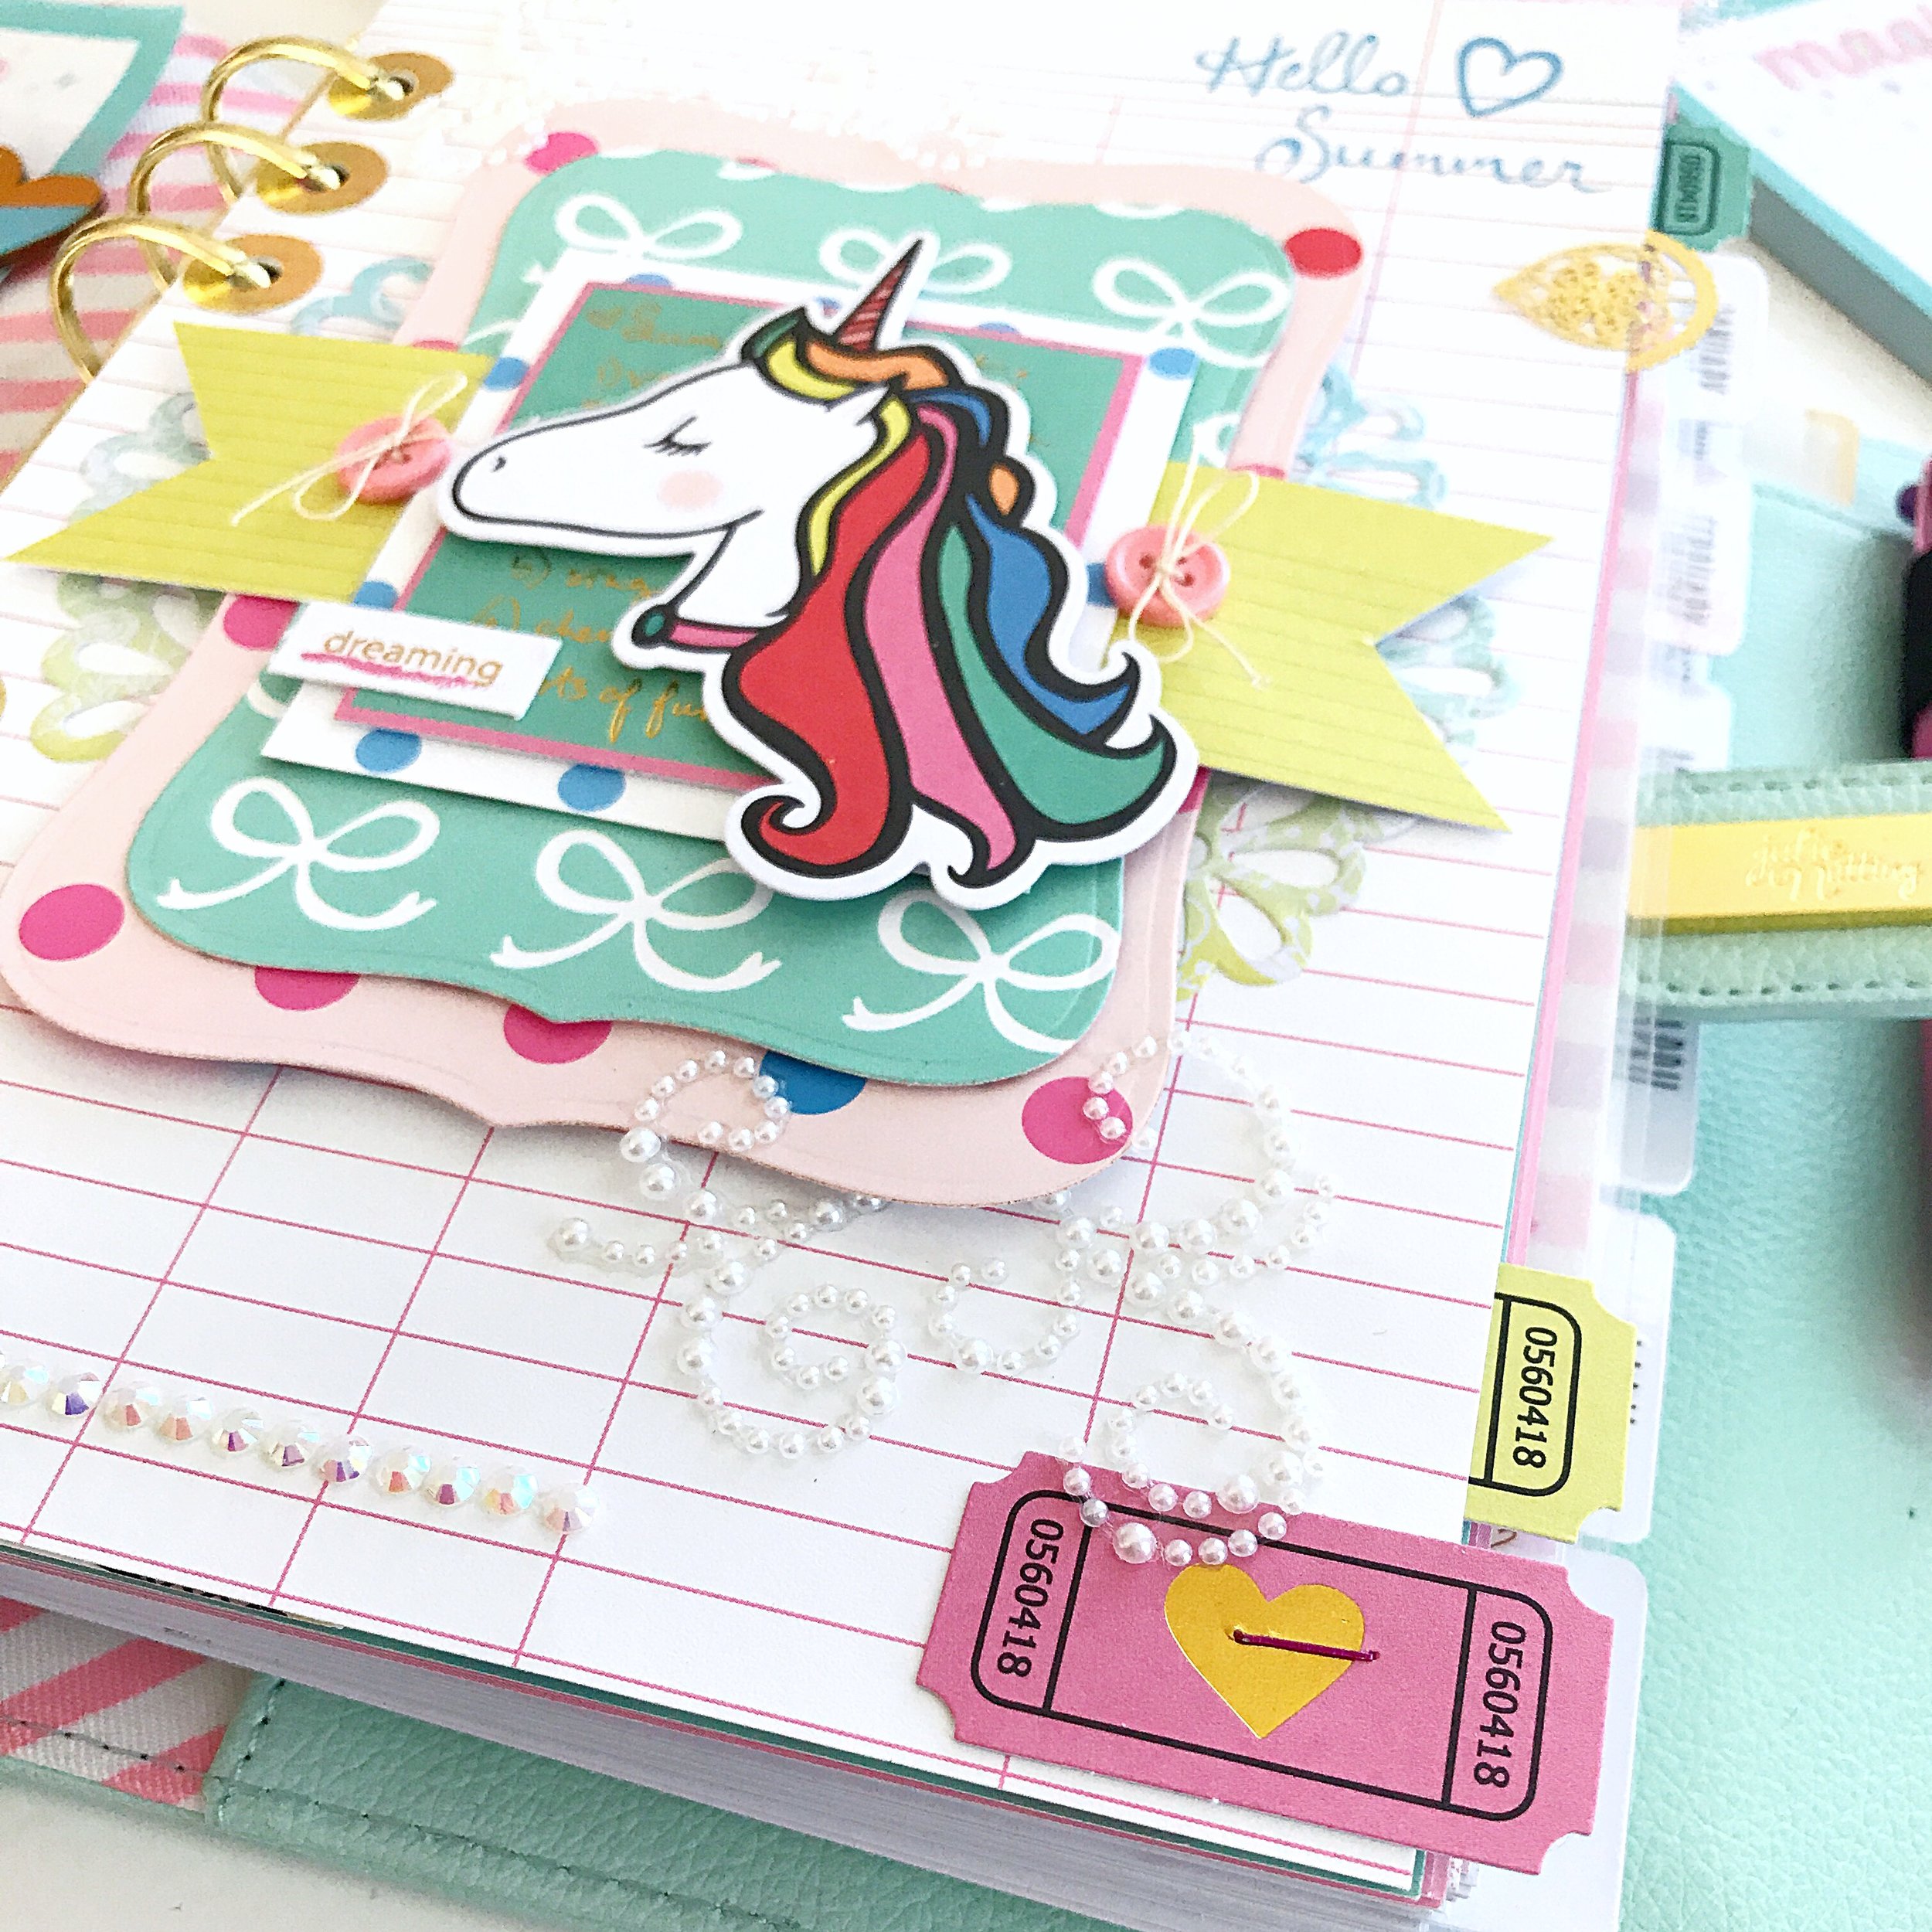
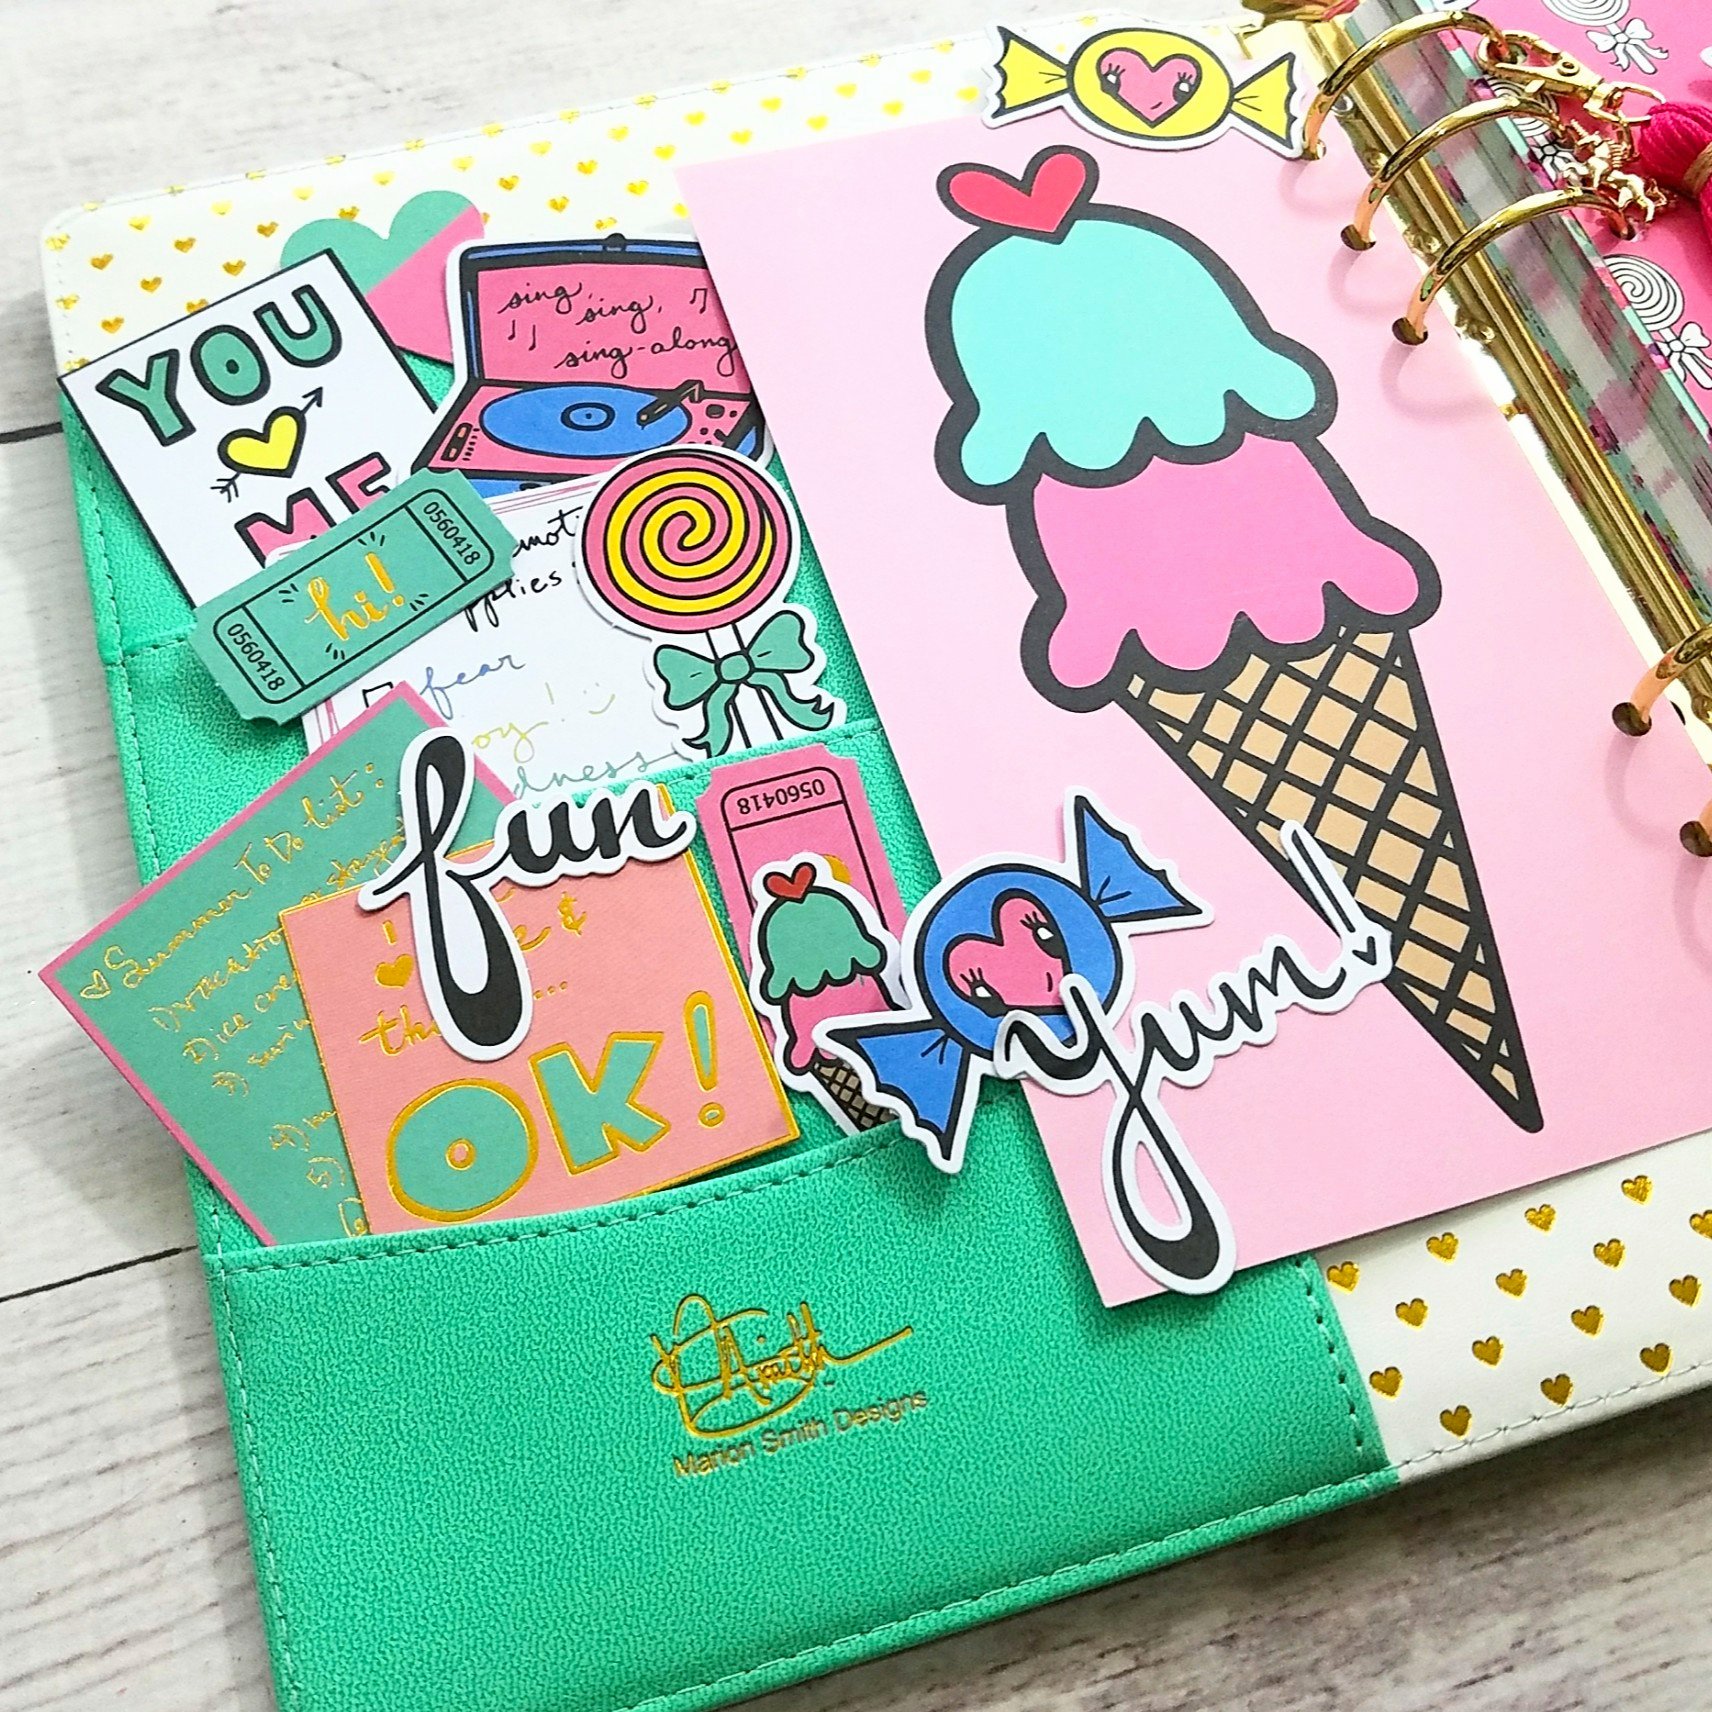
So many cute cut outs! Plus you get shaped gift tags! I use my hole puncher, and added a magical ticket with some cute string!

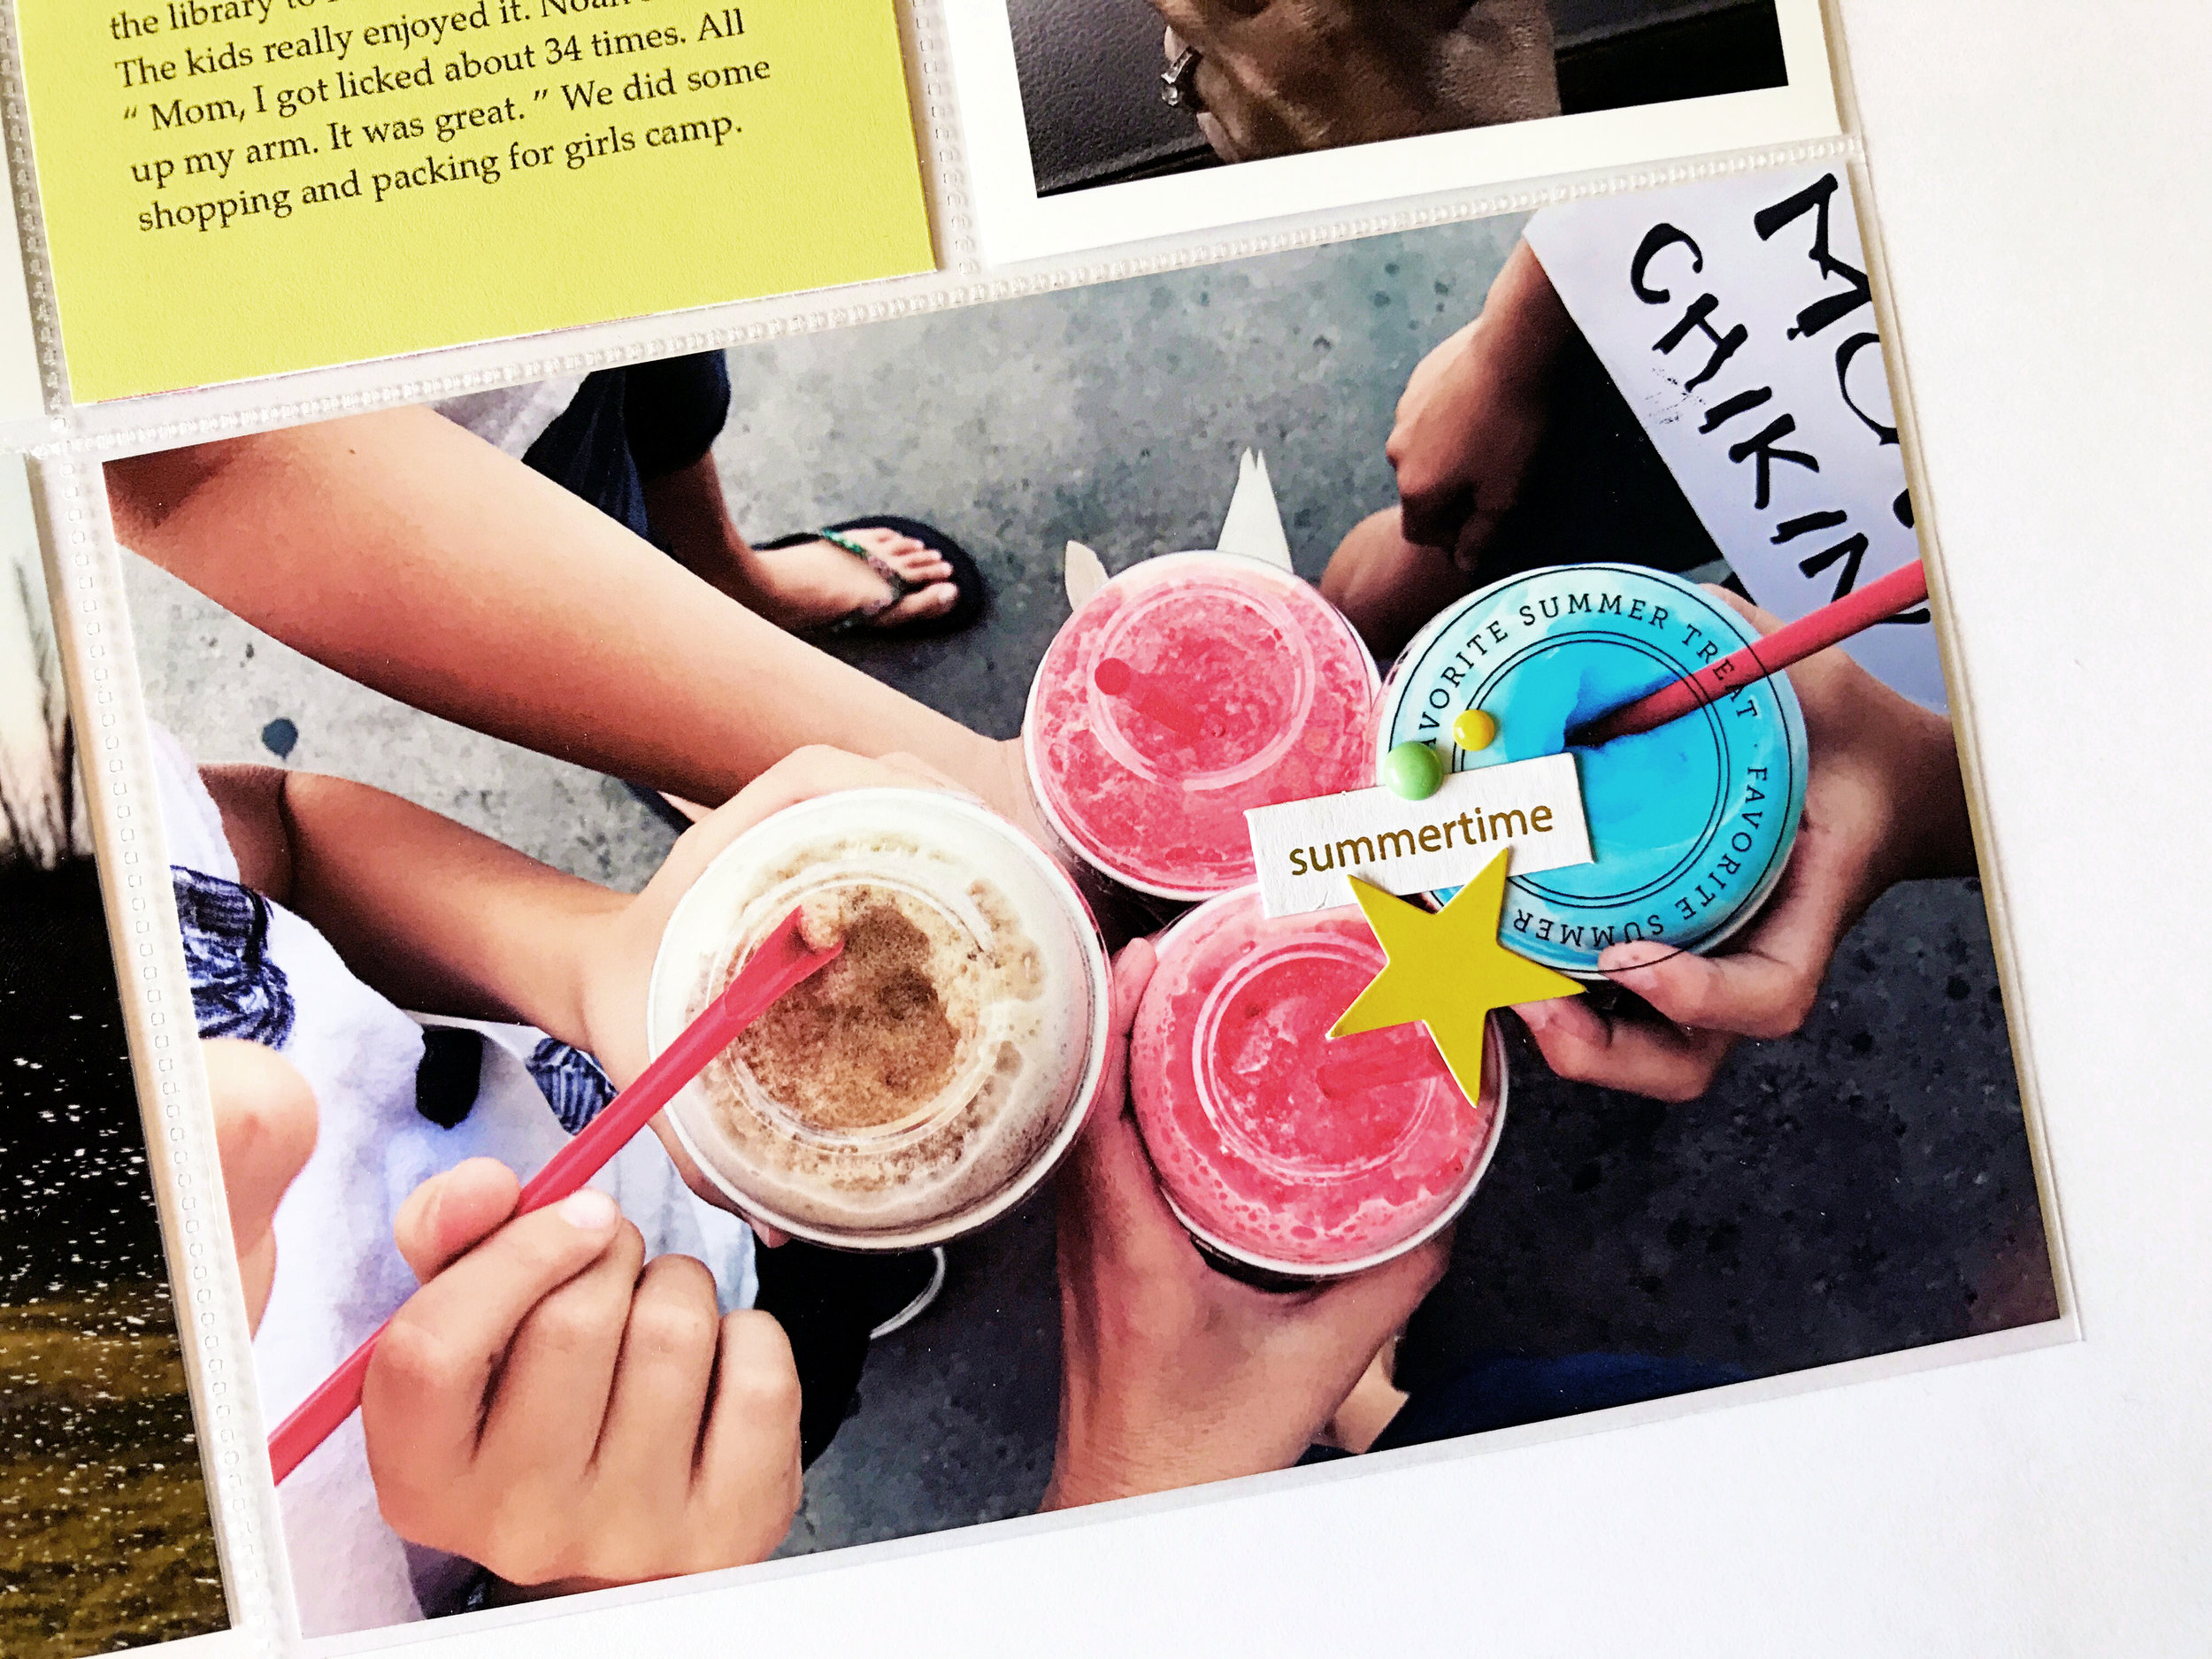
I love the real life photography that's mixed in this kit!

You cant forget this most adorable tassel charm you get with it! And yes that's a Unicorn!

Hello Sunshine

Hey everybody! Resident crazy dog mom Carolee here, coming to the blog today with a TN layout featuring, what else, one of my corgis, Ruby!

fullpage.png

I love the watercolor papers Andrea creates for the kits so I decided to use it in this one for the background. I took a bit of white acrylic paint and created a little mat for the photo to sit on. Sometimes, when you have a bright colorful background, you want that white to buffer but I felt like white cardstock or a border was too harsh. The white paint created a wash effect similar to the watercolors so it worked really well. 

wash.png

I knew I didn't want to over-embellish the page, especially in the traveler's notebook, so I chose a phrase from the ephemera pack and a couple of the phrase stickers. This added a bit of interest to the page without adding bulk which is important in notebooks!

phrases.png

After that, I wanted something to balance out the big color on the other side so I cut the heart out from one of the journaling cards on the cut apart sheet and added that on the right side. I liked it sort of offset so I set it with a bit of an overhang, cutting off the excess. After that, it was just a bit of journaling and it was done!

journaling.png

I hope you enjoyed checking out my layout today and that it gave you a bit of inspiration. I had a lot of fun with this kit and I love putting little everyday moments like this into my notebooks to enjoy and look back on. Have a great day!

Fabulous!

Hey guys! It's Teresa here, and this is my first ever scrapbook layout! If that's what you call it? I'm absolutely in love with how fun this kit was to work with! Make sure to look at how adorable the love birds are!

This is my daughter last summer! Umm her swimsuit was meant for this kit! I love overlaying everything! I don't like when things match together to much, so this is why I used four very different paper prints from the Sweet kit! 

I have this problem with wanting to put a bow on everything! I thought this was totally different and fun. All I used was a hole puncher and dollar string from Target.

A rare moment. Them getting along! This is why I thought the "super sweet" cutout was perfect for this! And the two tickets and adorable candy made this even sweeter looking.

And we all need a FUN summer to do list! The Sweet Kit has the cutest prints for summer! And I loved how sweet my lace cutout came out on the polka dot pink polka dot paper!

Thanks for checking out this project. Have a great day!

Oh My Darling

Good morning everyone! Sarah here with you this morning to share with you another layout with the "Sweet" kit. I mean have you seen this kit? Have you gotten it for yourself? OMG I just love this kit! The colors are amazing and all the little ephemera is just too cute! I mean there's a unicorn and a little record player, not to mention all the other cute little things like candies and popsicles!

PicsArt_08-04-05.02.34-1.jpg

I don't use a lot of patterned backgrounds unless they're black and white. I'm branching out and using color cardstock too. lol But I just loved this two toned triangle paper, it jumped out at me so I used it. I added a white cardstock border behind my photo strip. I grabbed the patterned paper that has the light pink triangle on one end and used that to add another layer. I wanted some of the blue in there too, so I grabbed the bold black, white and blue paper and used it for another layer.

I laid my photo strip where I wanted it and started playing with embellishments. I loved those little candy ephemera with the little heart faves on them but didn't want the actual candy on my layout, so I just cut the centers out of them and used them for embellishments. I did the same thing with the sucker. I wanted a few more and a bit of a bigger one, so I grabbed some of my planner pages and cut some of the bigger ones out too. I popped a few up on foam adhesive to give some dimension. I had already cut my title out on my Silhouette, do I put it at the bottom of my layout, since it was so big. Plus it gave me another place to embellish. I wanted some more of the blue color on my layout, so I cut some 1/4 inch strips and added them down by my title. I thought I was going to just add them there, but I liked it and decided I wanted some more of it, So I went back and cut some more and added two more strips under my photo and then up to the top left-hand side. 

At this point, I liked my layout but it felt like it was missing something, so I jumped back on my Silhouette and cut out that striped heart and backed it with the white patterned paper that looked like it had brush stroked on it in all the different colors. Once I had that backed, I added it behind my photo strip and I loved the way that looked. Then I decided to add some stitching to add some texture, so I just machine stitched along my little blue strip. 

I have a habit of using my Color Shine and Shimmerz sprays to add splatters to my layouts, so I thought I would go a little different route this time. So I punched a few circles out from my white card stock and added them to my layout instead and to finish it all off I added a few light pink enamel dots from my stash. 

I really had fun going a bit of a different route for me for this layout. I hope you enjoyed it too! 

Henny's August Dashboard

Hello... I hope you are all well. My name is Henny or otherwise known as Hennytjcraftcottage on Instagram. I'm so grateful for the wonderful opportunity to be joining and to be a part of this team. 

Today I want to share with you this gorgeous "Sweet!" kit that I was able to play with for my A5 planner. The color is so vibrant, with the fun summertime theme and of course those unicorns as the focal point for this kit. Oh, I just love this collection! Overall the color scheme for this "Sweet!" kit is very rainbow-licious! Because life's all about rainbows, glitters and unicorns. 

image1-1.jpeg

Anyways, what I love to do the most for planner project is definitely setting up my planner, stuff up the planner pockets by accessory them with lots of pretty embellishments and make pretty dashboards. Because that is the first thing you'll see every time you open up your planner and bringing a smile to your face :)

I picked up this bright white with stripes divider for the dashboard and created this using elements from the collection. I used my die templates and was able to created sophisticated and elegant cut shapes cardstocks for the base. Love added some layering to give it more dimensional look and also I have always loved including some pearl embellishments to add a beautiful accent to any of my projects. 

I was super happy how these turned out. 

This pretty tassel with that cute little unicorn charm just a perfect addition to dressing up my planner. 

I took another divider with this ice cream cone printed and cut off the other pink side, then handwritten the "today" word and stuck it on the top of the paper and I have made one cute bookmark or divider. 

I just love this pastel green paper with white bows prints, so I used the left over paper and made another cute tag or bookmark by adding some of the ephemera, laminated everything together and then stuck the front with adhesive clear pocket to store stickers, receipts, etc..

I also have not forgotten about these adorable ladies faces, I cut them out front the patterned paper, laminated them and created another magnetic bookmark :)

So that was what I've been up to. How about you? I hope you enjoyed today's read. Until next time, 

Henny xoxo 😘 

Summer & Happiness

Hello everybody, it's Mindi here with you. I'm going to sharing a pocket page today using the July kit. I typically scrap my pocket page albums in a weekly format. Today I'm going to sharing Week 28. Here is what the whole page looks like:

Let's start out by talking about my title card. Once I opened up my kit box I knew that the puffy letters would be perfect for my weekly title card. For my background, I needed something pretty neutral so this patterned paper was great. It has a lot of white with little bits of color here and there. I also added the week number with some stickers from my stash. I even added a circle stamp around the number for a fun look. I love how it adds a little bit of black to the card. The last thing I added was a few pieces from the ephemera pack. 

The first journaling card is one that I custom made. Instead of using white card stock I chose to go with the ledger paper as my background. I added my journaling onto it and then went from there. These fun diamond shapes on one of the patterned papers were something that I thought I could cut up and use on this card. I cut out two of them and added them to the left side. The photo next to it is when the kids read to the therapy dogs at our local library. 

Here is look at the photo that is in the bottom corner. I added my journaling onto my photo to make sure that I had room for the story behind the photo. 

In the opposite corner, I added a photo of when the kids and I dressed up as cows for Chic Fil A day. 

The other journaling card is this bright yellow card that says summer. I kept it fairly simple with only added an ampersand and a word strip. I really loved the bright color and it really breaks up the photos and the other white cards. The photo next to the journaling card is my 2nd shake that week. 

One last photo to share with you. This picture is of our Slurpees on 7/11 or July 11. We have a tradition of going to get free Slurpees. I kept it pretty simple and added a word strip and a star from the ephemera package. 

Thanks so much for coming out today. I really had a great time putting this page together. 

"Take Note" : Upcoming Kit Sneak Peek

Hi all! Today we want to share with you a sneak peek of our upcoming collection/kit -- "Take Note"! It will be coming out later in the month and we are super excited for it! I am loving the colors, the pinks and blues and greens, which just feel soft and lovely! And the whole feeling of the collection is amazing!!! It is like a breath of fresh air! It is a dream...a dream to take note of!

I am loving the polka dots in the collection, the cute deers, the beautiful flowers! It all screams "enchanted forest" to me and it just makes me happy! You will notice there are lots of references to "taking note", "document", "create", "noted", things like that, because this collection has a lot to say about paying attention to the important things in life...big and small. This collection is the kind to make you stop and "smell the roses" and look at all the magic in the world. And it encourages you to document that magic in creative ways like writing, drawing, photography, scrapping, planning, etc. It inspires you to dream...

Note: I think you will see that "drawing" is something that inspired me a lot in this collection...especially the old Disney drawings and the idea that you can create a whole world through your imagination, a dream and a pencil...

"Take note" is all about noticing the details and seeing the beauty in everyday things...like even the instruments by which we note things like cameras and even pencils for instance. You will find a lot of cool things in the collection that have a kind of "pencil-drawn" feeling to them because of this. And there are a lot of references to nature and the natural world in this collection, like with all the cute animals you find in the collection -- like the cats and deer and chipmunks, etc -- as well as all the flowers! And because we are "taking note" with this collection, there are a lot of note papers, ledgers, handwritten letters, etc in this collection as well.

As with every collection/kit that we design exclusively each month for our magical papercrafting club, The Fairytale Club, this one is inspired by several different fairytales! This time, four different Disney fairytales were chosen to inspire the "Take Note" collection.  If you take a look at the inspirational mood board used to create the new "Take Note" collection, maybe you can guess what those four fairytales are! I will give you a clue...all of them involve cute animals as main or supporting characters... Guess which four fairytales and the fairytale characters (from those stories/movies) that inspired "Take Note" and you will be entered to win a prize. Place your guesses in our Facebook Group for a chance to win! The closer you get to the correct answer, the better chance you have of winning!

Alright, well I hope you enjoyed this sneak peek of "Take Note" ! Have a wonderful day and remember to "live your life as a fairytale"!!! 

Hugs --- Andrea, Founder of The Fairytale Club


How Sweet It Is

Hello planner girls! I'm Belen of Art & Whimsy and I'm excited and honored to be a Guest Designer for the Fairytale Club this month. Today I'm sharing my planner setup, in an A5, using the latest kit, "Sweet!". Let me tell you... oh my goodness, this kit lives up to its name!

Pic 1.jpg

I love the exclusive design elements, colorful imagery, and how you can mix and match the components of the various kits to create a layout that is uniquely your own.

The first thing I did was to make a dashboard from a personal sized insert and stuff my planner pockets with some of the adorable planner kit die cuts.

I love adding a large pocket insert to my planner setups so I made one using the 12x12 paper and stuffed it full of more Fairytale Club prettiness.

I embellished my pocket with ephemera die cuts. How adorable is that unicorn?!

Oh! And speaking of unicorns... included in the Happily Ever After kit comes the cutest planner tassel complete with a unicorn charm.

I've loved all of the Fairytale Club kits, but this has to be one of my favorites. The whimsical feel of it makes me smile! Thank you for allowing me to share my planner layout with you. Wishing you a beautiful week. 

xo, Belen