I can't imagine NOT celebrating the reason for the season, Jesus. I also can't imagine not remembering past Christmas joys full of Santas and stockings as a child and making those fun memories for my own munchkins!
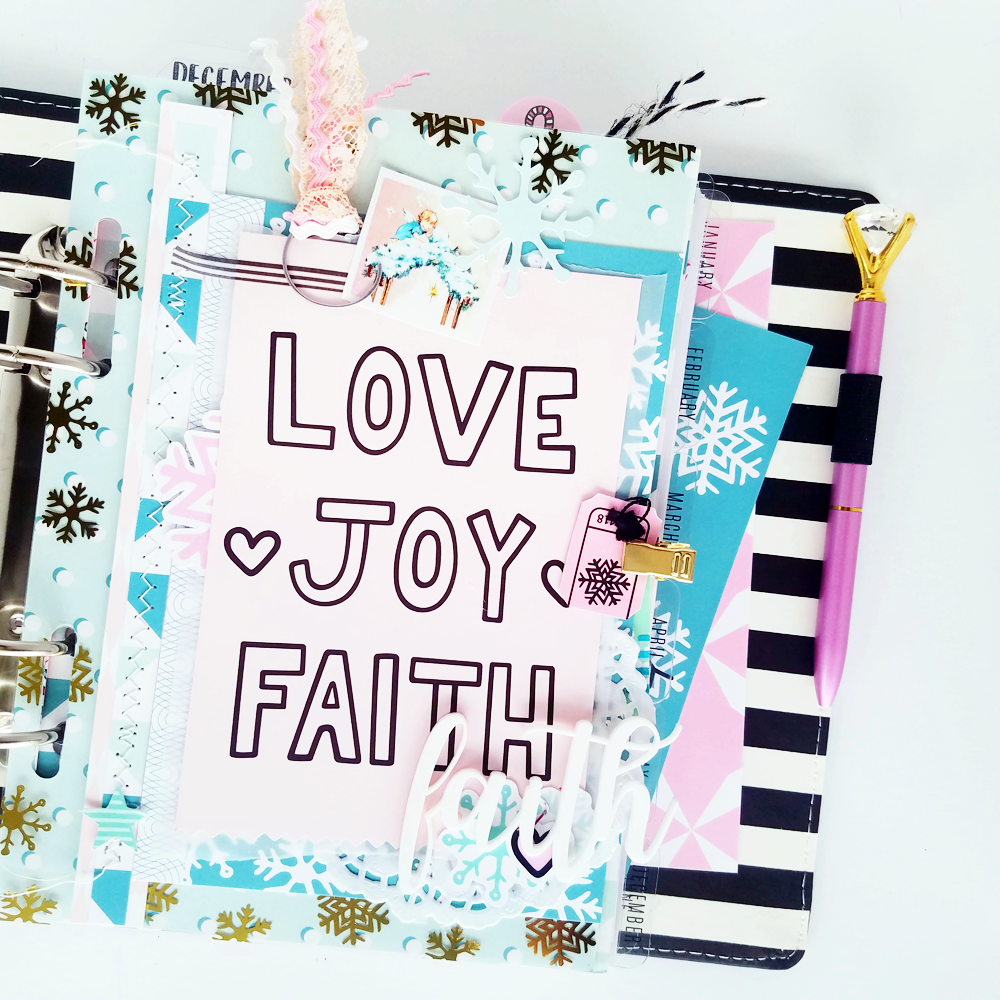
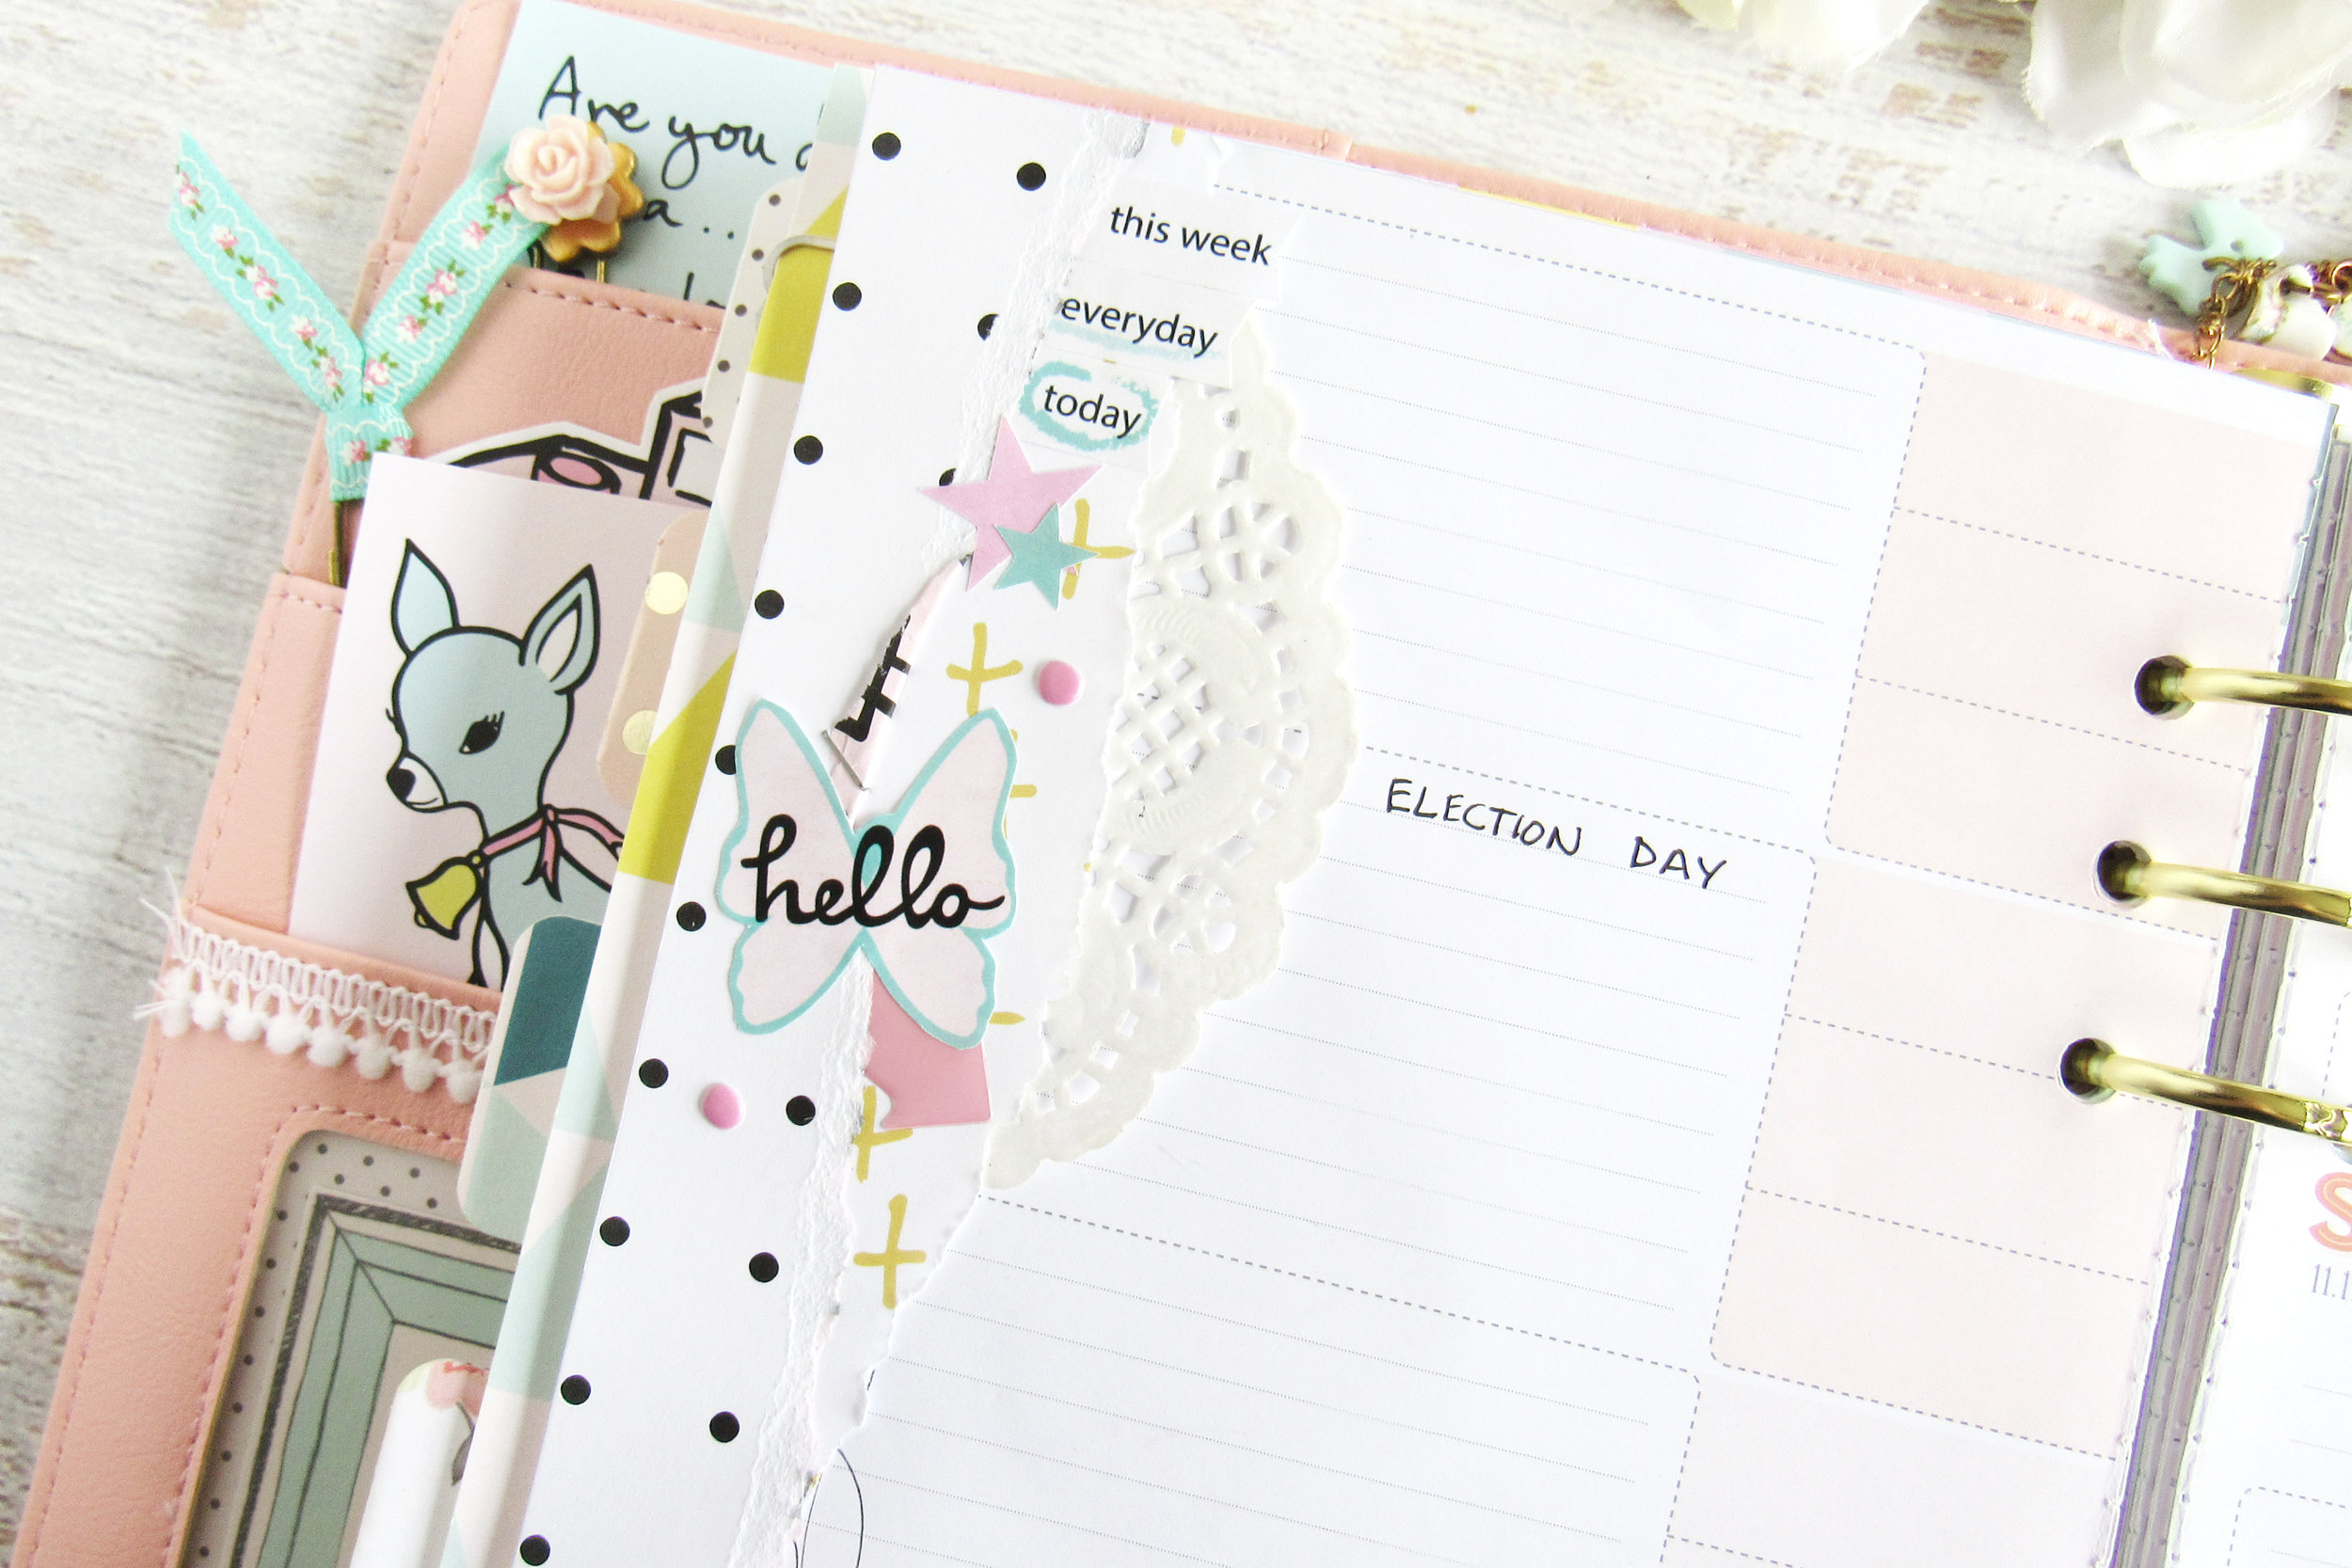
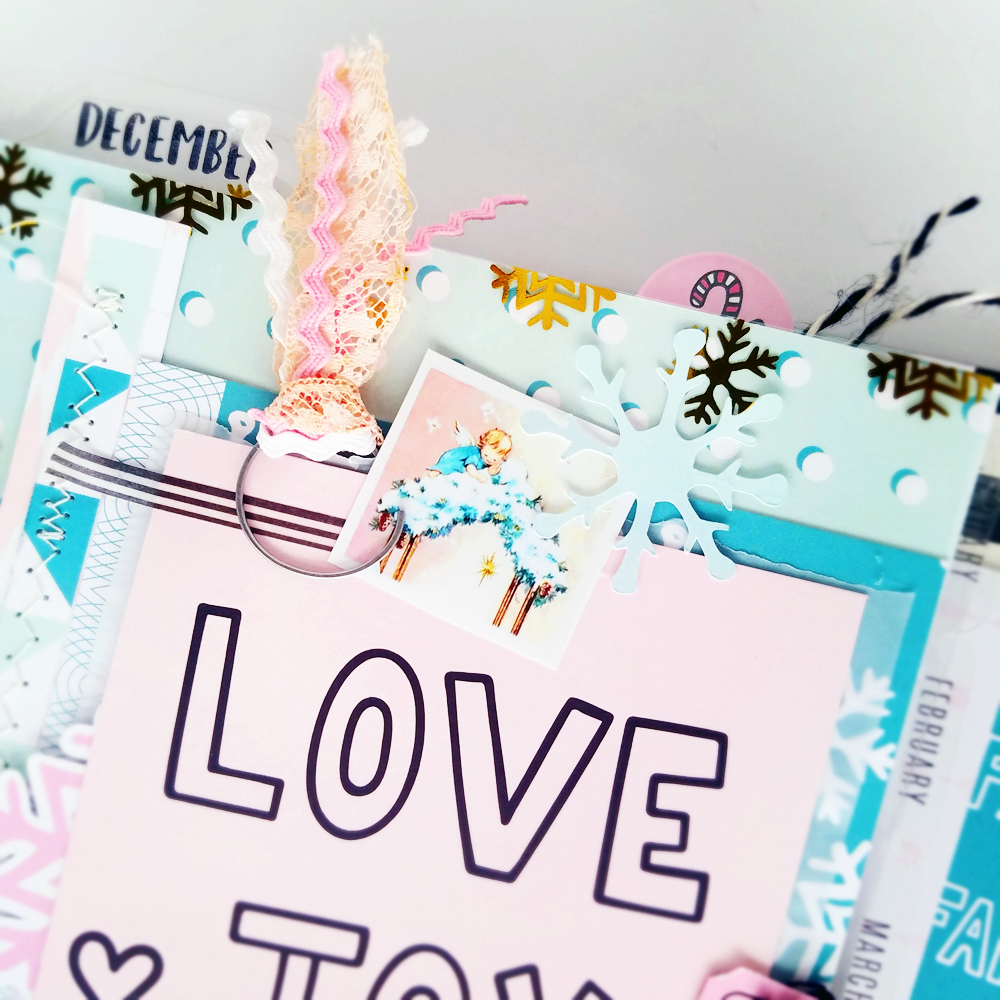
First off is my Dashboard page with a lot of layers. A divider which has the foiled acetate, patterned paper, Vellum and a piece of the cut apart paper. I then added some die cut pieces and a small vintage picture of a Christmas storybook I read as a child.

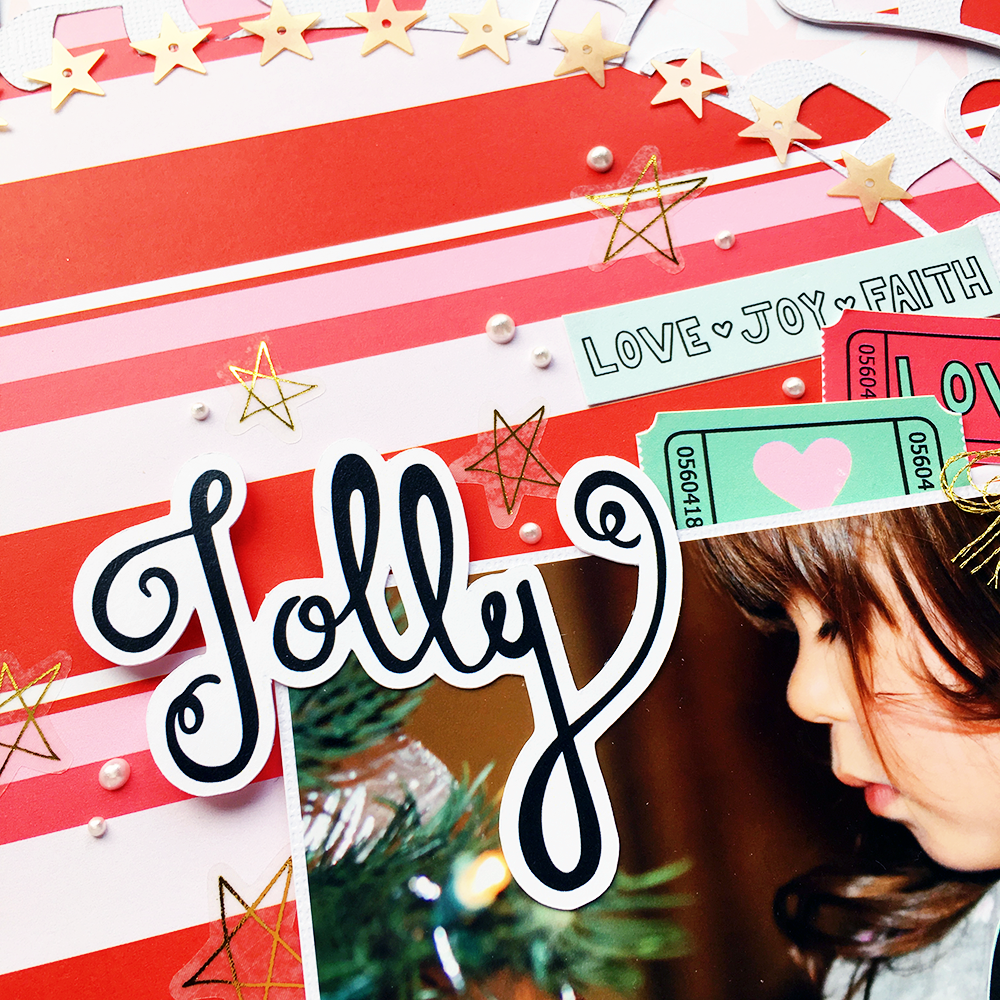
Let not forget about the planner pockets now! I made a little grouping of patterned paper on top of which I have the die cut Jolly as well as the cutie-patootie snowman. I also made a couple more vignettes for each pocket just to enjoy as I open my planner each day.

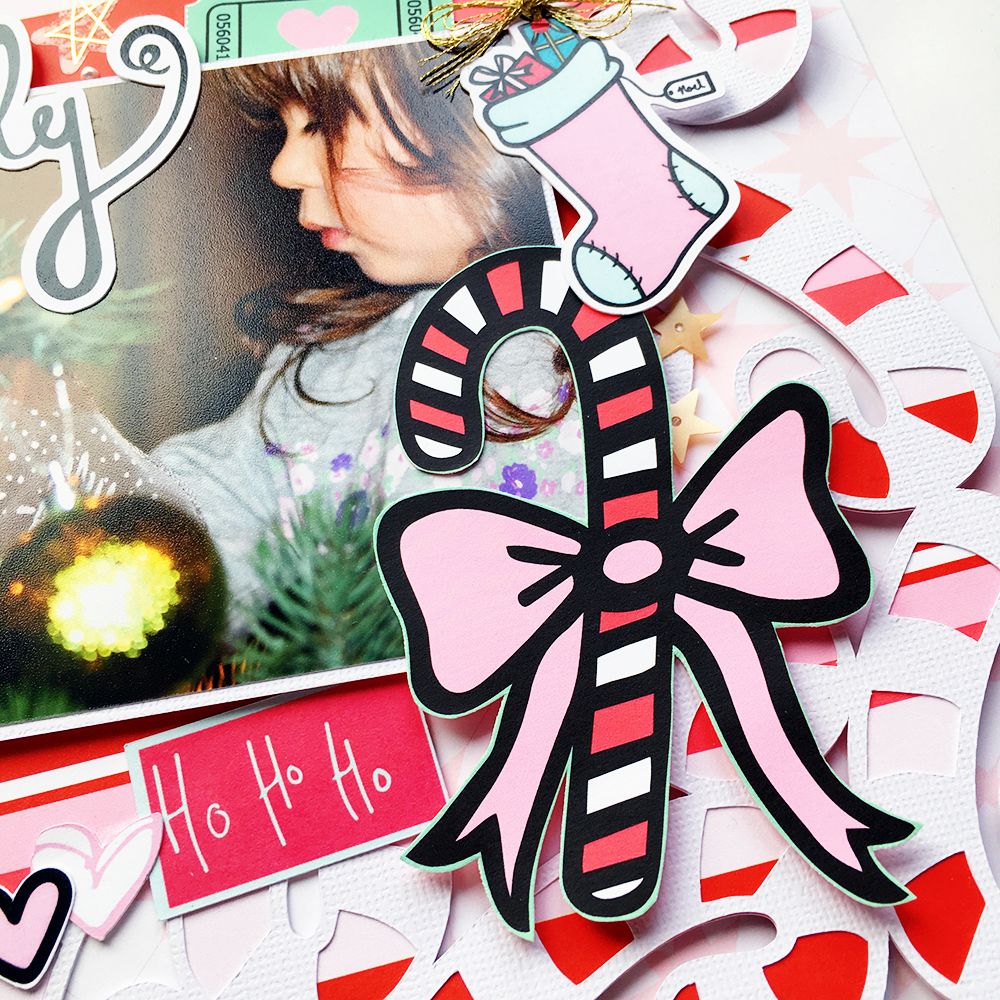
The sequins in the kit a bit more sparkle to my fun front, don't you think?!


As we turn the page I used the clear divider that came with the planner but I cut out Santa and backed him with a personal divider in that lovely candy cane paper.

Opposite page, All I added was a quick tag with another vintage image I remember as a child and then a die cut bow. I attached it only in the middle so that it would be 3D-ish.


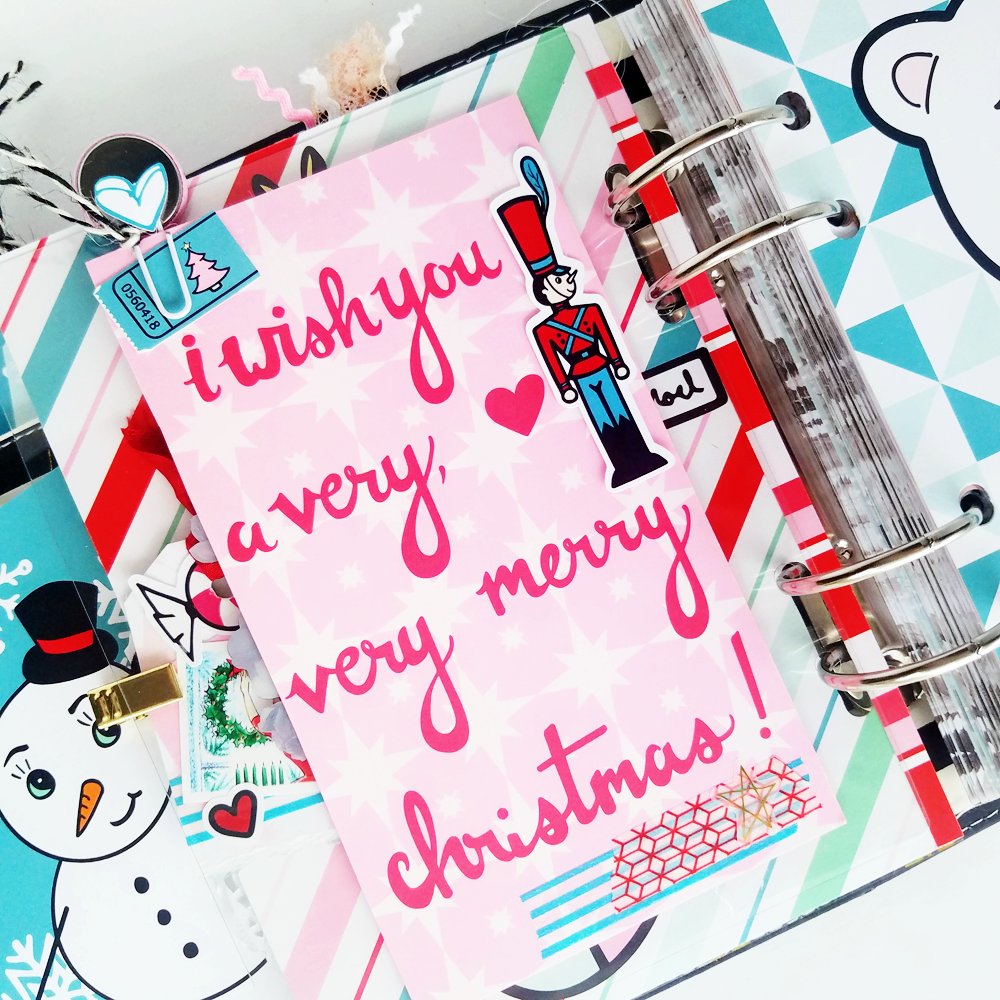
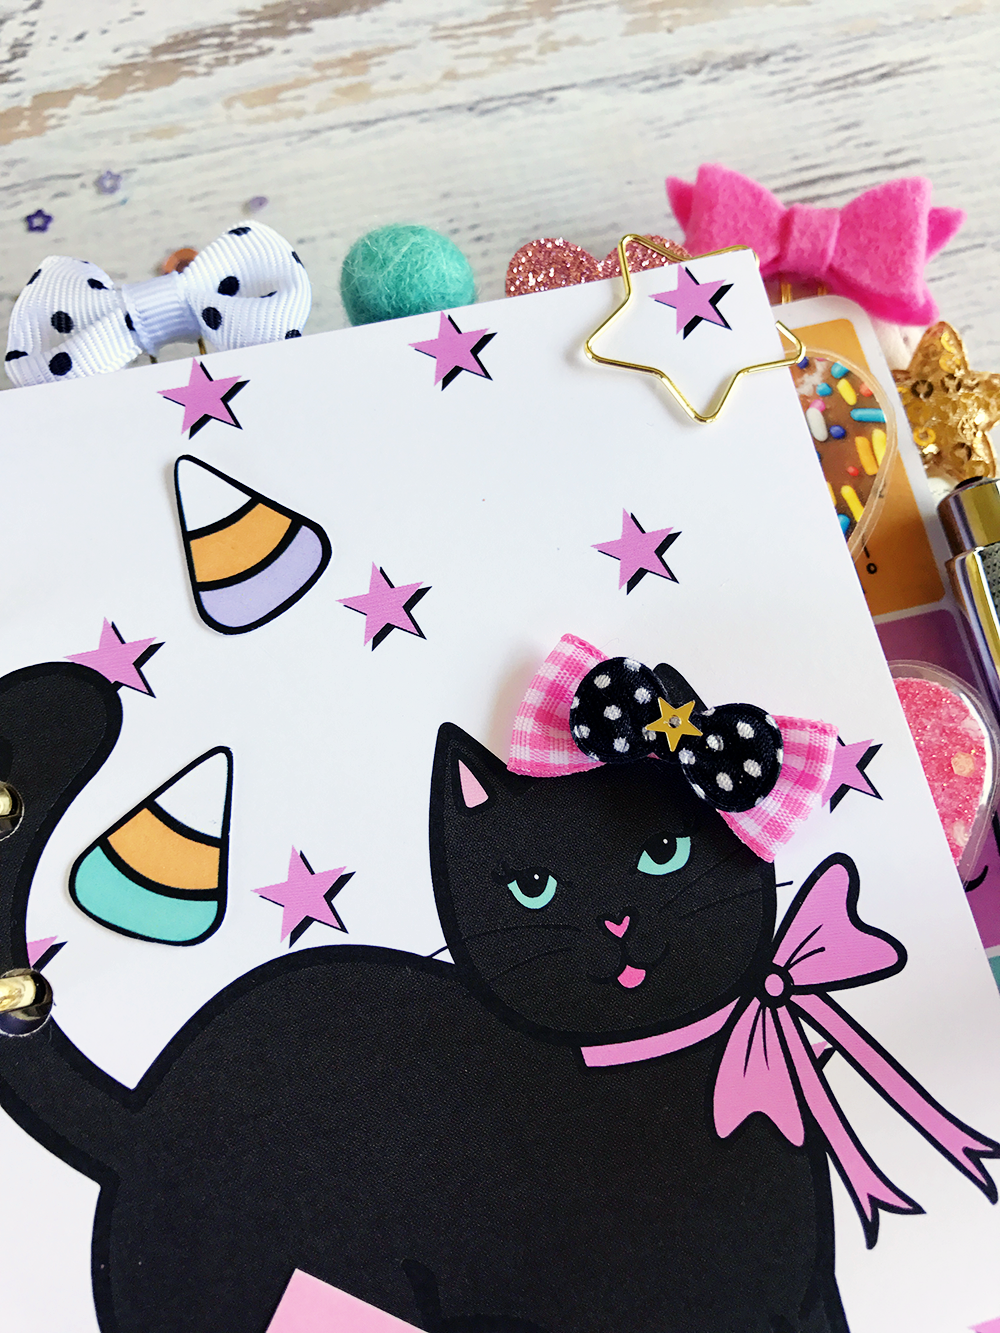
On the back of Santa, the personal divider that I adhered to the divider, I just added some washi and a nutcracker dude! The quick tag and paperclip always make a fantastic way to spice up a page too.
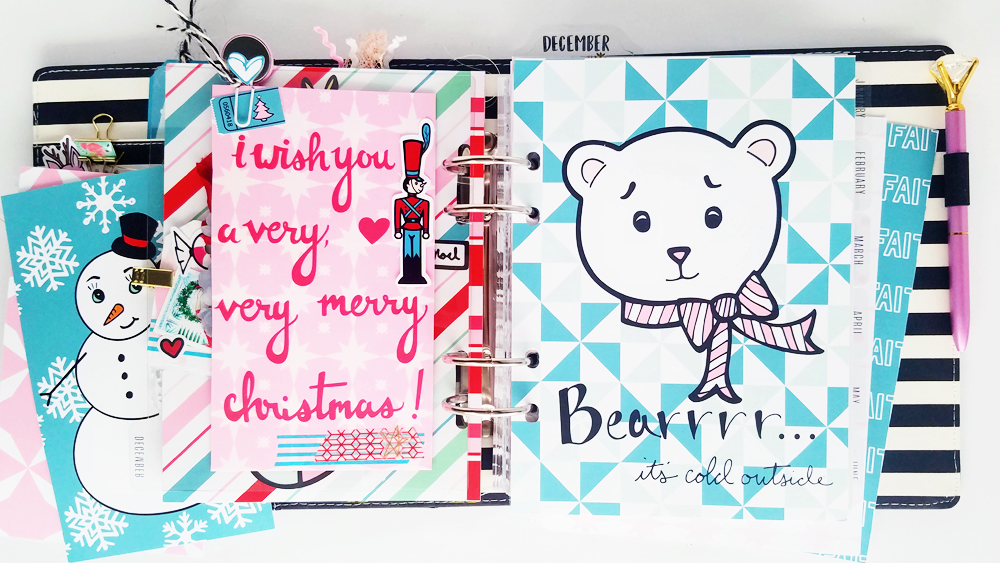

Lastly, I decorated the monthly pages that will house my verses for the day.

Thanks so much for joining me today!
-Kim