Aimee's "I'm in Wonderland!" 8.5x11 Layout

Hey everyone, it’s Aimee and I am so excited to be back today sharing a project using the “I’m in Wonderland!” Kit.

im in wonderland.png

When this kit arrived, I just knew I would be scrapping photos from my husband’s birthday at Disneyland. This was our very first trip to Disney together. I took him there for his 38th birthday, and he was such a great sport letting me take ALL the Pictures! This was back in 2009 and you could get in free on your birthday!

ACS_0919.jpg

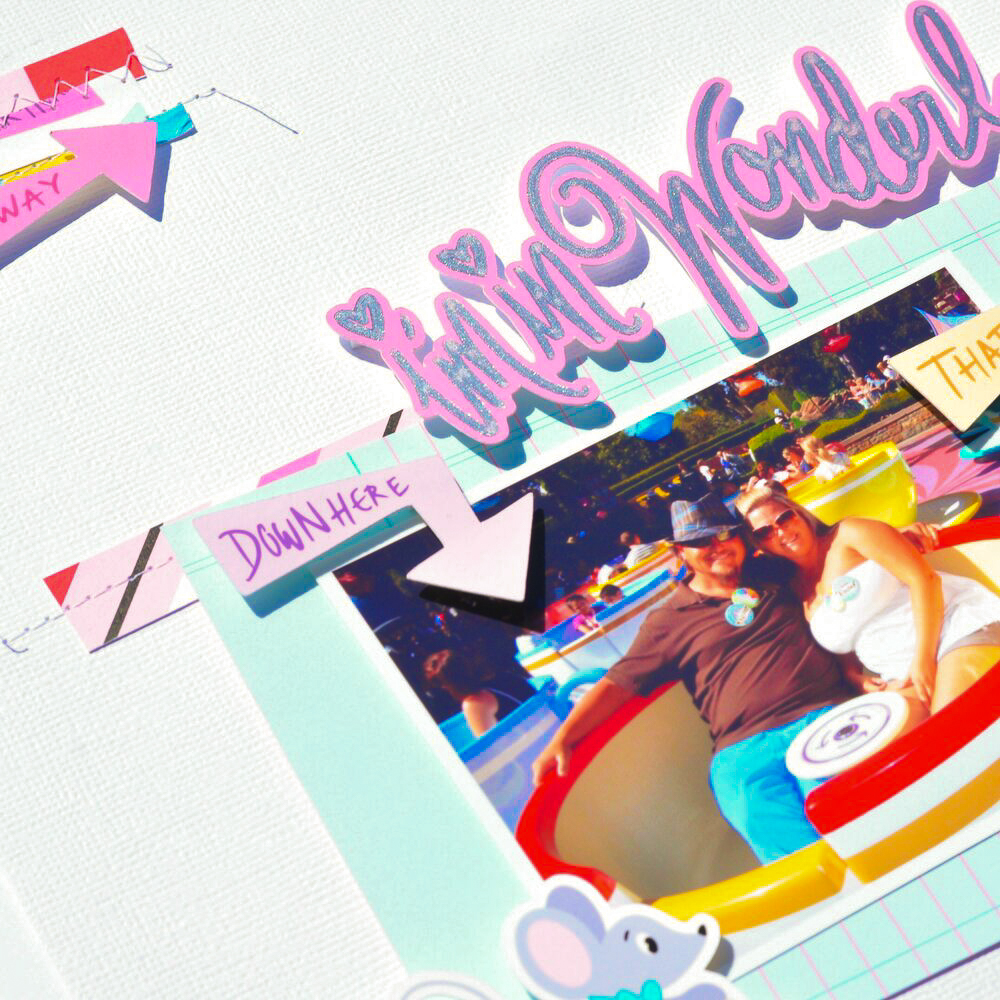
How perfect is this photo of us riding the tea cups!

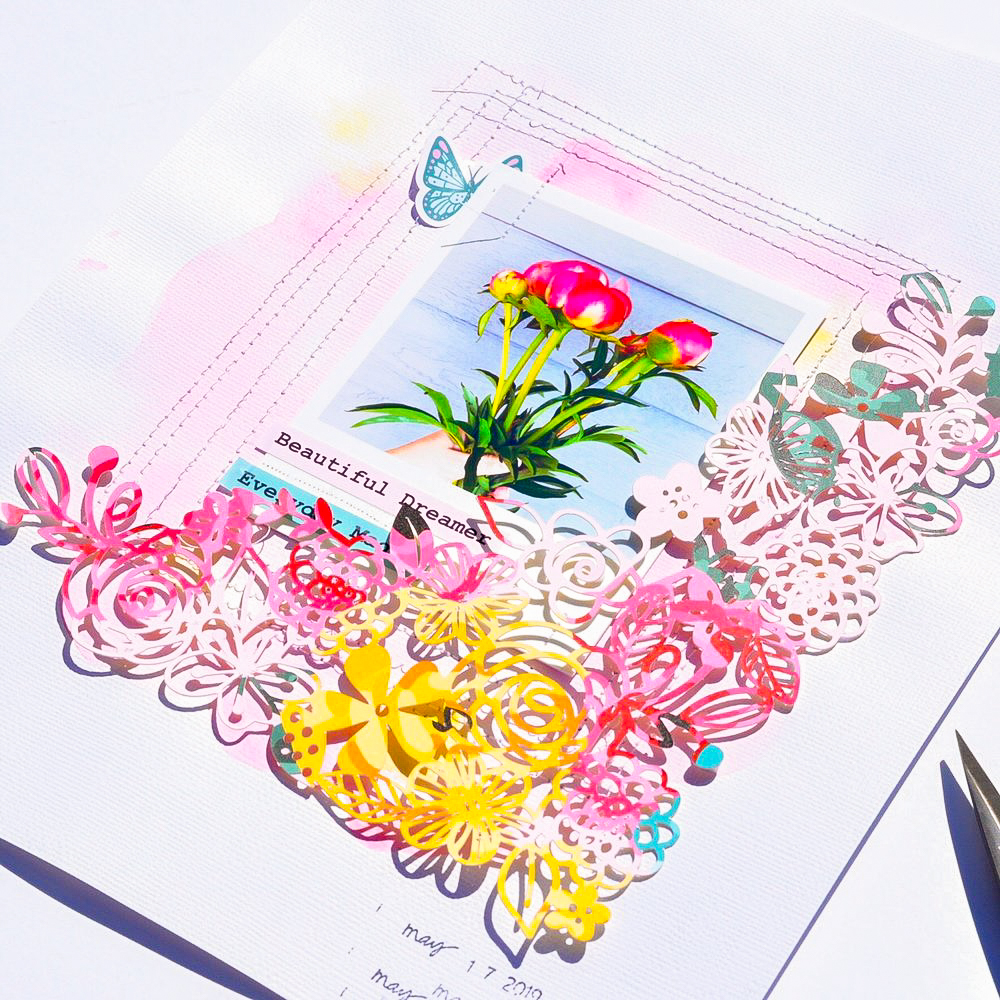
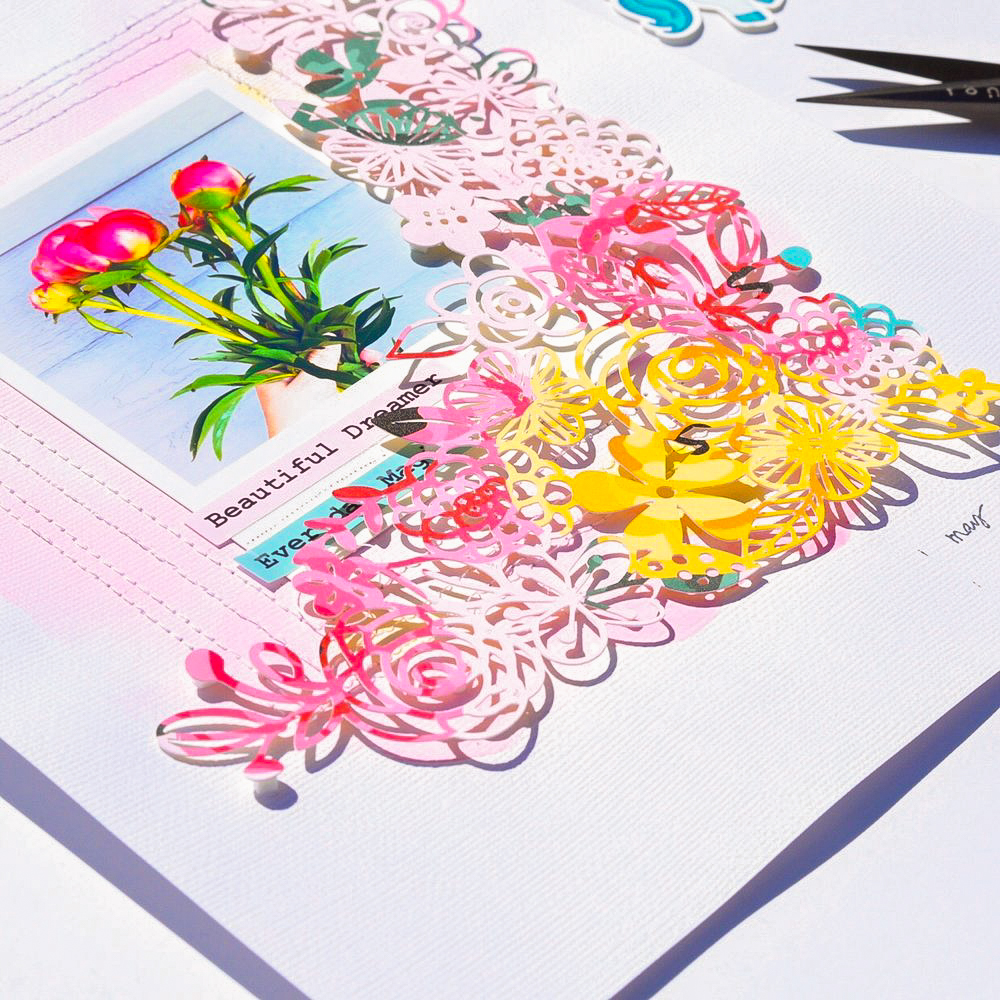
I used one of the smaller planner dividers to mat my photo. I cut the bottom strip from “I’m in Wonderland” and machine stitched it under my matted photo. I adhered the matted photo on top of those strips to give a bit of depth and wonkiness {that’s a word, right?}.

ACS_0920.JPG

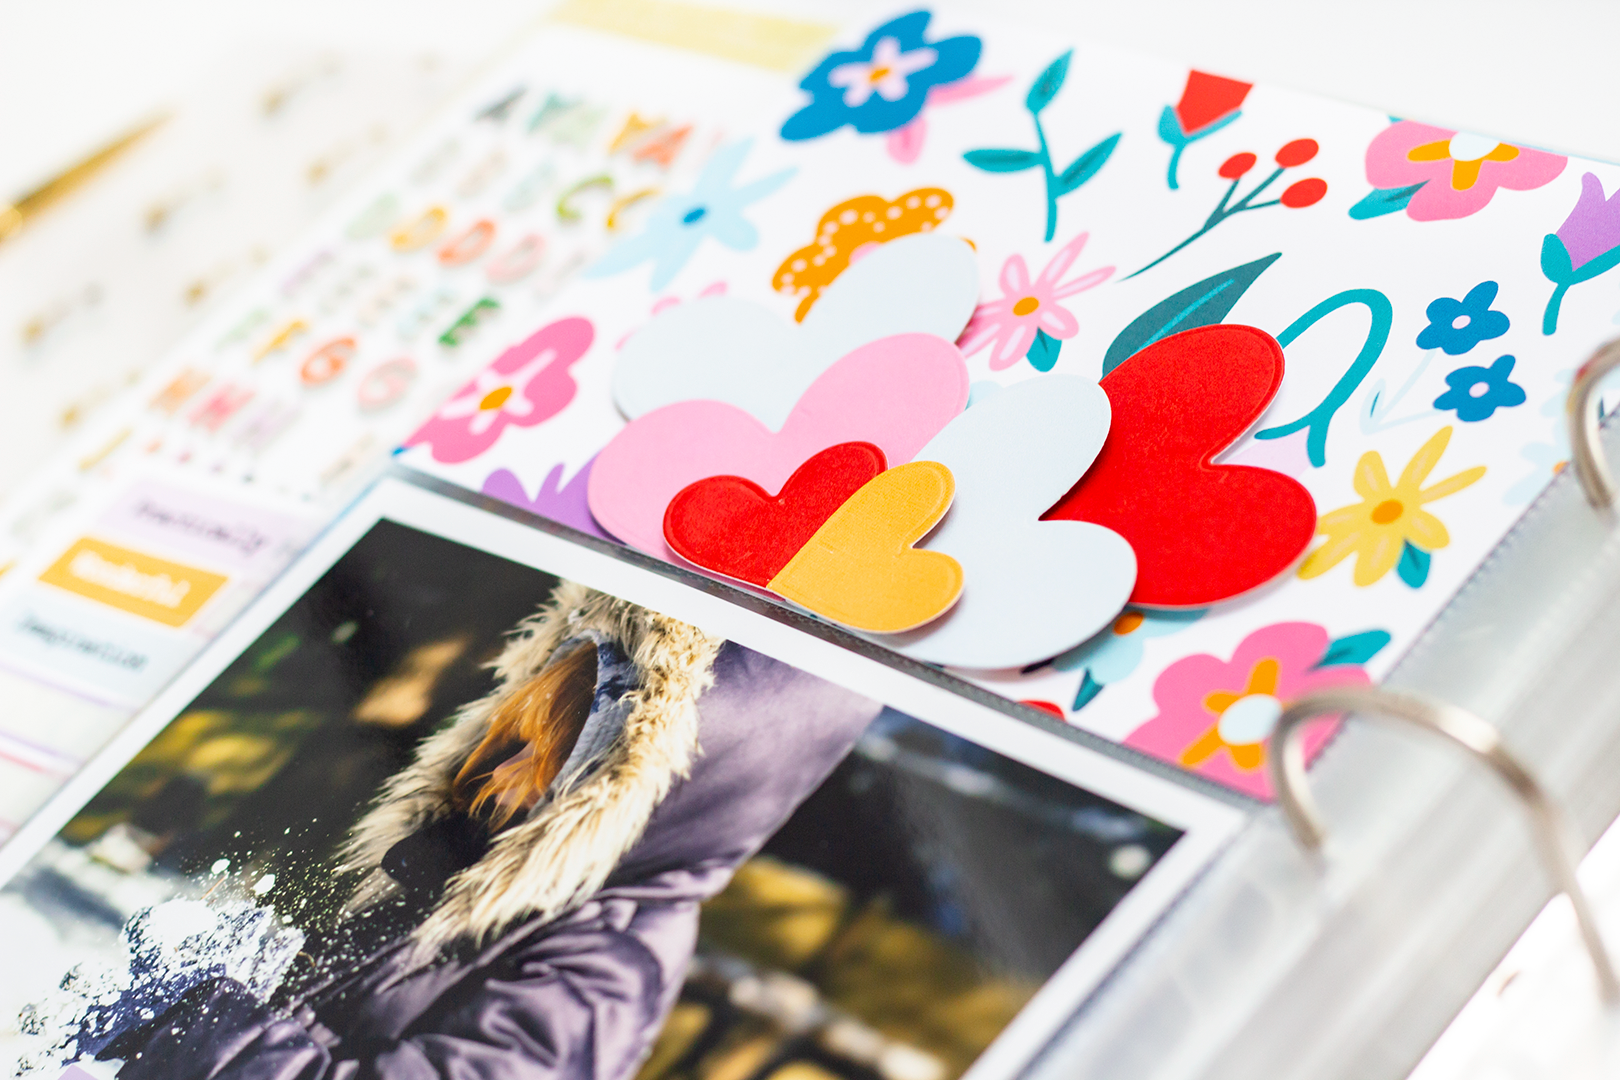
Using the arrow die cuts and the cute little mouse in the tea cups, I adhered them over my photo with 3-d adhesive foam.

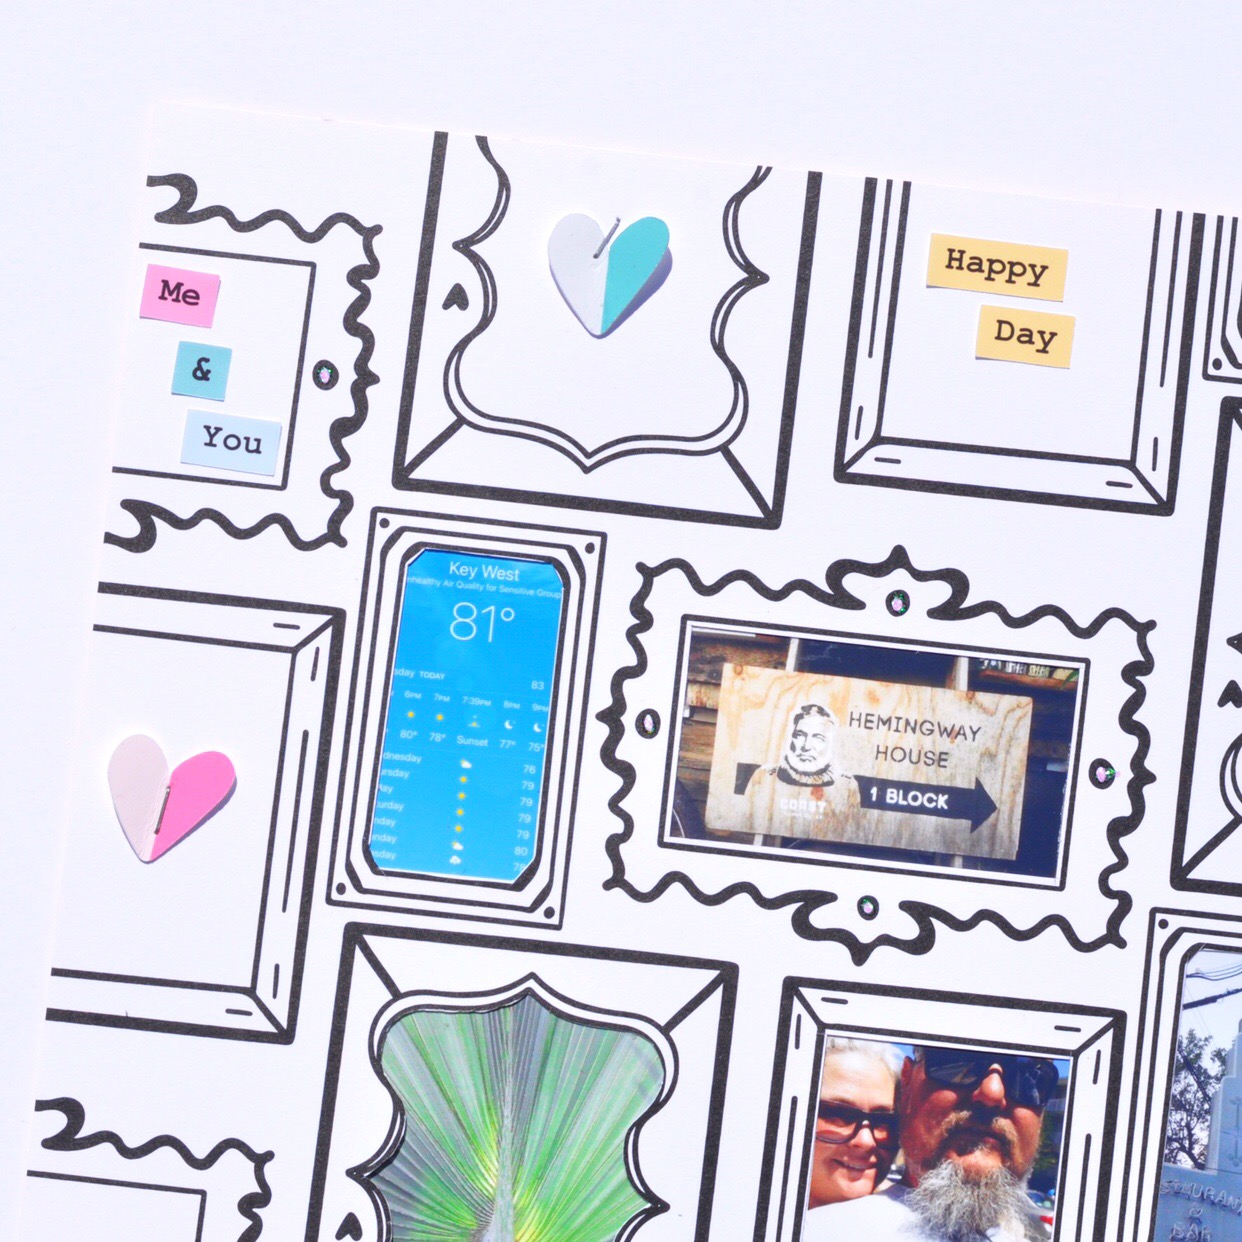
I used the “I’m in Wonderland” die cut from the Variety Pack as my title, and adhered it with 3-d foam. Check out how the metallic title shines in the sunlight!

ACS_0922.jpg

I stamped the bottom right side of my layout with a date roller stamp and another roller stamp

I have that this collection has Disney-inspired phrases.

ACS_0918.JPG

For the top left corner {to balance out the layout} I cut the strip from the bottom of 2 other 12x12 papers and machined stitched. I then added a little tiny paper clip and slipped in the bow die cut. I adhered another die cut arrow over the stitched strips with 3-d foam adhesive for another “POP”

ACS_0921.jpg

It was so great to create for you all again, I can’t wait to share my next project with you!!!

ACS_0917.jpg

 XOXO, Aimee

Aimee's "Frame It" Layout

Hey everyone, it’s Aimee!

 Today I have an 8.5x11 layout for you!

frame it.jpg

 Do you ever have an idea for a layout and then you make and it doesn’t turn out how you thought? Well I do that ALL the time. But this layout I ended up LOVING.

2.jpg

 When I started this layout that’s exactly what happened. I instantly knew when I saw the “Be True to You” 12x12 Paper, that I wanted to frame little photos in all the frames. And that’s exactly what I did.

3.jpg

 First, I cut the 12x12 paper down to 8.5x11 {that’s my go to size for layouts these days}. I then used an Xacto knife to cut out the frames that were still whole, so I could back them with photos.

 I measured and printed 7 little photos, and backed my paper with said photos. And the layout was moving right along just the way I wanted. But I knew it needed dimension. SO, I decided to use puffy alphas to write stuff in the frames, AND I just didn’t like it. Now what?

4.jpg

 I grabbed the Variety Pack and pulled out 4 of the color blocked hearts, and stapled them inside frames.

Ok now the layout is coming along, but I need more.

I am not a huge sticker user. I love them, I just don’t use them very often. I got the sticker sheet out and started putting the word strips and hearts and stars in the frames. And guess what.

 I LOVE IT.

I simply dated the layout with a date roller stamp and used some glitter glue on some of the frames.

5.jpg

 Now I was hoping you wouldn’t notice but I have to come clean. My paper is upside down.

Yep that’s right. See the squiggly frames? They have hearts in them and they are upside down. Oopsie! Once I noticed it was too late and I just went with it!

Have you ever noticed a boo boo in the middle of a layout and just kept going???

XOXO Aimee

Water Color and Peonies with Aimee

It’s Aimee again! Today I got messy with the “Beautiful Dreamer” Kit and just had to share with you!

peonies_01.jpg

 I went way out of my comfort zone with this one! I mixed water colors with a fancy cut paper and machine stitching.

peonies_02.jpg

 I started this layout off by using a cut file from Kim Watson, you can find the file here.  I scaled down the file and cut it using the “Her Name is Aurora” 12x12 paper. You guys, this paper is so beautiful and the decision to cut it was so hard to make!

 I printed my photo to look like a polaroid picture.

peonies_03.jpg

 I marked where I was going to adhere my photo and I water colored around the outside of those marks.

Now, I really don’t know how to water color. I just moved some color and water on the paper and this is the final look! This is WAY out of my comfort zone.

peonies_04.jpg

 After it dried, I placed a heavy book on my paper and let it dry overnight {I don’t care for how the paper gets wavy after you have put paint/water on it - another reason why this is out of my comfort zone}

peonies_05.jpg

 I adhered my photo to my paper and then stitched around the photo several times.

I used some stickers from the sticker sheet to complement the photo, and then I placed my cut file over my photo, adhering it with 3-d foam adhesive.

peonies_06.jpg

 I also dated the layout with my date roller stamp

7.jpg

 How often do you leave your comfort zone when scrapping???

 XOXO Aimee

Kellie's Nap Queen Layout

TFC_KIRA_03
Hey there crafty people.  It's Kellie here with you again to share a mini layout in my pocket page notebook, using the NEW and gorgeous, Beautiful Dreamer kit.  I wanted to keep this rather simple to keep the focus on the photo and my daughters beautiful hair colour and this kit allowed for just that.
  TFC_KIRA_01For this layout I wanted to try something new, new to me.  There are so many amazing hearts in this kit and I LOVE that!  I decided to have three hearts on the pocket going down in a line, vellum in the front and the cardstock hearts backing them.
TFC_KIRA_01I then got out my old sewing machine and.................. the top one moved, ugh.  I didn't let it stop me and the other two hearts came out perfect.  The old, two out of three ain't bad.

The sticker, NAP QUEEN could not had been more perfect for this teen of mine.
TFC_KIRA_01
I decided to use the bottom strips of the 12 x 12 pattern papers as washi tape, they are truly perfect for that use.

Aimee's "Eat Sleep Scrap Repeat" Layout

Hi everyone, it’s Aimee! It’s been awhile since I’ve posted. But I am so excited to be back and sharing this layout with you, using the brand new kit Beautiful Dreamer

So basically just scrap lifted this page from Paige Evans! I knew this cut file would look so awesome with the Beautiful Dreamer Kit!

To create this page, I started off using a cut file from Paige Evans. You can find the EAT SLEEP SCARP REPEAT cut file here.

I cut the it using plain white cardstock, I then used 7 different papers from the BD kit. Actually, I just used 4 different sheets that are double sided!

I separated the cut file and cut EER + LAT from “Spring Dream”, APE + SRA from “Her name is Aurora” TSP from” Beautiful Dreamer” and heart CE + EP from “Believe”.

 I backed the cut file and then placed all the letters inside the cut file. I then ran the whole cut file threw my sewing machine for a bit more dimension.

I used “Flora Fauna, and Merryweather” 12x12 as my base. I used 3-d foam adhesive to “POP” the cut file off the page. I used a border punch to punch the bottom of “Make it Pink, Make it Blue”.


I used a square instax photo for my layout. I layered it with a pink frame from the Variety pack, and used mini staples to secure it in place. I also layered the castle die-cut and a vellum butterfly die cut from the Variety pack over my photo. 

To finish off the layout I layered the blue bird and yellow butterfly from the Floral Emphemera kit under the cut file for dimension.

I love how the 12x12 “Flora Fauna, and Merryweather” paper helps give the layout depth and dimension with the faux paint and handwriting. It makes all the layers POP! 

Do you ever take advantage of the base papers design and incorporate it into your design? 

Thanks for stopping by, 

XOXO Aimee

Kellie's Pocket Page Notebook Dreamer Layout

TFC_MAY_02

Hi there Fairytale Club peeps, Kellie here with you today to share a mini layout I create in my smaller pocket page notebook.  I think if you've been following along here and would had noticed I have a thing for this style of crafting, FUN!

For this layout I've used the NEW Beautiful Dreamer kit, that is honestly just a dream to be able to create with.


TFC_MAY_02

My eldest has started taking photos again.  She's had an eye when it comes to photography and I benefit, because her favourite or only real subject that she can have on hand are her sisters, WIN for me.

Before this kit even arrived on my door step and I was checking the delivery update daily.....  Come on, I know I'm not the only one that stalks their Fairytale Kit right?  I already had plans in my head on what I wanted to create and these photographs were top of the list.


TFC_MAY_02

Did you see that this month there is something new?  The chipboard alpha's!  Are they not dreamy?  Confession time, I used the "q" as a "b", honestly it was a mistake and once I realised it didn't bother me as it just worked. I decided to keep these layout's pretty simple.  I'm loving the sentiments within the sticker sheet this month.


TFC_MAY_02

To do the pocket I got out my trusty fuse tool and once I was happy with where my photo was placed that I've gone back and front, I fused around it with a metal ruler.  Added sequins in and then fused it up.  BAM, done.  Sounds simple right?  You have no idea the amount of sequins I get everywhere, haha.  But the result is just too good not to lose or wear a few sequins.

i didn't want to sew straight into the pocket page paper.  So I decided to stick down the strips of paper onto a spare bit of cardstock, sew with my sewing machine, trim up and then stuck it down into my pocket page notebook.  This works really well for those hard to get to areas with your machine.


TFC_MAY_02

There you have it!  I have another layout coming next week that I can't wait to share with you all.  In the meantime if you haven't signed up for your kit yet, you can do so, HERE.

Kellie's Practically Perfect Layout

Hi there crafty people, Kellie here with you today to share a scrap layout I created using the new, Practically Perfect kit.

TFC_13I love this kit.  Every time I think Andrea can't possibly out do herself and BAM she goes and does it again.   I don't think you even have to be a fan of the movie this kit is based on.  I remember watching it as a kid, but I know I can use this kit over and over again.
TFC_13I really am happy with how this layout came together with the photo of myself and all and looking like I'm calling myself, practically perfect.  I'm not, haha, honest, but the font and music notes are just to perfect to not use.

I also managed to use a little bit of everything that comes within the kit and guys, I still have PLENTY.  So if you haven't already get onto the subscription.
TFC_13I started with a white cardstock base.  I did consider going with a pattern, but when I laid eyes on the Spoonful of Sugar acetate, I knew I had to use it.  One side gold the other blue, WINNING.  When I spotted the tag I just knew I couldn't hoard it as much as I really wanted to, because it's gorgeous.  So instead I got out all my favourite elements and added them to this layout.
TFC_13This is the end result and I coudn't be happier. 

Kellie's You + Me Bestie Love Layout

Hey there crafty peeps, Kellie here with you to share a layout I created.

TFC_YOU_AND_ME_3

So when this gorgeous kit arrived, You + Me I knew right away that anything I created would not involve my husband what so ever.  I'm not alone in the craft world where their husbands don't like their photo being taken, rarely, if at all?  I mean after doing a podcast once and attending a couple craft retreats, I found out a lot of people thought I was a single mum.  I can promise, he's real, haha.  So I knew right away this kit is going to be used for the people I love, that let me take their photo or a photo with them, haha.


TFC_YOU_AND_ME_3

This girl I love to bits.  We met online because of crafting, CRAZY right?  It's been almost 10 years now, WHOA ok, I didn't realise that, haha.

I scarp in the size of 6x8.  It can be a challenge sometimes because I want to add more, but I've tried so many sizes over my time in crafting and 6x8 I just love.  Usually with a typical white cardstock background, NOT this time!  I absolutely loved to pattern with the pink and the lined paper look that I just knew I ad to use that as the background.


TFC_YOU_AND_ME_3

I love using instax photos when I scrap?  I don't know why, maybe because of the smaller size, but the photos just GO with the style I do.  Do you pick your photo first or are you the type that picks what you will use first and then go from there?  I personally pick a photo first.


After I've picked the photo I always go to the die cut ephemera, then more pattern paper, strips, and stickers and layer and layer as I go.  Once I'm happy I take a happy snap so that I can then remember where everything goes.  There have been many a times that I've walked away for some reason or another and then come back and completely forget where I had things.  i do this for almost everything, project life, cards and layouts.  highly recommend it.


TFC_YOU_AND_ME_3

After all that this is the final result and I'm super happy with how it all came together and the kit just WORKED so well for my plan.

Carrie's Sunshine & Snow Project Life Spread

02132019-PL-Snow-Day-01-Final.png

Hello Everybody, Carrie here with a February spread in my Project Life album. I used the gorgeous Practically Perfect Kit and gave it a bit of a love theme for February. We’ve been coated in a bunch on snow here in Seattle the last couple weeks which is not normal, so I wanted to make sure to document some of our snow days. These photos are a little over a week old and we have so much more snow now it’s crazy. The photos from this day in particular are some of my favorites because of the snow and sunshine together, as well as my daughter playing in the yard with one of our dogs.

02132019-PL-Snow-Day-02.png

To begin this spread I quickly decided on using a pocket page of three 4x6 inch photos. I placed the photo of my daughter in the middle and cut two 4x6 inch cards from one of the 12x12 inch floral papers. The floral paper cards I added to the pockets above and below my photo. Next I decided to use two sizes of heart shaped dies and cut a bunch of hearts out of solids sections of paper from some of the planner inserts.

02132019-PL-Snow-Day-04-Final.png

I layered the die cut hearts together on the floral cardstock both above and below my photo. To give them a little dimension I used red line tape at the bottom of each heart and a thin foam adhesive at the top.

02132019-PL-Snow-Day-05-Final.png

As a final touch for this side I used the “superclifragilistic” and “expialidocious” stickers from the sticker sheet and added them with a thin foam adhesive. To give a little more interest I decided to place one on my photo and the other on the paper below.

02132019-PL-Snow-Day-06.png

On the opposite page I started out by adding the “s” and “p” in Pink Paislee Thickers to one of the 2x3 inch photos (it’s a photo of snow), to identify my daughter and our dog. I used the same pink paper as one of the heart dies to fill in the empty space of the “p” because I feel like it makes the letters easier to read and I like the look. To help tell the story of my daughter’s relationship with our dog Ponyo, I also decided to use one of my small heart punches and punched out a heart from one of the same red papers as the other hearts. I used foam adhesive and placed it in between the two initials. To finish off this little 3x4 inch pocket I added the super cute yellow pom pom paperclip from the stationery pack. I love seeing these pom poms stick out of my albums.

02132019-PL-Snow-Day-07.png

Once I had the rest of my photos placed for this 9x12 inch page I added the cute yellow quote card from one of the cut apart sheets in an empty 3x4 inch pocket. I could have left it just like that but thought that the two penguins reminded me of my daughter and Ponyo playing in the snow. Because I didn’t have a lot of space on the card I cut the smallest pair of penguins out of one of the cut apart sheets. I added them to the card with red line tape at the bottom and foam adhesive at the top. To help tell the story of the pair having fun I also placed the “yay” sticker from the sticker sheet, tucking one end under a penguin and popping up the other end with foam adhesive.

02132019-PL-Snow-Day-08.png

I knew I wanted to add journaling to the last 3x4 inch pocket so I cut a notepaper card from one of the planner inserts. Typically I’ll add journaling using my typewriter, but this time decided that the photos told enough of the story that all I wanted to write was a descriptive title and the date. I used the same Pink Paislee Thickers for my text and used the same pink paper to fill in the empty spaces in the letters. To help tie in the floral paper I decided to add the red tulip die cut from the die cut pack, again only popping up the top with foam adhesive and tucking the bottom into the text. Since I thought the sunshine and snow were so pretty together I also placed the “wow” sticker from the sticker sheet above the flower using foam adhesive…..and that’s it!

Thanks so much for taking a look at my project and I’ll see you next time : ) Carrie

02132019-PL-Snow-Day-03.png

Aimee's "You + Me" Layout

Hi everyone, it’s Aimee

you and me .jpg


You guys, I am so excited to be sharing this layout with you.

The You + Me Kit landed on my door step yesterday, and I couldn’t wait to play with it!

ACS_0644.jpg


And I totally went out of my comfort zone with this one. And I am loving it.

ACS_0642.jpg


I used the “You + Me” 12x12 sheet as my base.


ACS_0645.jpg


I die cut the heart garland/wreath with my silhouette and filled it with ALL the papers in the collection.

ACS_0646.jpg


I layered dies cuts, and created my title with pieces from the Emphemera pack


ACS_0641.jpg


How cute is that frame from the Stationery Pack, it fit just perfectly over my photo.

ACS_0643.jpg


I can’t wait to create more with this kit!

ACS_0640.jpg


Do you ever get a kit that your crazy in love with?


XOXO, Aimee