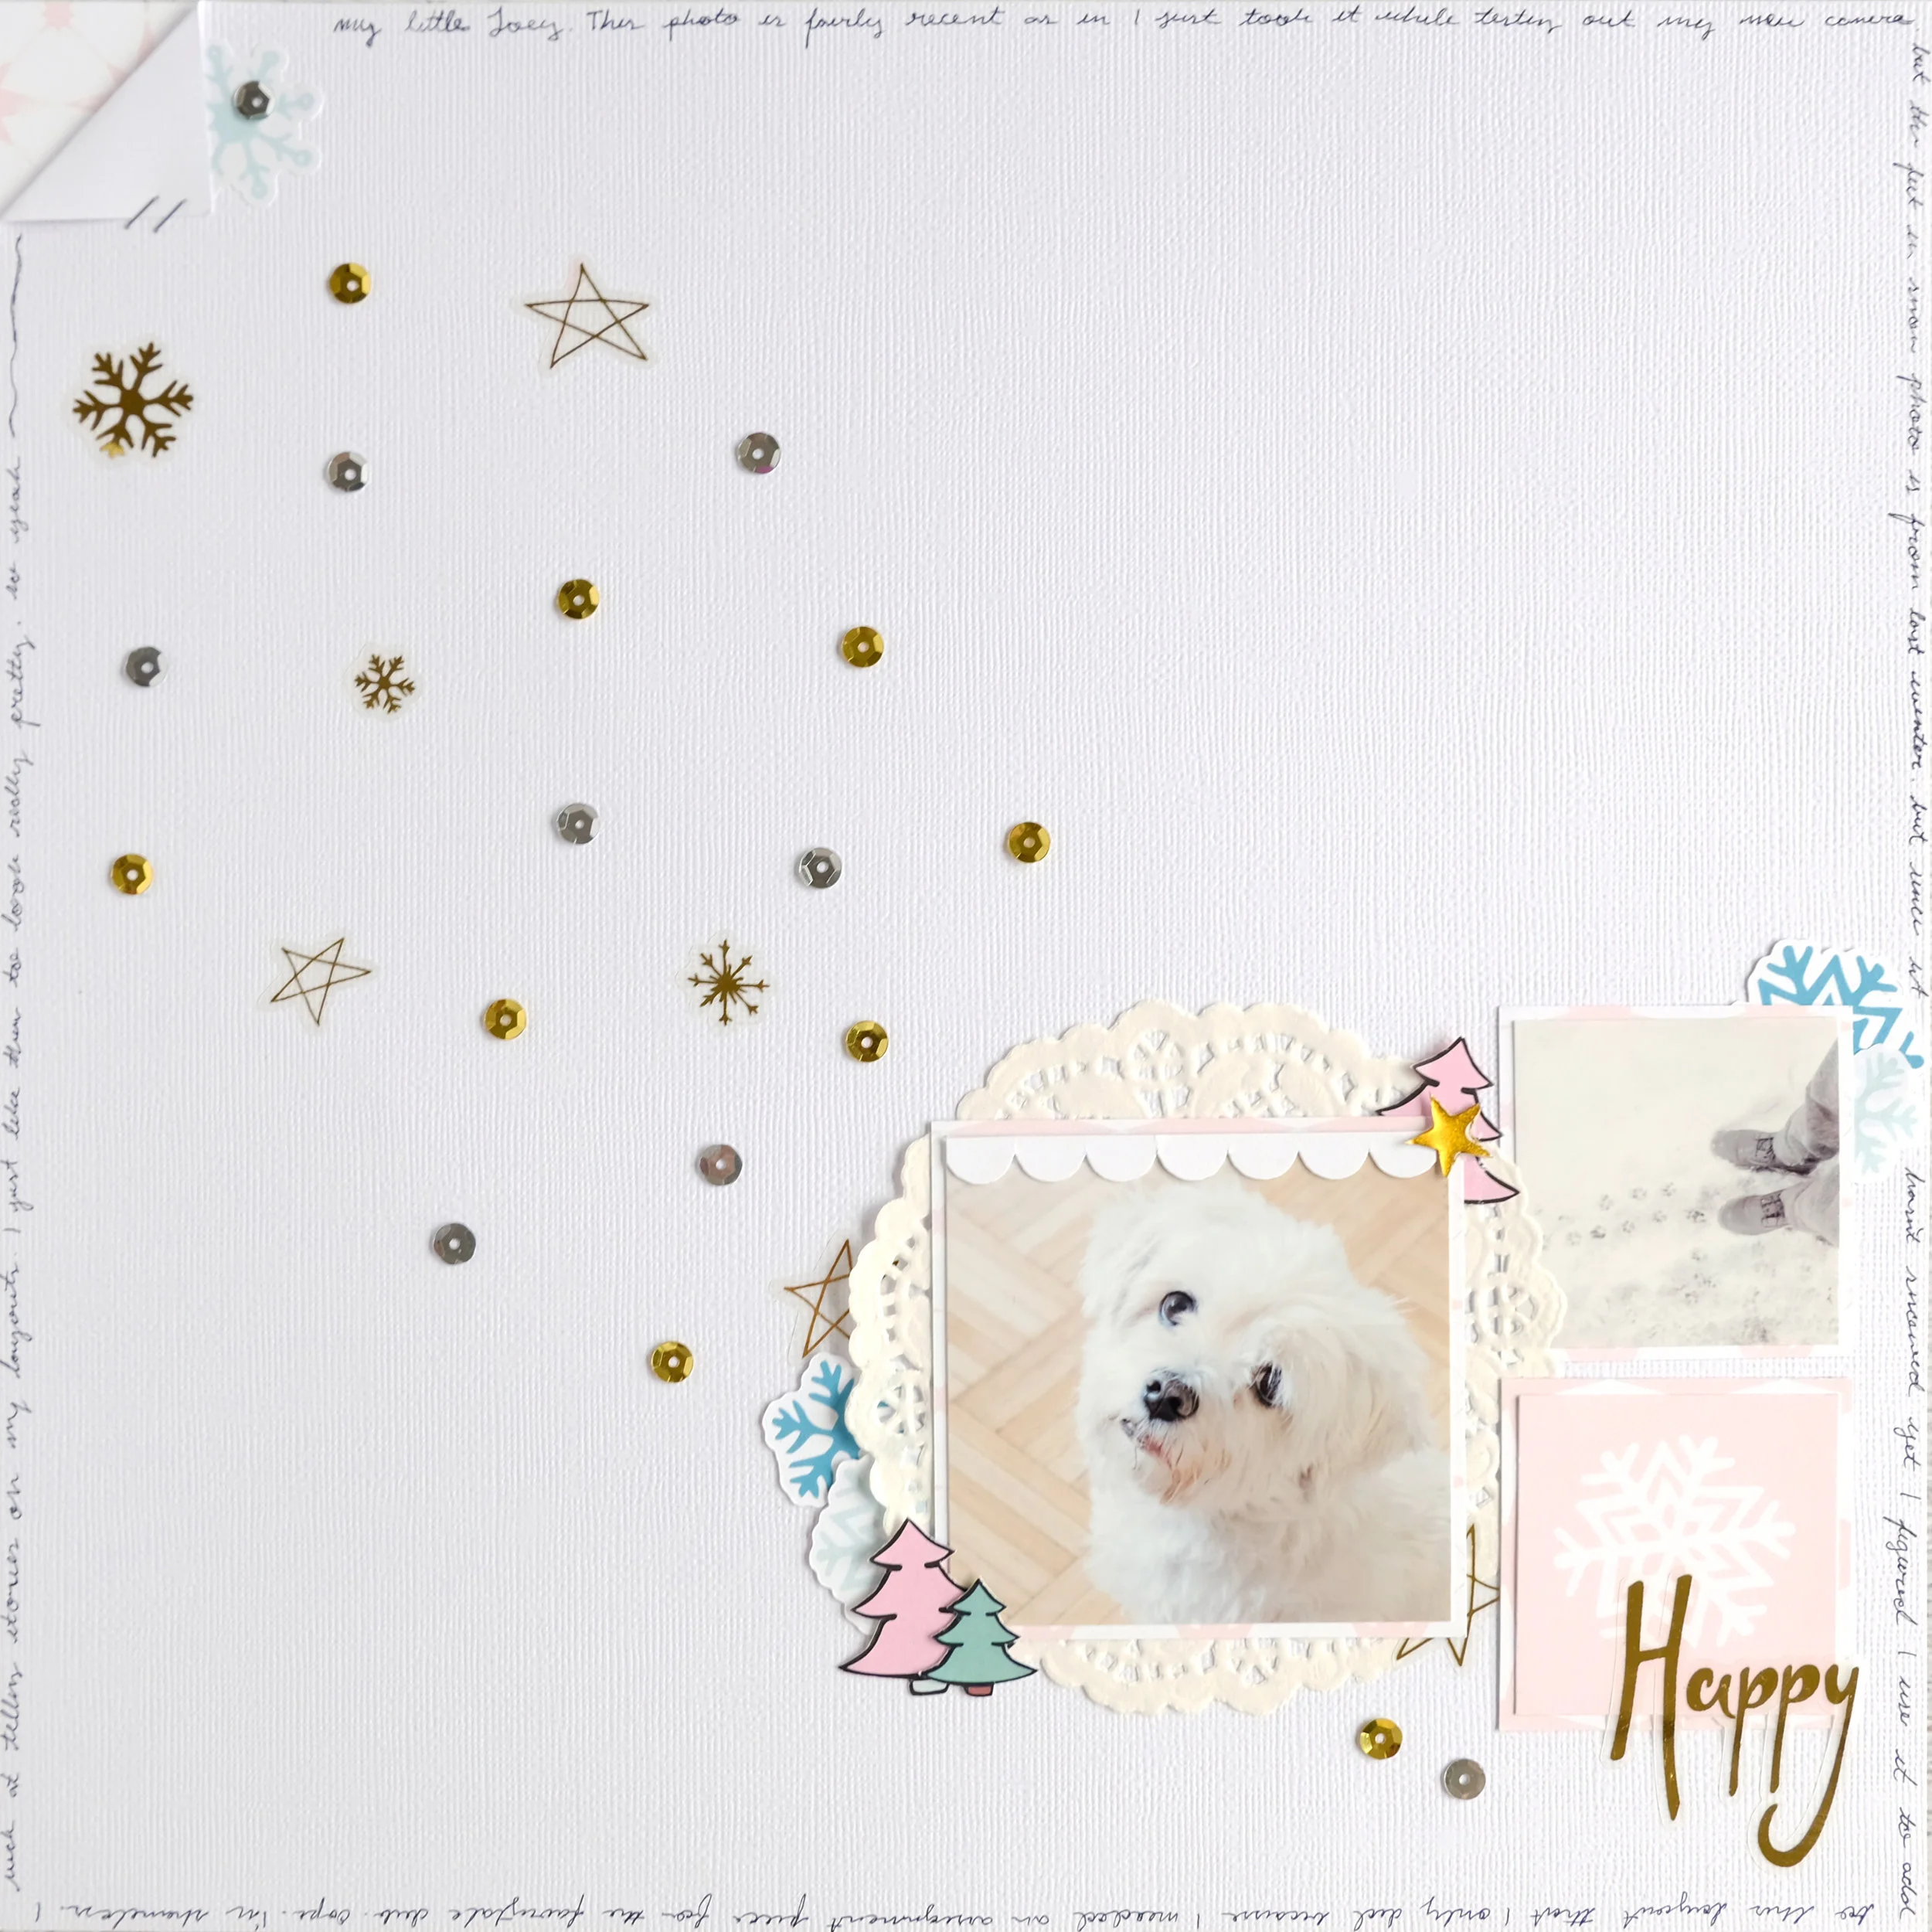
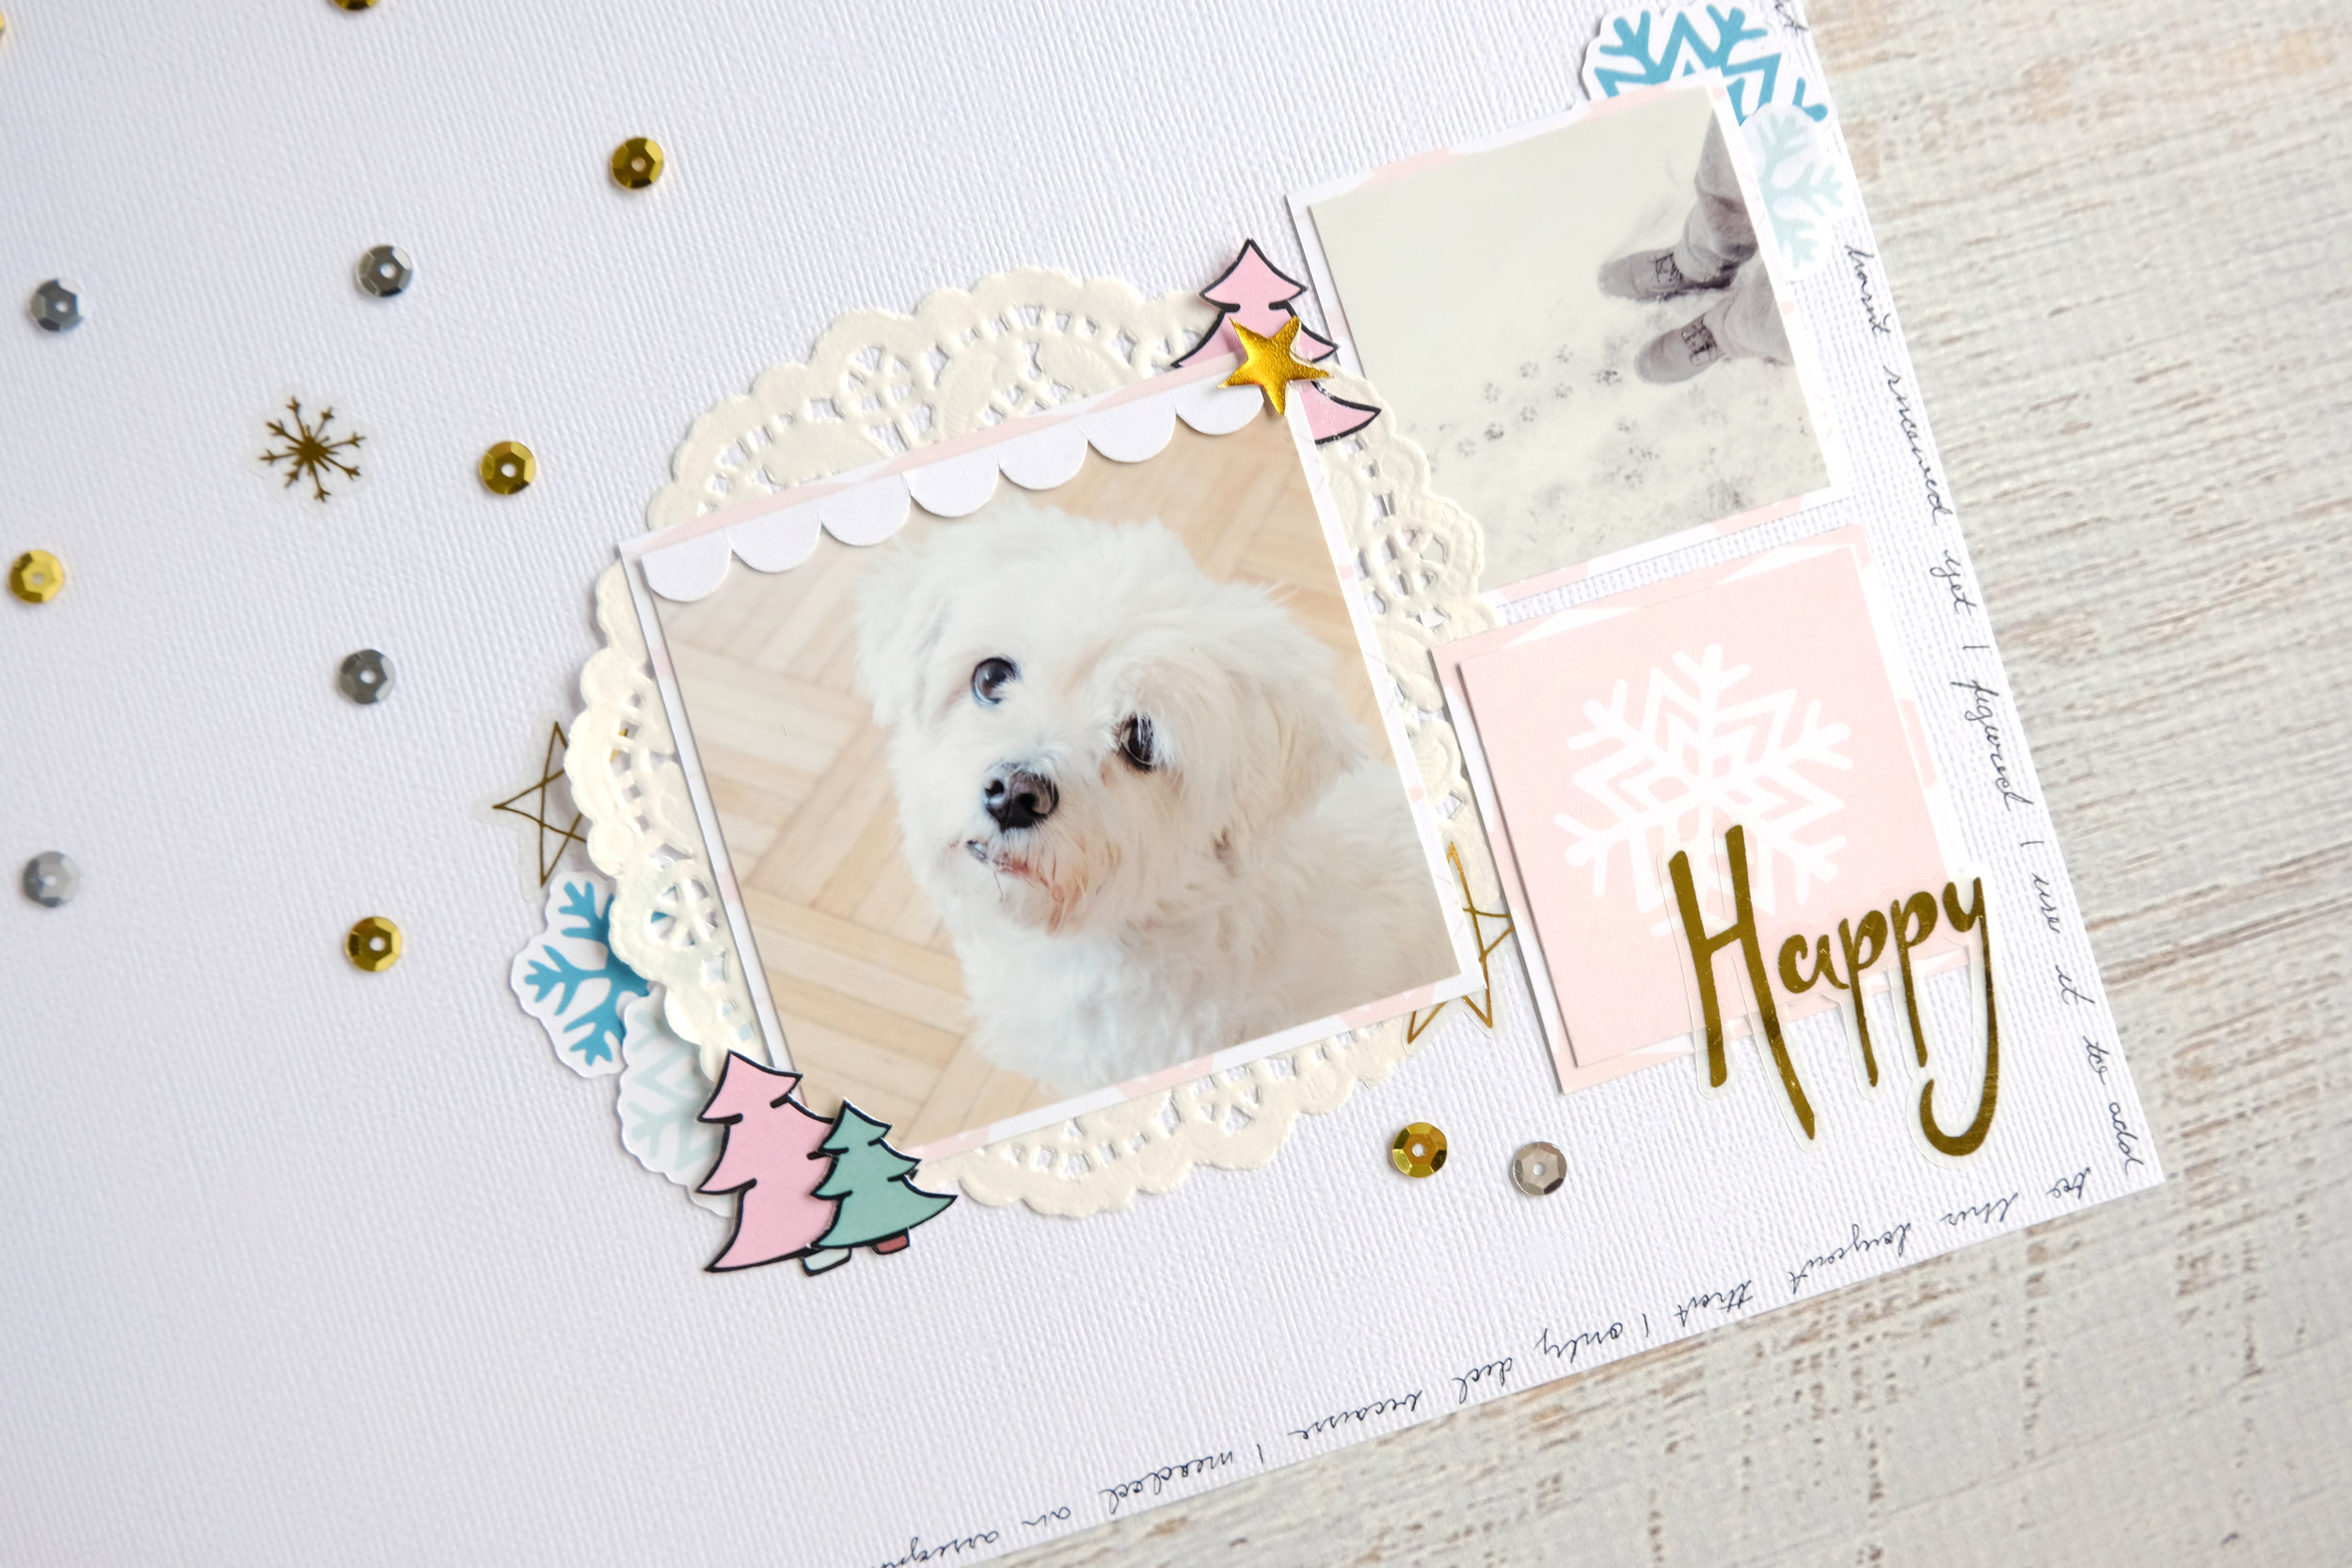
Adeline's My Christmas Dreaming Planner

Hi my fairy friends,
This is Adeline for The Fairytale Club blog today with a new post.
Today, 17 days until Christmas !!! I am so excited.

I introduce you my Christmas planner: Kikki K Pause White/Gold, it's a personal planner perfect for Christmas season with his gold foil dots.

24829134_572852926387816_1536401478_n.png

For this month I decided to make a daily journal called My Christmas Dreaming, inside each day a list of those little things that will make Christmas perfect for me.

24992507_572852936387815_1649199479_n.png

For the first six days of December, I made my lists with the Jolly kit. I hope you will appreciate this post and why not make your own Daily journal: My Christmas Dreaming.

24891493_572852946387814_986469432_n.png
24899254_572852959721146_1791216585_n.png
24898777_572852969721145_1784589009_n.png
24989258_572853089721133_854721441_n.png
24989366_572852983054477_1228463030_n.png
24899099_572852996387809_1803413923_n.png
24898858_572853009721141_1878075274_n.png

See you soon for a new post on the blog.
Have a Merry Christmas time with your family and friends.

Kiss from France,
Adeline @thefrenchplannergirl


Holiday Cards with Henny

Hi there.....hope your Thanksgiving was warm, cozy, and filled with love and family!  I can’t believe it’s already Wednesday! The weeks fly by so quickly...December will be here pretty soon! 

image1.jpeg

I have a handmade Christmas card with matching envelope to share with you today. I’ve used the cutest collection from The Fairytale Club called Jolly. I love the colors used, from red and pink, to mint green and aqua blue. 

image2.jpeg

Picked up the Santa 🎅🏻 die cut as the focal point for this card which I’m sure He’d brought smiles to everyone’s faces 😊. For the background, I thought  I use brighter patterned ones would be a great choice. On the left paper, I cut strip of a different paper that comes with Santa prints and used it instead toss it away 😊. Then used some of other and started arrange everything together!

image3.jpeg

For the bottom, the background of this Joy word, used another different patterned paper and made it into doily using my doily metal die. Love one of the flair buttons that comes from the kit, added on the top of the Joy word to create more dimensional ☺️.

image4.jpeg
image5.jpeg

As the interior of the card, I created a simple design by used up the left over papers and used the Dear Santa letter die cut as well as some other die cuts. 

image6.jpeg
image7.jpeg

I hope you like my layout card inspiration, and I’m hoping that it gets you in a Christmas mood to start creating your own holiday cards. Thank you for stopping by today. Have a wonderful day.

Sincerely yours,
Henny

Teresa's Christmas Dreaming TN

Hey guys! Teresa here today! 
And here are some pics of my TN set up! All ready for December. 

image1.png

This kit was so fun to play with! I like to think that’s my husband and I dreaming of Christmas, I love all the pastel colors mixed with the reds and greens! 

image2.png

Let’s start with how many die cuts you get in this kit! And the adorable buttons! Which I turn into paperclips! 

image3.png

The signature Deer which is in almost all the kits! I love her!

image4.png

Up close of the dashboard I glued down on my notebook. 

image5.png

This kit is perfect for Xmas! You get two sheets of stickers, buttons and die cuts galore! And so much cute scrapbook paper and adorable dashboards for your planner! 

Let It Snow Layout with Enza

Hello everyone! This is Enza, and today I am sharing a new layout that is all about snowflakes. I really wanted to use the Winter Wonderland Acetate Transparency included in the “Jolly” kit, so I created a background to go with it.

Snowflakes - Full.png

I built my page around a snowflake wreath cut file, which served as a starting point for the placement of photo and embellishments. I cut a circle out of the acetate piece to fit the center of the wreath. I love how the gold snowflakes pop against the background!

To create dimension and bring in more color, I layered a few snowflakes, which I die cut out of patterned papers from the kit, on top of the white ones.

Snowflakes - CloseUp2.png

Next, the photo. I created some layers behind it and adhered it down using foam adhesive. The embellishments in this kit are so fun, it's hard not to use them all! The word “Joy” from the ephemera pack was perfect as my title. Isn't the pink deer just adorable? I completed the layout with a few more embellishments, gold and silver sequins that come in the kit, and enamel dots from my stash. This layout turned out so sparkly! I love it!

I hope you'll feel inspired to use the beautiful “Jolly” kit to create a layout that is all about snowflakes ;)

Have a lovely day!
Enza