
Hello everybody! Carrie here, and today I'm sharing some adorable push pops decorated with the amazing December Dreams kit.

They are filled with goodies like bath bombs and candy, and I'm giving them as some fun and festive Christmas presents this year : )
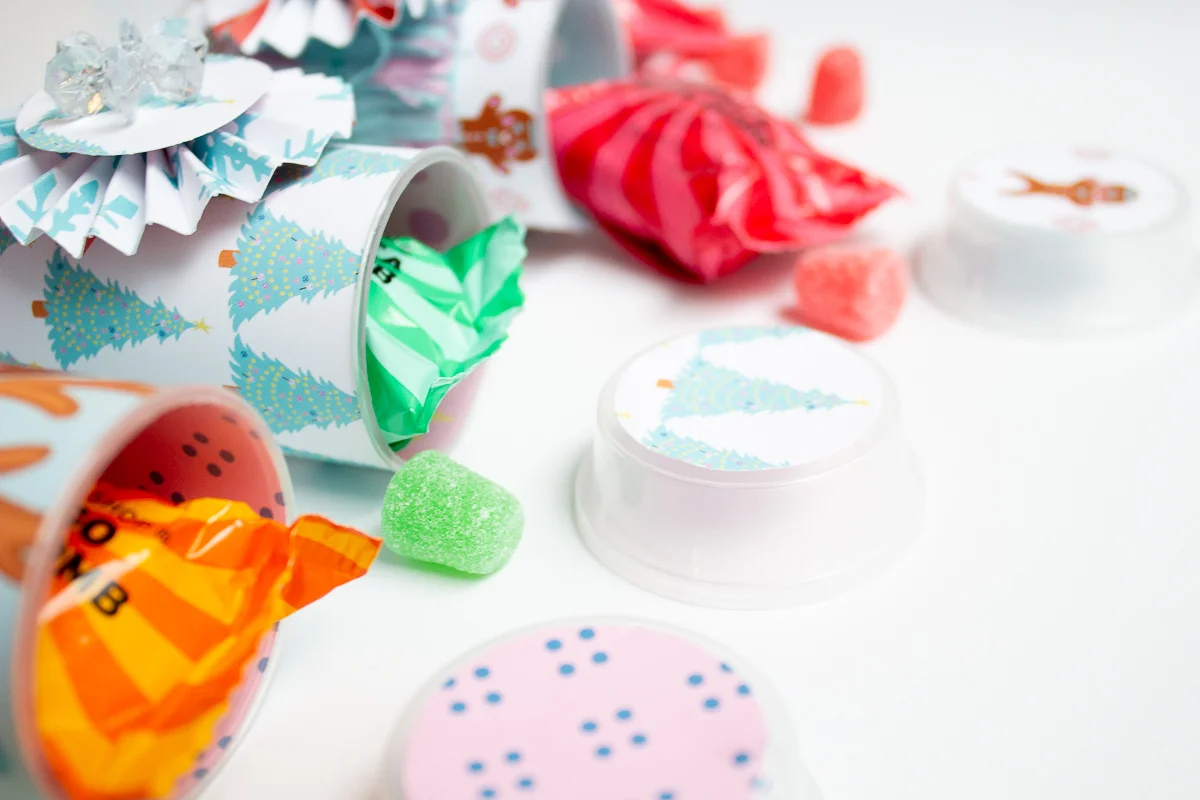
To start decorating these push pops was difficult for me because I'm so in love with this kit that I wanted to use everything LOL! Eventually I did decide, though, on three of the planner inserts for the paper that wraps around the base. One paper is covered in whimsical Christmas trees, another lots of adorable gingerbread men, and the third is a section of a large, handsome deer. Before using red line tape to attach these papers to the base of my push pops, I cut each paper down to 3 inches tall by 6 inches wide. Then I used a 1 inch circle punch on the matching paper designs and added circles to the top of each push pop lid using a glue dot. At this point I stopped with the deer because it looked too perfect already, but I thought the other two could still use a little extra something.

For the gingerbread men themed push pop I decided to also add some homemade aqua and pink crepe paper fringe. I created the fringe by layering 4 strips of crepe paper together, sewing down the middle with my sewing machine, and using my scissors for the fringe cuts. I find it's super easy to attach the fringe to my push pop with hot glue.

For both the Christmas tree and gingerbread pops I also decided to make rosettes for the front. I chose the paper with the blue snowflakes on one side and red and white wave on the other for this. To assemble the rosettes I cut a strip of the paper down to 1 inch wide and kept it 12 inches tall. Then I used my bone folder to score every 1/4 inch. Once the whole strip was done, I folded on every score line using a mountain and valley fold. Next I placed a strip of red line tape on the end of the paper strip and attached it end to end creating a circle. Then I punched out a 1/2 inch circle to use on the backside of my rosette. As the final step i pushed the center of the paper strip circle down creating the rosette, and attached the punched circle to the middle using hot glue.

Now that my rosettes are done I added them to the front of my pops with hot glue. I chose the snowflake side for the Christmas tree pop, and and red and white side for the gingerbread pop. To give them a more finished look I decided to cover up the hole in the center of each rosette (it's the center of the back of the rosette that is covered at this point), and so I punched another 1 inch circle out of the base paper for each and attached it again using hot glue. Lastly, I added the gingerbread flair to the gingerbread pop using red line tape, and the crystal looking snowflake from the variety pack to the Christmas tree pop with hot glue. And that's it! Three down, maybe 10? to go lol!!
Thanks for taking a look at my project, and I'll see you next time! Carrie