Adeline's "December Dreams" Traveler's Notebook

Hi my Fairy friends,

LRM_EXPORT_374321520754181_20181218_204847943.jpg

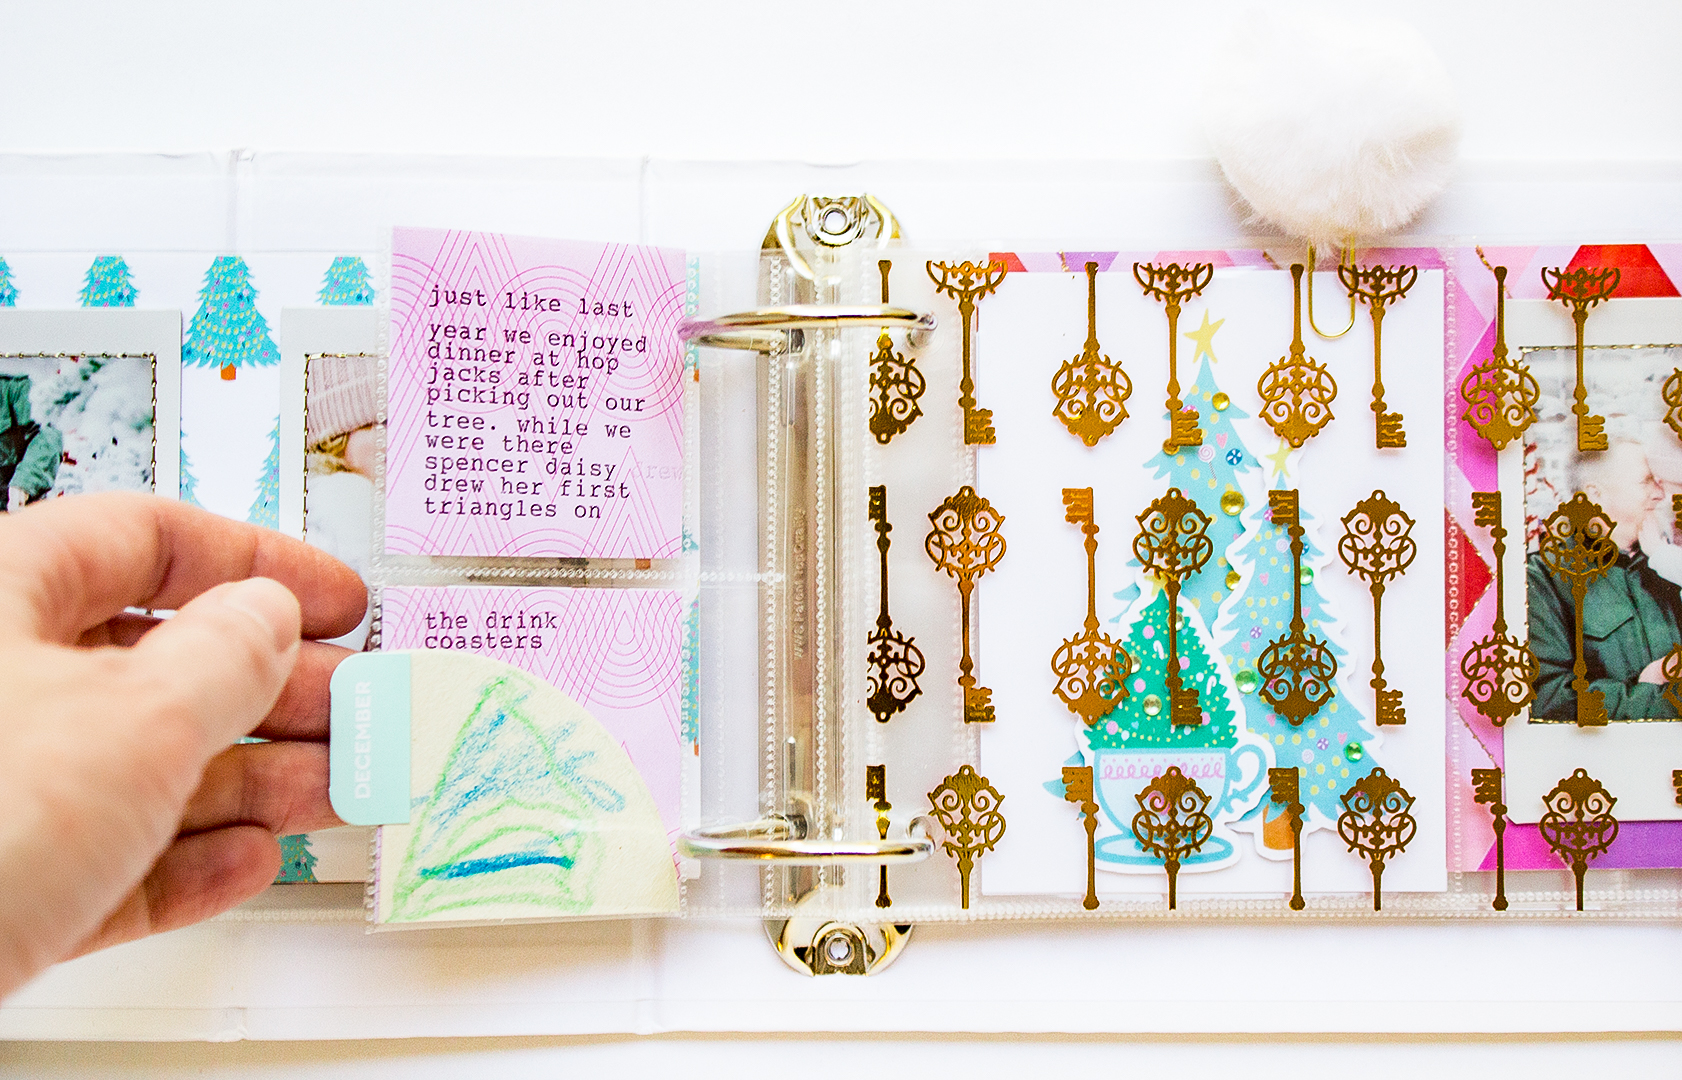
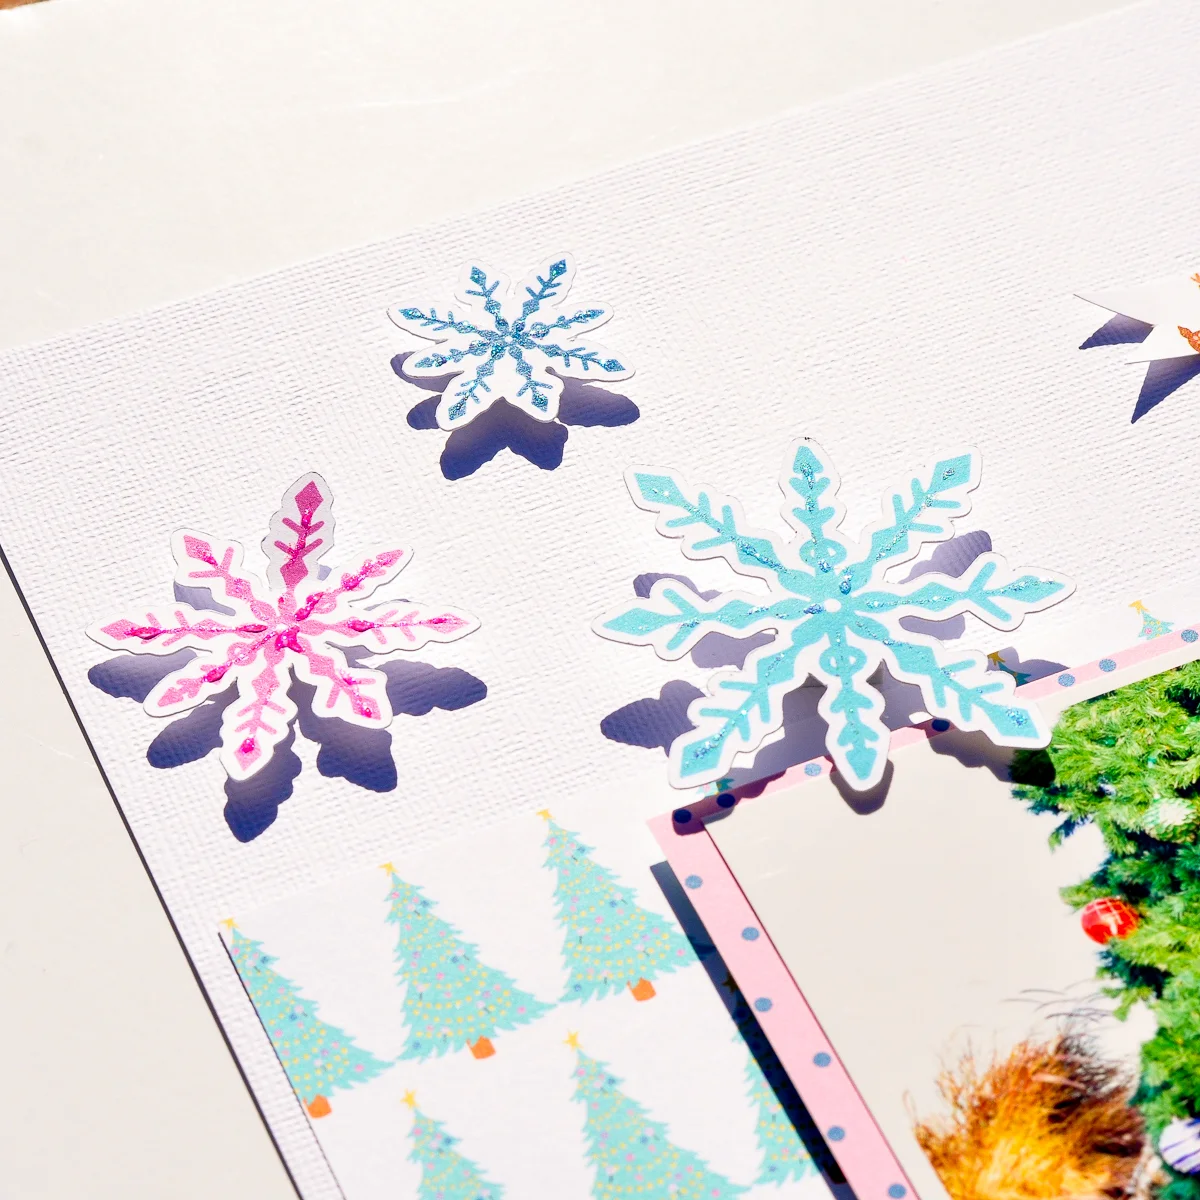
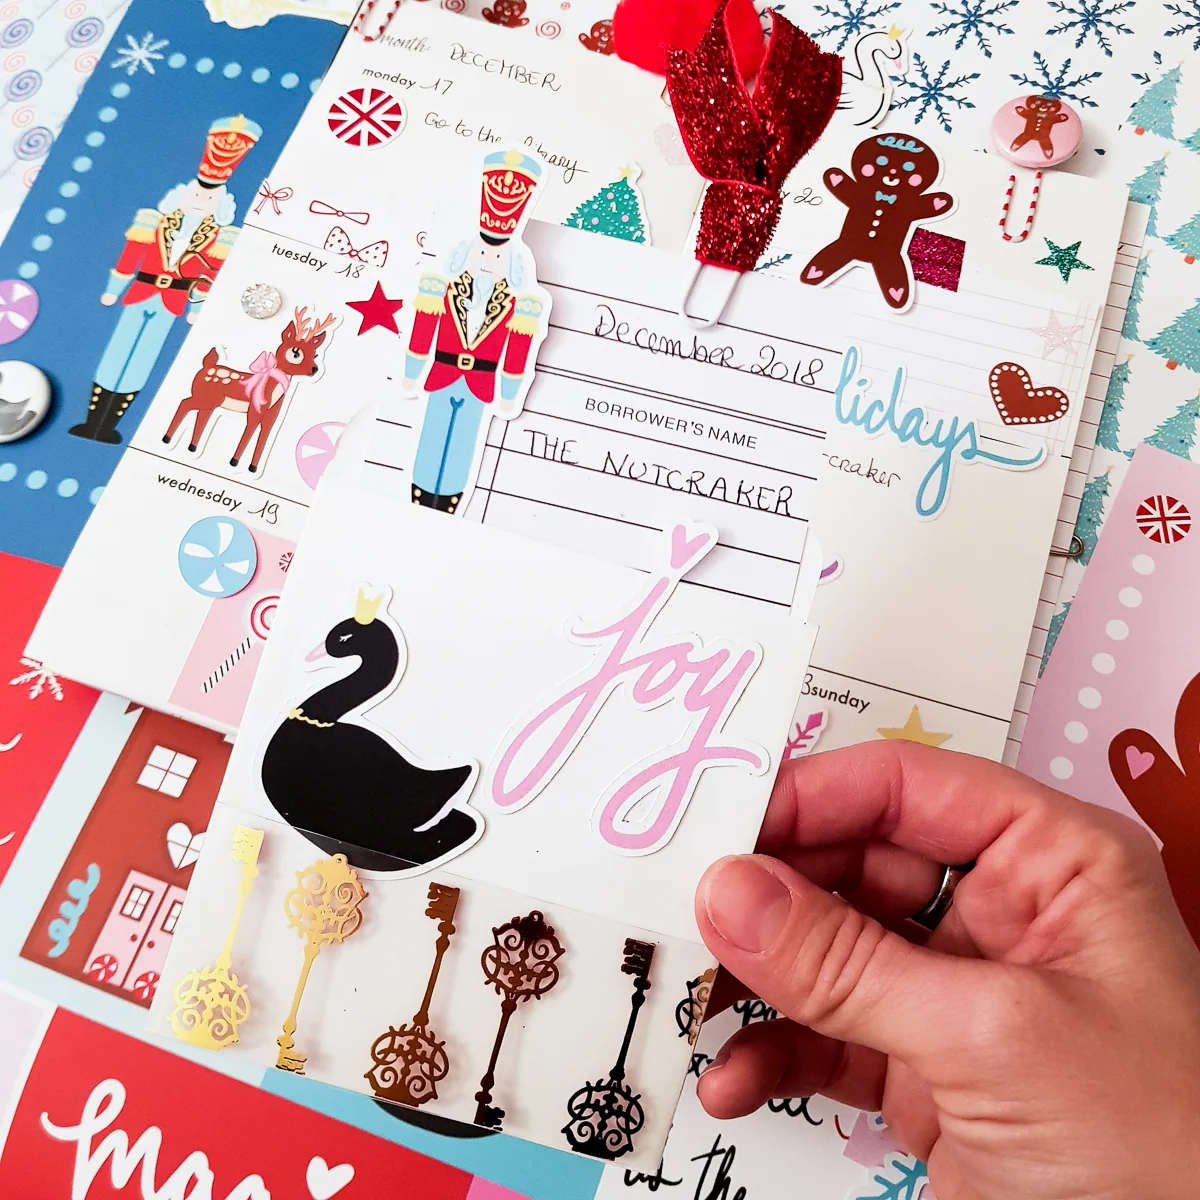
It's Adeline today for a merry, week layout in my traveler notebook. I use this traveler for my weekly planning so this week is the holidays : Christmas is coming! So let's see my week decor with the “December Dreams” kit - ephemera, paper, and flair buttons.

LRM_EXPORT_374498814569593_20181218_205145236.jpg
LRM_EXPORT_374383090423252_20181218_204949512.jpg

I hope you enjoyed it! I wish a very merry Christmas to you and your family.

Kiss from France,

Adeline

Aimee's Disney "December Dreams" Layout

Hey all Aimee here on the eve x2 of Christmas Eve, Say What? Really it’s a thing!

Anyways, I am throwin’ it back today with a Christmas layout using the “December Dreams” kit.

This photo of my husband and I was taken at Disneyland in 2009. Look how skinny he was!

We started dating in 2009, so at that time he really didn’t say no to Disneyland. I remember dragging him to Disneyland the week of Thanksgiving that year. I think he about killed me. But I’m so happy I have these photos and memories.

I really went out of my comfort zone with this layout. I rarely use such a busy background for my layouts.

For my 8.5 x 11 layout, I started off my trimming down the clear acetate sheet “You Have the Key” to fit inside my white cardstock. Next I used one of the A5 dashboards to give my layout a nice pop of red.

3.jpg

I layered some of the die cuts with 3-d adhesive foam, in different thicknesses at the bottom left corner of my page. For another added affect, I added some red eye lash thread amongst my die cuts. I used my tiny stapler to attach the thread to my layout.

And don’t forget the tiny die cut stars that I stapled to the top left side of my layout!

Thanks for taking the time to stop by the blog today, I’m sure you have a ton of things to get done before the BIG day next week.

Do you have all your shopping, decorating, crafting done?

XOXO, Aimee

Adeline's "December Dreams" Planner Setup

Hi my fairy friends,

It's Adeline today for the blog. So happy to be here again with you for the most beautiful time of the year with a Christmas planner project, using the "December Dreams" kit.

First I made my inside cover decor with so many cute things from the kit. I cut out a sheet of patterned paper, then I added ephemera and a ribbon of pom poms.

Then I slipped my paper into my cover to make a cute background, and I did the same with the gold keys acetate paper. I also added some die cuts to enhance this part of my set up.

Then I recycled the pretty packaging to not only decorate my cover but also to make a tag that I embellished with yarn and the silver glitter snowflake of the kit.

For the dashboard, I decided to create two parts: 1) the background which uses the swans paper (I am obsessed by them - they're so cute!), and 2) the layer just above that, which is the gold keys acetate paper.

I perforated my two sheets of paper and I inserted them in the planner. Then I decorated only the acetate paper with pieces of paper and die cuts.

In this kit, we also had pretty crystal snowflakes and charms in the Variety Pack, so I created a jewelry bookmark with string.

The last step was to put the pom pom paperclips on my pages.

I hope you like this set up! Enjoy the delights of Christmas!

Kiss from France,

Adeline

Project Life Instax Album - December Daily, with Aimee

Happy Saturday all, can you believe that there is only 9 days till Christmas. Wow!

This year for my December Daily, I’m using The Project Life, Instax Album. This is a fun size to use because you can use all different sizes of page protectors. The biggest bummer about this album, is that it’s a traditional album style, and there are no pockets for extra little trinkets like tags etc.

When I saw the Library Card Pocket form the “December Dreams” Kit, I just knew it was perfect for the inside of my album.

I used my typewriter to fill out the card, and it’s perfectly imperfect. Just like a library card would be. I choose myself as the author, cause I’m the one creating this book {look I totally messed up and put my name on the wrong line, did you even notice?}.

I choose the title of the book to be “December Daily 2018”. And for all the check-out days I but my name and date that I worked in the book. I love how I mixed it up with the red and black writing {you know, as if someone else was doing the checking out?}. I even forgot to capitalize the A on one of the lines.

7.JPG

I also made some tags to slip in my DD using die cuts and the sequin mix from the “December Dreams” Kit. I just used my Fuse tool, metal die cuts to trace. I placed the “ingredients” inside of the fuse sleeve and placed my metal die over making sure all the “ingredients” fit within the die cut, and just fused around it! Viola . . . some custom tags!

Are you using the “December Dreams” in your December Daily?

XOXO, Aimee

Kellie's 4x4 Mini-Layout with "December Dreams"

Hello everyone! It's Kellie here to share a mini layout I created in a 4x4 mini album. These little albums are the best for documenting your memories. They can be used for one theme or many. I decided to use one for just whatever I feel like at the time - no theme, no reason, just getting creative. Which is exactly what I did this month with the NEW December Dreams kit.

I made this wreath back in about 2012 or 2013... Pretty sure it was 2012. I randomly found the photo while looking for something the other month and kept it aside knowing I would use it with this kit!

If you haven't already, subscribe! Although it’s too late for your subscription to include the “December Dreams” kit, you can still purchase most of the separate components from this kit, and each time the kits keep getting better and better, so by subscribing now you won’t miss out on future kits. The acetate sheet that comes with the kit is gold on one side and a red on the back. I mean HOW awesome right!? I've used the red side here. I fiddled with the gold but it wasn't working, and then once I turned it over, the whole thing came together.

I then layered around the photo with the die-cut shapes ephemera pack and used one of the left over strips from the card I made and shared previously. I also used one of the little pom pom paper clips, they are so soft and fluffy. I grabbed a pocket that has 4 mini squares and cut up the 12x12 pattern papers and again used some of the die-cut shapes ephemera pack with a flair button. A quick little 4x4 in the album, just because. :)

6a017ee68bc9e8970d022ad37dc99f200c.jpg

Kellie's "December Dreams" Manufacturer's Strips Card

Kellie here with you to share a card I made with the strips along the bottom of each 12x12 patterned paper that comes with the December Dreams kit.  I did this last month with the Magical and Mischievous kit.  I'm planning to try and build a little card collection ready at hand when I need.  Best of all they are SUPER easy to make.

TFC_CARD_4

Always make sure to cut off those strips at the bottom - don't go throwing them away thinking you won't use them, because OH boy you will once you start!

TFC_CARD_1
Here is how I created this Christmas card. First of all I started with a base of white cardstock. Then I worked my way through the strips of off-cuts, as I mentioned, from the bottom of the 12x12 papers included with the December Dreams kit. Once laying them out and moving them around, and I was happy with the layout, I got out the ephemera packet that comes with every kit. 

TFC_CARD_2

Ephemera are my favourite thing to use and always the first thing I look through when my kit arrives.

TFC_CARD_3

Add on a flair from the kit and BAM you have yourself an easy, beautiful card!  See what I mean?  Super easy.  Give it a try!

-Kellie

Aimee's "December Dreams" Layout

Hi there, Aimee here! Hope you are having a wonderful Monday, lol. Today I’m sharing a layout using “December Dreams.”

12-3-18.jpg

While I was out of town for the Thanksgiving holiday, my husband and I drove around and found some fun places to take photos. We came across this half-decorated tree, and I was all, “husband STOP this is a perfect photo opp!”

So, with fashionable style we took photos with a half decorated tree with a tub full of ornaments behind us. I highly recommend learning how to use the timer on your camera and have a tripod handy. I took some pretty awesome photos this way.

Keeping it simple as always I used my go to 8.5 x 11 white cardstock for my base. I cut a piece of “Oh Christmas Tree” just smaller than my cardstock. I layered my photo on one of the A5 dashboards, and cut it down to mat my photo.

3.jpg

I used 3-d foam to pop my matted photo of the page. I fussed around with some die cuts and settled with the 3 snowflakes, the Nutcracker, Sugar Plum Fairy and of course the Christmas Tree.

I also used the printed strip at the bottom of the 12x12 sheet of “Oh Christmas Tree” to create the ribbon flag, and layered it with the “joy” flair.

Of course, I stamped my layout with the date the photo was taken {Date roller stamp from Heidi Swapp}.

2.jpg

And to take my layout to the next level I add sparkles to my die cuts. I dug into my old supplies and pulled my box of Stickles, I haven’t used these in ages. I love this extra sparkly touch!

I love this silly photo of my husband and I. Do you every stop at random places to take photos? Thanks for stopping by the blog today!

XOXO Aimee

Michelle's "December Dreams" Christmas Cards

Hey there, crafty friends and welcome to the most wonderful time of the year! I’m back with another craft, this time using the December Dreams kit from The Fairytale Club. I love the recent trend of using pastel colors for all things Christmas, and so this kit was just perfect for all my crafting needs! First up, I need to knock out Christmas cards.

1202181004-01-01.jpeg

I think sending cards at the holidays is such a fun way for me to be crafty, and also send someone a little mail to remind them that I’m thinking of them. The first item that caught my eye was the sparkly silver snowflake ornament, of course! Then as I dug into my kit more, I came across the die cuts where I found the tree cup, cupcake, and the sugar plum fairy! I used foam squares to add height and dimension to it, and the first one was finished.

For the next card, I knew that I wanted to use a lot of red. The pink and red polka dot paper made the perfect base! From there, I mounted the red bow paper on to a piece of craft paper, and used red tinsel around that! I love how sparkly the tinsel is. It also reminds me of vintage christmas decorations, which matched perfectly with the Nutcracker die cut piece! Finally, I finished it off with a tag.

1202181007a-01-01-edit.jpeg

Lastly, I knew that with all the sweets and candies in this kit, I just had to do one with that theme! The blue paper with candy designs was just perfect! This card was a bit easier since the pattern on the paper was so cute! Next I fussy cut the candy cane out of one of the pages and added a bit of shimmer with iridescent embossing powder! Then I finished it up with the gingerbread house and a couple die cuts, and there you have a sweet Christmas card!

I love this kit from The Fairytale Club so much, and I can’t wait to work with it some more! Hope you all have a happy and crafty holiday season!

-Michelle