Hi my fairy friends, it's Adeline, I'm so happy to see you today on the Fairytale Club blog.

When I discovered the "Take Note" kit, the first idea I had, was to take my ice blue Kikki K planner out of the closet! It is perfect for this kit.

Today I share with you the first part of my new planner set up: my dashboard with the beautiful Take Note kit insert, paper, and embellishments.

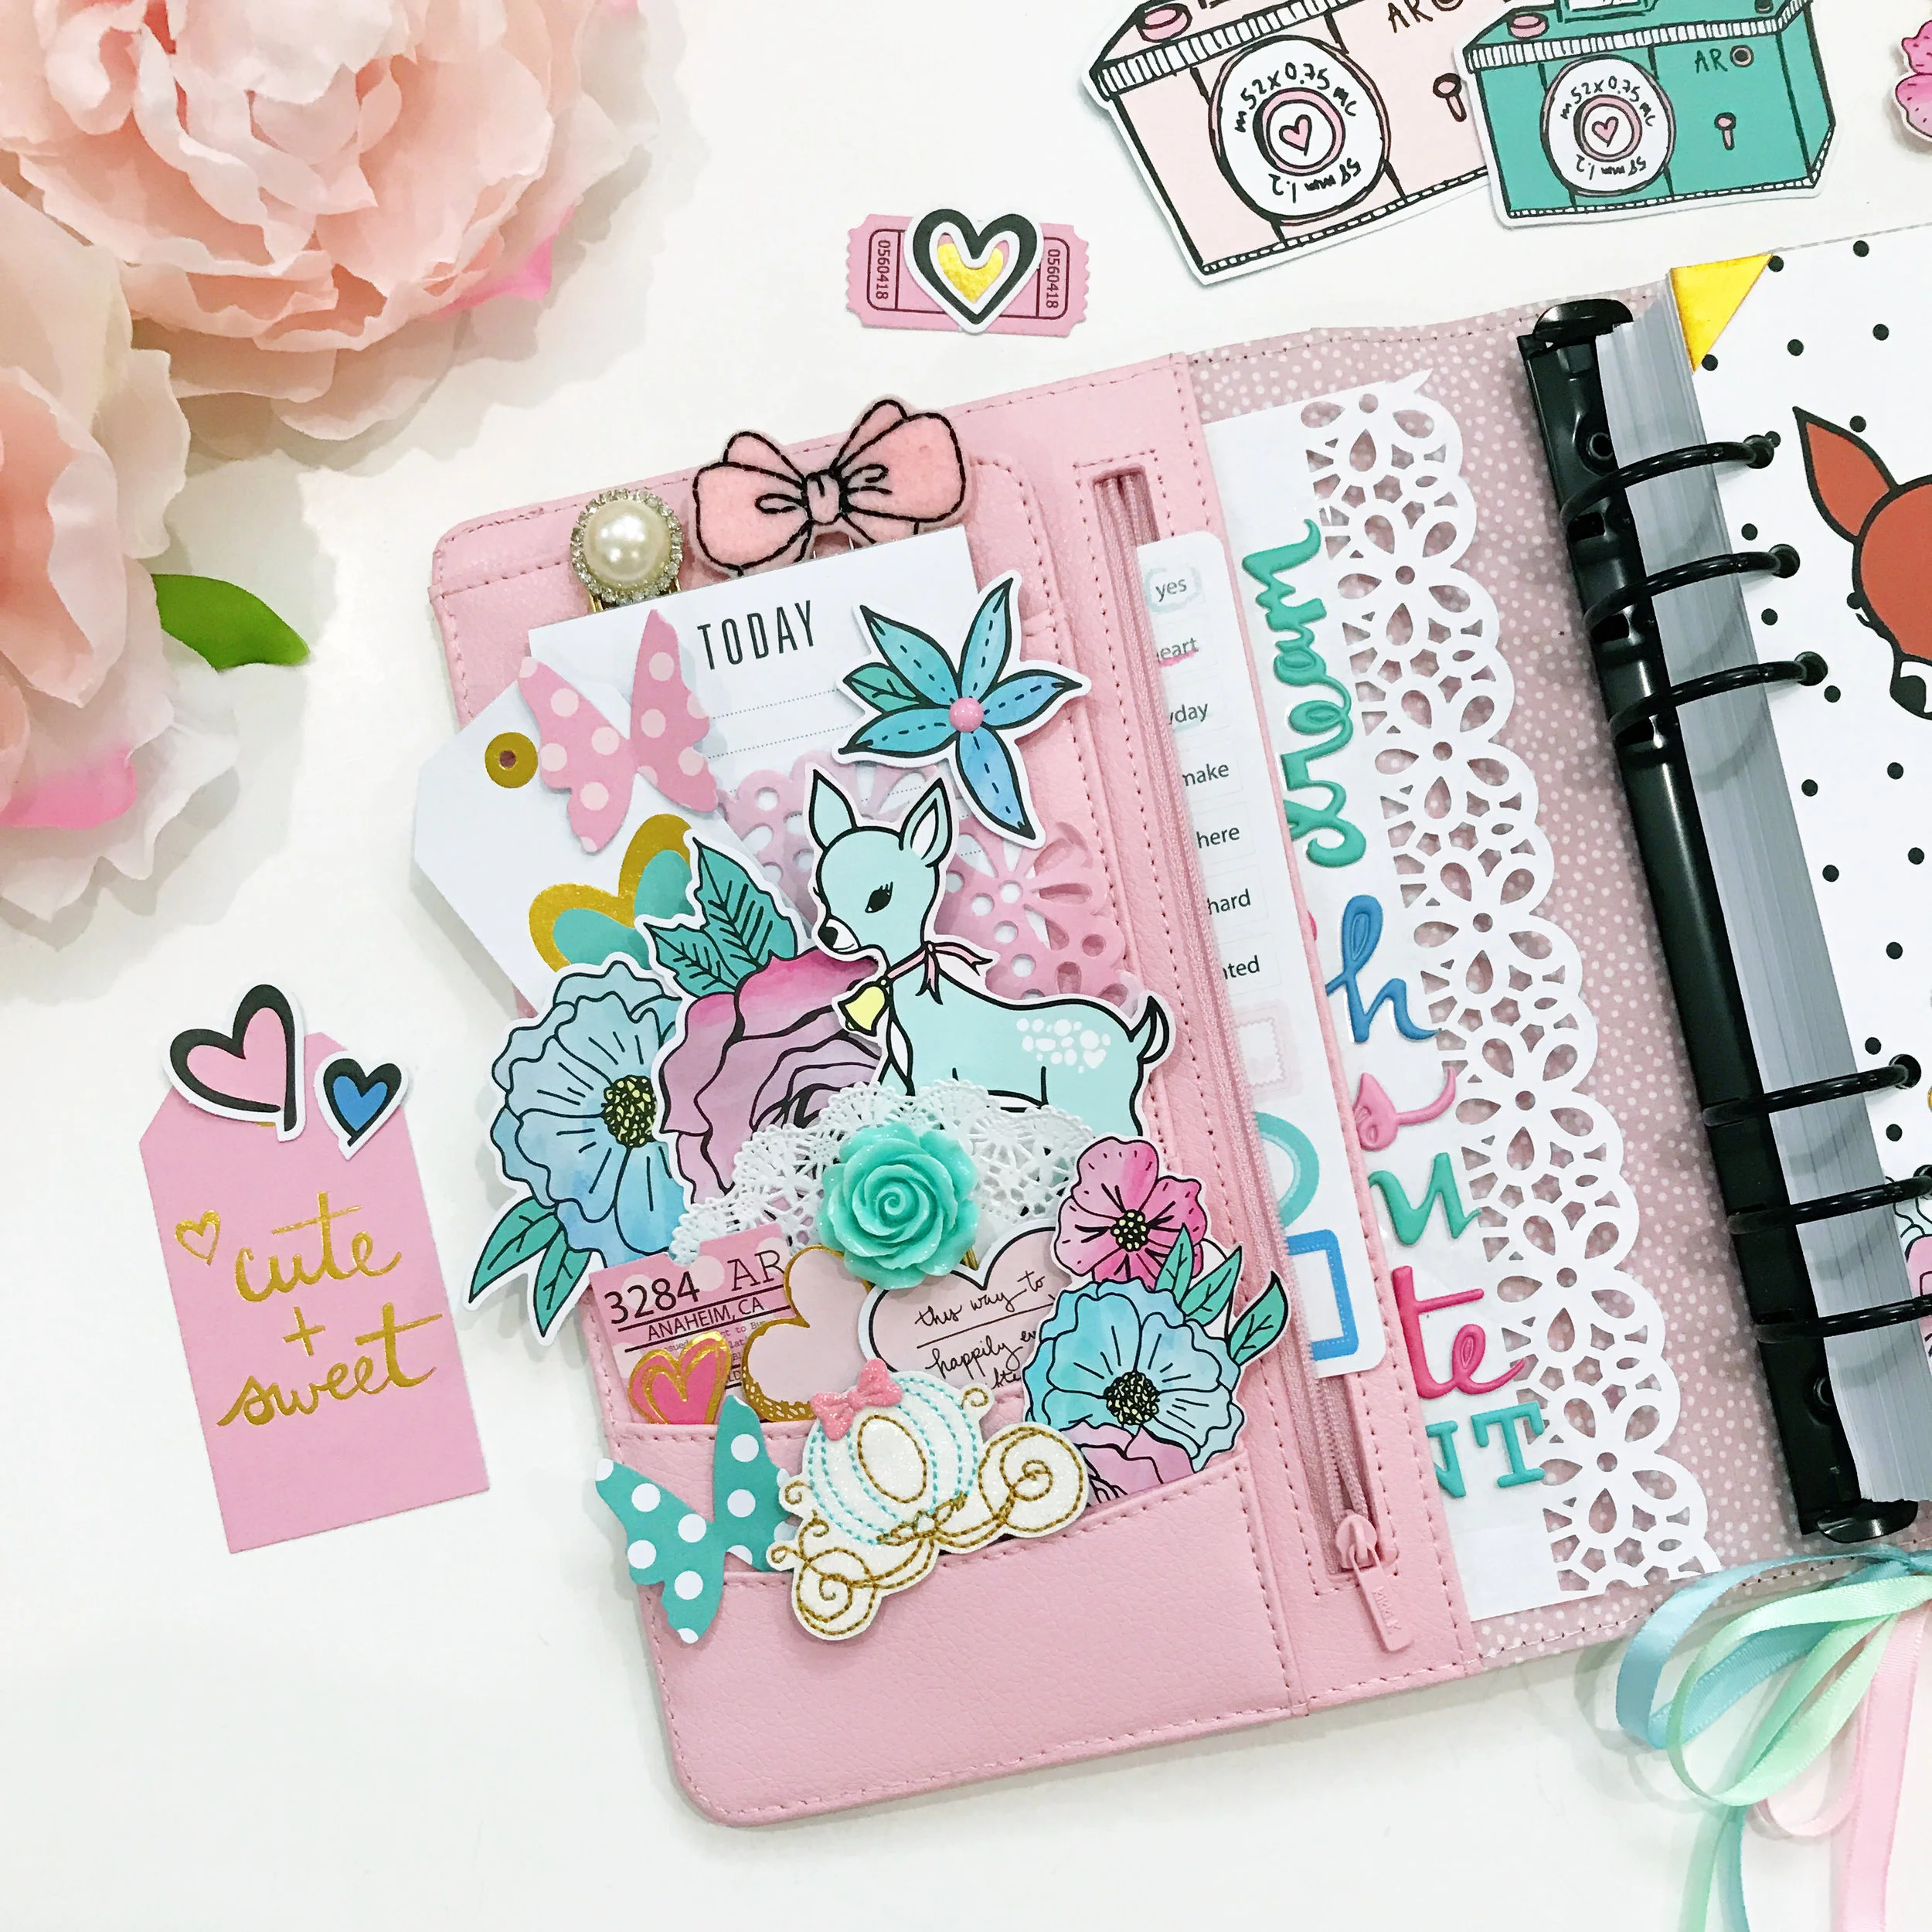
How I made my dashboard? I took my favorite insert with Bambi, it's so cute, love it so much!!!!! And I added some puffy stickers words: Love and Dream. Those words inspire me every day in my life that's why I choose them. In love with the heart ephemera inscription: "This way to - happily ever after!" You can see I added some jewels, I love them!!!!!

In this kit, we don't have a paper clip, so I decided to take mine. I love Disney's paper clip so I chose Marie, it really corresponds with Take Note style.

For the other part of my dashboard, I cut the Bambi paper, I slipped it under the planner dashboard space I always decorate this part of the planner because I don't like it!!!! LOL! And I used my favorite ephemera, rose, camera and Marie's tag.

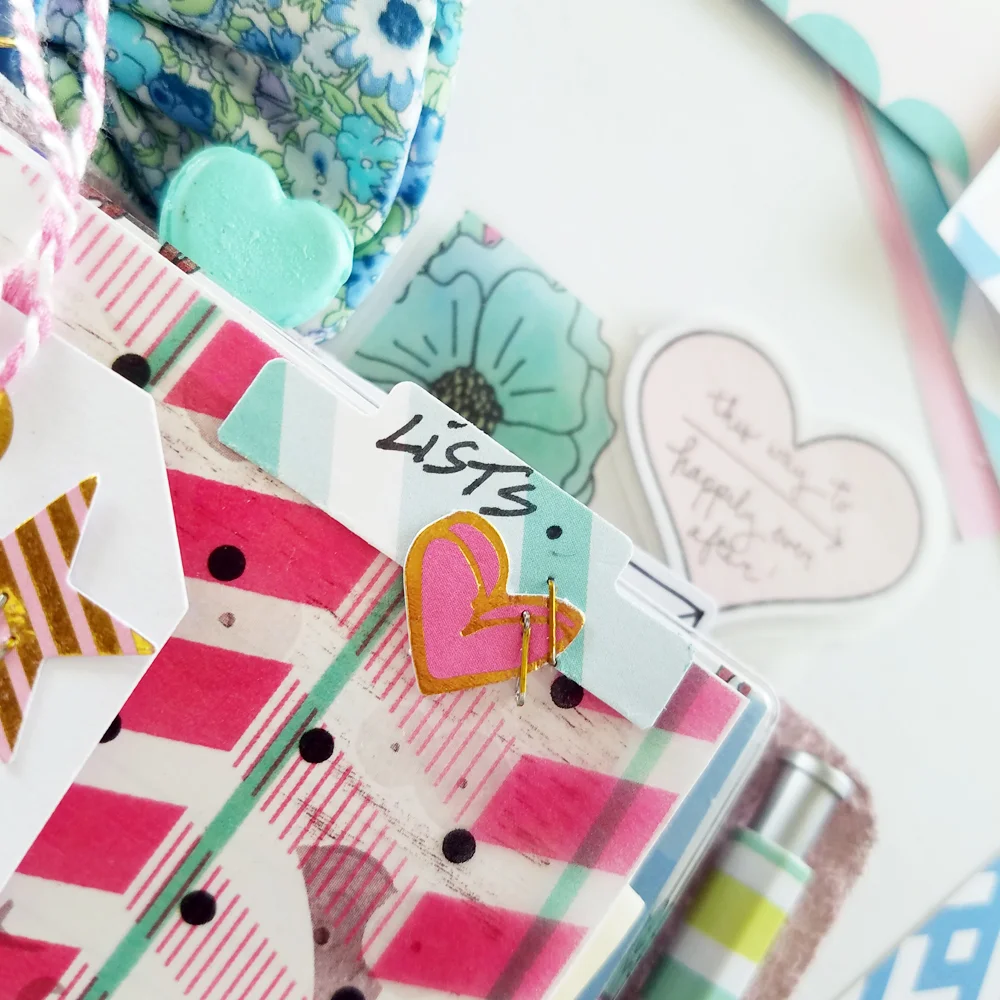
In this planner, we have a little paper pad, so I decided to customize them with the project life paper. I cut the project life paper and took the princess one and take note, I added cuties: this is girly and so cute. And finally, I added my black bow clip: my girly touch!!!!

In the bottom, I put some puffy stickers and jewel. I love to mix some different scrapbooking style.

That's it for my new dashboard, next time I will share with you the rest of my Take Note set up. I hope you liked it. I really love Fairytale club kit and I have so much fun to decorate my planner with them.
Kiss from France,
Adeline @thefrenchplannergirl