It's Time to Get Spooky with The Fairytale Club at Disneyland!

I don't know about you but I looooove Halloween...I also love Disney as you know....oh, and papercrafting too! Why not do something that celebrates all these things?! Well on October, Friday the 13th, that is exactly what we plan to do with The Fairytale Club's Spooky papercrafting party at Disneyland! Check it out, get your ticket, and join us for a day of fun and creativity that is so magical, it's spooky!!!!

Here's what we've got planned for all the ghouls in attendance:

  • A delicious lunch and delightful crafting at Catal in Downtown Disney. The event will have a theme inspired by the scarier side of Disney, including spooktacular decorations, props, and other spine-tingling fun inspired by "Mickey's Not So Scary Halloween Party" as well as The Haunted Mansion, The Nightmare Before Christmas and more!
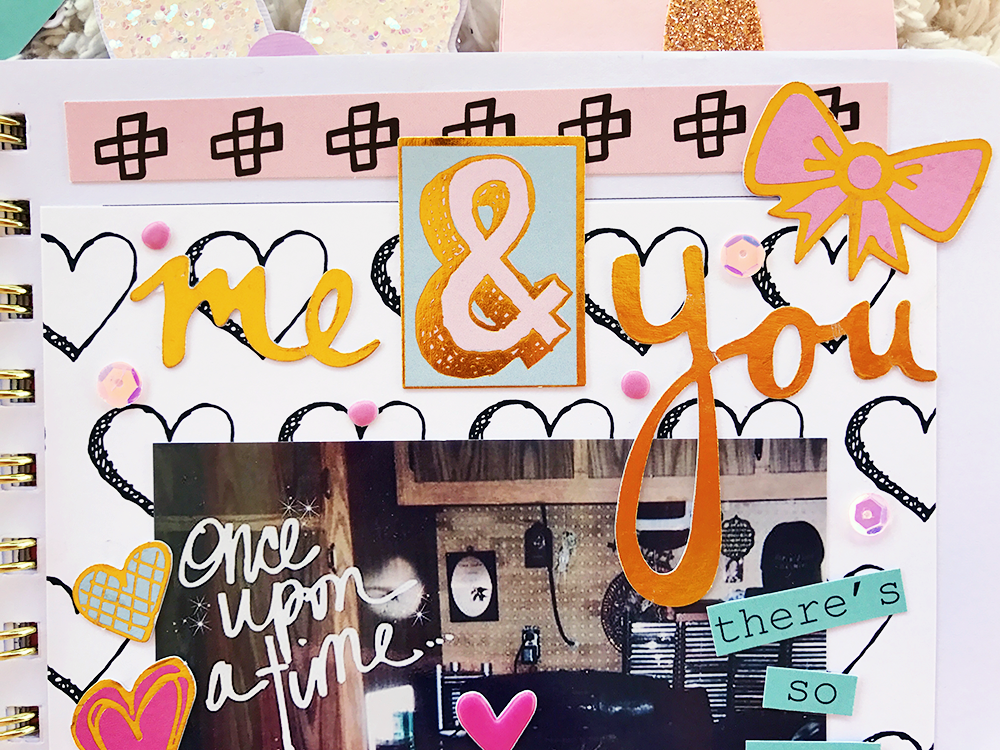
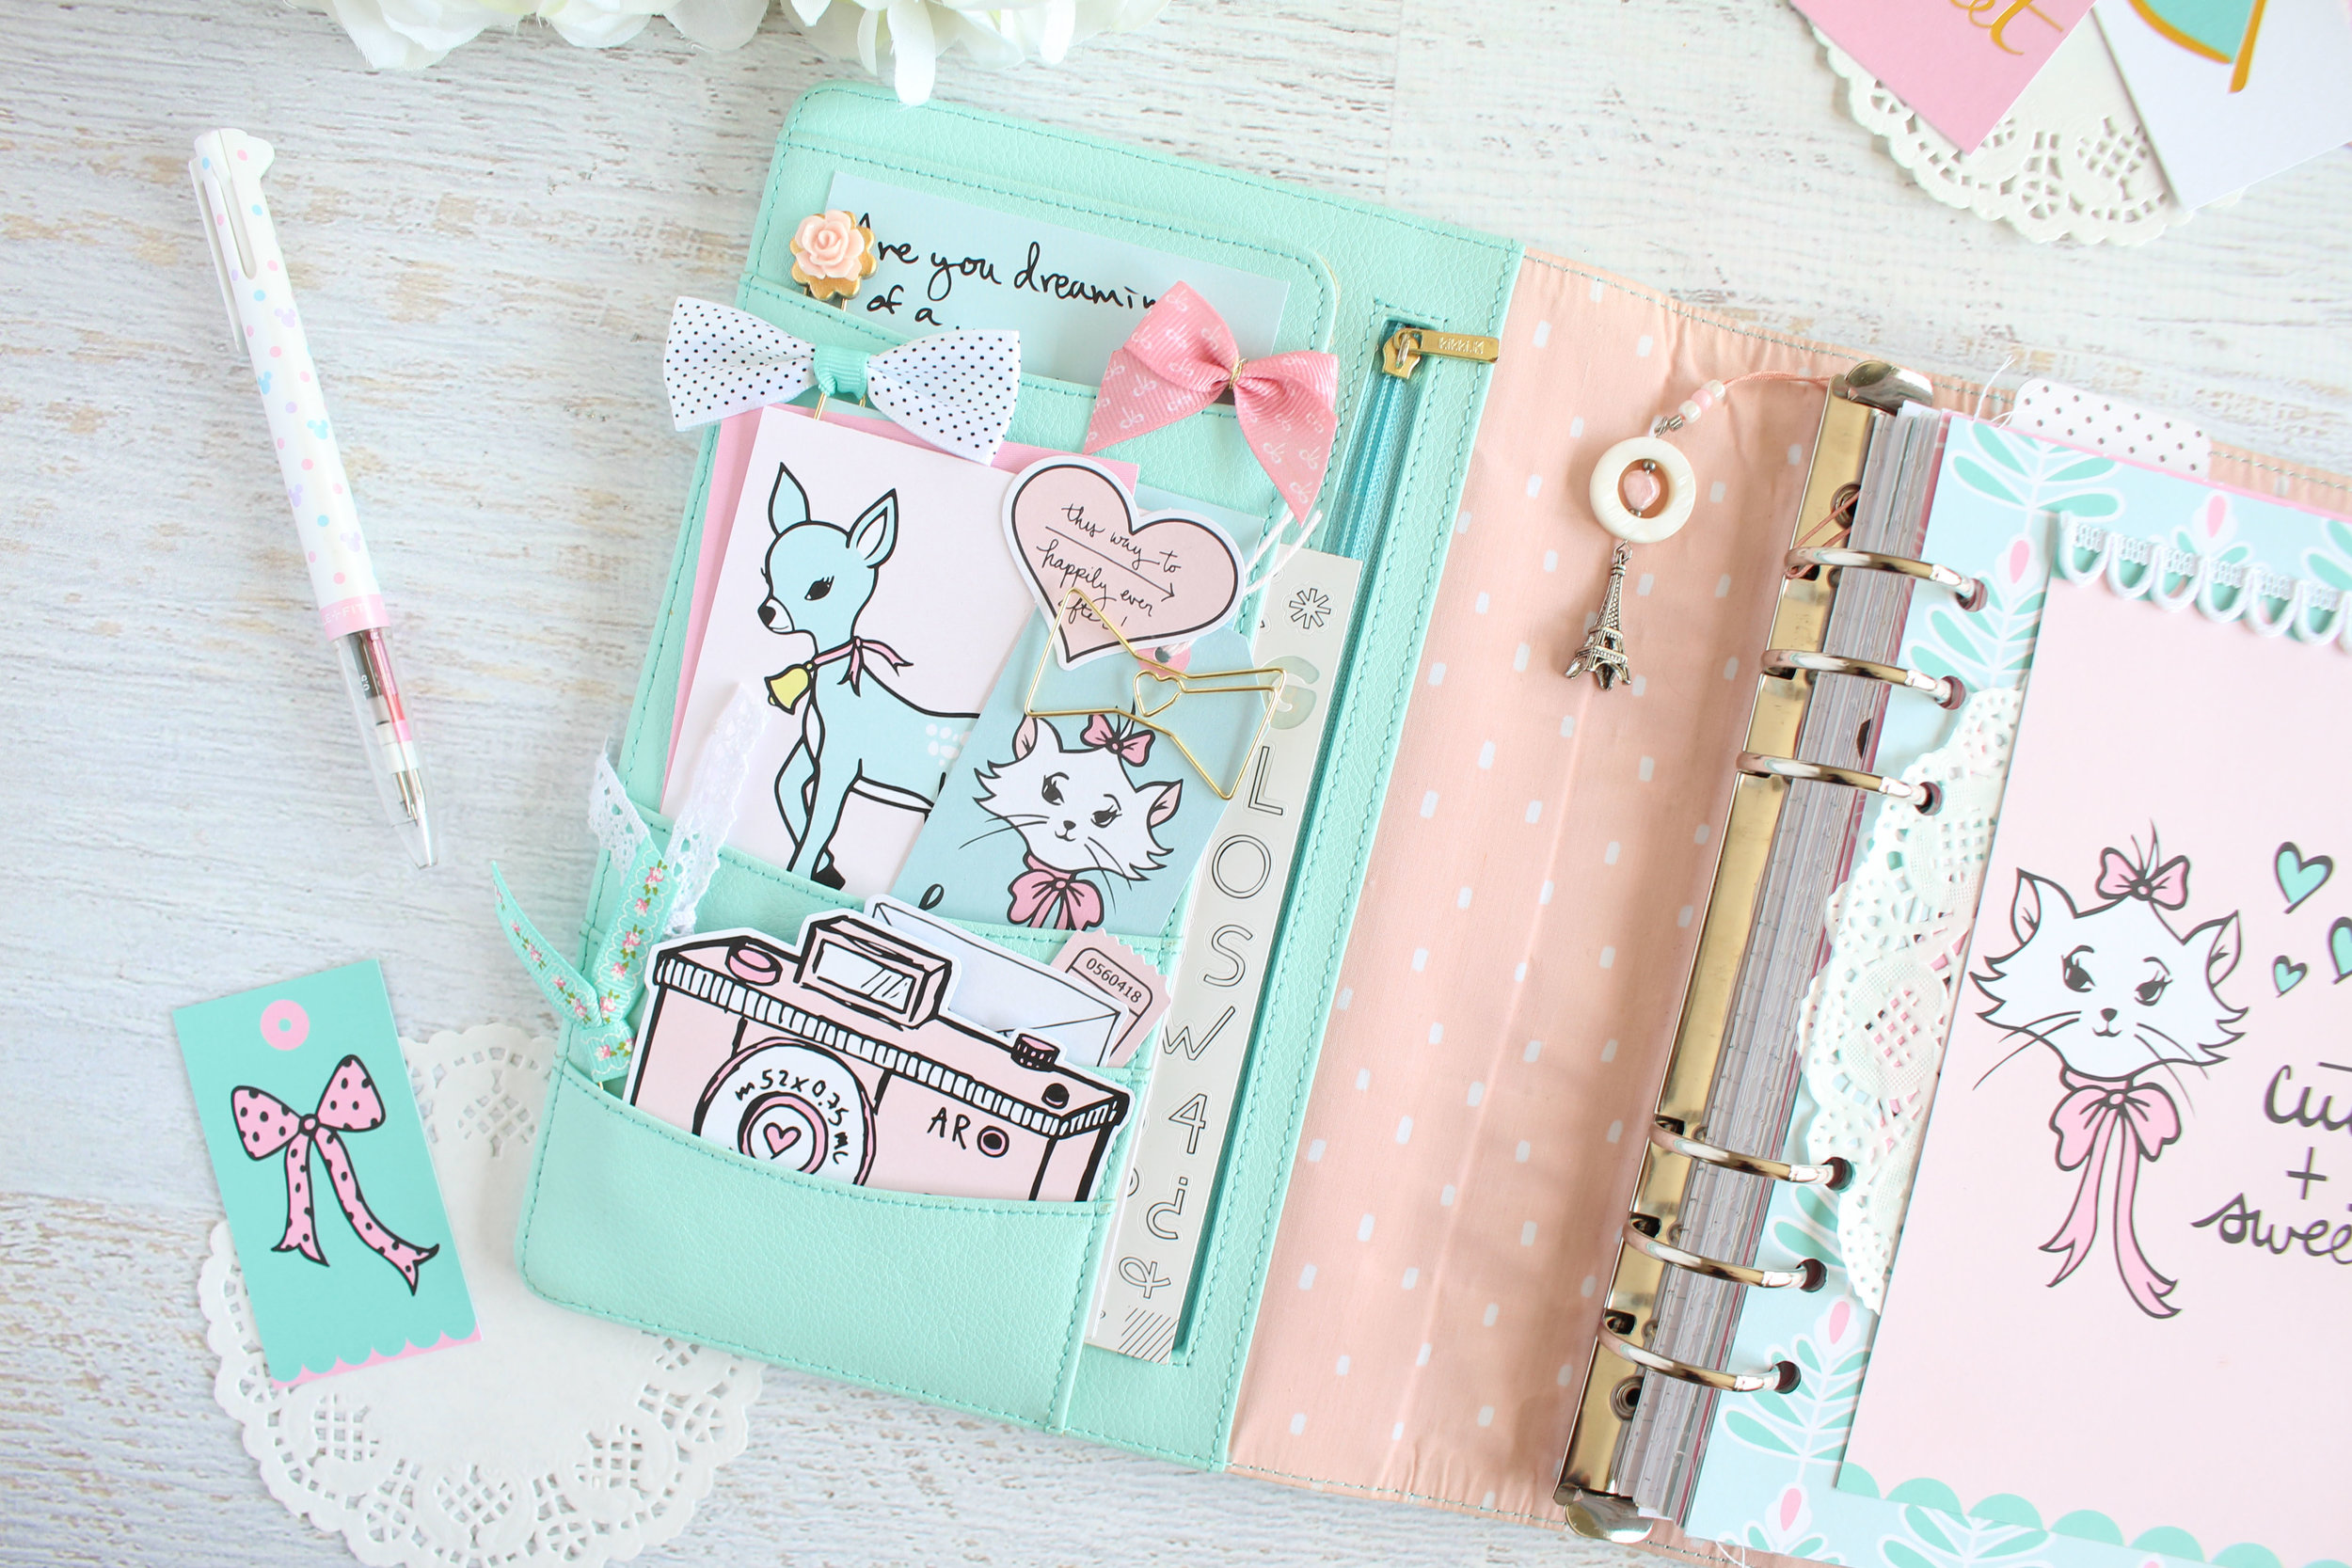
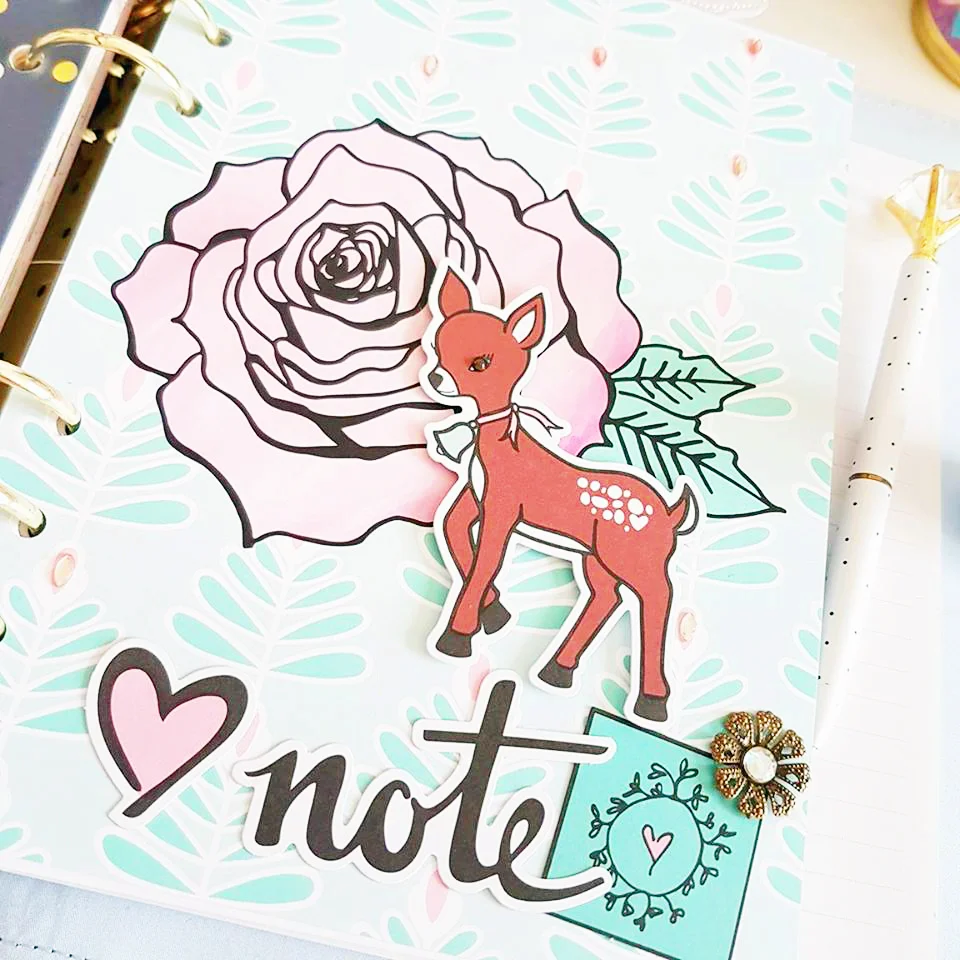
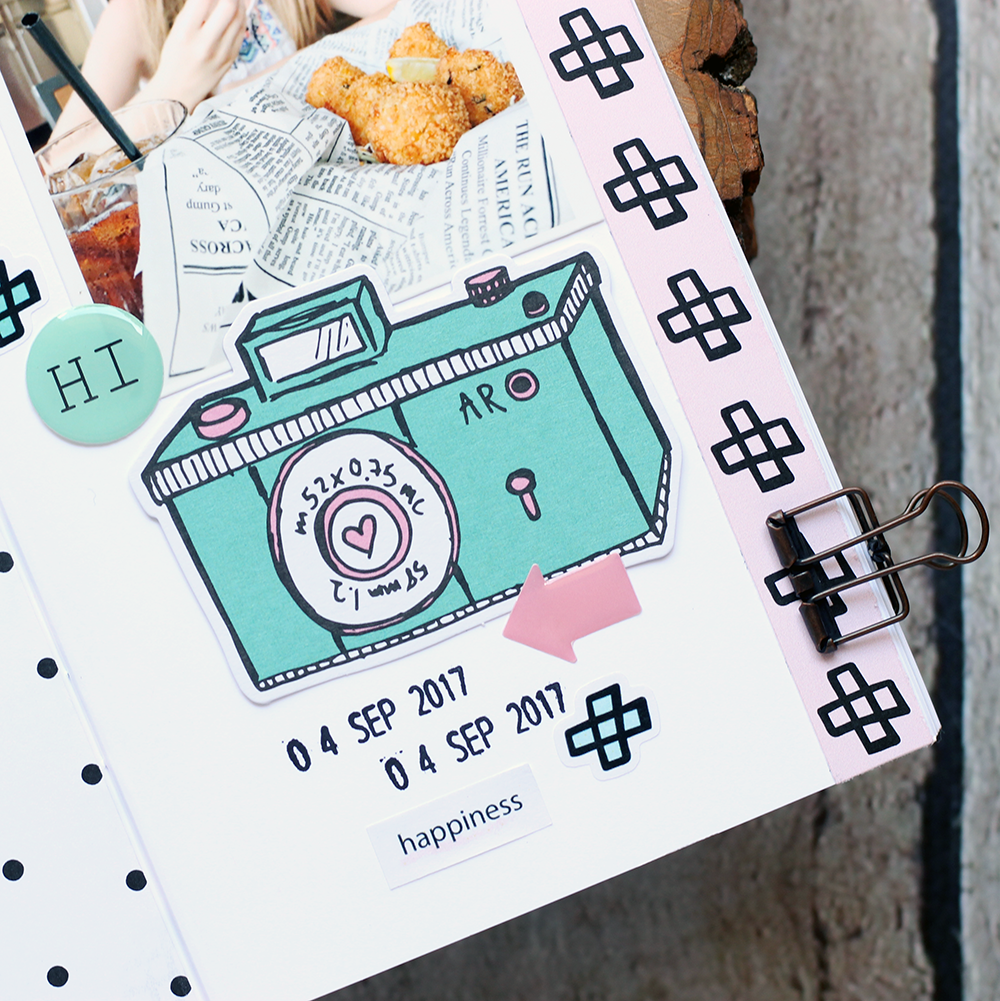
  • A Halloween memory keeping/planning class taught by Andrea where we will be combining scrapbooking with planning techniques to make a mini album that documents your special trip to the parks! In addition to the in-person class, you will be given access to the online video lessons for the project taught at the event, as well as a Facebook page for you to chat and share with others working on the same project!
  • A Halloween Trick-or-Treat tote bag filled with...
    • A special, exclusive paper crafting kit from The Fairytale Club!
    • A cute mini-album/planner! 
    • Other cute little Halloween surprises!
  • Prizes!... such as adorable "fairytale ears" (decorative floral Minnie ears), scrapbook goodies, planner goodies and other cool Halloween and Disney themed items. Everyone gets at least one prize...some people go home with several!
  • There will also be a professional photographer and a photo booth area set up at the event to take pics during the party. The photographer will also be with us for the "after-party" to take pics of us in the parks! The photos will be available to participants in an online gallery later to print and include in their albums.

If you wish to, you can join us in Disney's California Adventure and/or Disneyland after our event for the "after-party", where you will get to take part in a creative session on how to get the most out of your Disney experience. We give you tips and tricks for photography, ephemera, and more. During our trip to the parks, we will also be playing games together, hanging out, going on rides, and just having an awesome, magical and oh so spooky day! Those who have a Mickey's Halloween Party specialty ticket can come with us into Disneyland and take part in that during the after-party as well.

If this sounds fun to you, head on over to the events page and pick up a ticket to the event. They're selling fast so if you want to make sure you have a spot, grab one now! 

* Entry to the parks is not included as part of the ticket price. You will need to have either a current and unblocked Annual Pass or purchase a ticket to the parks. If you want to go to Mickey's Halloween party you need to have the specialty event ticket for that (those are currently sold out online, but sometimes they have more available if you call...I would do so immediately though and check for that availability). We suggest buying the tickets in advance so you won't have to stand in line to get a ticket.    

*I want to note, that for those who are unable to get a Mickey's Halloween Party ticket, fear not, you can still enjoy the "after-party" with us as we will be going into Disney's California Adventure that night as well...and this year they are decorating that park specially for Halloween with lots of Halloween fun going on there too...so one way or another, if you choose to come to the "after-party", you will be having lots of Spooky fun!!!  

*I also want to note, that you do not have to come to the "after-party."  The actual party/event itself is filled with papercrafting and Halloween and Disney awesome-ness, and in the past there have been those who have chosen to not attend the "after-party" for our event and they have still had a really wonderful, magical, and one of a kind experience! 

Hope to see you at our event for a truly spooktacular time!!!!


Take Note Pocket Letter with Odessa

Hi! Odessa here with a pocket letter using the Take Note kit. Pocket Letters are super fun to make. You just get to play with all the pretty things and put them together!

IMG_4086.png

I started with the You and Me planner divider. I cut it down to 4 x 6 so it was a good pocket size and then further down into two 3 x 4 cards to fit into the pockets. From there I worked around it. I decided to do two more 4x6 areas at the top and bottom with patterned paper. The great things about Pocket Letters are that you can just pick your favourite things and really just have a lot of fun with it.

IMG_4087.png

From there I started pulling out some of my favourite bits from the kit. Stickers and die cuts and puffy words and more! I like to work on each pocket as its own entity but keeping a general overall look in mind. I used word stickers, die cuts and some cut outs from the patterned paper to add some messages into the page. Then I got busy with the pretty stuff!

IMG_4091.png

I added in lots of cute little details on this - the kit made this so easy! Lots of cute hearts and stars and more. If you haven’t made a pocket letter you really should - they are a fun way to just play around and let yourself play with layout and design.

IMG_4088.png
IMG_4090.png

Me & You with Teresa

Hey guys! It's Teresa today, with my notebook creation! It's kinda all over the place, maybe even a little messy, but the Take Note kit makes it perfect!

image1.png

So the paper from Take Note kit is so pretty! I almost didn't wanna cut it up and use it! But I did.

image2.png

My daughters! The flower cutouts that come in the kit went so well with their picture.

image4.png

The deer paper is favorite! You can see I used a little around the picture.

image5.png

This is my husband and I when we were 19! So young, he is my "Happily ever after" this whole kit reminded me of being in love!

image6.png

Well, I hope you guys enjoyed my "Beautiful Mess" and make sure to pick up this kit! Until next time. Teresa ❤️

Storing Your Brushes Like a Princess with Carolee

Hi everyone! I absolutely adored the Giselle paper from this month's kit and rather than hoard it, I wanted to use it somewhere more permanent. That's when it hit me, house project! I'd been using this plain jar to hold my makeup brushes and while a bit cottage cute, it could definitely use an upgrade.

IMG_6045.png

Here's how I made it:

1) Measure the area of the jar you want to cover. Make sure to measure how big it is around and add a bit extra to leave yourself a tail!

2) If yours is not perfectly round but faceted like mine, make sure to measure the distance from each facet and use a score board or bone folder to make creases.

IMG_6028.png

3) If you have an edge punch, here's a great place to use it. I had this basic scallop punch in my stash and I think it adds a cute detail to the top!

IMG_6035.png

4) Attach the band to your jar. I used a mixture of red tape and ATG adhesive on mine but you can use any non-wet permanent adhesive you have. 

IMG_6029.png

5) Finally, add some ephemera! I added this big rose to the side and left it as is because of the busy paper, but you could add anything you like, including labels, your initial or anything else you can think of!

I hope you enjoyed the project! Tag me on Instagram (@onecraftypotato) if you try it so I can check it out! Until next time!


This Way to Happily Ever After with Ashley

Hi everyone!  It's Ashley, and I'm here today to share my last Guest Designer post with you, for this month!  I had so much fun working with the Take Note collection, and I hope you've been inspired with some ideas for using your kit!

Love.png

Today, I decided to create a spread in my Traveler's Notebook.  The TN is such a fun way to use your kit!  I love that you can use your TN to document so many different photos.  They are great for things like vacation, birthdays, special occasions or just everyday photos.

I used patterned papers from the Take Note Kit, along with a mix of embellishments, with a photo from one of our favorite restaurants.  Our oldest daughter loved the hush puppies from Bubba Gump's, so I snapped a quick photo of her biting into one!

Love1.png

I kept the left side of my spread clean, and just added patterned paper for some color.  I placed the photo on the right side, and clustered embellishments around the photo.  The puffy stickers, ephemera pieces and stickers are great for your TN, because they are flat embellishments and don't add a lot of bulk to your pages.

Love2.png

Make sure you save any of your scrap papers from the 12x12 sheets in the Kit.  They are perfect for adding layers to your TN.  And since everything in the kit is already coordinated, you can mix and match any of the scrap pieces that you have left over.

I've loved sharing my projects with you this month!  Thanks so much for letting me join in the fun for September!