Holidaily: End of November to Early December with Carolee

Hello again, fellow crafters! Today I'm here to show you a few more days in my Holidaily TN!

First up is this day. It's a bit out of order since this was on the 8th but I was so excited to get this into the album, I put it a bit ahead. 

IMG_3871.png

Today I went to Disneyland and California Adventure with some friends! This year, they have a food festival (AKA my favorite thing ever!) so we wandered the park, tasting various things as we went. For this one, I used the B side of Love Joy Faith on the left side with a few bits from the die cut pack to decorate the text and photo. I tucked one of the gold snowflake stickers behind the photo as well for a bit of metallic shimmer. On the right side, I cut a tab out of a scrap with a punch to make it easier to open up the map and see the whole thing.

IMG_3242.png

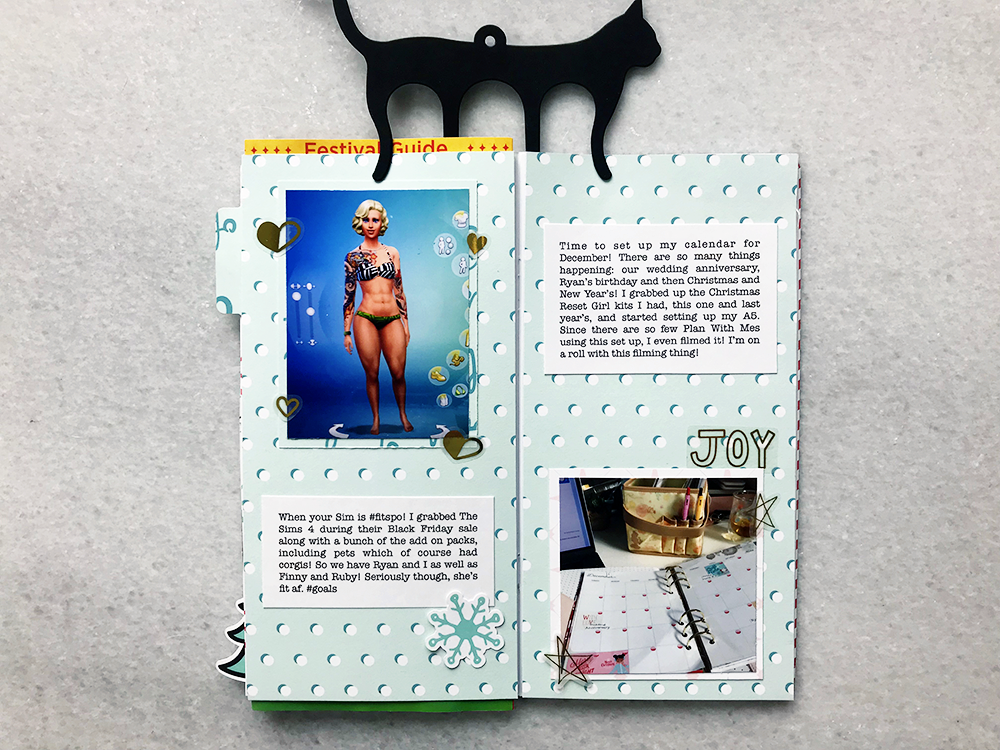
This is a couple of days in November. The paper in the background is the B side of Oh Christmas Tree, my favorite paper of the collection! On the left, it's me making my Sim after I bought the new game during a Black Friday sale. I purposely made my Sim very fit so she could be #goals 😂 For this one, I just added a lot of the gold heart stickers and a die cut snowflake to tie in some color. 

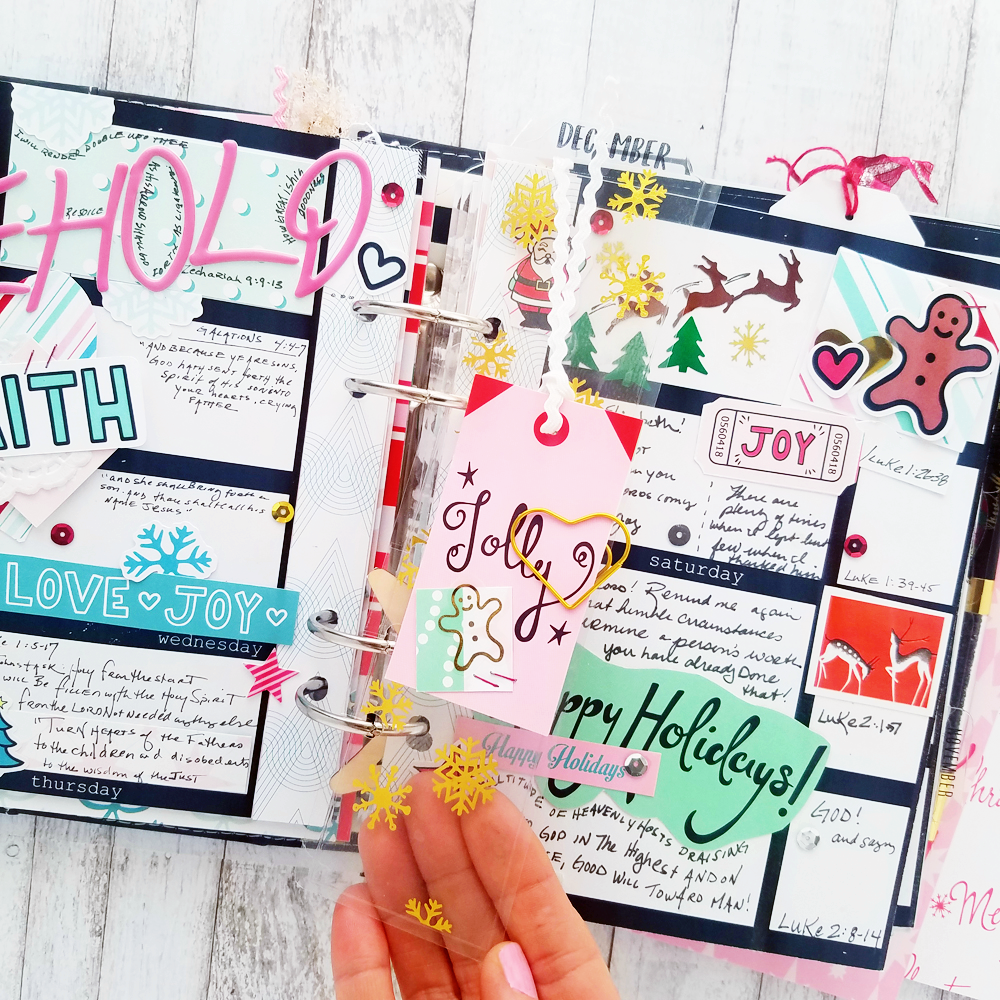
On the right side is me setting up December in my A5 planner. I grabbed the stars off the gold sticker sheet along with the Joy. I have a lot to be joyful about in December, so I added it. 

dec1.png

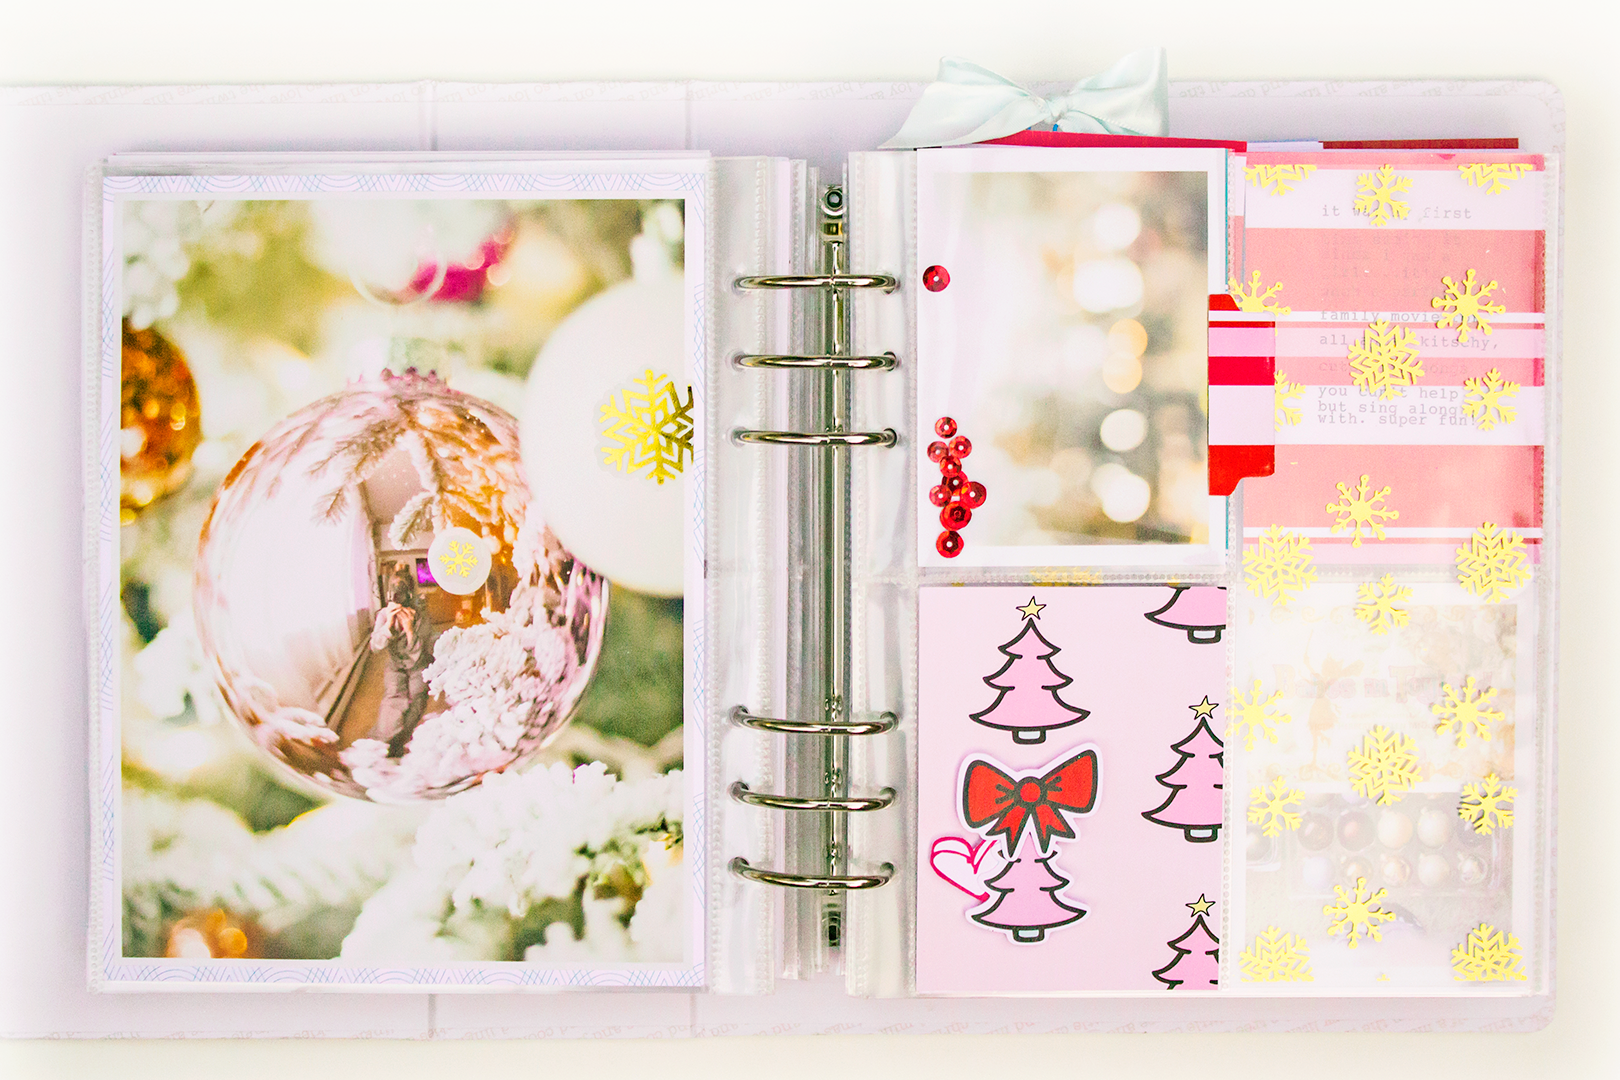
Lastly is December 1st! The paper on the right is the B side of Happy Holidays. Since the picture was so colorful, I wanted to keep the right side soft and minimal, just the paper, some of the die cut snowflakes and my journaling. 

Hope you liked this peek into my Holidaily album. Until next time, happy crafting and Merry Christmas!!

Holidaily: December 8-11 with Enza

Hello friends! It's Enza, and today I'm back with my Holidaily album to show you a few new spreads. If you are interested in taking a look at the first pages, you can find them here. As always, I'm trying to keep things simple: one photo a day plus some journaling. I'm mainly using the “Jolly” kit, with bits and pieces from previous kits. 

For day 7, I just adhered a photo onto patterned paper and created a layered cluster for the number. You can notice the glitter cardstock right below the photo. This is one of the elements I repeat throughout the album, as I like to add a little sparkle wherever possible ;)

PHOTO1.png

Day 8 is all about how cold it gets here sometimes. The photo shows some frosty leaves, so I thought snowflakes would be perfect for it. The Winter Wonderland transparency included in the “Jolly” kit served as the perfect base for my journaling, which was printed on vellum. I opted for a tag shape that could be easily stuck in the page protector. The cute little snowman was adhered to the outside of the pocket with some double-sided adhesive. 

The spread for day 9 documents a fantastic class on bookbinding I attended that day. You can see some ephemera pieces from the “Jolly” kit, as well as the puffy word sticker and hearts from the “Take Note” kit. I used three of the tickets to create a border for my journaling page.

PHOTO3.png

I love including everyday pictures in my December album. Here's day 10. Simple and easy. For the page on the left, I just used washi tape from my stash to frame the photo. For the one on the right, I cut a 4x4 patterned paper to fit the 2x2 squares of the page protector and adhered the journaling card on the outside of it.

PHOTO5.png

Same thing with the photo on the back of that page protector. I just glued it directly to the outside of the pocket. The journaling for the day is still missing. I haven’t decided if I want it to be on top or below the acetate divider. Decisions, decisions! LOL!

I love how this album is coming along. And I hope you can find some inspiration for your December album.

Thank you for stopping by.

Enza


Holidaily with Carolee

Hello again! Carolee here to share a few of my early Holidaily spreads with you!

IMG_5544.png

First up is this full-page intro spread I did. I'm a New England girl living in Los Angeles and I miss snow! I decided to create this page to give me a little bit of that snowy feeling every time I open this TN. I used the Let It Snow paper as my background, then added some die cut snow drifts using a die I'd had for ages. After popping on some stickers, it was all set! Festive and easy!

Next up is Thanksgiving day and I forgot to take a picture of our dinner but I did remember to take pictures of lunch so I used those. I absolutely love the mint polka dot paper so I'm trying to stretch it as much as possible! This is actually the B side to one of the A5 dividers which work great for a standard sized TN. I never use full-page pictures so with this project, I'm trying to stretch myself a bit more and use them. The long menu worked great for this! I had to feature the super yummy sushi roll in the bottom corner and added all the die cut hearts to equal my love for it! 😂

IMG_2887.png

Last but not least is this super silly page. The photo has nothing to do with the journaling, but I did find this silly filter that day and was sending the pictures to my friend during the party. Because the picture was so intense on this one, I went with lighter decorations. The opposite page is the B-side to Happy Holidays and the only decorations I added were the die cut tree (since this was the day we put our main tree up) and the stars from the sticker sheet to add to my magical picture. A silly picture for a silly fun day with friends at home!

I hope you liked this look into my Holidaily album. Come back tomorrow for more from one of my fellow design team members and until next time, happy crafting!

Everyday Wishes: Kit Sneak Peek! :-)

Hey everyone! Andrea here and today I want to share with you a fun sneak peek at our next kit, called "Everyday Wishes" and talk to you about what inspired me for this very special kit/collection!

November 2017 - Everyday Wishes Sneak Preview-02.jpg

I'm really excited for this kit! And I really hope you all will love it like I do! It's a very important kit/collection to me and here is why... I created it while going through a really difficult time. As many of you know, I am not doing well right now and I haven't been well recently. Writing, "I am not doing well" seems like an understatement really...since first of all...I am never doing particularly well because I have a serious health condition that I live with (called CRPS). However, lately things have definitely and very unfortunately gotten worse. And as I have had a lot of sad moments lately, lying in bed, alone and in so much horrible pain...I have had a lot of time to contemplate. I am usually such a happy person, but when things get hard in life, one sometimes feels the happiness and the hope start to drain out, as the stress and the fear settles in. But as I found myself feeling sad and hopeless, I remembered my motto..."to live my life as a fairytale and write my own happily ever after" and I thought about fairytales and the trials and heartbreak and obstacles that are faced in each one. My story is not an easy one, it never has been, but one thing has always been true...I am strong and I never give up! I remembered how important it is in all fairytales and in my own particular, personal, real-life fairytale...to have faith...to wish and dream and believe that a star will light the way! So I was inspired by Disney classics like Cinderella and Pinnochio and I reminded myself that "no matter how my heart is grieving, if I keep on believing, the dream that I wish will come true"! 

So I created "Everyday Wishes" to remind me and all of you too...the most basic and important thing that The Fairytale Club stands for...and that is believing in the fairytale and the "happily ever after"...and living it and creating it and writing it, even when it is hard. I was inspired to make a kit that had all kinds of my favorite, beautiful fairytale things...princesses, unicorns, stars and moons to wish upon, rainbows, and castles, blue birds of happiness, and lots more! This new kit is filled with my wishes and dreams for a happy and bright tomorrow, not just for me, but for all of you too! As we get closer to the new year, I want you all to think of your hopes and dreams and goals and wishes and really go for them...don't give up! Every wish can come true, every dream is possible! 

I hope you like this sneak peek of "Everyday Wishes"! I want to say thank you to all of my Club Members/subscribers, the Fairytale membership peeps, and all you awesome followers, customers, and fans! Thank you for supporting me and especially thank you for supporting me right now through this particularly difficult time in my life and for being so kind and compassionate and patient! Please stay tuned for the full reveal of "Everyday Wishes", it's coming soon! Yay!

Hugs to you all and Remember to "LIVE YOUR LIFE AS A FAIRYTALE!"  --  Andrea Bethke, Founder of The Fairytale Club

Holidaily with Enza

Hello everyone! I can't believe Christmas is only ten days away!!! I'm trying to keep up with my December album as much as I can, but I have to admit, time is very limited. This year I'm working on two albums at the same time. One of them is going to my parents in Italy. I think they'll appreciate getting a taste of our holiday season, especially how their busy grandkids are experiencing the most wonderful time of the year ;)

Today I'm sharing how I documented the first six days of December. My approach is very easy. One or two pictures and some journaling are mostly what makes the whole album. If I want to include more pictures, then I'll create a collage in Photoshop. As far as supplies, I'm using the festive “Jolly” kit, with bits and pieces from the Take Note and Storytime kits. Occasionally you'll see some other supplies from my stash, used mostly to fill spaces or create layers. 

My opening page is very simple. Just a couple of snowflakes layered underneath the “Merry” die cut, some red stars, and the date. One thing you'll find throughout the album is silver glitter card stock, either as a background layer or to add extra sparkle here and there.

IMG_0591.png

I also like to create little pockets as inserts, and include interactive elements. The back of the “Jolly” tag hides the journaling for the day. 

IMG_0592.png

Another element I'm in love with is transparencies. I can't get enough of the see-through look! Same idea is behind typing my journaling on vellum.

IMG_0594.png
IMG_0595.png
IMG_0596.png
IMG_0597.png

Filler cards are a fabulous way to showcase your supplies. Here I created a shaker card. So sparkly!!!

IMG_0598.png

For Day 4 I have a very simple spread. Just picture and journaling. Again, I used the silver glitter card stock to back the photo. 

Since I wanted to include more pictures for Day 5, I created a collage in Photoshop. The tree on the right side of the spread is a cut file that I adhered on a piece of acetate and then stapled to the bottom pocket. 

Journaling on vellum again for Day 5, this time tag-shaped.

Some inserts...

The last spread of today's post includes a 2-page photo. I just added two strips of card stock on each side and embellishments.

IMG_0606.png

That is all for today, friends. I hope you have found some inspiration for documenting your December memories.

Thank you for stopping by.
Enza


Holidaily: December 7th with Carrie

Hello everybody! My name is Carrie Elias and I am the guest designer for this month, which means I have been playing with the Jolly kit!!  Andrea and I have been friends for a while, however since having my daughter a couple years ago I really don't make time to scrapbook as much as I'd like. So when Andrea asked if I wanted to join her guest design team for December I was thrilled, and jumped at the chance to work with her lovely product!

12122017-Day-7-01.png

Andrea has been doing a project called Holidaily for many years now where she documents from Thanksgiving through New Year's. I have always admired her finished albums and if you want to take a look for yourself she has shared a few of them on her personal blog. Well, I decided to join along this year so today I will be sharing December 7th of my Holidaily album!

12122017-Day-7-02-Final.png

Admittedly most of my daily scrapbook spreads have multiple photos because I have a hard time taking only one photo that seems to tell a complete story to me.  It's a personal struggle LOL.  Today's spread is no exception. My little girl and I had spent hours putting ornaments on our tree and enjoyed watching Babes in Toyland while doing so.

12122017-Day-7-04.png

For the first page I have a full page photo with a reflection of myself in my pajamas in one of the ornaments. I accidentally had my photo printed up just a tad bit too small and decided to take advantage of it by using one of my favorite papers from the collection as a thin border. I think it helps tie this spread together that much more. The gold foil snowflake transparency is peeking through under the opposite page and so to tie it in I added two of the gold foil snowflake stickers directly on top of my photo. 

12122017-Day-7-05.png

Across the page is a page protector with two 3 x 4 pockets trimmed down from four. I added a tab using my We R Memory Keeper's tab punch, and the same striped paper that's peeking out from the page underneath. I purposefully lined up the papers for better flow. Also, there was a pack of sequins in my kit and I picked out a few of the red ones and placed them in the same pocket as my top photo. I thought they kind of mimicked the bokeh affect from the photo. 

Since we were decorating our tree of course I had to use one of the Christmas tree papers for the pocket underneath the photo. I ended up choosing one of the planner insert papers, cutting it down to 3 by 4 and then fussy cutting a few of the other pink trees. I used one in this pocket and the other elsewhere on this spread. In order to add more red to this pocket I decided to place big red bow from the die-cut pack over the star of the popped up pink tree. I also tucked in one of the red heart die cuts.

12122017-Day-7-06-Crop-Final.png
12122017-Day-7-07.png

When you turn the page and see the back of the two 3 x 4 pockets, you'll see I added an additional single sequin inside a wreath in the bottom pocket photo.  In the pocket above it, I used one of the patterned papers cut down to 3 by 4 along with a glittered number 7. I knew I wanted to place the number 7 on a popped up tag and came up with the idea of using the same pattern paper to make my own tag. All I did was trace one of the tags from the die-cut pack, making sure the design on the tag and background papers matched up. Then I popped up the tag added my number 7 and a gold eyelet, finishing this pocket up with one of the pink trees I had previously fussy cut tucking it in.

12122017-Day-7-08.png

Having a toddler means everything goes in a page protector at this point LOL. So I cut down the gold foil snowflake transparency to 6 by 8 and placed it in a full-page pocket. I'm a fan of full-page transparencies as both a resting place for the eye as well as adding a little extra character.

12122017-Day-7-09-Final-1.png

On the next page I cut one of the papers into a 4 by 6 card, and after deciding to switch to a three pocket spread cut it in half. I added journaling on the papers for both pockets and layered two additional pink trees. I could have added more embellishment to these two pockets but this spread was getting so busy I decided to keep them simple. 

12122017-Day-7-010-1.png

For the 4 by 6 photo collage at the bottom, I cut one of the airmail looking die cuts and layered it over one of the photos which ended up being a duplicate to the photo on the next page. I used some wood veneer Thickers from the Crate Paper Fa La La collection to spell out the word Fun on top.

12122017-Day-7-011-Final-1.png

When you turn the page there is one final two-page spread for this day. On the left is a single photo in the bottom pocket, and two 3 x 4 pockets above it.  I cut down another one of my favorite papers from the collection to 4 x 6 and ran it through my typewriter to add my journaling. Then I used my paper trimmer to make two 3 by 4 cards cutting straight down the middle of my journaling so it reads left to right across both pockets. Next, I used the same wood veneer thickers to spell out the word Happy.  

12122017-Day-7-012.png

The thickers made the pocket so thick that the card on the right kept popping up out of the pocket.  So, I used the bow paperclip from my Jolly kit to attach it to the front of the page protector.  Now it stays in place just fine.  To finish off this spread I added the same pattern paper from the 3 by 4 cards and layered it behind my full page photo.

And I think that's it for today's spread.  I'll see you again next week for more from my Holidaily!

Cheers!!
Carrie

Holidaily: Moonlight Magic with Carolee

Hey everyone! I'm here to kick off our new Holidaily series! Holidaily is a lot like many projects people take up at this time of year, but instead of focusing just on the first twenty-five days of December, it documents anything holiday related from Thanksgiving to New Year's Day.

IMG_6731.png

My project today is from a bit earlier but it was very Christmas-y so I added it to my Holidaily notebook. I was able to get tickets to a special event at Disneyland and since they put up their holiday decorations on the 10th, it was already festive by the day we got there!

This project also shows off one of my favorite things to include from my Disney trips: maps! It's a bit difficult when you're using a TN since they're just a bit too big. I will always trim mine down or, if I can't because I'll lose goodness, I'll just let it hang off the edge.

IMG_6733.png

You know me, I like to keep my decoration nice and minimalist and for this project, I wanted to feature a lot of the ephemera from the actual trip. I snapped this selfie in front of the holiday castle and printed it out on my Prynt. I layered it along with our ticket to the event, adding a couple of the tickets from the cut apart sheet to the top. I adhered that onto the map front. This way, everything is front and center but doesn't make it so you can't open the map!

On the right side, I featured this super cute pink tree papers, one of my favorites from the collection, along with another bit of the cut apart sheet for journaling. I kept the colors to mint and pink so as to not clash with the blue and orange on the map cover. It let there be some consistency across the project without having to bring those colors in.

Thanks for checking out my page. Expect more from more of the design team as well as our guest designer. Until next time, happy crafting!