Happy Day Memorydex with Carolee

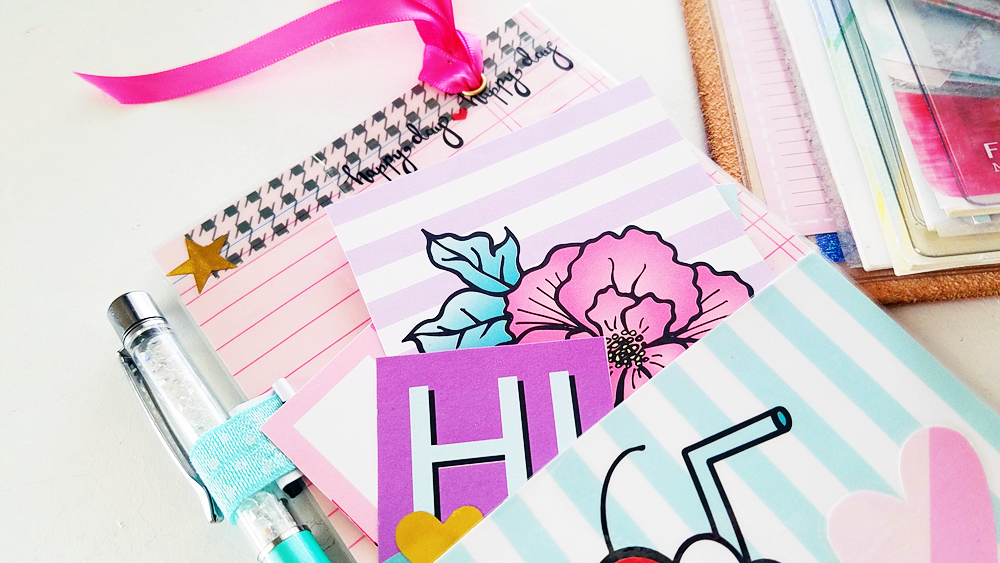
Hi everyone! Carolee here again with some more Memorydex cards for you to check out!

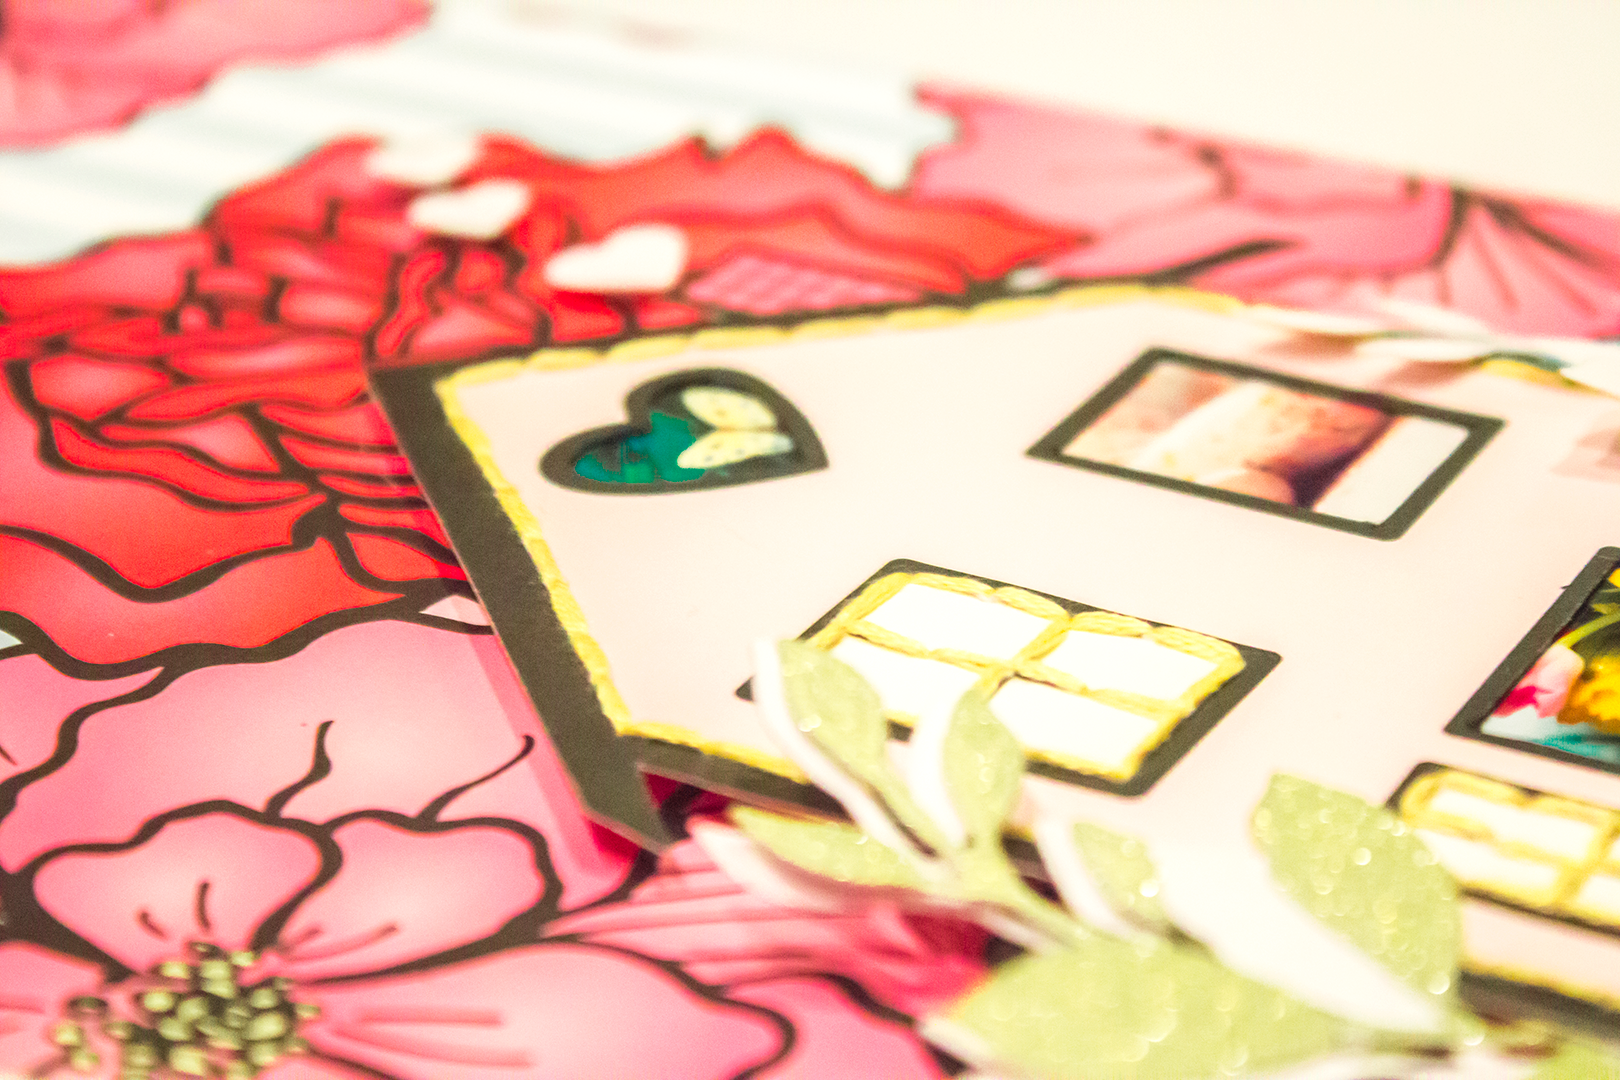
First up is this fun one commemorating my time at Plannercon. Luckily, the colors of the Plannercon badge and the colors of the kit coordinated perfectly! I punched the scallop along the side and attached it to a card I cut from one of the personal sized dividers. I don't use a personal size planner so the dividers are great for small projects like these! After that, I took a bit of the pink striped divider, used it as a mat for my photo and lastly, added the die cut from the pack and one of the cute gold stickers!

IMG_7511.png

Next up is the first of two cards that are just me messing with Facebook filters. After printing this picture out on my Instax, I cut a mat from the scraps I had after cutting the base cards. Next, I added some of the bigger sequins around the picture and finished it off with another piece from the die cut pack and one of the flare. 

I'll admit, I'm a little obsessed with this filter. Vine bunny ears and flowers? Yes please! I used the die cut and a flower I fussy cut from a scrap to mirror the flowers on the ears. Finally, two of the gold stickers were used to make my title. I feel like this is definitely the headpiece of a magic bunny princess! I used a couple of sequins to dot the eyes because it's never a bad time for sequins!

IMG_7503.png

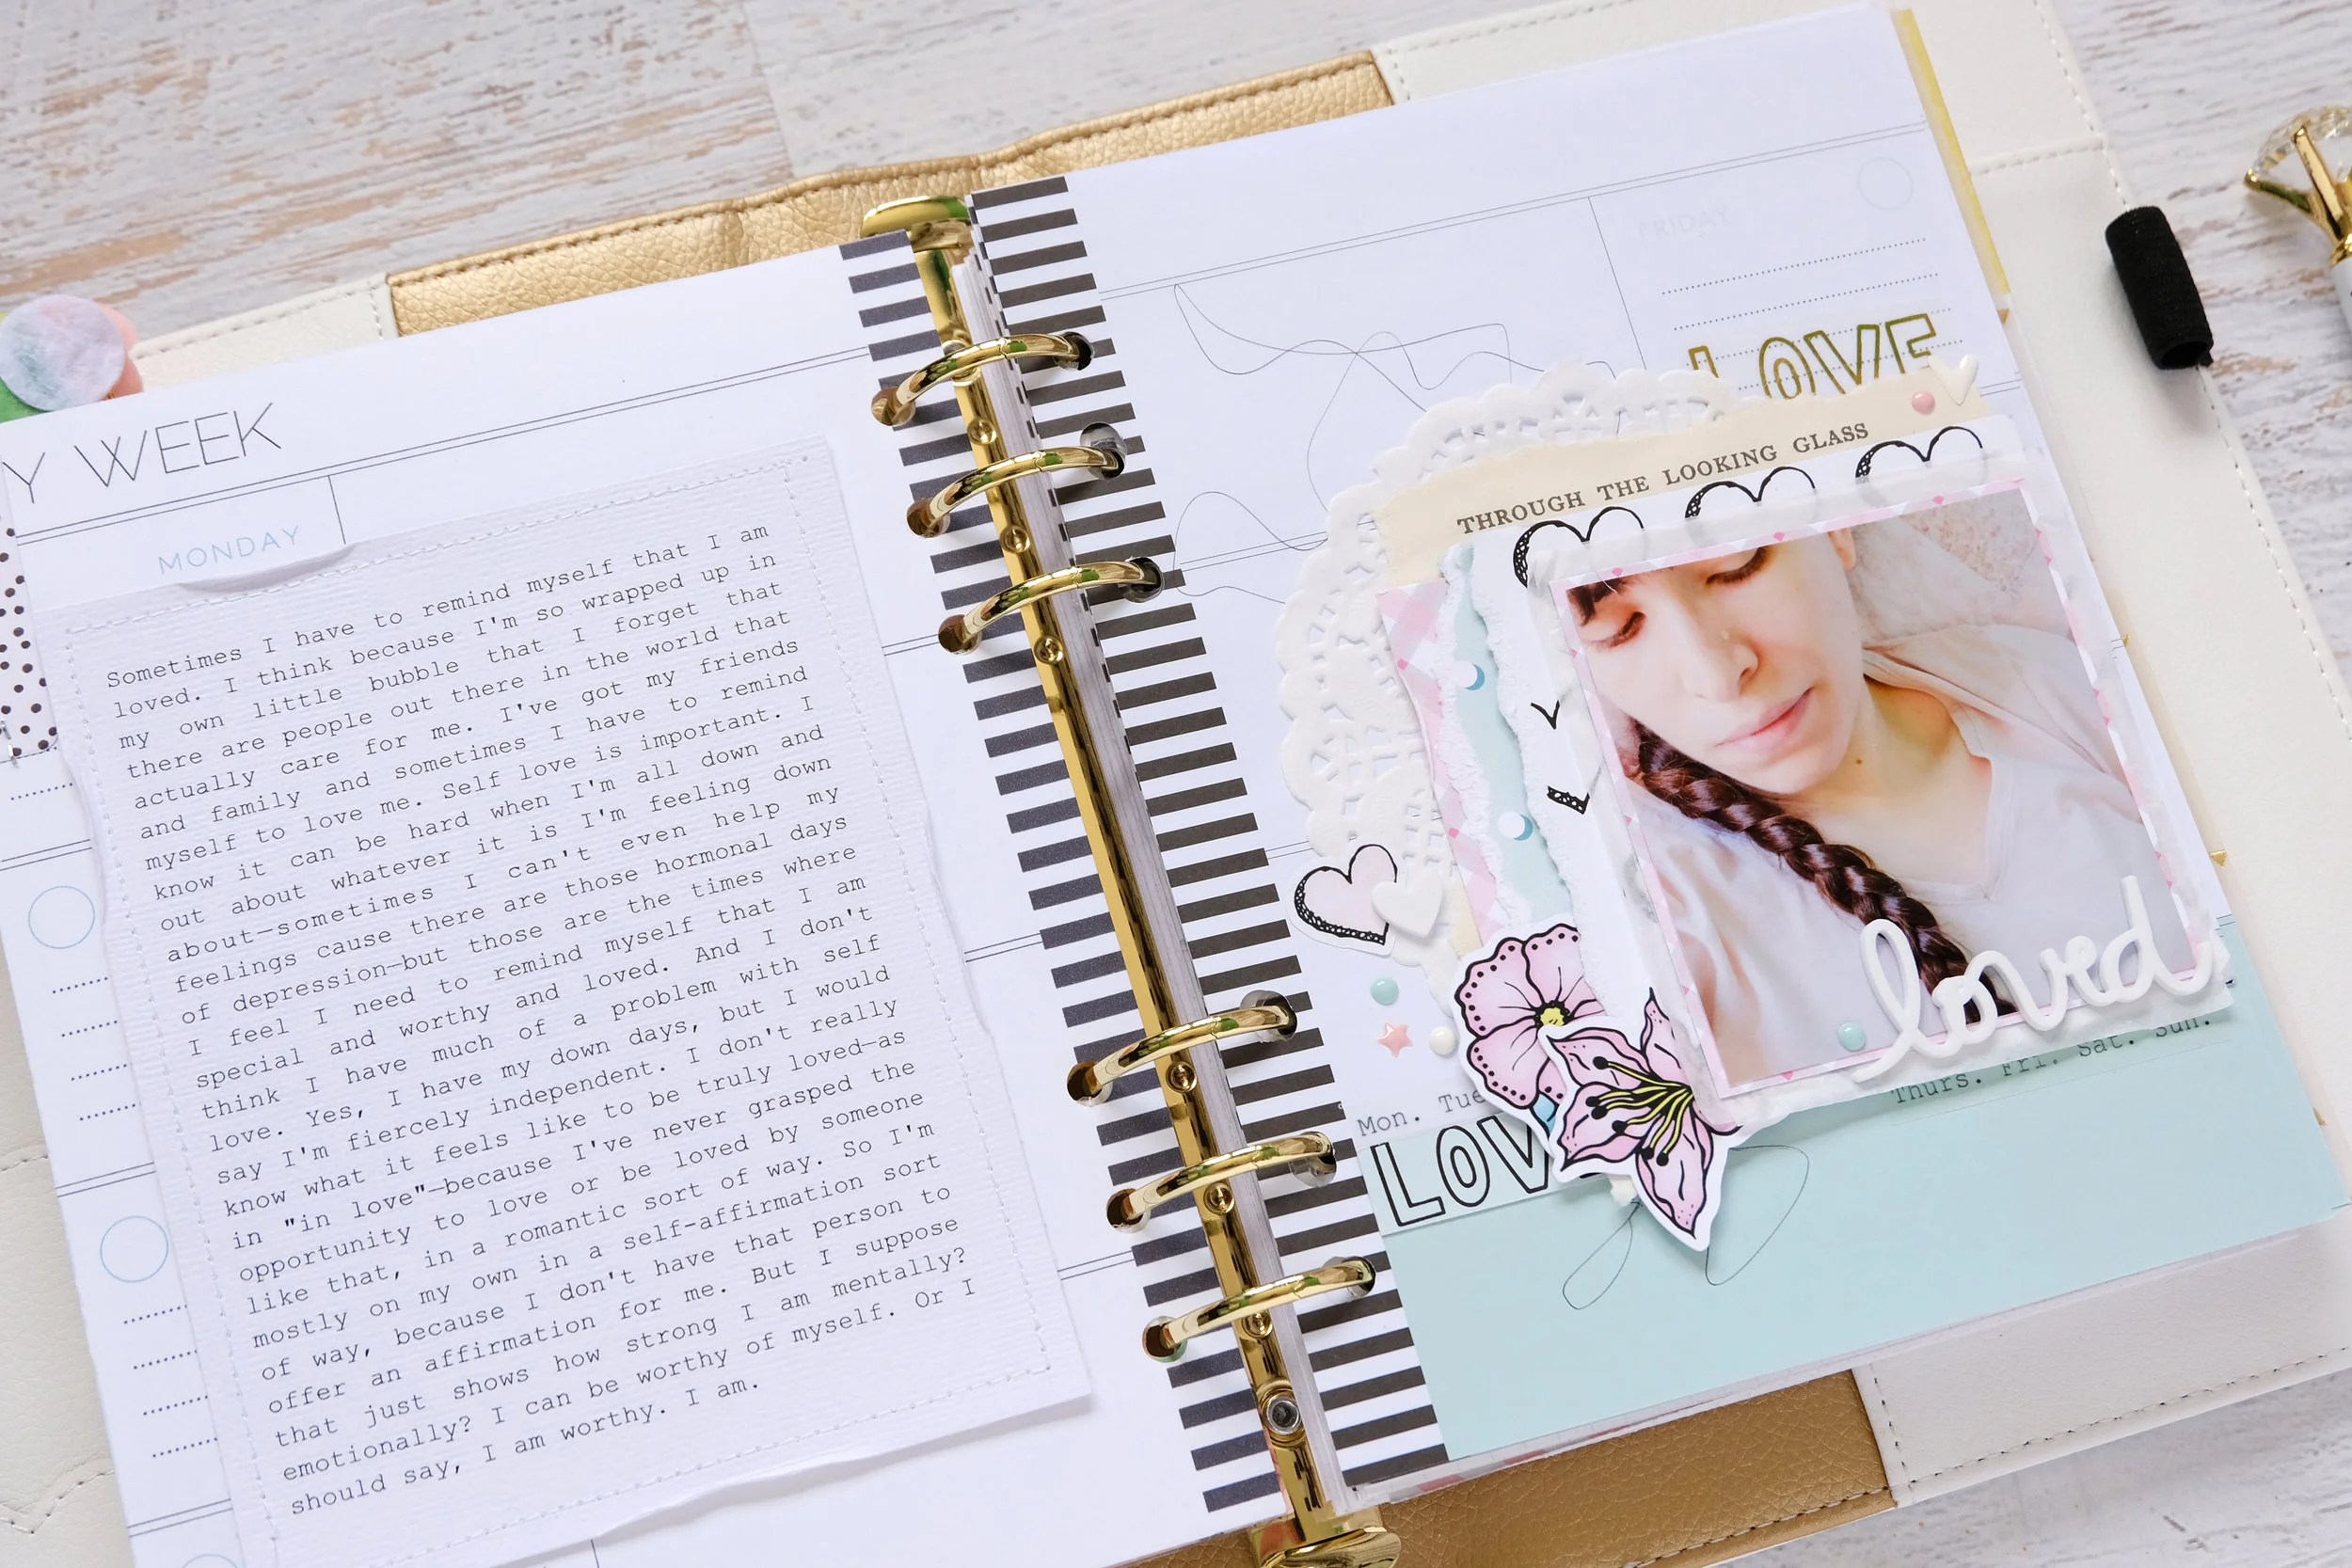
Last up is this really simple card. I decided to keep it really simple since I went with a more busy background. This was a "what's in my bag?" type of post from my Instagram. These are the things I like to use my Memorydex for: little memories that aren't enough for a big page but that will still be fun to look back on.

IMG_7500.png

So that's it from me! I hope you liked seeing them and that it encouraged you to check out the Memorydex system yourself. Until next time, happy crafting!

Pretty Dividers with Henny

Hello and good morning... Henny is here again today to share with you the advanced pages from my previous posts for the Fairytale Club blog. 

image1.jpeg

Per mentioned from previous posts this page I made it into a slide pocket out of 2 sheets of dividers that I stitched together. 

image2.jpeg

Before going to the next page, I wanted to make something just as a fun part and I took a sheet of divider with Unicorn picture and I cut it out, laminated it and punched holes to fit into the ring. 

image3.jpeg

A close up picture to show the holes that I punched.

image5.jpeg

And here’s the back side of the unicorn, added the “believing” word that came from the kit. 

image6.jpeg

Next one is where I did a little journaling or we can say as scribbling away. I decorated it using some diecuts and sticker from the kit as well as some from my stash. I think it turned out great and looking cute too :).

image7.jpeg

Next page is just another inspiration quotes divider which I love to have all of them tucked in my planner as reminders and inspirations whenever I opened up my planner. 

image8.jpeg

While the back side I used the left over acetate from this kit, stitched it together with the divider and made it as a pocket.. yayyy for another pocket :). Perfect size to store my stickers and many more.

Lastly I printed out this digital picture in a vellum paper and I just love how simple it is. 

Thank you everyone for looking through and reading along with my blog posts. Again I hope this will give you an idea to work on your own project and to be more inspired. Please come, stop by and say hi to my IG account @Hennytjcraftcottage God bless you now and always :)

Until next time! 

Sincerely yours,
Henny

Pretty Planning with Pockets, by Henny!

Hello lovelies... I hope everyone is doing just as wonderful as you are, wherever you are.  It’s Henny again! I apologize for being so MIA for the past month. But today I’m back and sharing with you my project that I’m currently working on using the "Everyday Wishes" kit from The Fairytale Club. Here is what I have so far...

image1.jpeg

On my last project with this kit (from a previous post), I showed you this planner's pocket set up as well as the cute dashboard I had done. And now, here is the back side of that dashboard as you can see on the left side of the picture above. I created a secretarial L shape pocket plus one slide pocket on the front, made purposely to get more space to put things like papers, notepads, or paperclips, etc. And on the right side I used one of the papers in the kit that has the princess design on it --  I simply cut her out of the paper, placed her onto a white doily and laminated it.

image2.jpeg

And here is how the back side looks -- I added some words and laminated everything together. Then I trimmed the edges along the doily, leaving about one cm along one side and then punched holes in it to be able to put it inside the ringed planner. The next page is a clear acetate of the confetti design that comes in the kit. 

image3.jpeg

After the confetti acetate, it’s a simple divider paper with the castle design. And then what I did was only to add some bling as we have one beautiful castle picture already which doesn't really need much added to it.

image4.jpeg

And here is the back side --  I created another pocket out of acetate as I simply Love to have more pockets in my planner to allow to put more stuff in!

image5.jpeg
image6.jpeg

The next page is a slide pocket which I created using 2 of the decorative planner dividers in the kit. I stitched them up together so then we have one slide pocket where you can put anything in it...like receipts, letters, or even your pictures.

image7.jpeg

I am loving all of the beautiful designs from this kit! I’m glad that Andrea provides the digital files to purchase so that you can print out yourself too! I love this moon and star design and printed it out on a vellum paper. Loved it so much!

image8.jpeg
image9.jpeg

Can you believe that these simple words of “Wish” and “Favorite” from the kit made me so happy because I discovered that they were actually giving me more ideas?! So I used both words for my wish list page and favorite shops. Fantastic little ideas! :)

image10.jpeg

And last is another slide pocket out of 2 of the decorative dividers from that kit which I used and stitched together. So obviously that is one thing I just love! I love making lots of pockets in my planner, simple idea yet very functional!

Well I hope you enjoyed reading and seeing my planner project in this post and I hope it has given you more ideas and put you in a crafting spirit to start doing your own pretty planning with pockets and stuff! 

You can find me on my IG : @Hennytjcraftcottage 

This Planner project is to be continued... so stay tuned everyone!

Sincerely yours, Henny