Hi there! I've done a whole planner set up for you using the Everyday Wishes Kit. The only reason this is possible is that Andrea's kits are so plentiful with beautiful paper. I made 7 insert covers and 6 dashboard inserts for my B6 with just this kit!
If you haven't seen my unboxing, here it is:

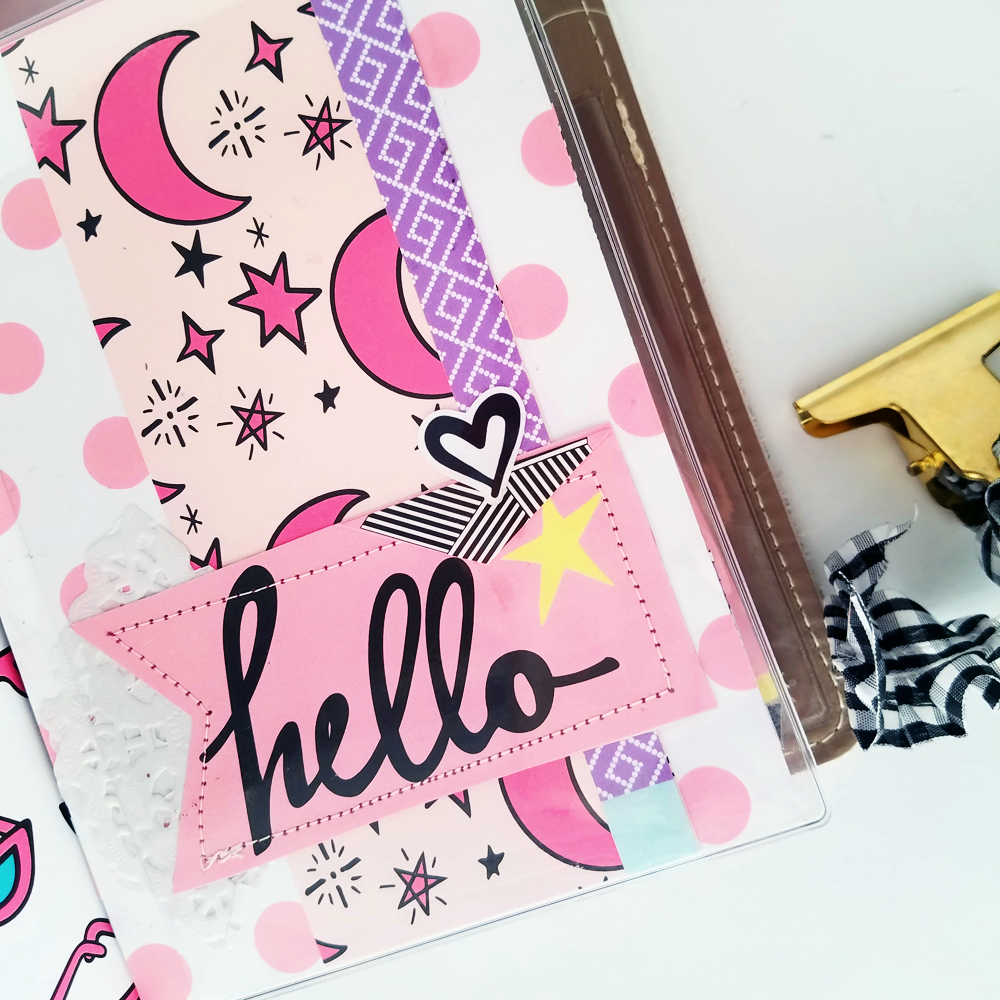
I took way too many pictures, but I was just so happy with the way it turned out, you'll have to suffer through the eye candy shot along with me!

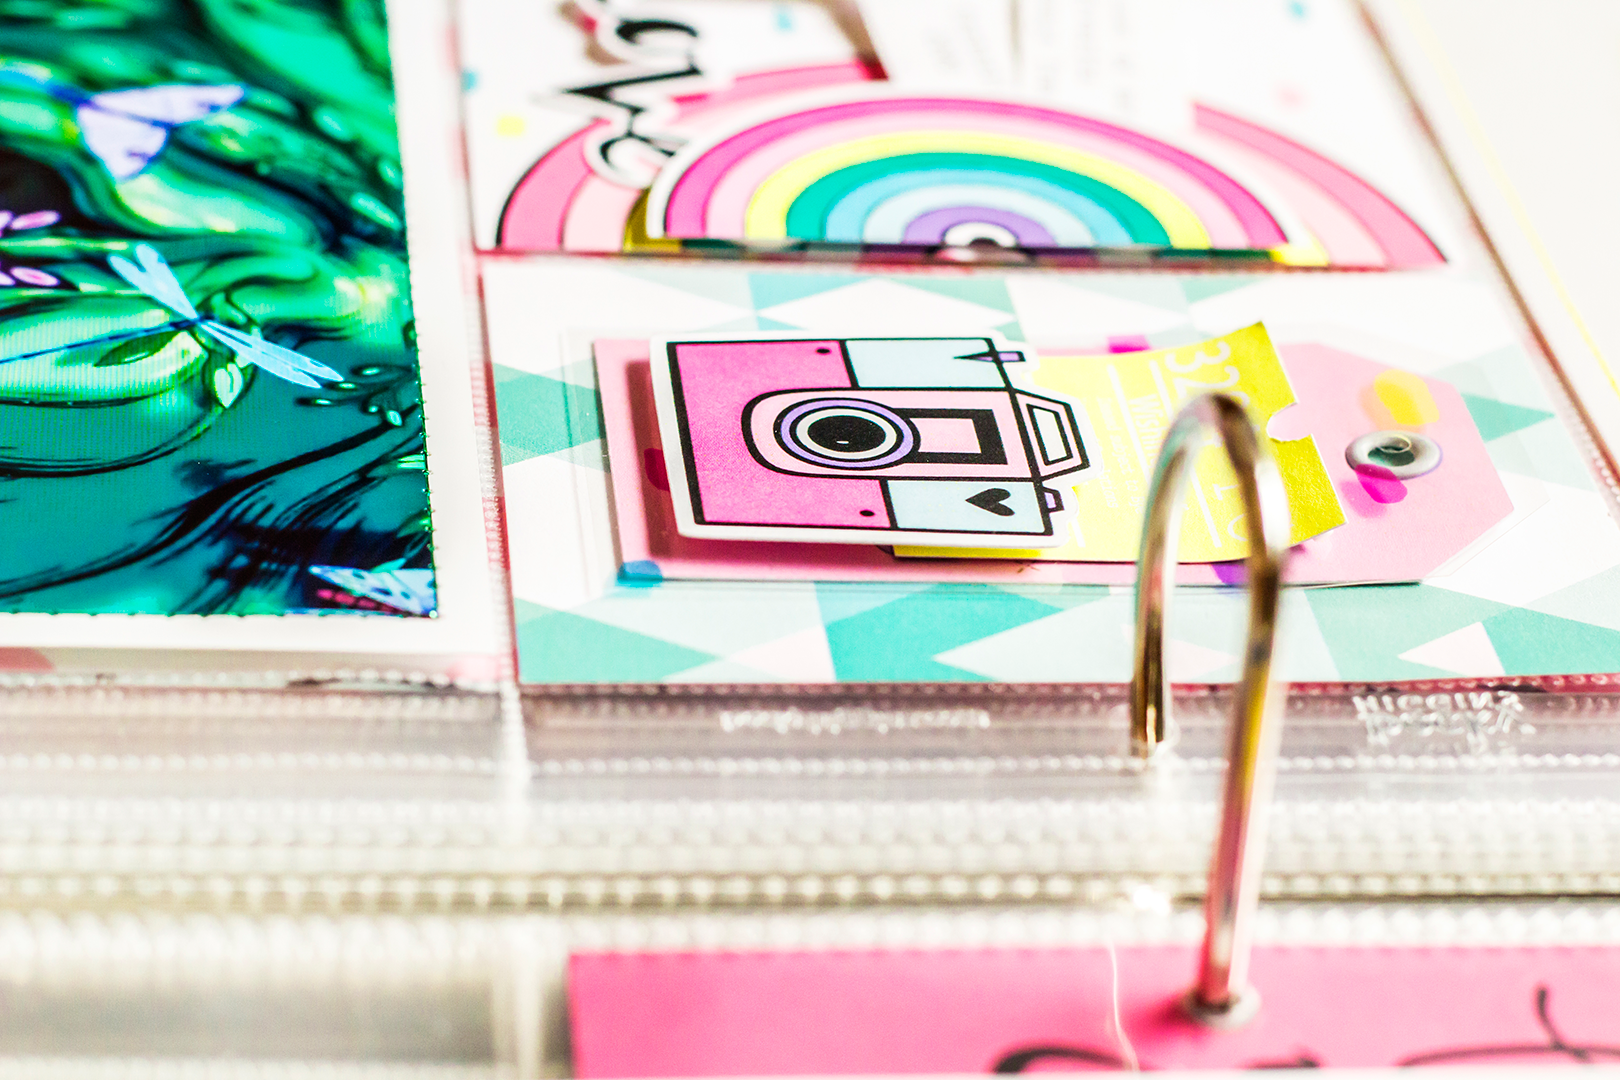
Horizontal pockets stuffed with plenty of old and new goodies from FTSC! Tags, papers and die cuts make this the beautiful opening canvas every day.

By making a removable insert in my shaker pocket, I am able to change out an insert and put this one in! My next FTSC blog post will be all about making one with the cute sequins we get in each kit.

My first dashboard insert was made with some patterned paper and a personal dashboard. The alphas are from the Sweet Collection and are available on their own for purchase if you'd like to snag them.

I fussy cut this from an A5 divider because big and bold is how I usually roll!

I love the plentiful die cut words! It is possible to create all types of phases and saying that go with just about everything!

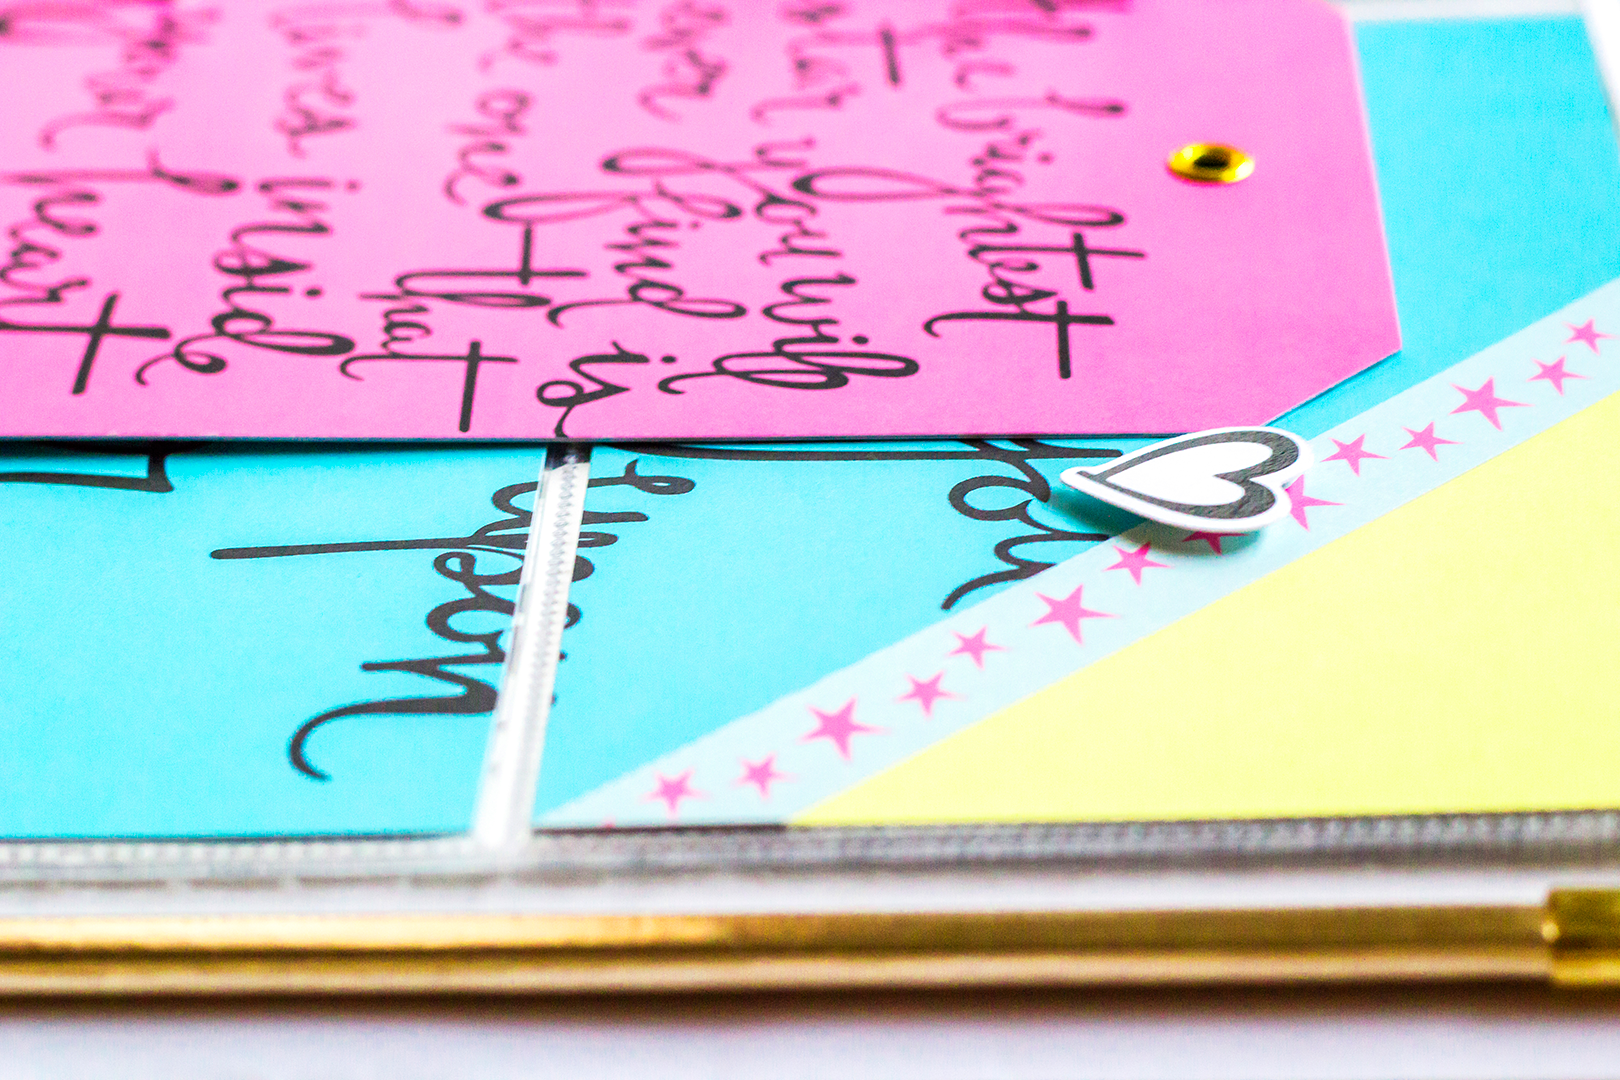
Simple and effective: I used my pinking sheers to create a zig zag edge to the insert cover. I also snagged this 'to' from 'today' for a makeshift on the go list!

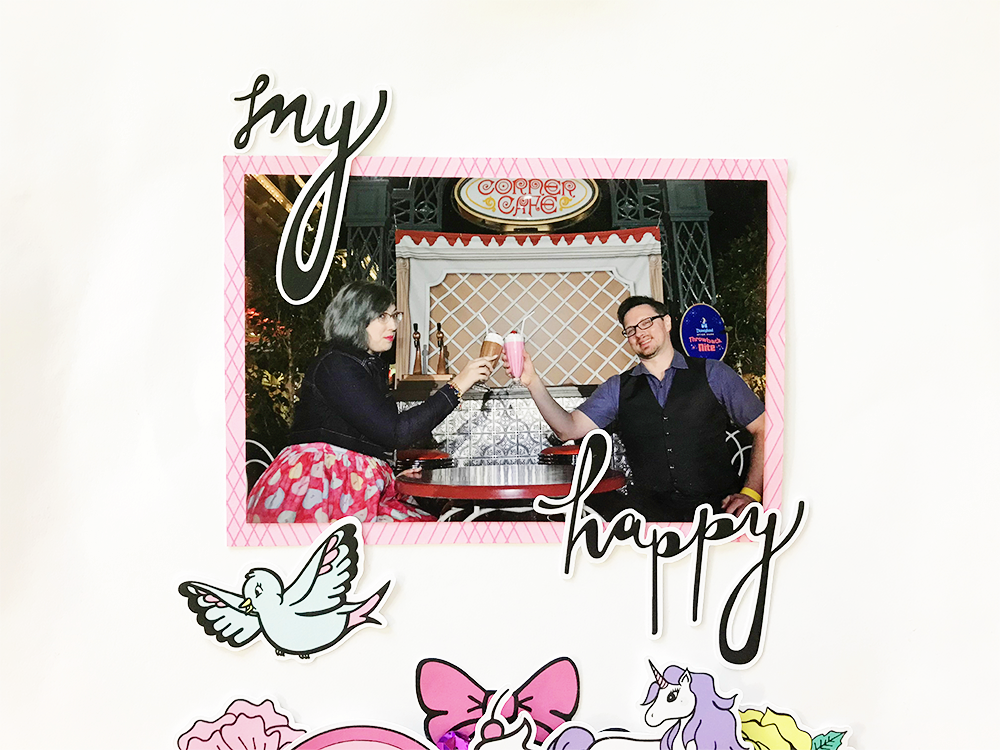
I trimmed another divider to make it a focal point on this dashboard. That castle sure make my day happy too!

I love how all of her kits can be combined as well! The paper was from the Sweet collection, again, but it is paired so well with this birdie!

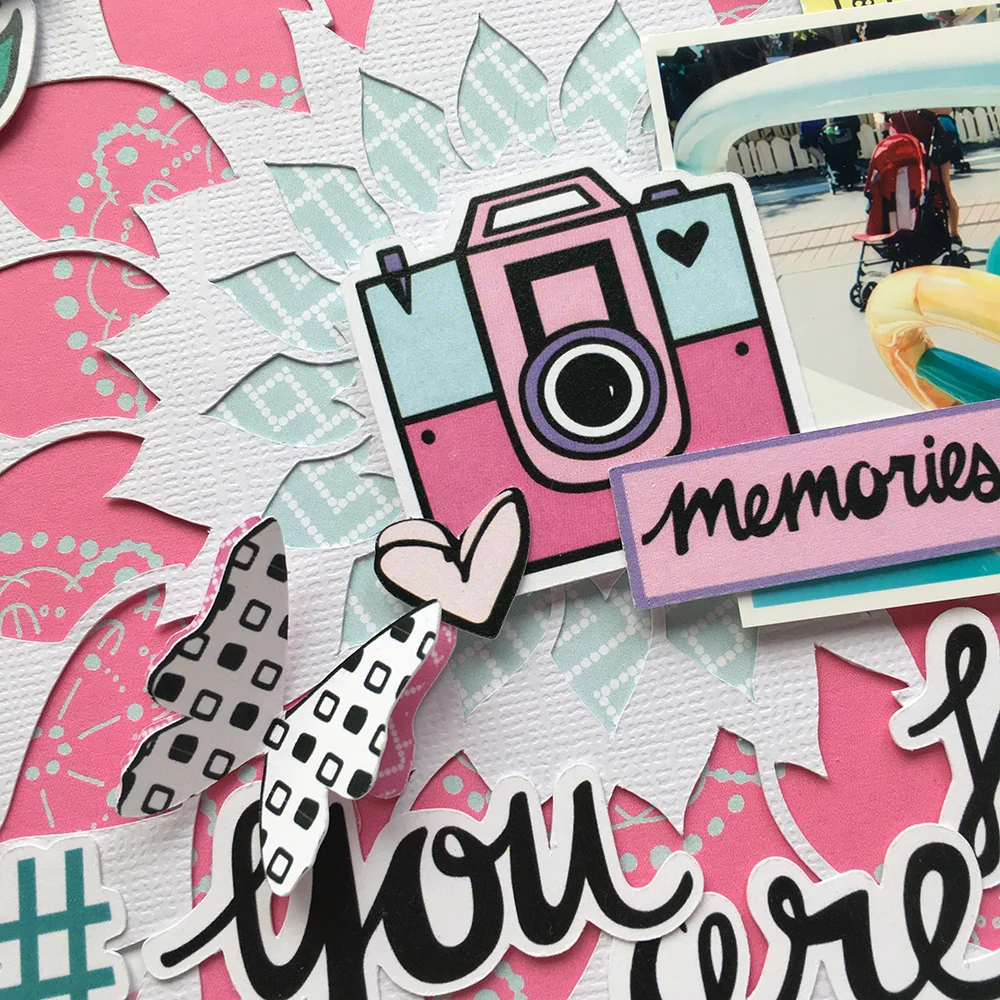
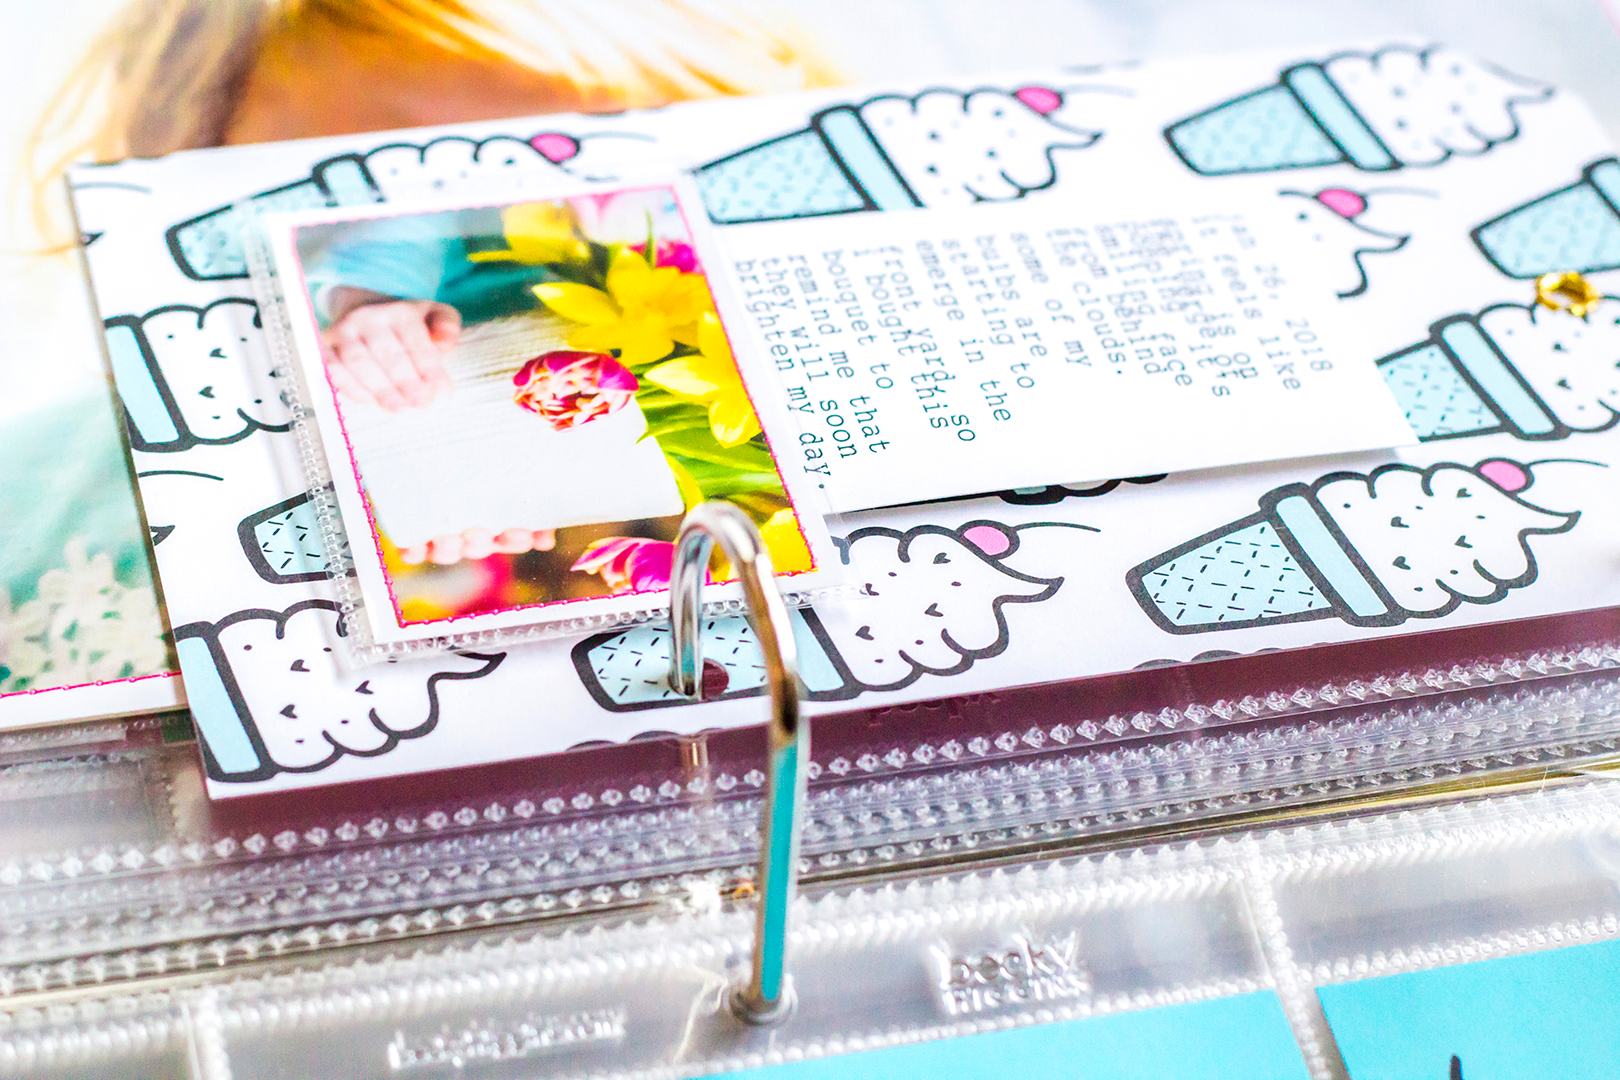
I do love incorporating pictures into my dashboards and this black and white pattern make a perfect neutral backdrop for any scene.
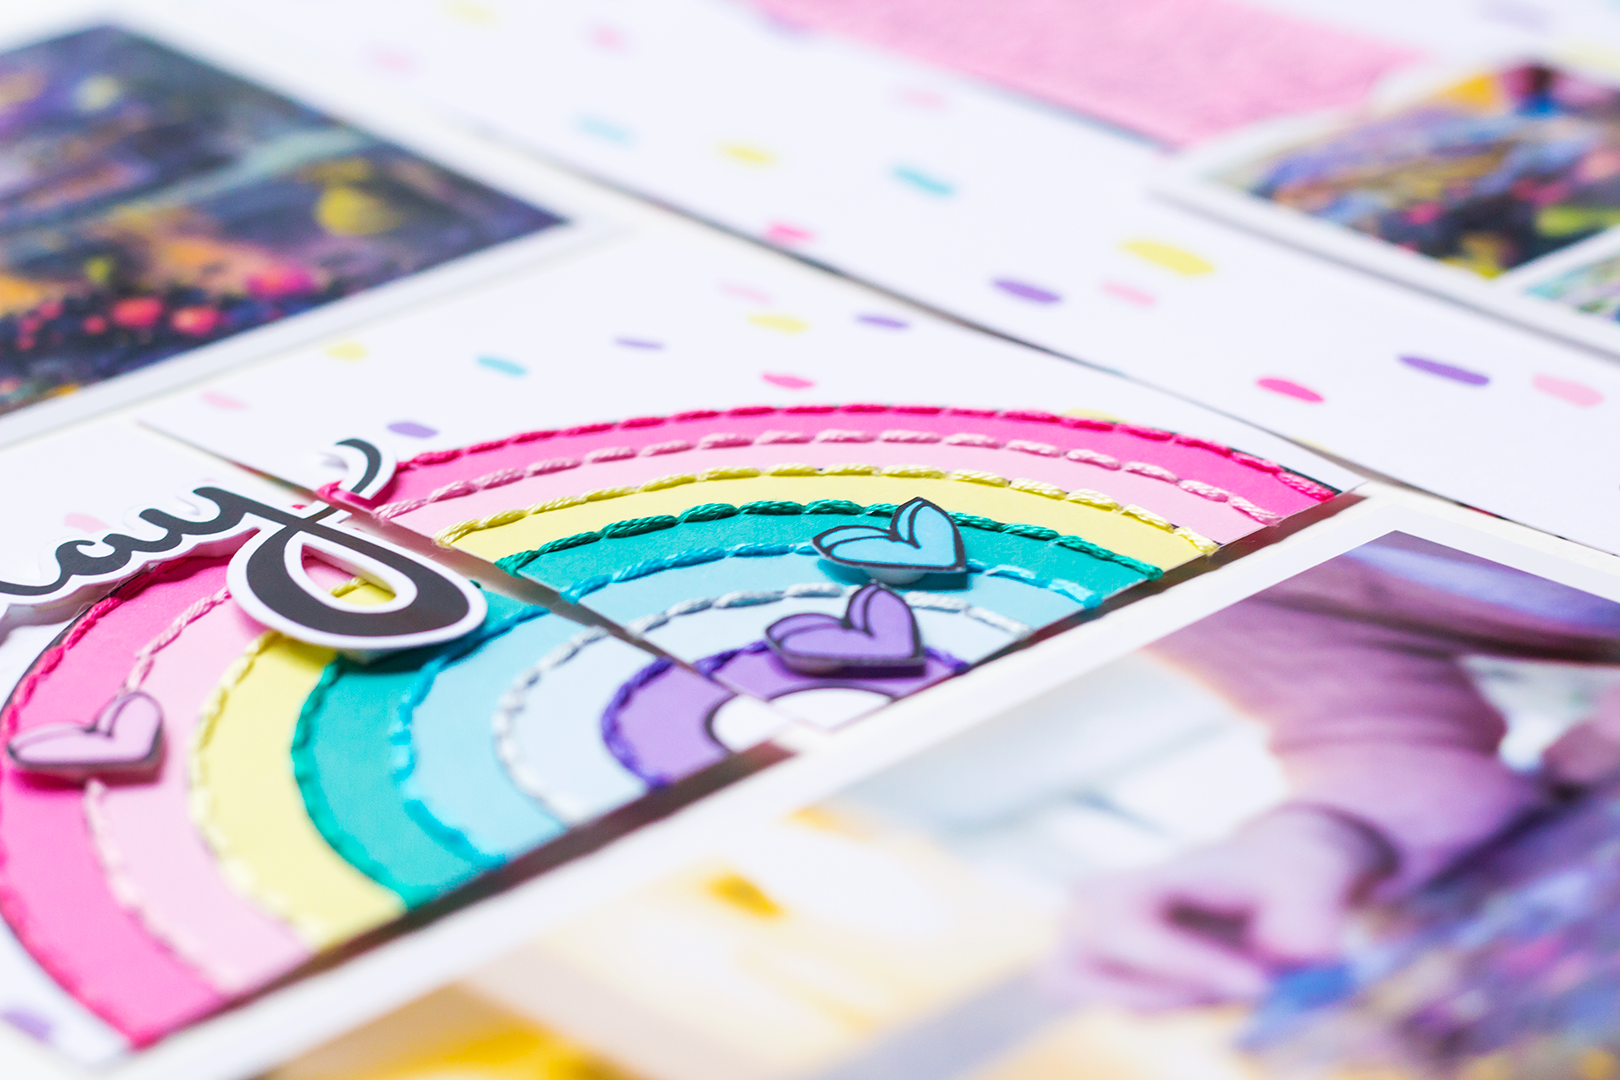
Like Andrea, I love incorporating stitching in my designs. It always adds a bit of softness to any layout.

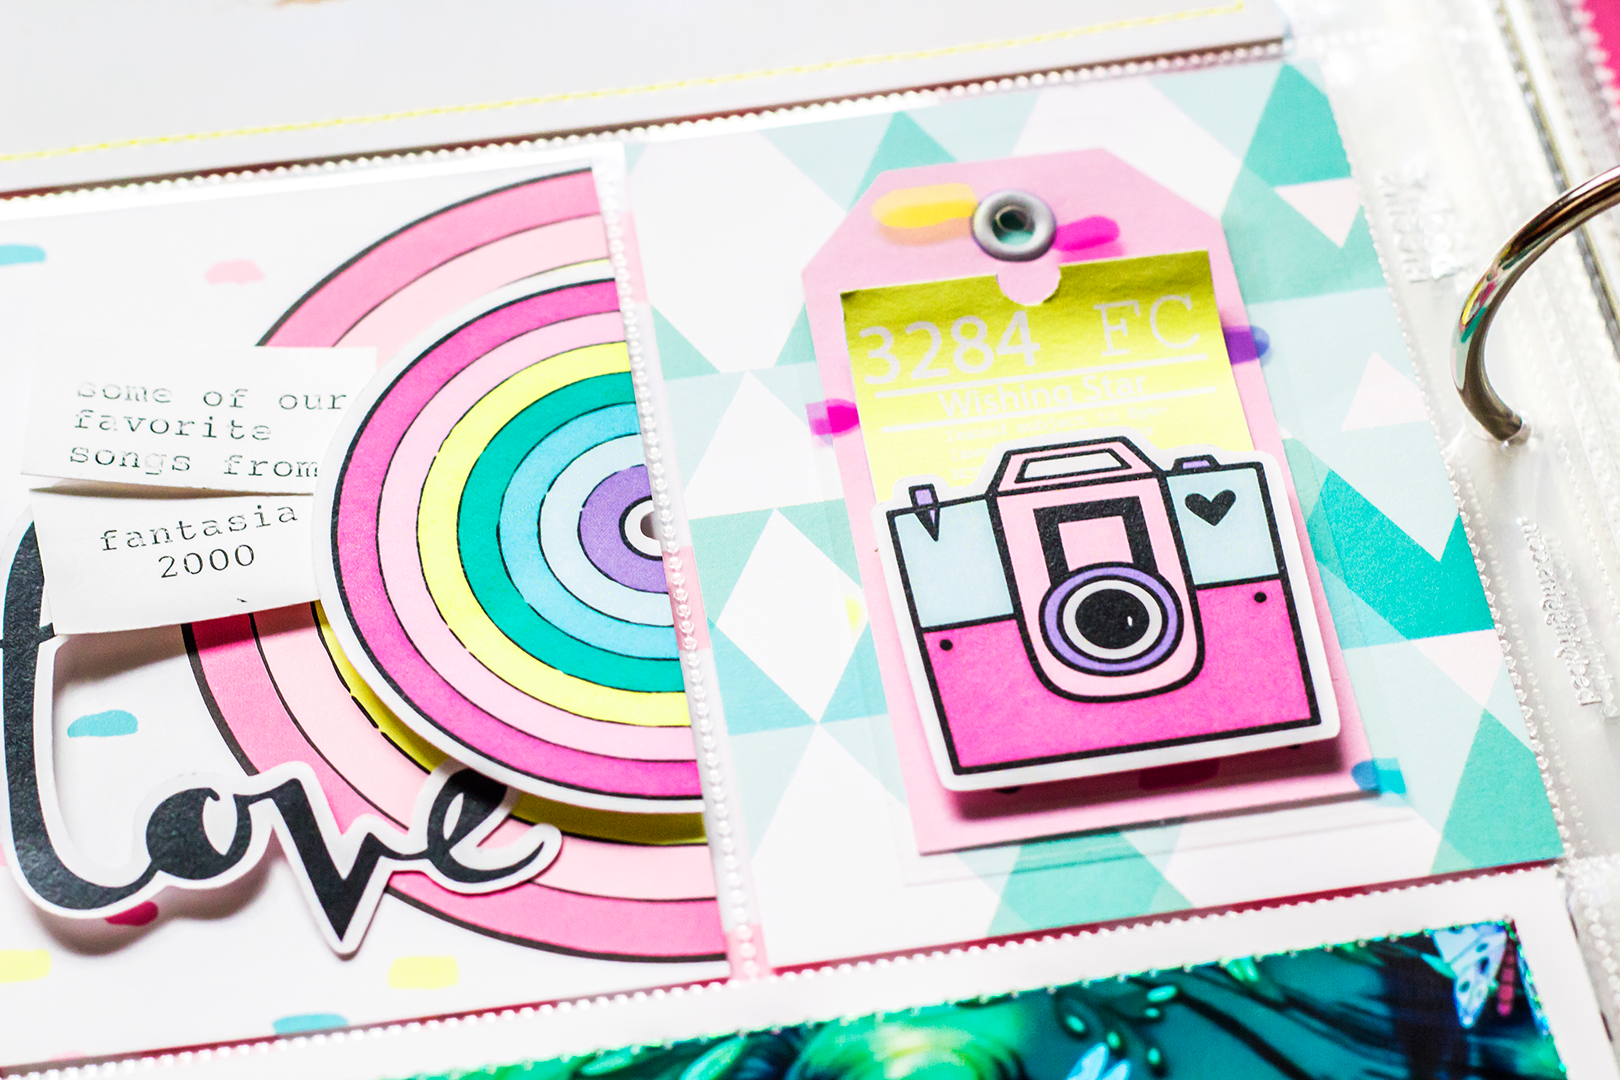
And my favorite pages EVER! I love the contrast, colors and boldness of this layout. I never thought that putting a larger design over the same smaller pattern would work but it SO does!


Although the rainbow and the words were printed together, I separated them to overlap on the bottom of this page. The top is a combination of paper scraps left over and the perfect script of a die cut!

I did do a process video on how I put this together along with some tips on how to speed up a planner set up. At the end is also a flip through of the entire planner as well!
Have a great day!