Tmika's "Together-Apart" Shaker Embellishment Envelope Mini Album

Hey guys! It’s Tmika again! Here’s my third project as guest designer for The Fairytale Club, featuring the "Together-Apart” collection! Such a pretty paper!!

image0.jpeg

It’s my first Shaker Embellishment Envelope Mini Album!!!  This is a cute little 5 envelope shaker that can store embellishments. You can make it as big or little as you want. Mine is 5x5. It’s bound together by twine tied on the 1” spine. Tiny little Velcro closes the envelopes. I used the die cuts from the collection to decorate the envelopes. Check out my video for more details on this cute project and paper collection.

Aimee's "Beautiful Dreamer" Mini

Hey FTC fans, it’s Aimee!

beautiful dreamer mini.jpg

Today I am sharing a mini tag album that is ALL about me!

ACS_0810.jpg

The Beautiful Dreamer Kit totally inspired me to make a little mini about me.

I mean it’s totally obvious why right??? She’s blonde and she sleeps, that describes me to the T.

3.jpg
4.jpg
5.jpg
6.jpg

 I started this album by cutting the 2, 12x12 papers with 3x4 pocket cards, “Make it Pink, Make it Blue” and “Nap Queen”.

7.jpg
ACS_0816.jpg
8.jpg

I then printed 8 photos of myself using my instax share printer.

9.jpg
10.jpg

I then choose 8 of the different cards that went best with my photos, and of course I used the tags too.

11.jpg
12.jpg

For my photos I used some Bookmark Tags from Pretty Little Studio {limited availability} as the base.

13.jpg
14.jpg
15.jpg

I embellished my photos and tags using die cuts from the variety pack and stickers from the sticker sheet.

16.jpg
17.jpg

I also labeled my photos with the date by printing on to white cardstock and cutting tiny strips.

18.jpg

I finished embellishing with my tiny stapler and other bits from my stash.

19.jpg

 I put all the tags and cards onto a painted binder ring and also used some charms and a tassel from my stash to give it more pop.

20.jpg

 I love that I finally made a little album just about me!

Do you ever make projects just about yourself???

XOXO Aimee

Kellie's Nap Queen Layout

TFC_KIRA_03
Hey there crafty people.  It's Kellie here with you again to share a mini layout in my pocket page notebook, using the NEW and gorgeous, Beautiful Dreamer kit.  I wanted to keep this rather simple to keep the focus on the photo and my daughters beautiful hair colour and this kit allowed for just that.
  TFC_KIRA_01For this layout I wanted to try something new, new to me.  There are so many amazing hearts in this kit and I LOVE that!  I decided to have three hearts on the pocket going down in a line, vellum in the front and the cardstock hearts backing them.
TFC_KIRA_01I then got out my old sewing machine and.................. the top one moved, ugh.  I didn't let it stop me and the other two hearts came out perfect.  The old, two out of three ain't bad.

The sticker, NAP QUEEN could not had been more perfect for this teen of mine.
TFC_KIRA_01
I decided to use the bottom strips of the 12 x 12 pattern papers as washi tape, they are truly perfect for that use.

Kellie's Pocket Page Notebook Dreamer Layout

TFC_MAY_02

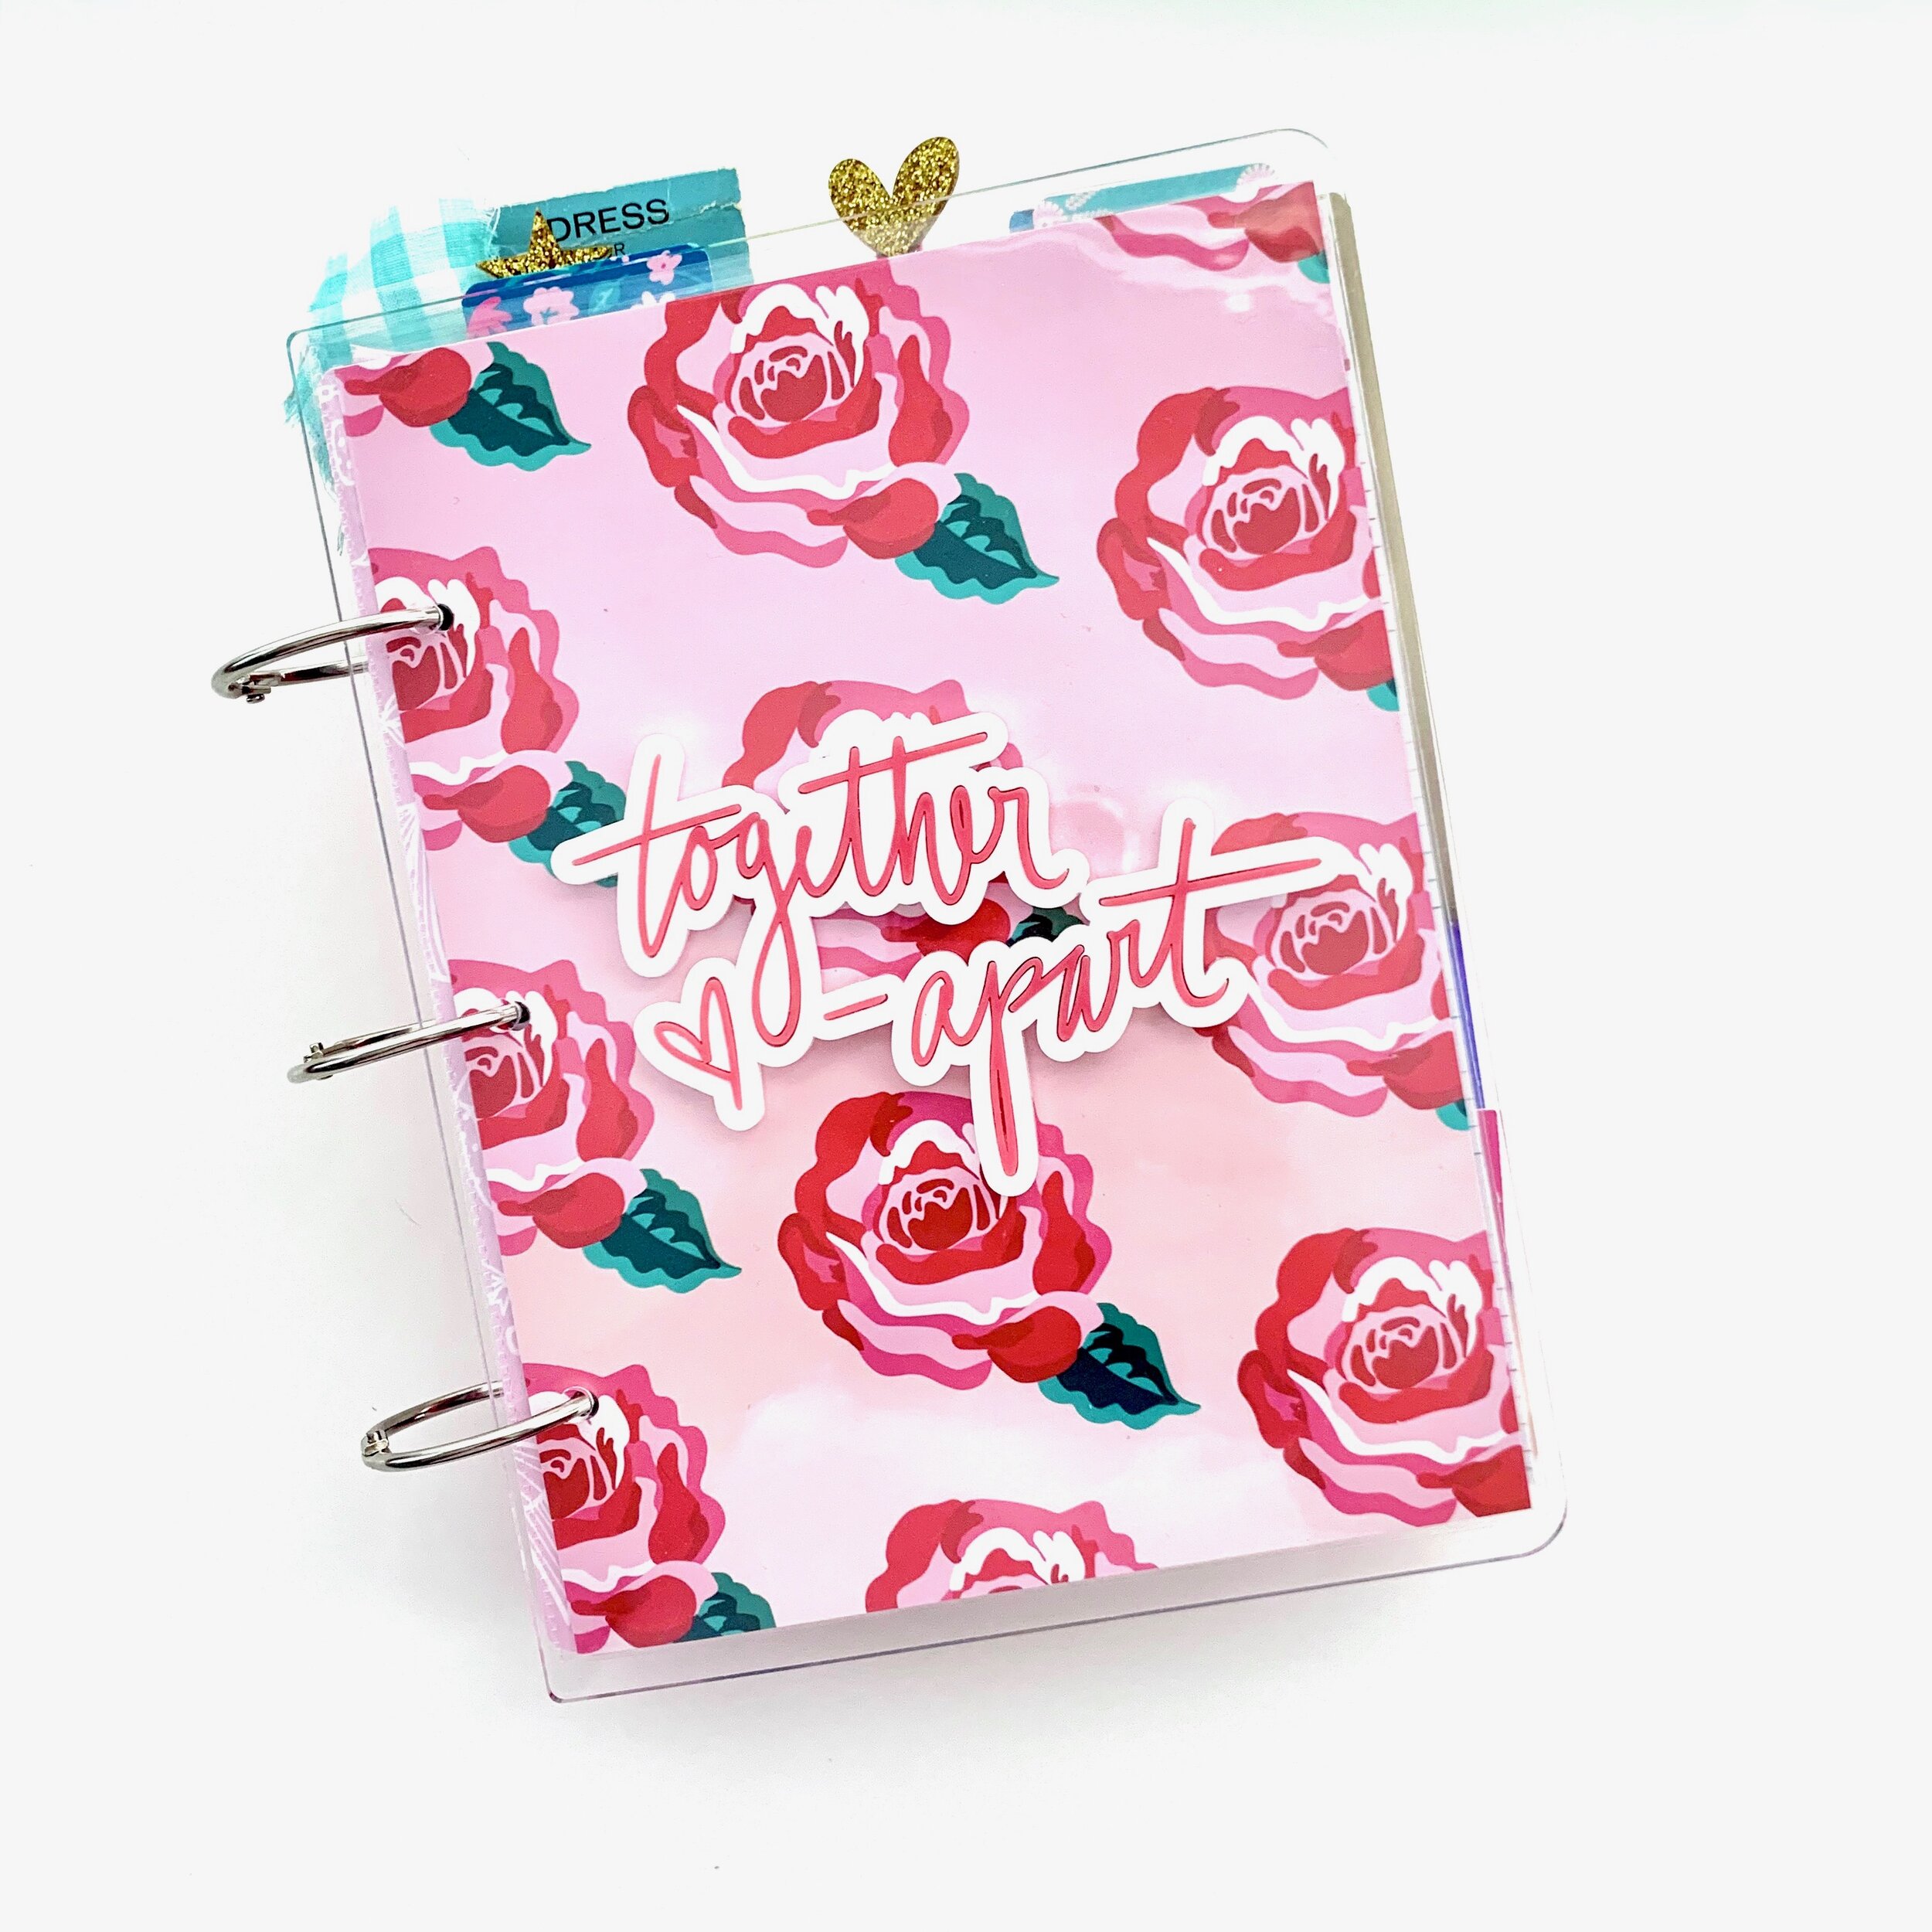
Hi there Fairytale Club peeps, Kellie here with you today to share a mini layout I create in my smaller pocket page notebook.  I think if you've been following along here and would had noticed I have a thing for this style of crafting, FUN!

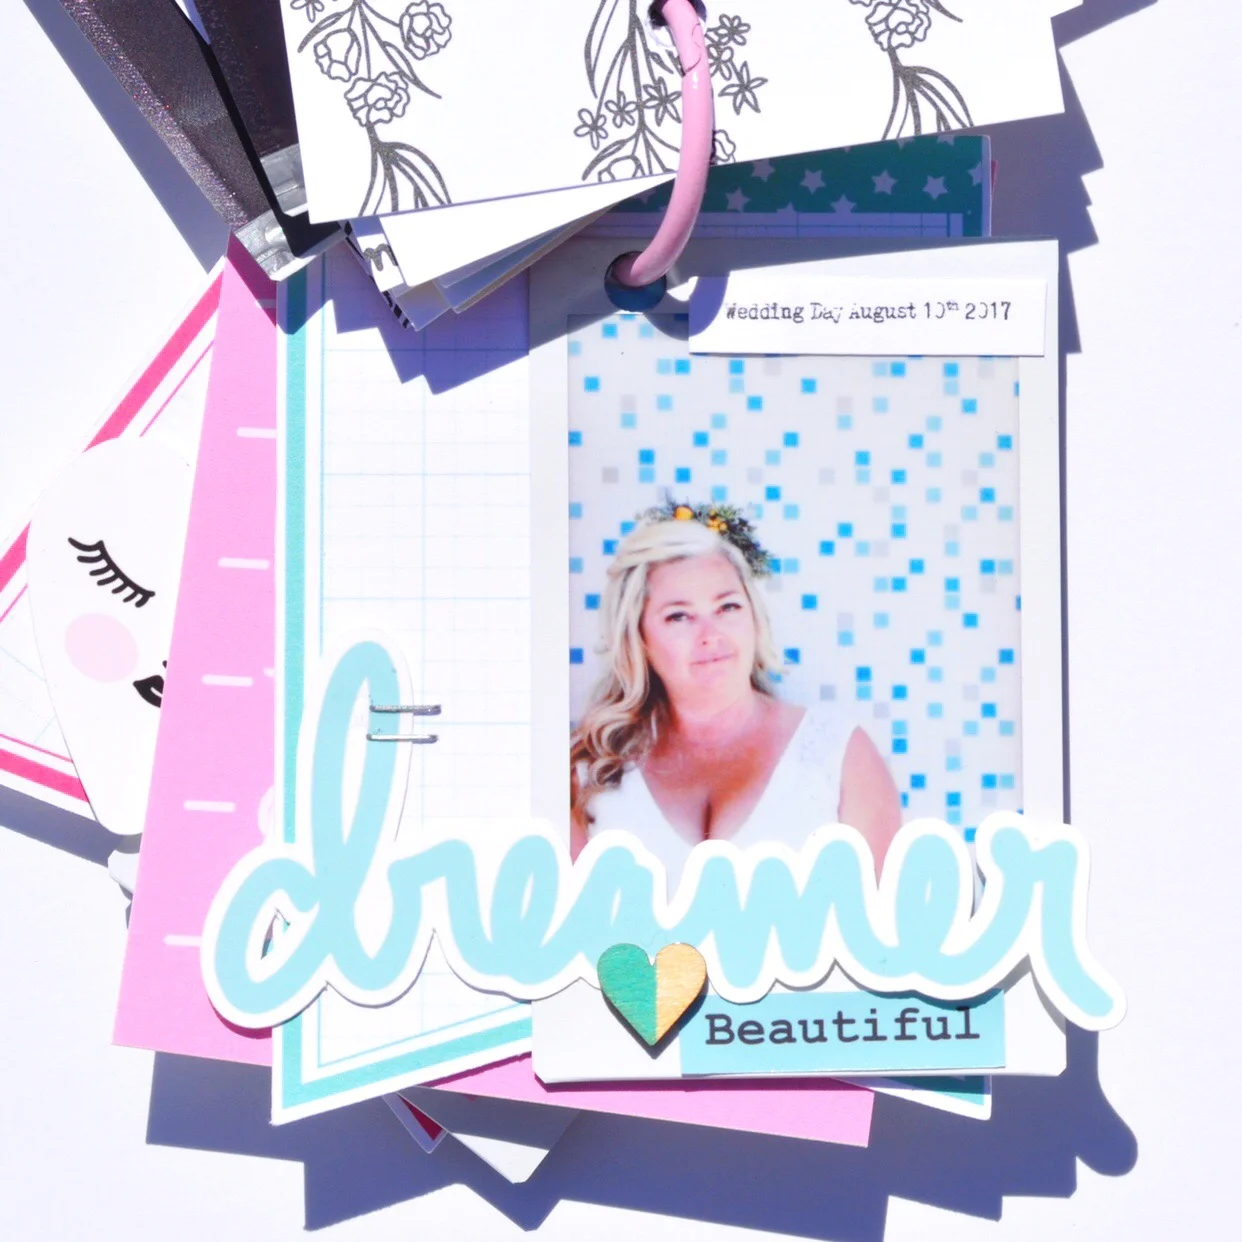
For this layout I've used the NEW Beautiful Dreamer kit, that is honestly just a dream to be able to create with.


TFC_MAY_02

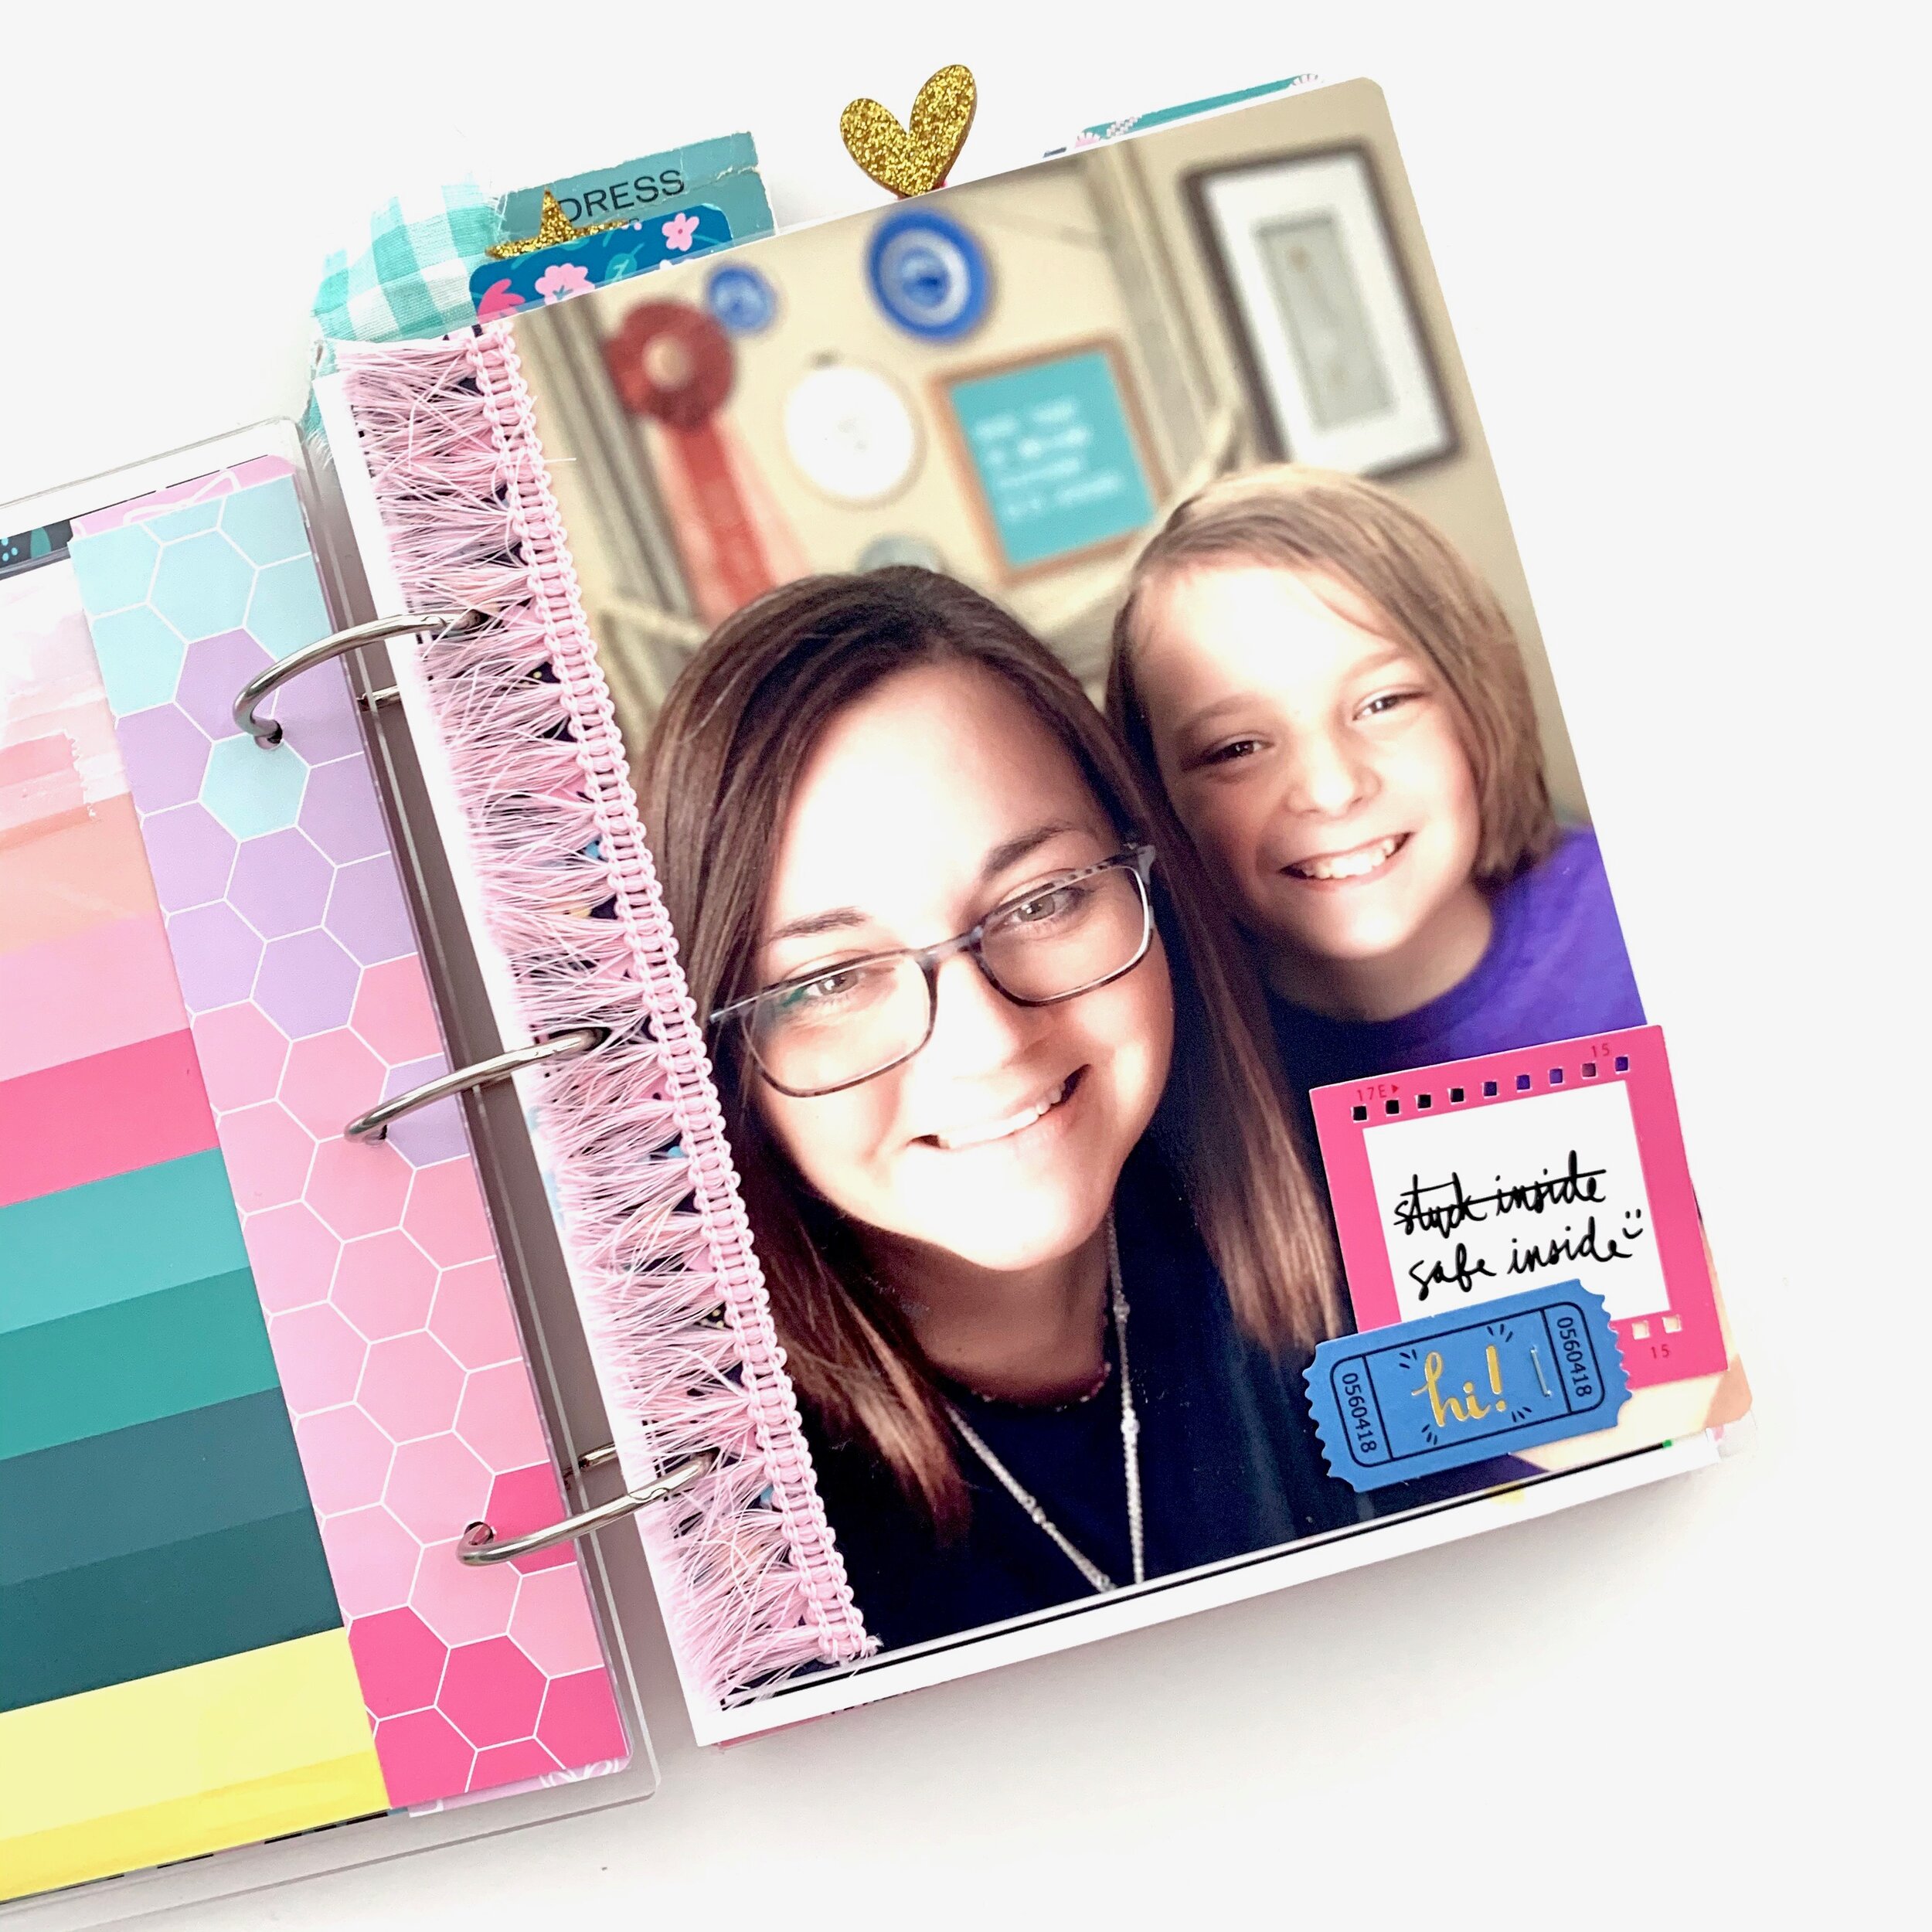
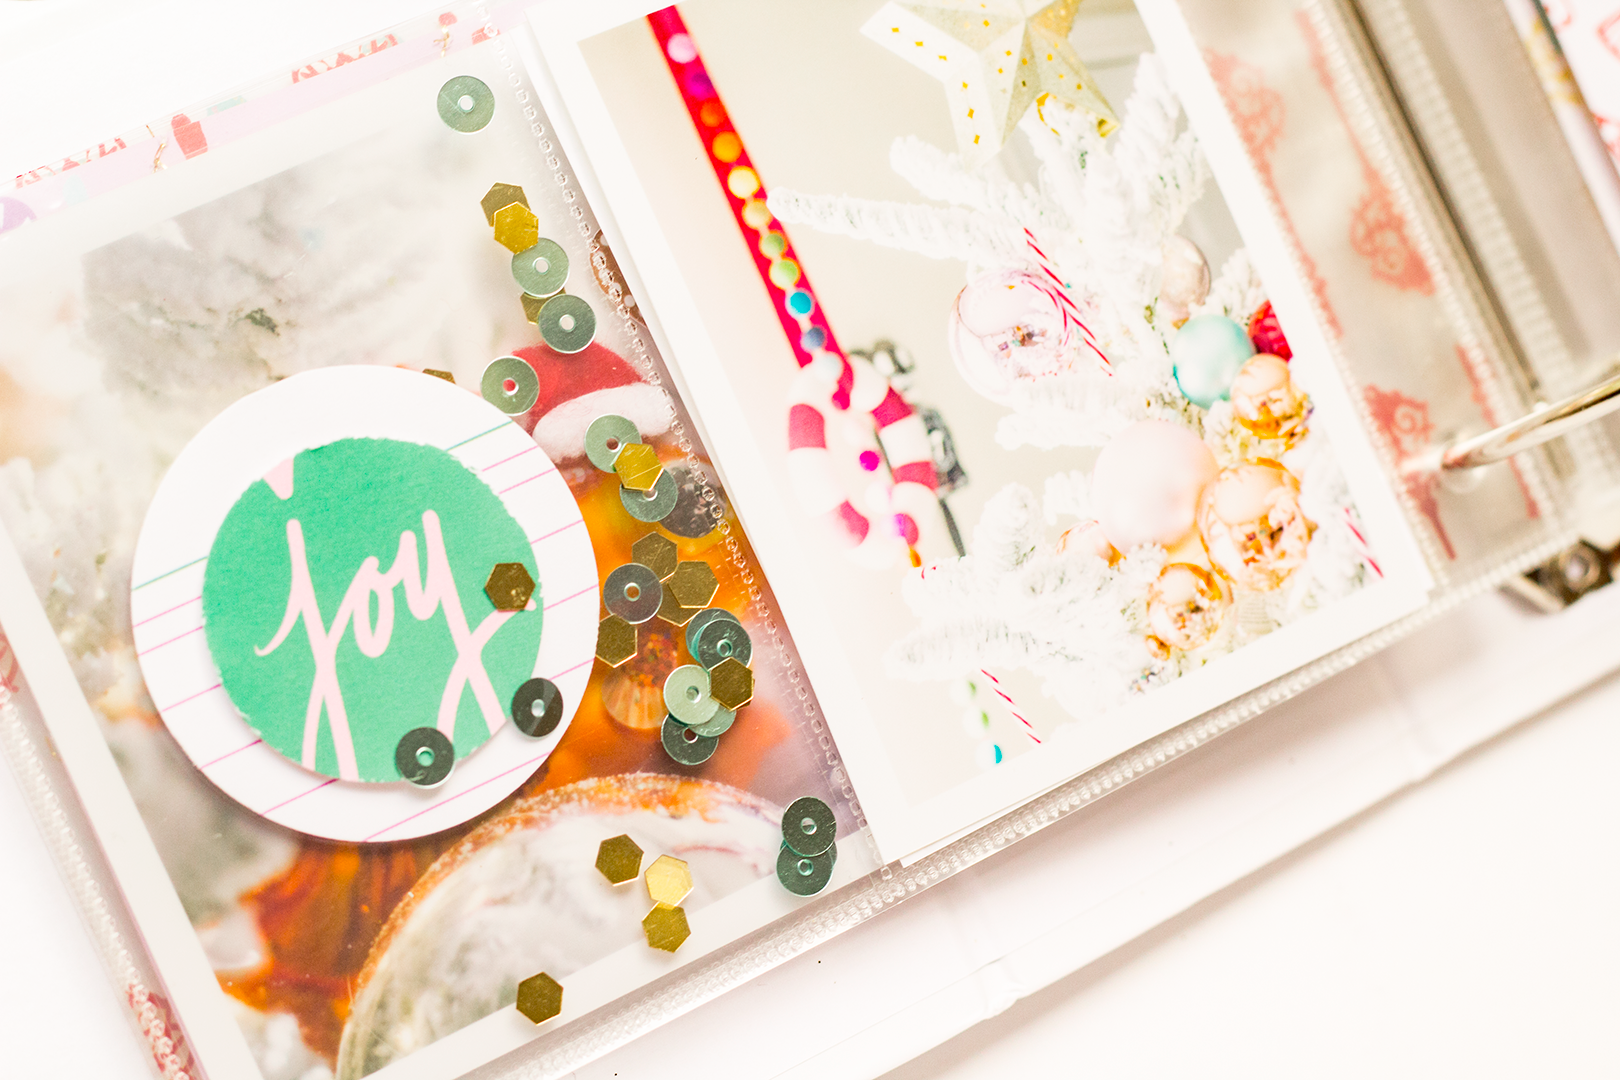
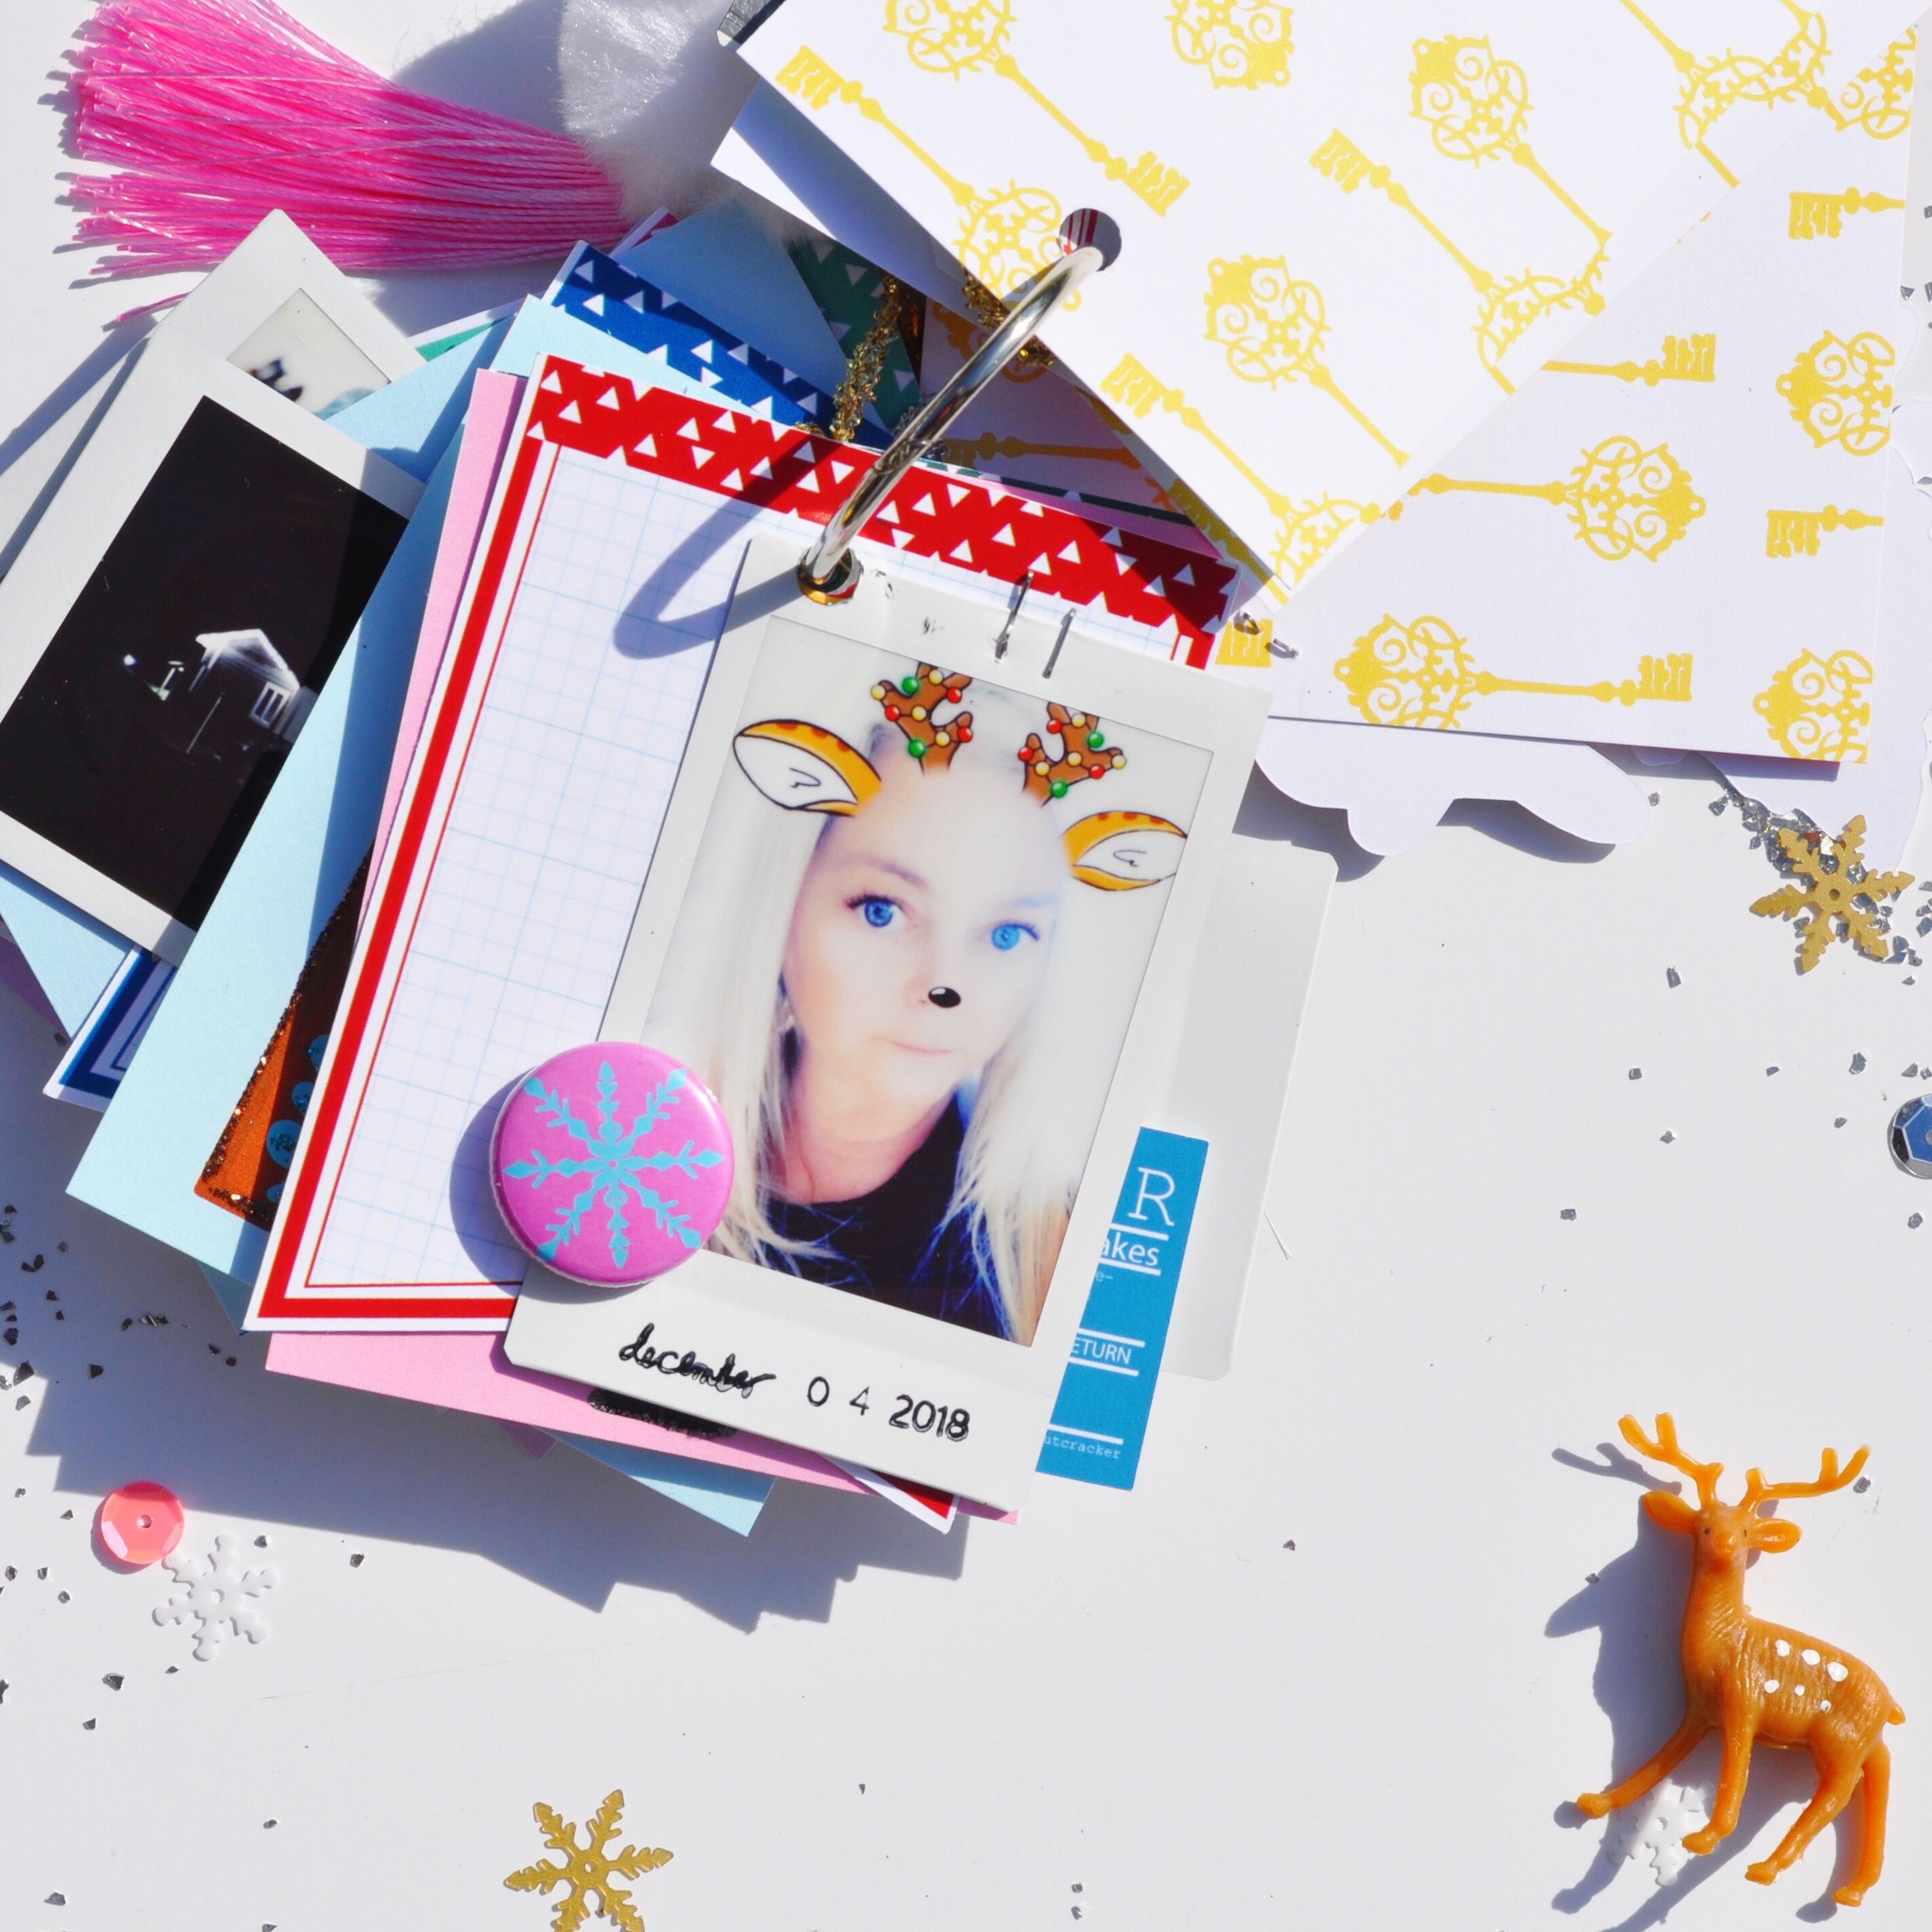
My eldest has started taking photos again.  She's had an eye when it comes to photography and I benefit, because her favourite or only real subject that she can have on hand are her sisters, WIN for me.

Before this kit even arrived on my door step and I was checking the delivery update daily.....  Come on, I know I'm not the only one that stalks their Fairytale Kit right?  I already had plans in my head on what I wanted to create and these photographs were top of the list.


TFC_MAY_02

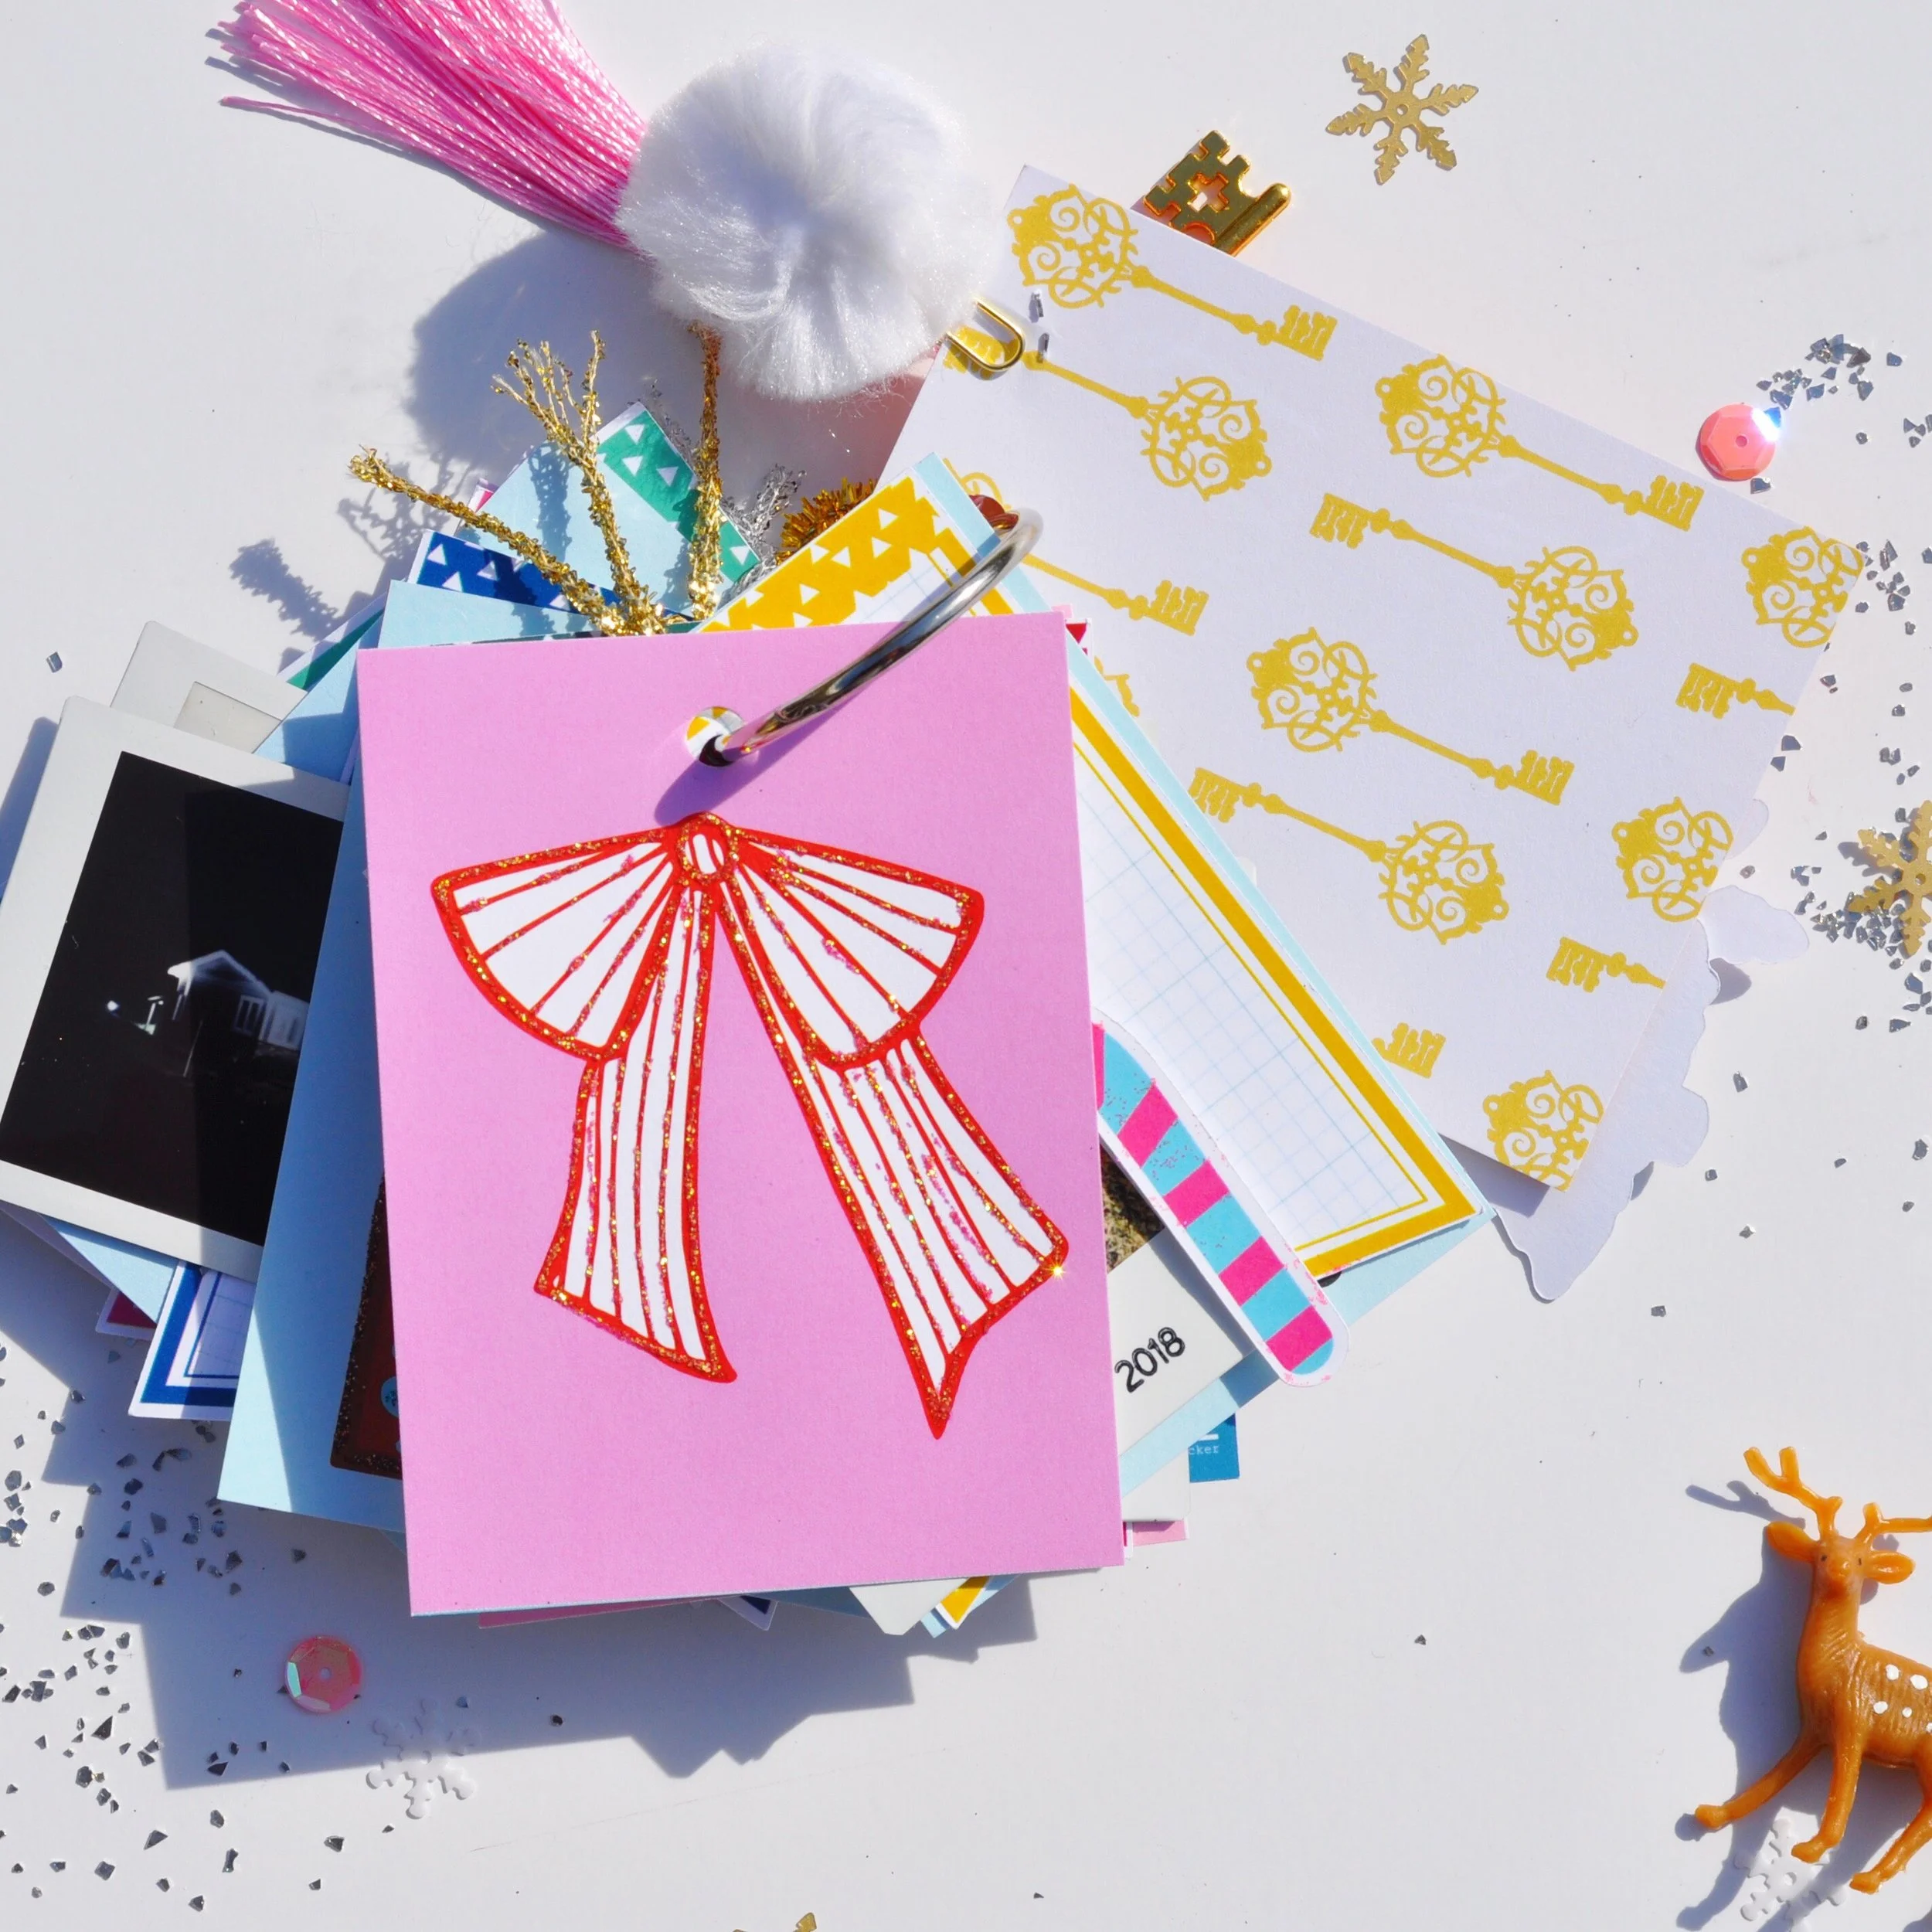
Did you see that this month there is something new?  The chipboard alpha's!  Are they not dreamy?  Confession time, I used the "q" as a "b", honestly it was a mistake and once I realised it didn't bother me as it just worked. I decided to keep these layout's pretty simple.  I'm loving the sentiments within the sticker sheet this month.


TFC_MAY_02

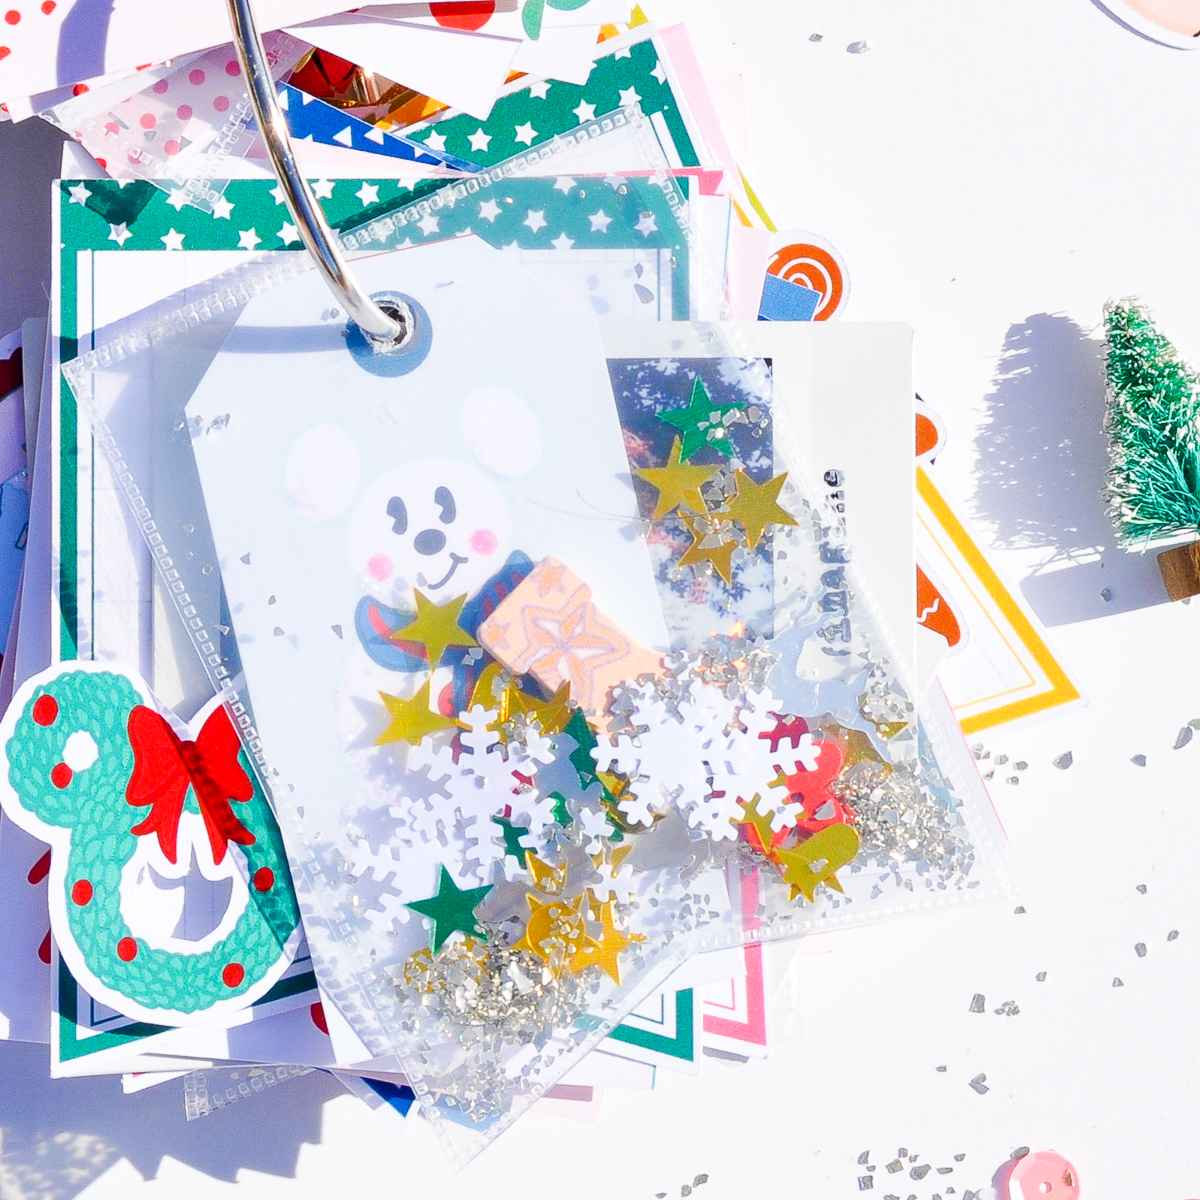
To do the pocket I got out my trusty fuse tool and once I was happy with where my photo was placed that I've gone back and front, I fused around it with a metal ruler.  Added sequins in and then fused it up.  BAM, done.  Sounds simple right?  You have no idea the amount of sequins I get everywhere, haha.  But the result is just too good not to lose or wear a few sequins.

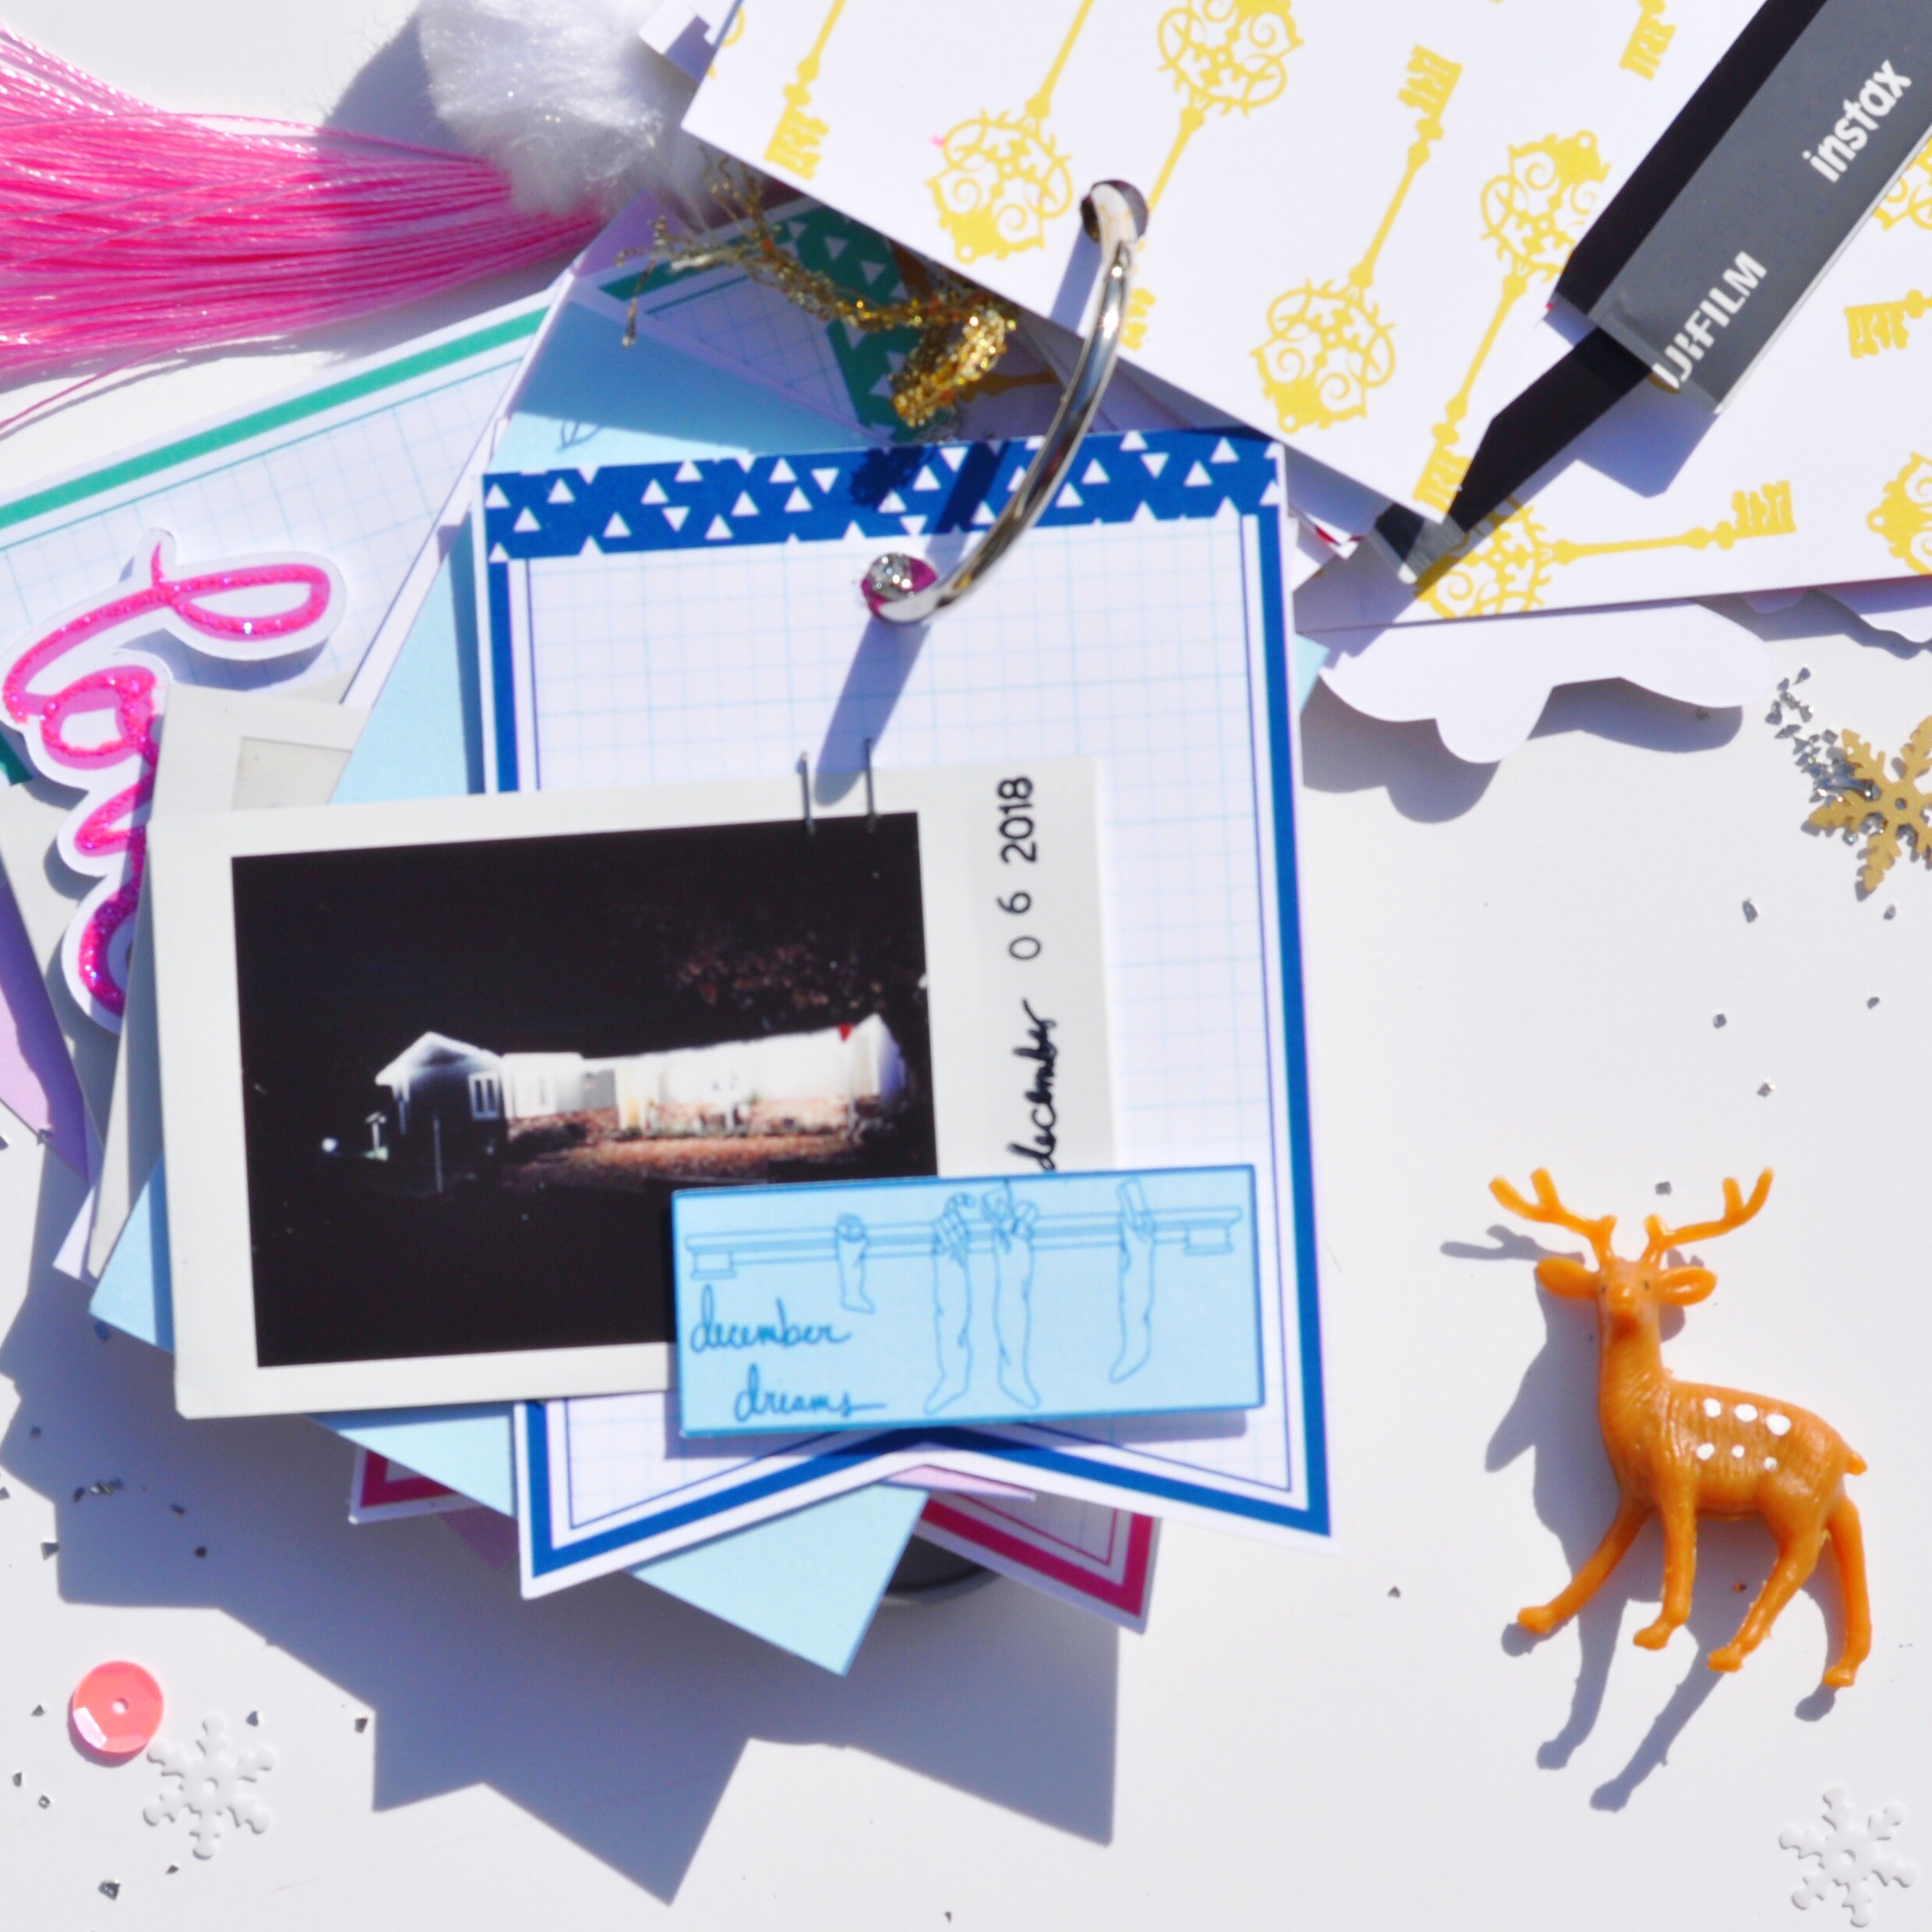
i didn't want to sew straight into the pocket page paper.  So I decided to stick down the strips of paper onto a spare bit of cardstock, sew with my sewing machine, trim up and then stuck it down into my pocket page notebook.  This works really well for those hard to get to areas with your machine.


TFC_MAY_02

There you have it!  I have another layout coming next week that I can't wait to share with you all.  In the meantime if you haven't signed up for your kit yet, you can do so, HERE.

Remebering December with Kellie

Kellie here with you again to share another creation I made using the December Dreams kit, because you get so much within your kit, you really can just make and make and still have some left over and I LOVE that about these kits.  While the collection isn't available anymore as a whole kit, you can still get all the elements of the kit separately, except for one of the papers. 

DD_TFC_KELLIE_1Ok back on track.  I'm going to share with you a 6x4 layout I created x two for an album I'm determined to get finished this year.  It's a Remembering December album that is based on Christmas pasts and present.  i made a list to go off and have been working my way through.  This kit from The Fairytale Club couldn't had been a better fit.
DD_TFC_KELLIE_1What I love most about this kit is the colour theme.  Pink and red was actually the colour we went with on the tree for 2018 and I'm actually 80% sure the kit had a bit to do with my change from my traditional green, red and gold theme.  Tree looked amazing.  If you haven't already, subscribe! Each month the kits keep getting better and better and you won't want to miss them.
DD_TFC_KELLIE_1To create this layout I actually kept it rather simple.  What I love about the kits each month is there is always one or two 12x12 pattern papers that actually has cut outs, they are my FAV!  Like this Candy Cane - it works so well as a little flip card to then have the day number on the back and not taking it away from the photo or the pattern paper with the red scallops that I used to then add the journaling card, also from the cut out!  Before I go can we all agree the gingerbread man is the cutest!
DD_TFC_KELLIE_1

Aimee's "Christmas-land" Mini Tag Album

Hey Fairytale Club Fans, this week our Design Team Members will be sharing some of their favorite projects they created this season using our 2 Christmas Kits “December Dreams” & “Christmas-land”!

First off we have Aimee with a Mini Tag Album using “Christmas-land”.


Hi there, Aimee here!

Have you all seen the Christmas-land kit? You know the one Andrea and Carolee did a workshop with.

Well it’s even better in person. Like way better! It’s so awesome, I made my husband take me to Disneyland on Christmas Day, just to take pictures so I could use the christmas-land kit and make this Album TRUE STORY!

And this mini tag album came out WAY better than I could have ever dreamed! For this album I used 2 of the 12x12 papers from the kit “Christmas at the Park” and “All I want for Christmas is a castle!” and some bookmark tags from my stash.

I printed all the photos I wanted to use with my Instax share printer. I cut up the 12x12 papers into the 3x4 journaling cards. I also used a few of the tags too.

I then placed the 3x4 cards with the bookmark tags and photos. Once I was happy with which tag went with what photo and what card, choose die cuts from the die cut pack that went with each pile of cards. When everything was placed, I adhered the photos to the bookmark tags. You can find a video of this on my YOU TUBE Channel.

I then stamped each photo with a different sentiment form a roller stamp. I also embellished each card/tag with puffy stickers and stickles to give them some added depth. Once I was happy with all of the embellishments, I punched a hole in the top of each card/tag.

I choose the “all I want for Christmas…” Journaling card as my cover for this album.

I attached a decorative pom pom paper clip to the top. I then placed all the cards on to a large binder ring and this created the album.

To create the bell dangle, I used a tassel from my stash along with some jump rings. I added 1 or 2 bells from the Christmas-land Variety pack to each jump ring and continued until I had used all the bells. I just love this addition to my album.

10.jpg

I also made some shaker tags (with my fuse tool and all the goodies from the Christmas-land Variety pack). OMG I love these. I think by far this was the best addition to my mini. This was the first time making this type of tag, and I think it turned out so AWESOME. I just traced the bookmark tag with a sharpie, I then ran my fuse tool (against a ruler to keep my lines straight) on the inside of the sharpie, I fused 4 sides before adding all the goodies, and then sealed the tag from the top. To make the hole (so it would be closed and the glitter wouldn’t come out) I burned a hole through the sleeve with a rounded tip.

Do you enjoy making Mini Albums?

XOXO Aimee

Aimee's Tag Flip Mini Album

Happy New Year! Aimee here, and today I have a super cute little mini album for you.

1.JPG

I can’t resist a mini album! And when I saw the 12x12 “Key to the Kingdom” and “The Fourth Realm” Papers from the “December Dreams” kit I knew I was going to make a mini!

The point of my mini is just to highlight some of the magical moments from the Christmas Season. Plus, I love to print photos with my Instax Share Printer. These little minis are a great way to use those photos.

I started by cutting up the 12x12 papers into the 3x4 cards. I then paired each 3x4 card with a bookmark tag.

I laid out all the 3x4 cards with the bookmark tags. I printed my photos and placed them on the tag of choice. I then embellished each photo and bookmark tag with die cuts and little bits and pieces. I dated my photos with a date roller stamp. I also love using my tiny stapler to attach things, it’s the perfect scale.

I choose one of the cards to be the cover and embellished it. I bedazzled all my 3x4 cards with stickles {glitter glue} to make them POP!

The pom pom paper clips are great for extra embellishing. I actually cut the back of the pom pom off so it would sit flush when the album is laying down. I also stapled it to the cover so it was secure. Don’t forget the Key to the Kingdom, I added a spilt ring to the key so it could be a charm

For reals, this is the easiest project! The whole album only took me an hour to create assemble {minus the dry time for the stickles}!

Do you enjoy creating mini albums?

XOXO Aimee