Hello everybody! It's Carrie here with another colorful spread in my 6x12 Project Life album using the Happy Day kit. This time around I decided to add foil to my journaling, which is actually the most common way I tend to add foiling to my scrapbook projects.

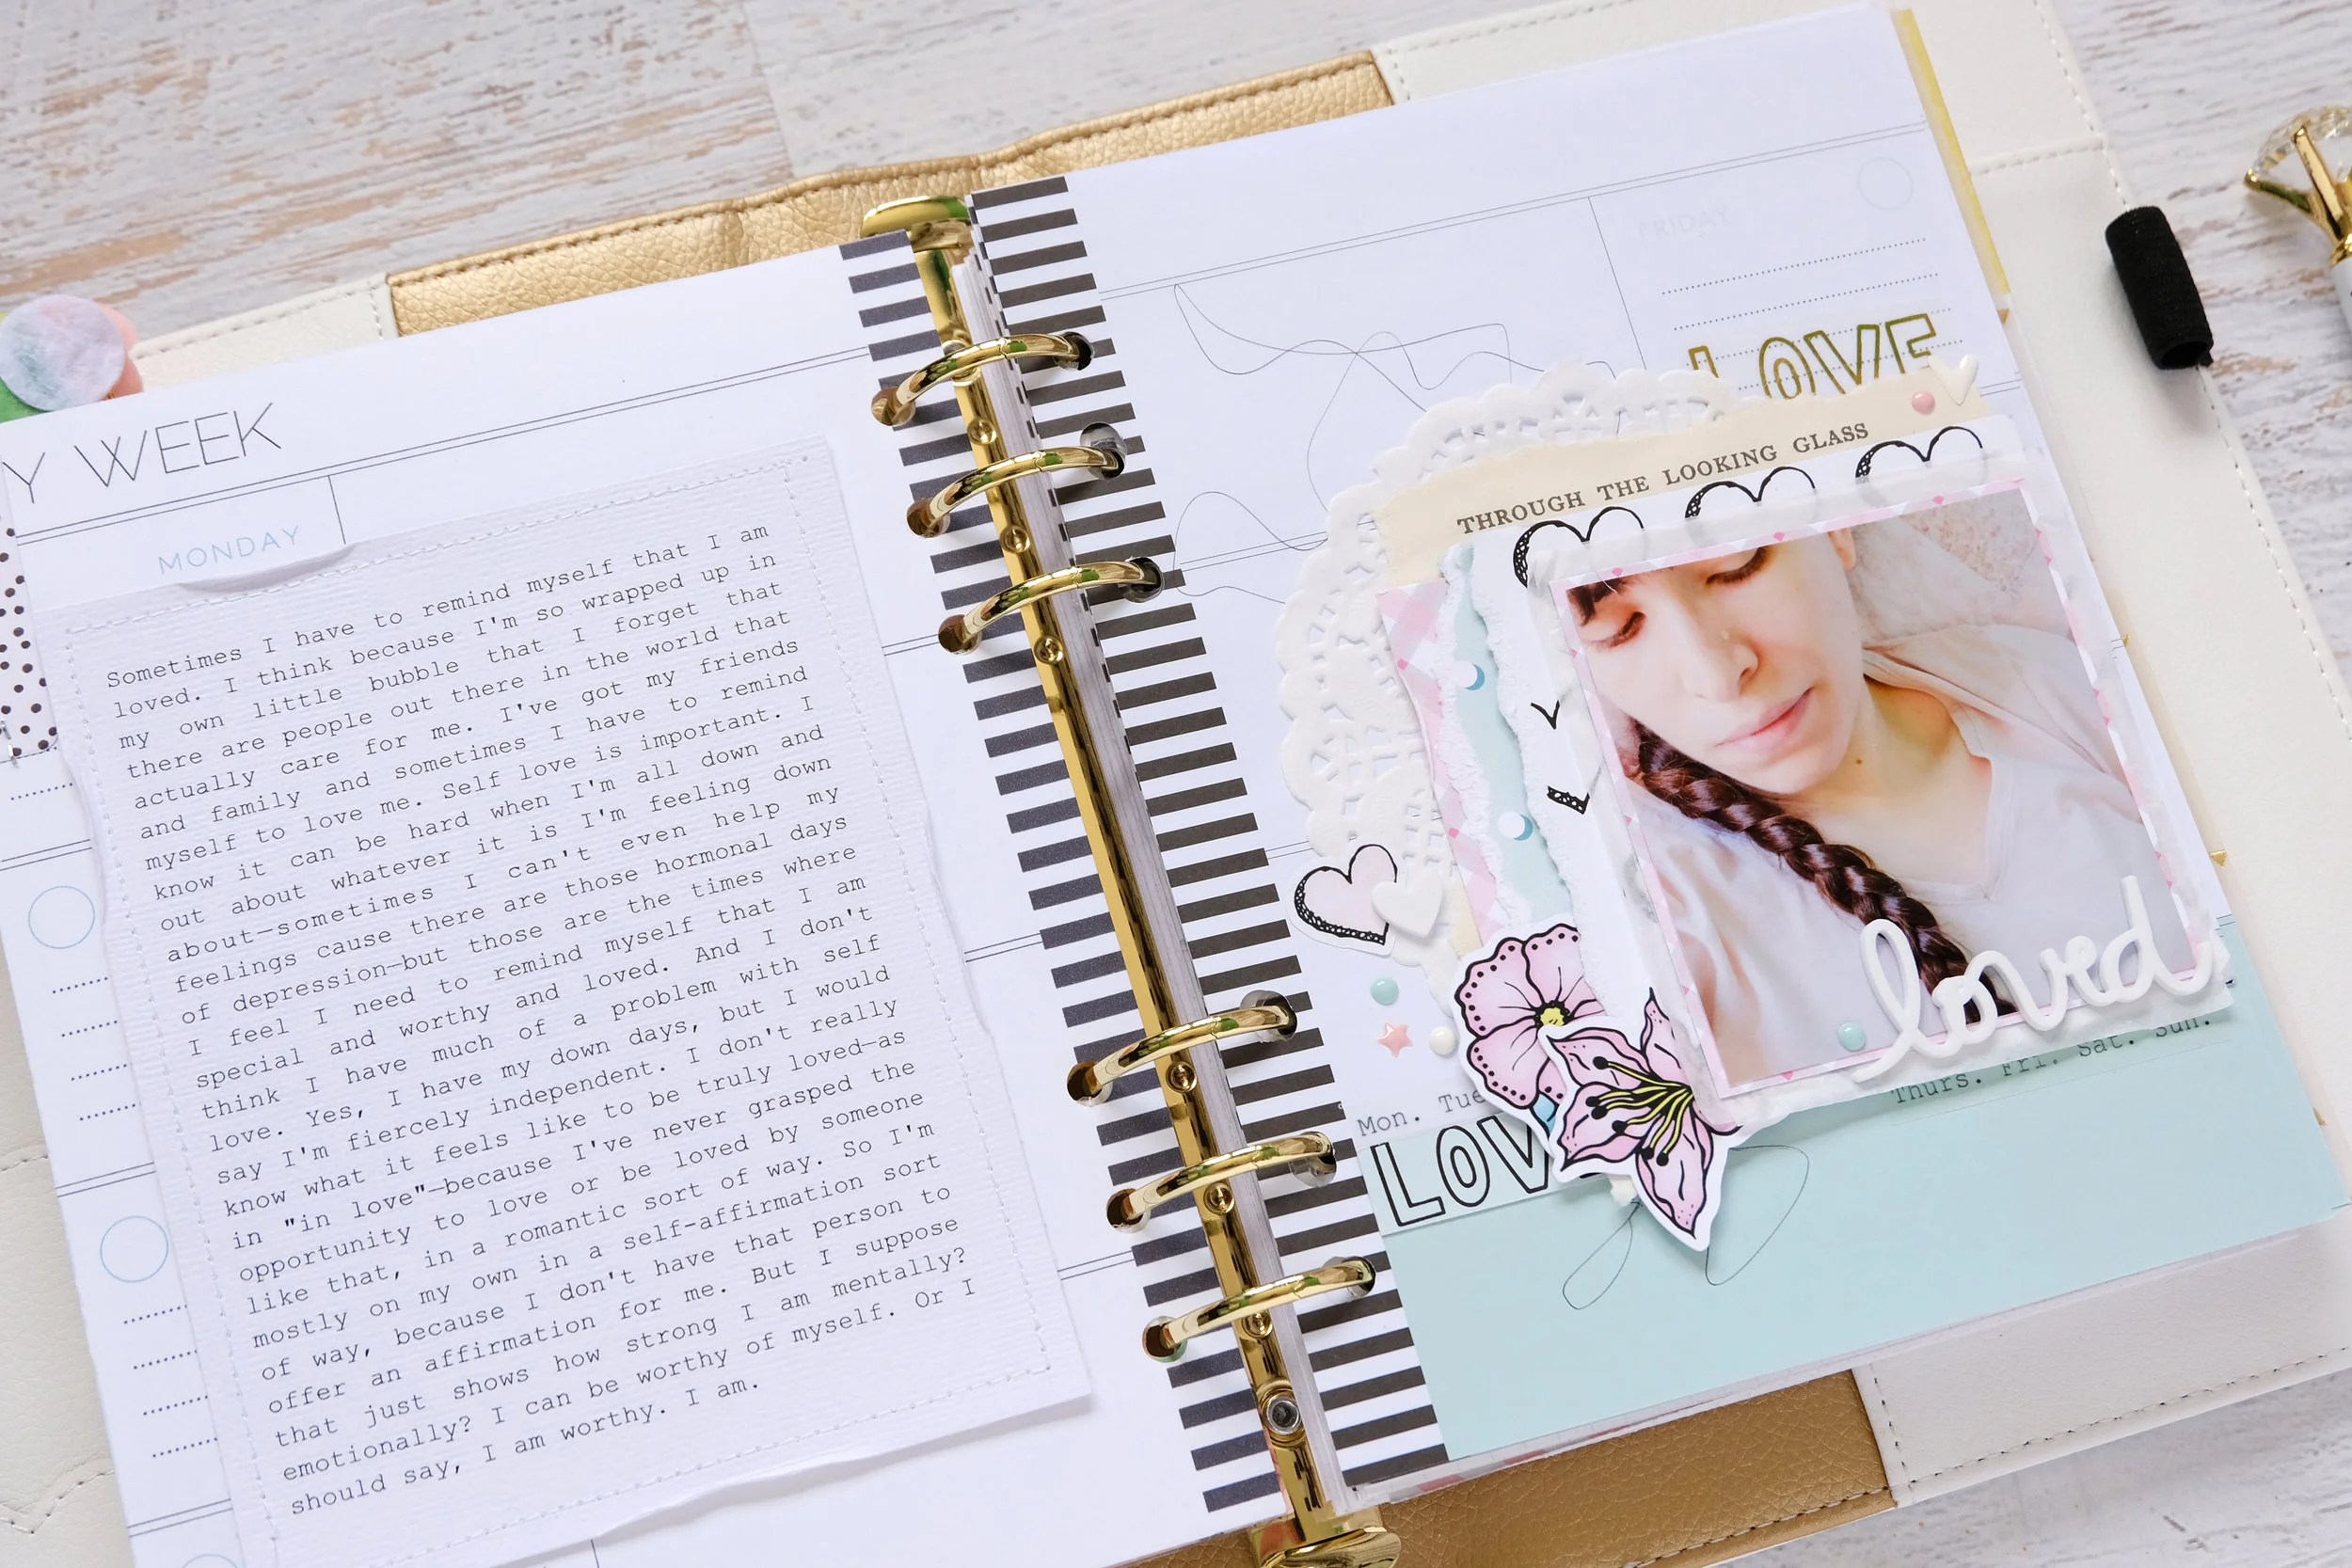
To start off I decided to trim one of the planner inserts down to 3 by 4 inches. I used that lovely light purple paper with a design that reminds me of a retro geometric eye. I super love that paper! Next I typed up my journaling on my computer and printed it onto the 3 by 4 inch card using a laser printer with black ink. Then I plugged in my Heidi Swapp Mink machine, chose setting number 4, and picked out a pink foil. (You can also use a regular laminator if you don't own a Mink machine.) Once my machine was warmed up I layered the pink foil over my card and ran it through ( sandwiched in a protective plastic that came with the Mink machine, however you can also just use a piece of plain copy paper folded in half). I just love the way the light pink pops with the pale purple!

With the journaling card on the left side of my spread complete, I decided to add one of the purple die cut flowers directly onto the photo of my daughter eating her fruit snacks. I wanted the leaf of the flower to match the green in the photo so I added yellow Stickles (glitter glue) which turned it the perfect shade of green. To finish off this card layered the "sweet" flair on top of the flower.....Which I thought was fitting since the fruit snacks she is eating in the photo are quite sweet :)

Since I knew I wanted to add the date somewhere, I decided to use some Thickers to spell out 01.05 directly on to the other 4 by 6 inch photo in this spread. And that's it for the left side.

The right side of my spread is actually a half-page insert that is 3 by 12 inches. I added my photo to the middle pocket page and decided to cut another one of the planner inserts down to 3 by 4 inches. This time I chose the paper that reminds me of cherries, except in place of the red cherries there are red hearts. Super cute! I knew I wanted to add gold to this card, so I took two of the gold foil hearts from the sticker sheet and attached them to a sheet of transparency. Then I cut them out and layered them behind the "cherries" from the die-cut pack. To add a little bit more dimension I decided to pop it up over one of the "cherry" designs on this card. As a final touch, I added more yellow Stickles to the green leaves, again so they would match the green in my photos.

For the final pocket in this spread, I decided to add another filler card. This time I cut down a piece of 12 by 12-inch paper to 3 by 4 inches. Since the design on this paper reminded me of the transparency that came in the kit I decided to layer the two together, and I really like the pop of gold that it adds. Next, I took two more of the flowers from the die-cut pack and layered them onto the card popping them up with foam adhesive. Again, I added yellow Stickles to the leave of the rose. Lastly, I used the same thickers from adding the date and spelled out "YUM" since this card is directly across from the fruit snacks photo. And that it for this glittery, metallic spread. I hope you enjoyed it and found a bit of inspiration.
See you next time,
Cheers!
Carrie