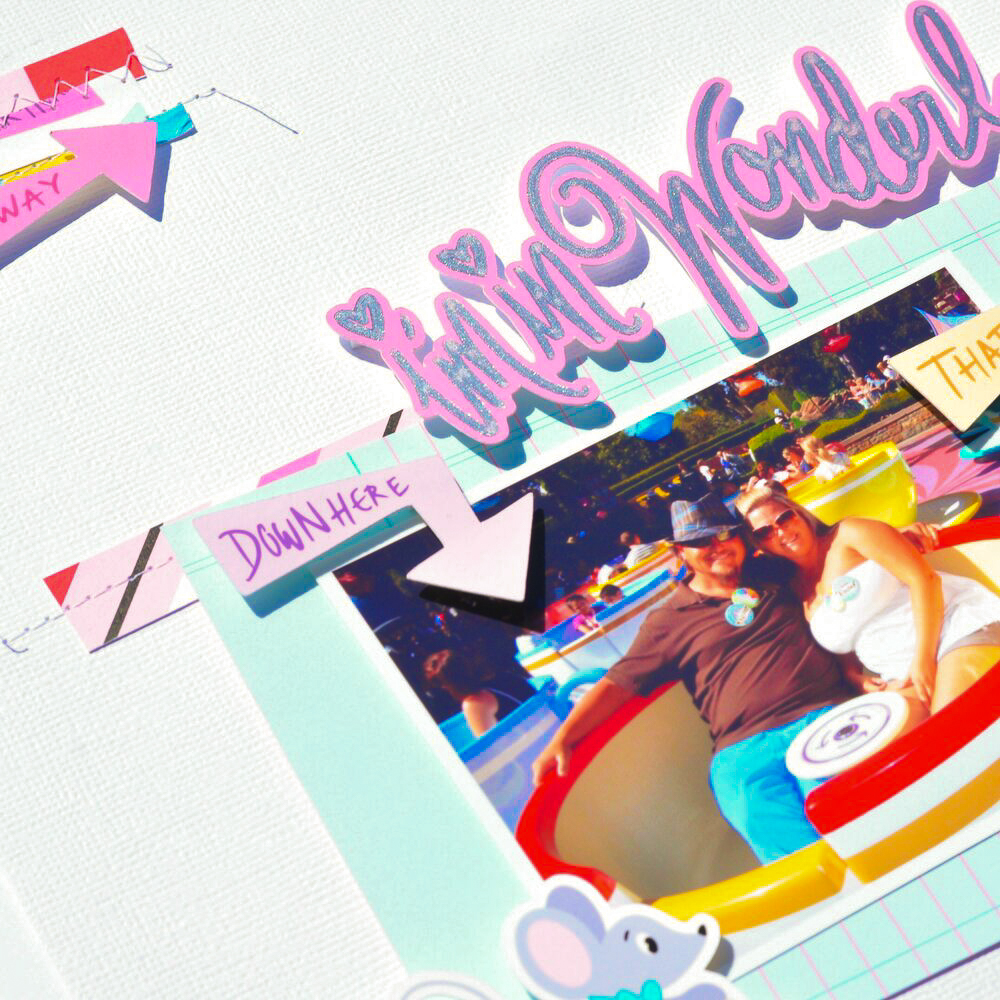
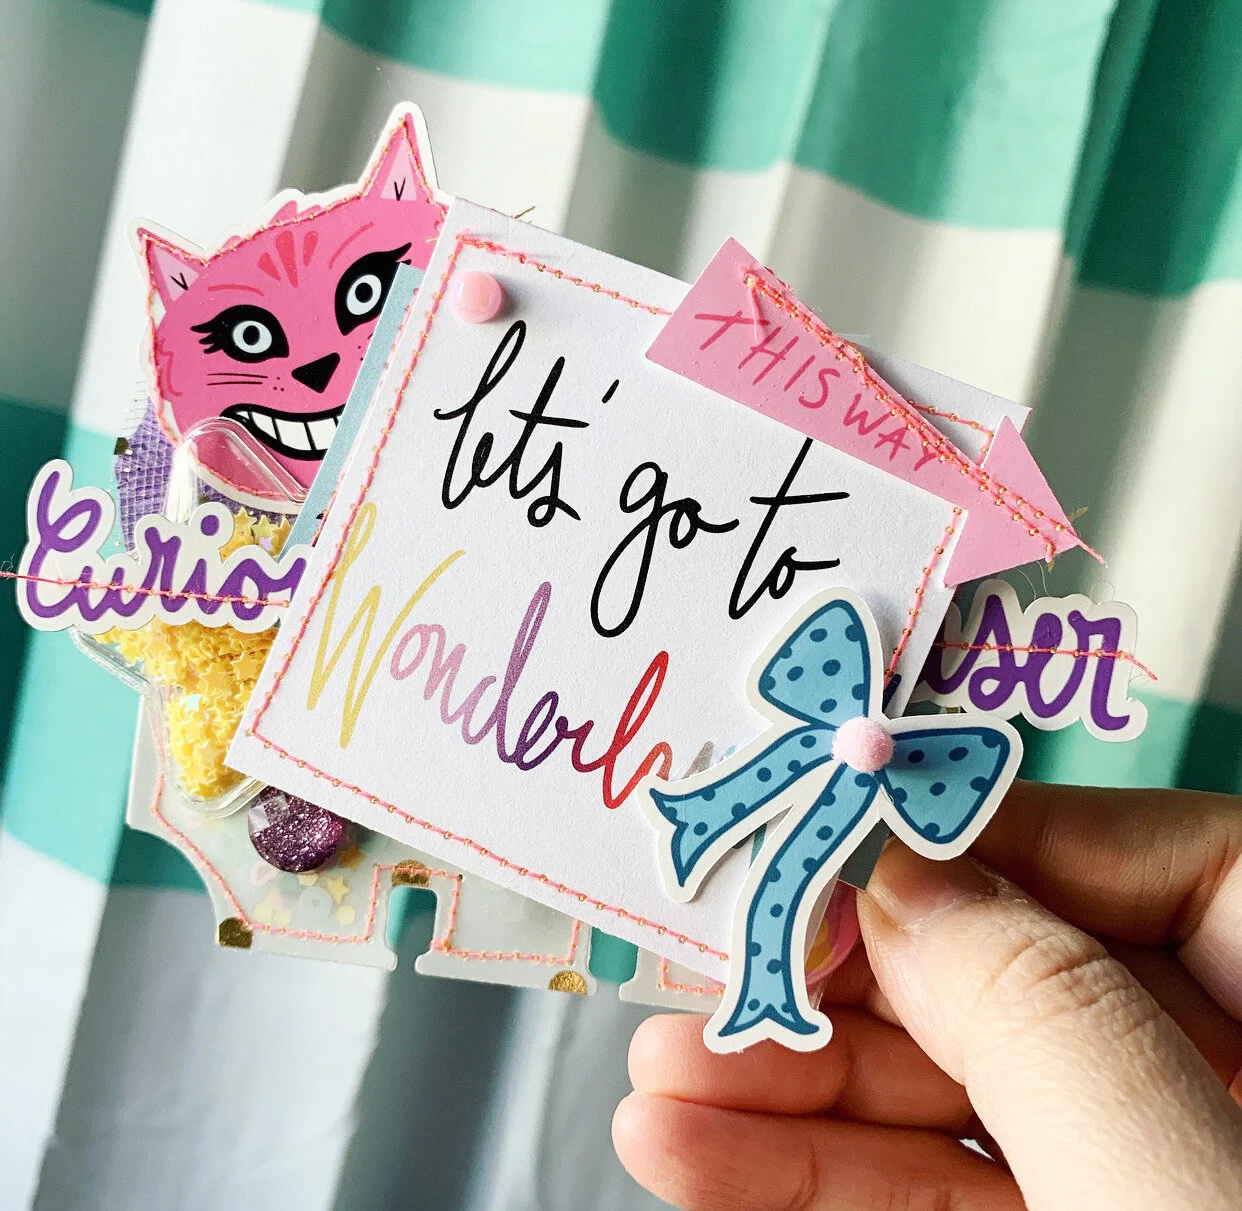
Hello there everyone! It's me, Andrea Bethke, owner and creator of this here Fairytale Club, and I am just so excited because today I finally get to show you all a sneak peek of what I have been working on for a while now -- and that is our next and newest collection : "I'm In Wonderland!"
"I'm in Wonderland!" is a beautiful collection which I am so proud of and excited to present to you! This collection is bright and lovely and happy and just makes me happy! It has a gorgeous color scheme that is very rainbow-y, which I love! "I'm In Wonderland!" is filled with joy and magic and vibrance and a sense of wonder and a sense of humor that I just find so aesthetically and emotionally pleasing! And as you can see, for this beautiful new collection, I was very much inspired by Lewis Carroll's "Alice's Adventures in Wonderland" as well as the classic Disney animated movie, "Alice in Wonderland". So in this collection, you will find my own versions of some of my favorite characters from the story -- such as Alice, the Cheshire Cat, and the Queen of Hearts! You will also find some lovely talking flowers! They are so cute...and living their best life in a golden afternoon in Wonderland, with sweet and silly bread-and-butterflies flying over them as they do! Of course there is plenty of tea...and many, many different and adorable teacups...including teacups with a dormouse inside of them! And this is not all...there is so much more! And I can't wait for you to see everything! But for now, at least there is this cool sneak peek so you can see some of the goodies that are in "I'm In Wonderland!"
Now, after having given a bit of an intro to this new collection, I want to apologize to everyone for how long it took me to make it. I know that it has been a while in between this collection and the last one...so let me begin with saying this -- when I tell you that this year has been an extremely rough one for me so far, please believe that that is actually a little bit of an understatement. Still, I feel bad that you guys have had to wait a bit longer than usual and I am sorry for that, truly! I don't want to go into all of it, but between my health/my CRPS condition getting worse (both because of it spreading, and also the new government policies that have made it much more difficult for me to get the care/medicine that I need), the robbery of my house (which as you can imagine caused all kinds of problems, including the loss of a lot of my design work, because, yes, they stole my computer, and no, I did not back up as much as I should have), and also the unfortunate diagnosis that my father just recently received (we sadly found out that he has cancer), it's been tough this year, to say the least. As you can see, things are quite hard right now (and that’s just some key things that have happened so far this year to make it rough...it's not even all of it...). But, subsequently, it took me a long time to create this collection, and I'm sorry...things happened that were beyond my control and I just had to do my best and work whenever I could, so I thank you all so much for your patience and your understanding during this difficult time!!
Anyways, I'm sorry to be such a downer. I know it is a little odd to read about these things in a papercrafting collection sneak peek... But I wanted to share a little bit of what is going on in my life with you guys...not just because I want you to know, but also because I think it helps to understand a lot of where this collection came from... You see, I think that the craziness that has occurred in my life over the last several months has actually helped inform this collection, in a way, because I really felt like I could relate to Alice falling down that rabbit hole. I can definitely understand what it is like to feel completely out of control and lost and vulnerable the way that Alice does in the story. And it is quite scary actually to feel like you are literally falling and the world is very upside down and strange and sad and crazy even! Despite all that though, I find myself moving forward, just like Alice! I am slowly but surely moving forward and learning from these experiences and overcoming these challenges and navigating my way back from it all, while at the same time also appreciating the moments that come in between the scary and the sad...the moments that are truly beautiful and curious and wondrous! So, If I leave you with one thing today, in addition to, "hey, look at this really cool collection I made and please go subscribe to our kit-club OR buy this one individually when it comes up for purchase (which will be soon)!", it is this: Never forget to look around you and appreciate all the magic in this life, because it is there even during the hardest of times...it is in the light and the color of the places that you enjoy, in the hobbies and passions that you have and the things that you make, in the kindness and the love of the people that you love, and it is inside you too, in your own beautiful Wonderland of an imagination!!! Hugs to everyone! And check back here in a few days for the full reveal of "I'm In Wonderland"!
-- Andrea Bethke
Owner/Designer/Founder
All Around Creator and Papercrafting Weirdo-in-Chief
The Fairytale Club


