Kellie's Quick and Easy Cardmaking with "I'm in Wonderland!"

2019-09-06 14.07.27
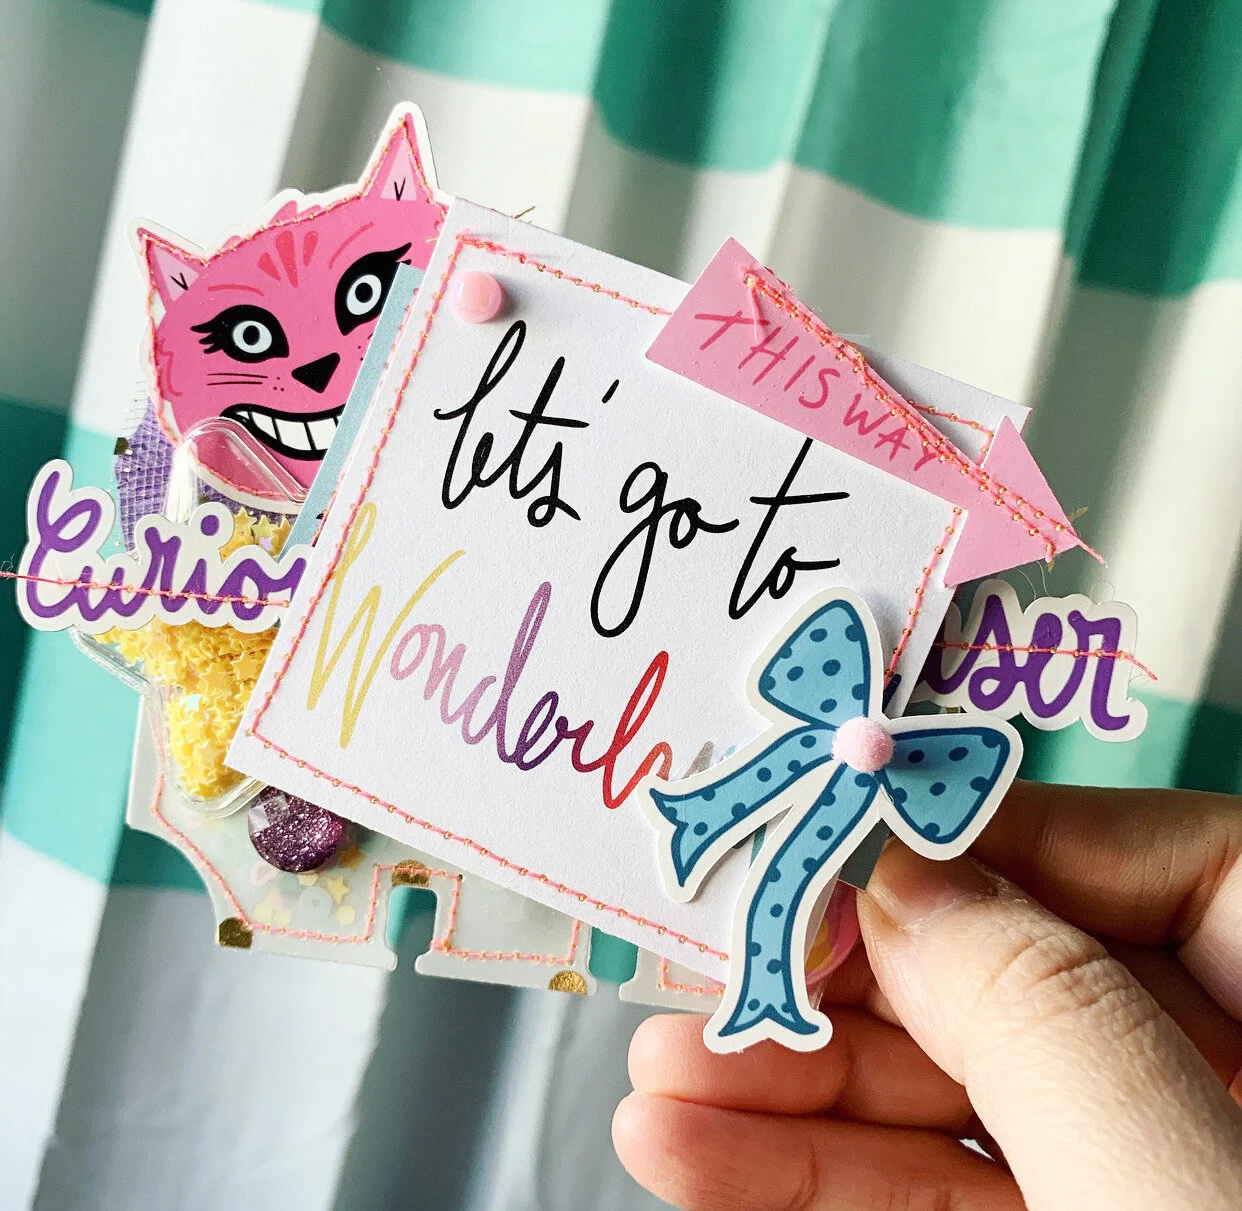
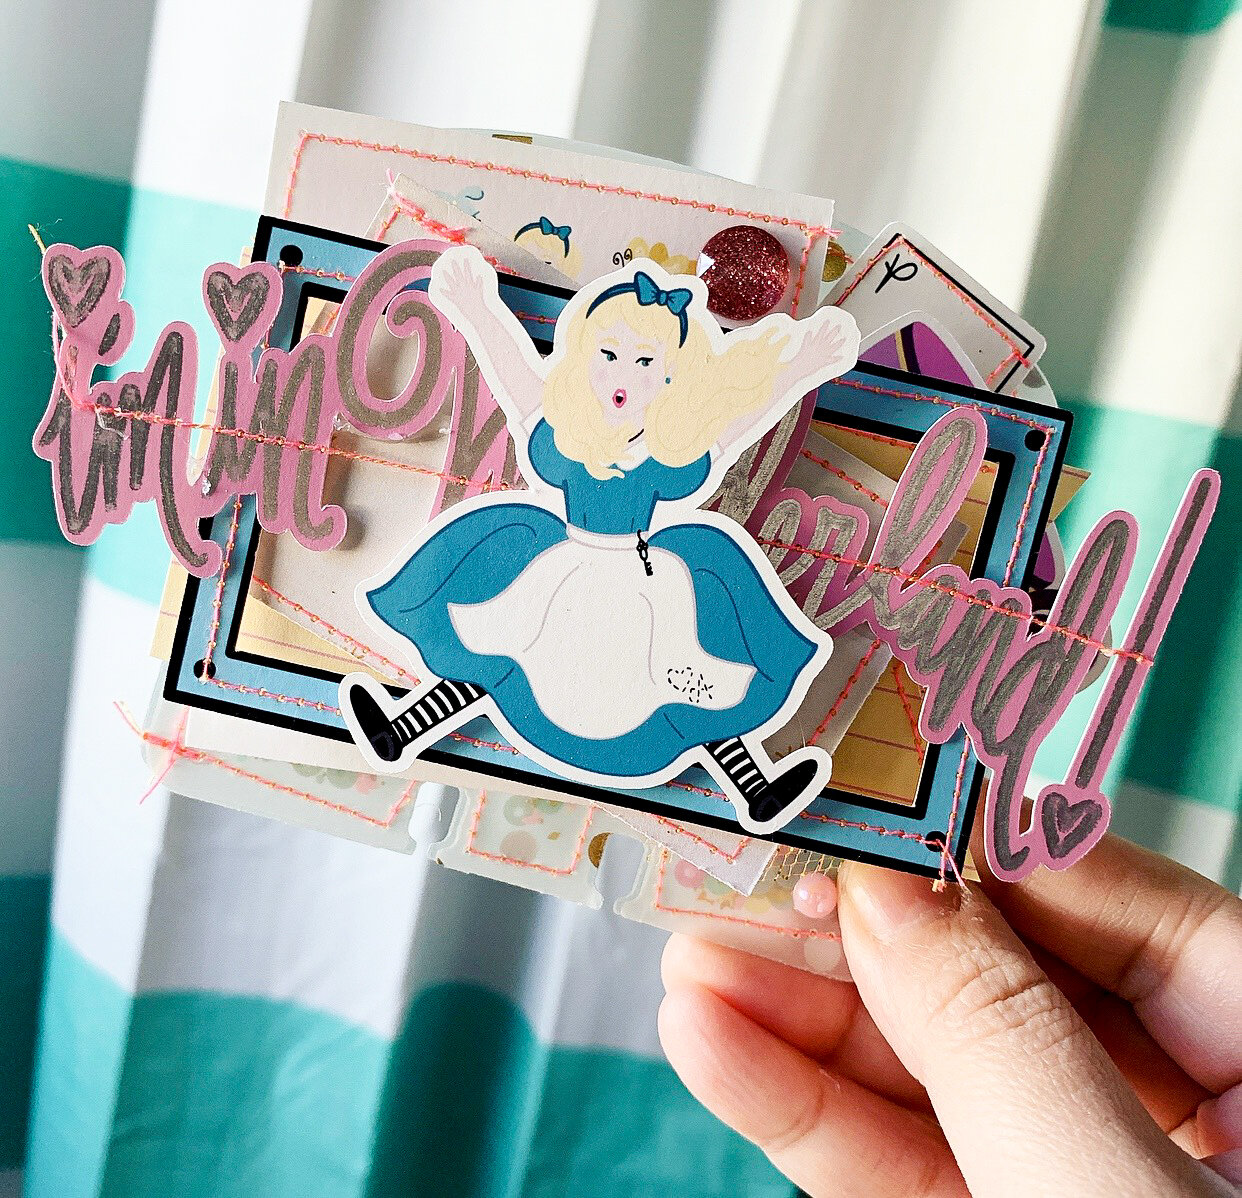
"We're all mad here..." has to be one of my favourite quotes of all time.  I think it nails my family, haha.  Today I'm here to share a quick card I made using the new "I'm in Wonderland!" kit.  This kit has everything you could need to create MANY cards if that's your thing.  So far I've created three different projects and still have enough kit to keep going on more.2019-09-06 14.07.27For this card I kept it simple.  I love that I now have a collection from previous cards made in the same form.  I could give them away, but I'm hoarding them, haha.  I absolutely love the strip along the bottom of each 12 x 12 pattern papers that come within the kits from The Fairytale Club.  Every time I have used them to create a card like this one.

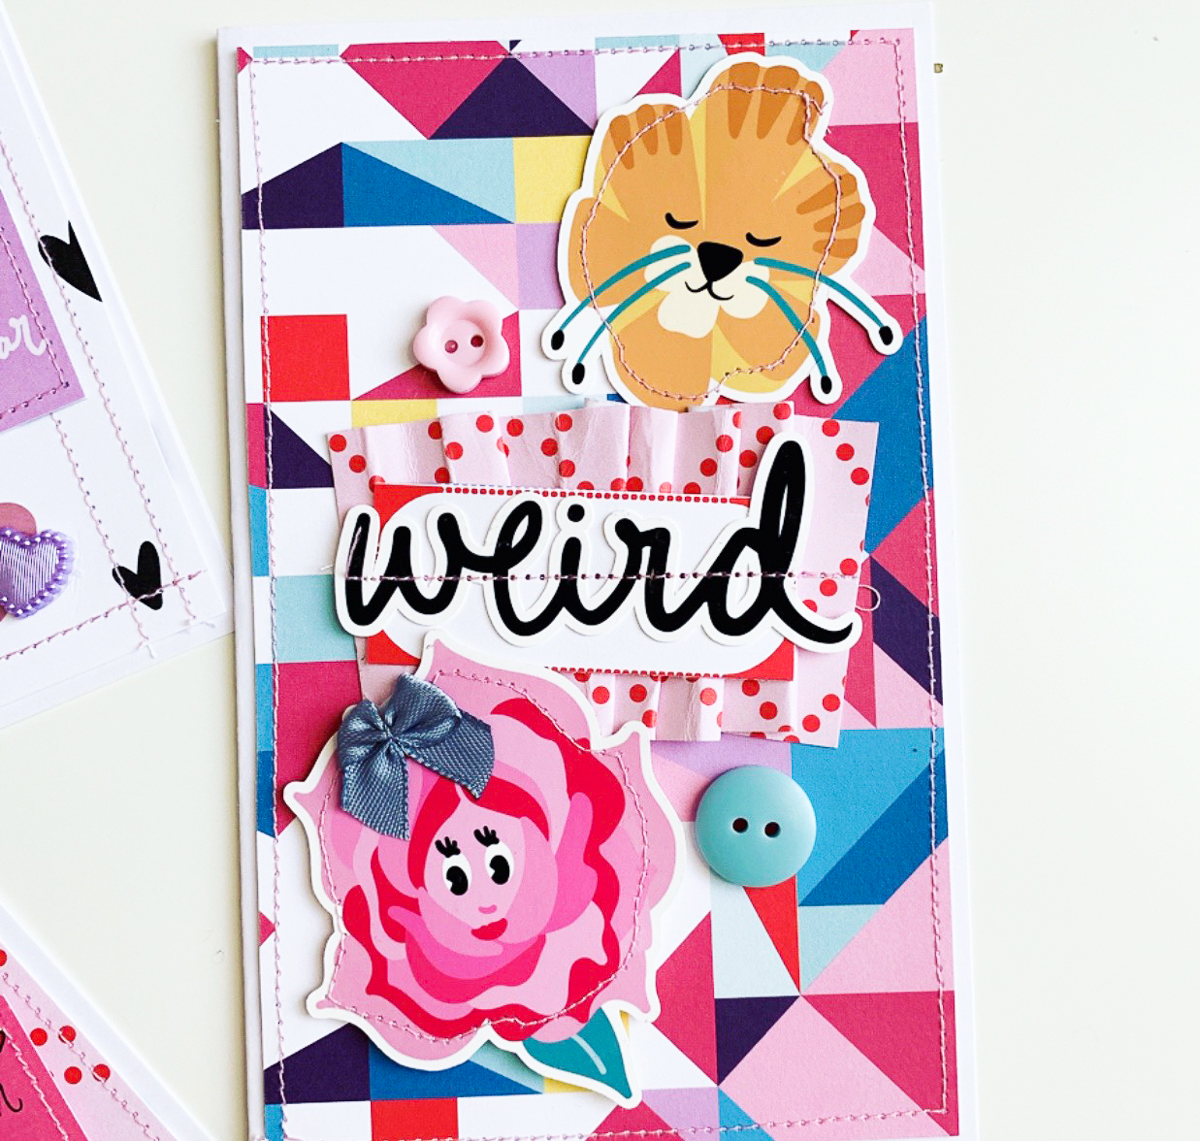
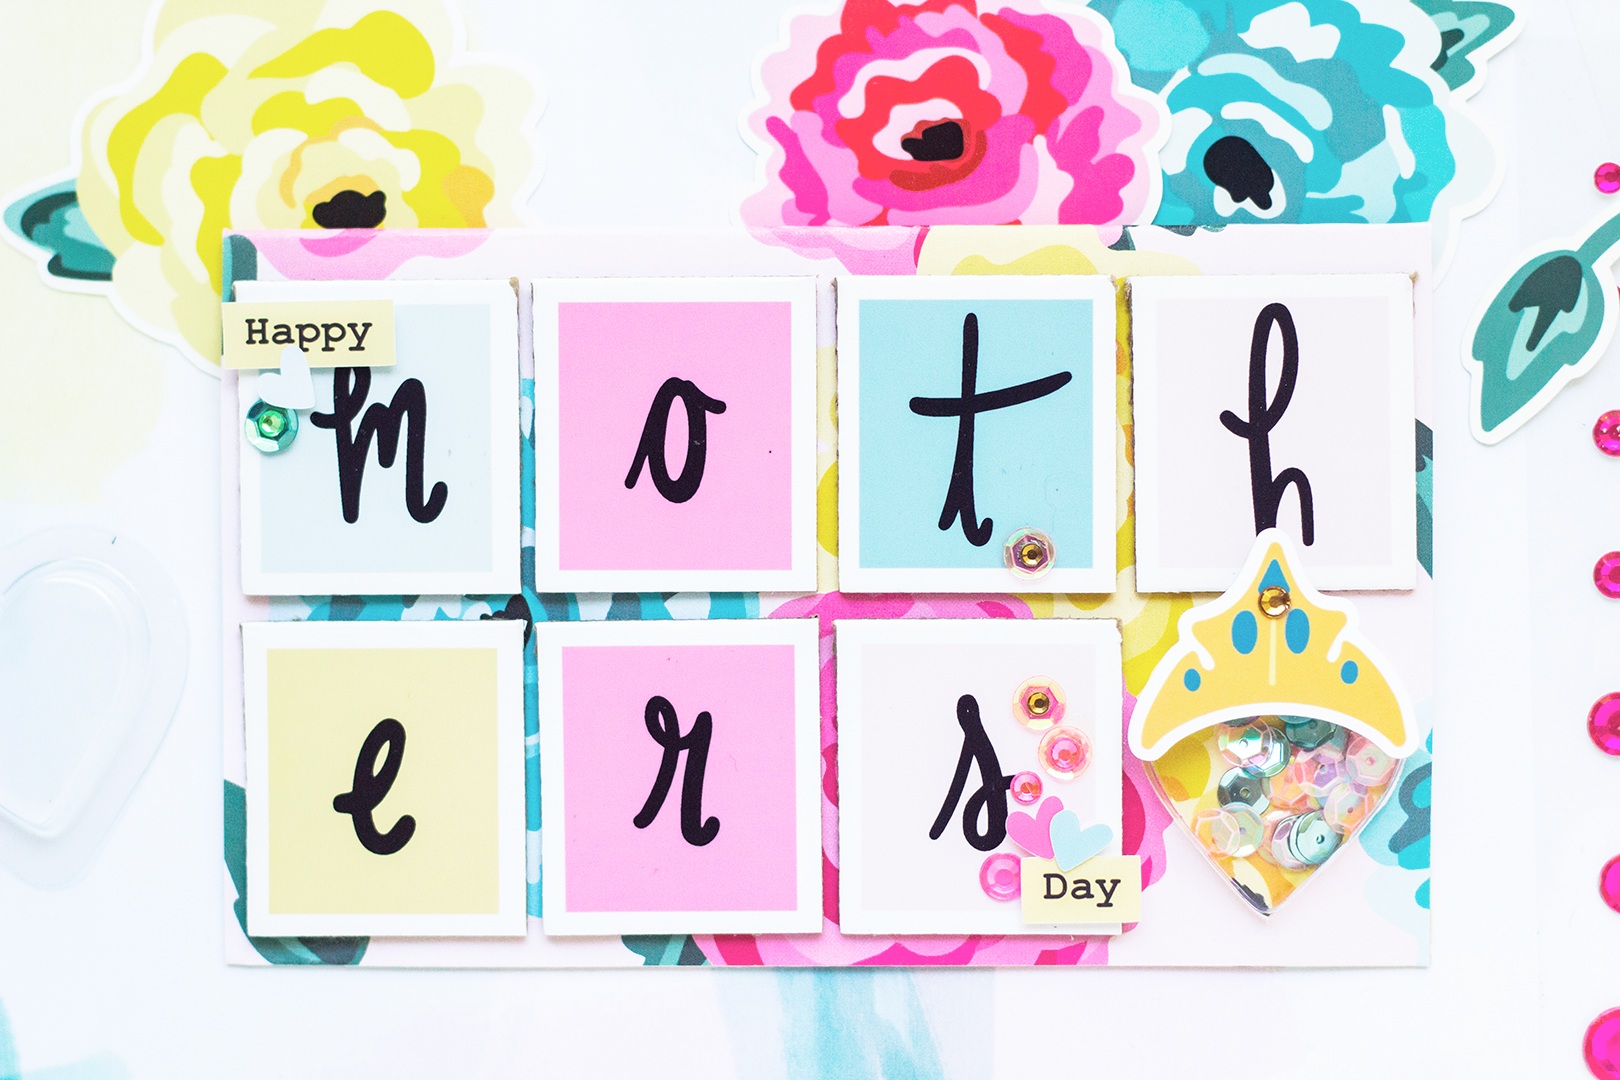
I love how this card came together and the flower just goes with the flow of all the bright colourful patterns.

Do you like making cards?  Do you still send cards or happy mail?

Lilly's "Wonderland" Memorydex Cards

Hey guys, welcome back to the blog! Hope everyone is having a great week. Today I’m sharing with you guys some fun vellum shaker memorydex cards i created using the new "I’m in Wonderland!" collection.

IMG_4106.jpg

These are super easy and fun to create for pen pals in happy mail or just to collect in your own crafty stash. I stitched up the cards to create my shaker with some pink neon thread. Then, you guys, it was time to decorate and make these cuties nice and chunky filled with layers!

I used a bunch of the cut aparts and ephemera to add all sorts of details to these cards. The key to layering is to not think just add. Trust that in the end the finished product will look amazing. I think they turned out great and can’t wait to share these with my crafty friends. What do you think? Thanks for stopping by. Until next time… Stay Crafty!!!

Lilly's "I'm in Wonderland!" Handmade Cards

Hey guys, welcome back to the blog! I recently got the chance to play with the new “I’m in Wonderland!” collection.

I, of course, chose to make some handmade cards as my 1st project because I think Andrea’s collections are perfect for cards.

I love the brightness of the cards. I feel like these cards are great to send to a friend who needs a smile.

To create the cards I used 110lb white cardstock as my base. I matted the cards with the 12x12 sheets from the collection.

I did tons of stitching and added texture to each card with small embellishments from my stash. I love how with a little fold, stitch and doily you can transform the look of any project.

This is a great collection to work with and I can’t wait till I show you guys what I create next. Thanks for stopping by, and I’ll see you guys next time. Happy Crafting!!!

Lilly's Handmade "Beautiful Dreamer" Cards

Welcome back to the blog, guys!!! Today I’m sharing some fun handmade cards I made using the “Beautiful Dreamer” collection.

I love how fun and bright these handmade cards look. That cute bird is one of my favorite elements from the collection.

What I usually do to make my hand made cards is use a 8.5 x 11 piece of 110lb cardstock, cut 5x7 cards, and decorate away. Add a little stitching and some cute layering, and you got yourself a card your crafty friend would love.

One of my crafty secrets is that when I don’t have much time to craft, I tend to make a cute card because they are fast and easy to make :) Thx for stopping by guys, catch you on my next post 💗

Kellie's Practically Perfect Card

Hi there, Kellie here with you today to share another card I created, only this time it's with the adorable Practically Perfect kit.

TFC_7

Which I mean if you were to ask me, it's not practically, it IS perfect.  The colours in this kit are so vibrant and fun and I have more to share with this kit, soon.  Firstly let's talk about how this card came together.


TFC_7

To create a card like this, which please do and share as we would love to see it!  You will only need cardstock, unless you choose to use a pattern paper from the kit.  Then for your tool sides of things you will simply need, double sided tape and scissors.  That simple right?


TFC_7

The strips again, YES I know, are you sick of me sharing them on cards?  Well honestly sorry, not sorry, haha!  It will happen again.  They are like a form of washi tape really.


TFC_7

I'm super happy with how this card came out and I can't wait to post it out and make someones day a little brighter.

Kellie's You + Me Quick and Easy Card

Hi there Fairytale Club fans, Kellie here with you today to share a sweet card I created using the NEW You + Me kit.

TFC_2

Now if you know me and my style already you will NOT be surprised by the fact that I A. made a card and B. used the strips from the bottom of the 12x12 pattern paper within the YOU + ME kit.  I love them and so far I've been making them with almost every kit since being part of this creative team.

TFC_2

Honestly I usually look back on the card I made the time before and use it as a sketch, so all my cards have the same style, but all so different at the same time, does that make sense?  I'm sure it does.

TFC_2

To make a quick card is SUPER easy, especially with the kits!  Seriously give it a try.  Some pattern and the die cut ephemera and you have yourself a quick and easy card.  Can I also point out that you don't have to make a card to show your love for someone just on one day, share the love any day!


TFC_2

Do you make cards?  I feel like it's not a thing these days, sending handmade cards?  So why not send one to make someones day that little brighter!

Project Life Instax Album - December Daily, with Aimee

Happy Saturday all, can you believe that there is only 9 days till Christmas. Wow!

This year for my December Daily, I’m using The Project Life, Instax Album. This is a fun size to use because you can use all different sizes of page protectors. The biggest bummer about this album, is that it’s a traditional album style, and there are no pockets for extra little trinkets like tags etc.

When I saw the Library Card Pocket form the “December Dreams” Kit, I just knew it was perfect for the inside of my album.

I used my typewriter to fill out the card, and it’s perfectly imperfect. Just like a library card would be. I choose myself as the author, cause I’m the one creating this book {look I totally messed up and put my name on the wrong line, did you even notice?}.

I choose the title of the book to be “December Daily 2018”. And for all the check-out days I but my name and date that I worked in the book. I love how I mixed it up with the red and black writing {you know, as if someone else was doing the checking out?}. I even forgot to capitalize the A on one of the lines.

7.JPG

I also made some tags to slip in my DD using die cuts and the sequin mix from the “December Dreams” Kit. I just used my Fuse tool, metal die cuts to trace. I placed the “ingredients” inside of the fuse sleeve and placed my metal die over making sure all the “ingredients” fit within the die cut, and just fused around it! Viola . . . some custom tags!

Are you using the “December Dreams” in your December Daily?

XOXO, Aimee

Kellie's "December Dreams" Manufacturer's Strips Card

Kellie here with you to share a card I made with the strips along the bottom of each 12x12 patterned paper that comes with the December Dreams kit.  I did this last month with the Magical and Mischievous kit.  I'm planning to try and build a little card collection ready at hand when I need.  Best of all they are SUPER easy to make.

TFC_CARD_4

Always make sure to cut off those strips at the bottom - don't go throwing them away thinking you won't use them, because OH boy you will once you start!

TFC_CARD_1
Here is how I created this Christmas card. First of all I started with a base of white cardstock. Then I worked my way through the strips of off-cuts, as I mentioned, from the bottom of the 12x12 papers included with the December Dreams kit. Once laying them out and moving them around, and I was happy with the layout, I got out the ephemera packet that comes with every kit. 

TFC_CARD_2

Ephemera are my favourite thing to use and always the first thing I look through when my kit arrives.

TFC_CARD_3

Add on a flair from the kit and BAM you have yourself an easy, beautiful card!  See what I mean?  Super easy.  Give it a try!

-Kellie