Kameka's "My Magical World" Kite Box

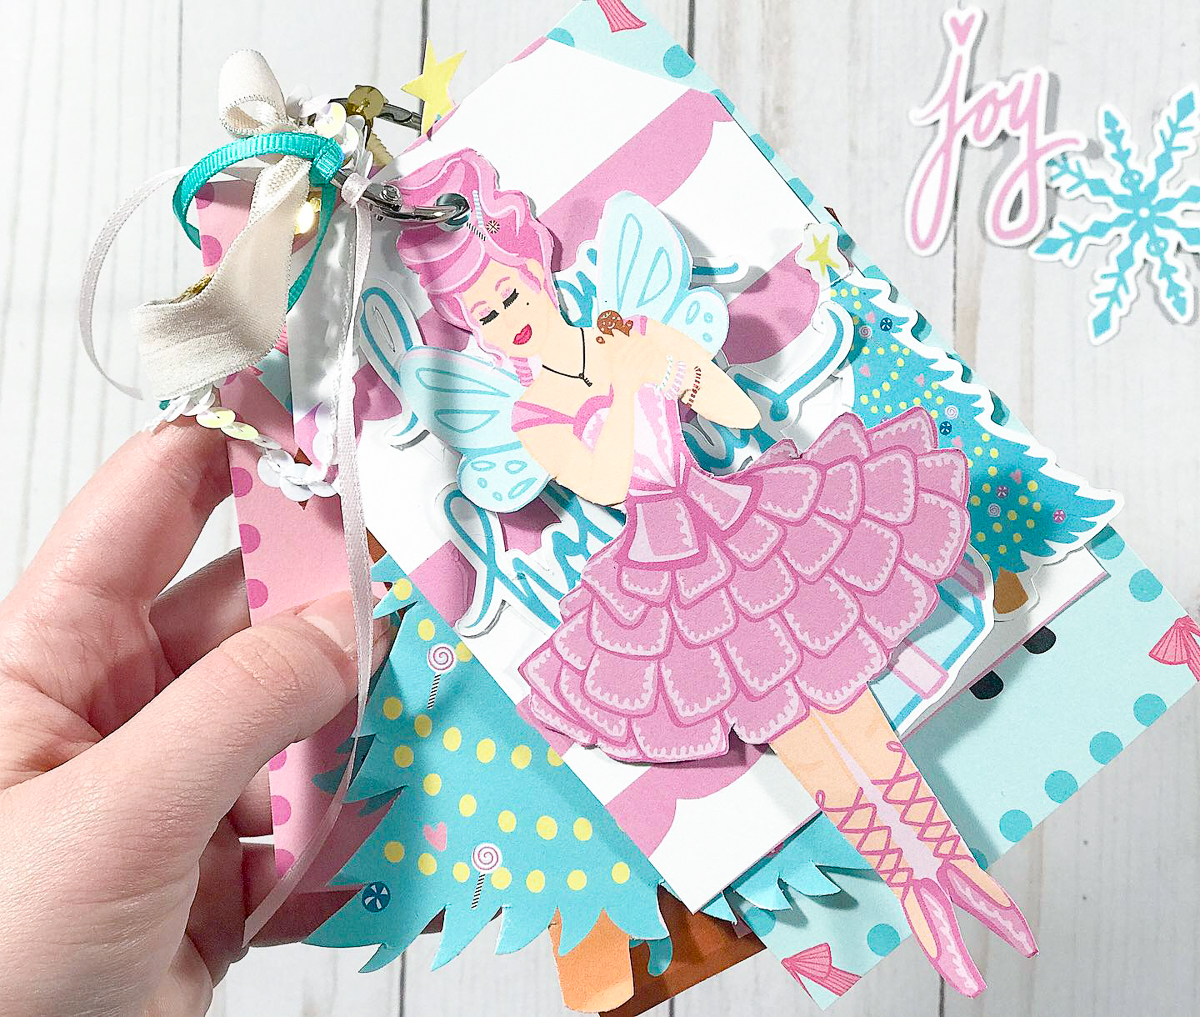
Hello hello everyone! I am here to share with you my first project as a guest designer for The Fairytale Club by Andrea Bethke! For this project I made a kite box.

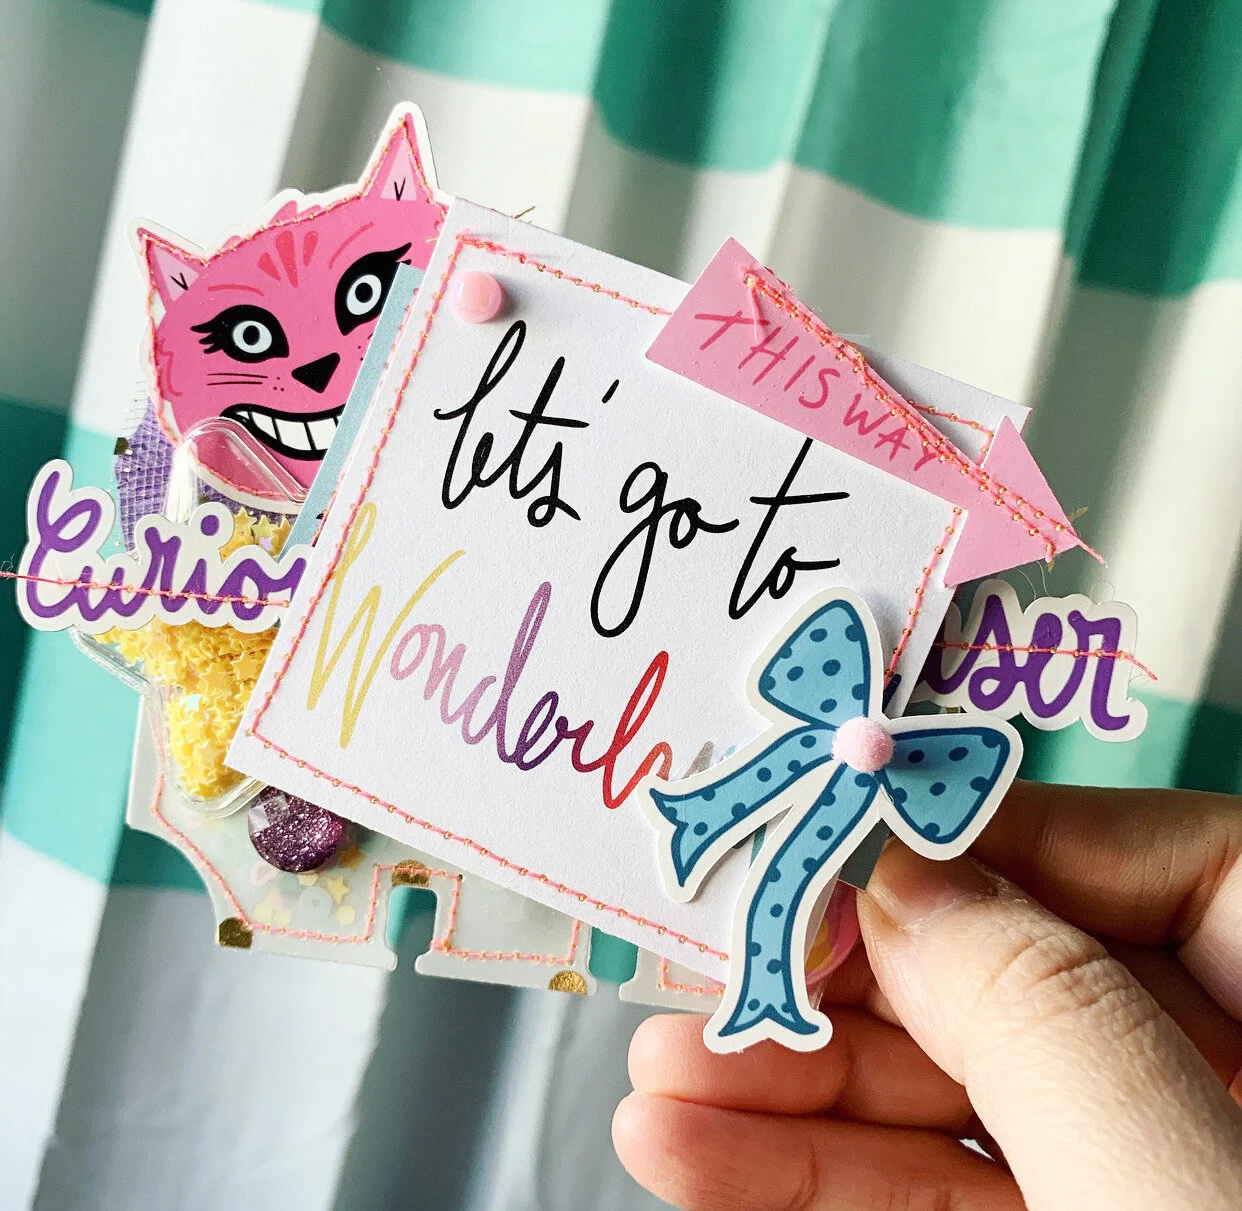
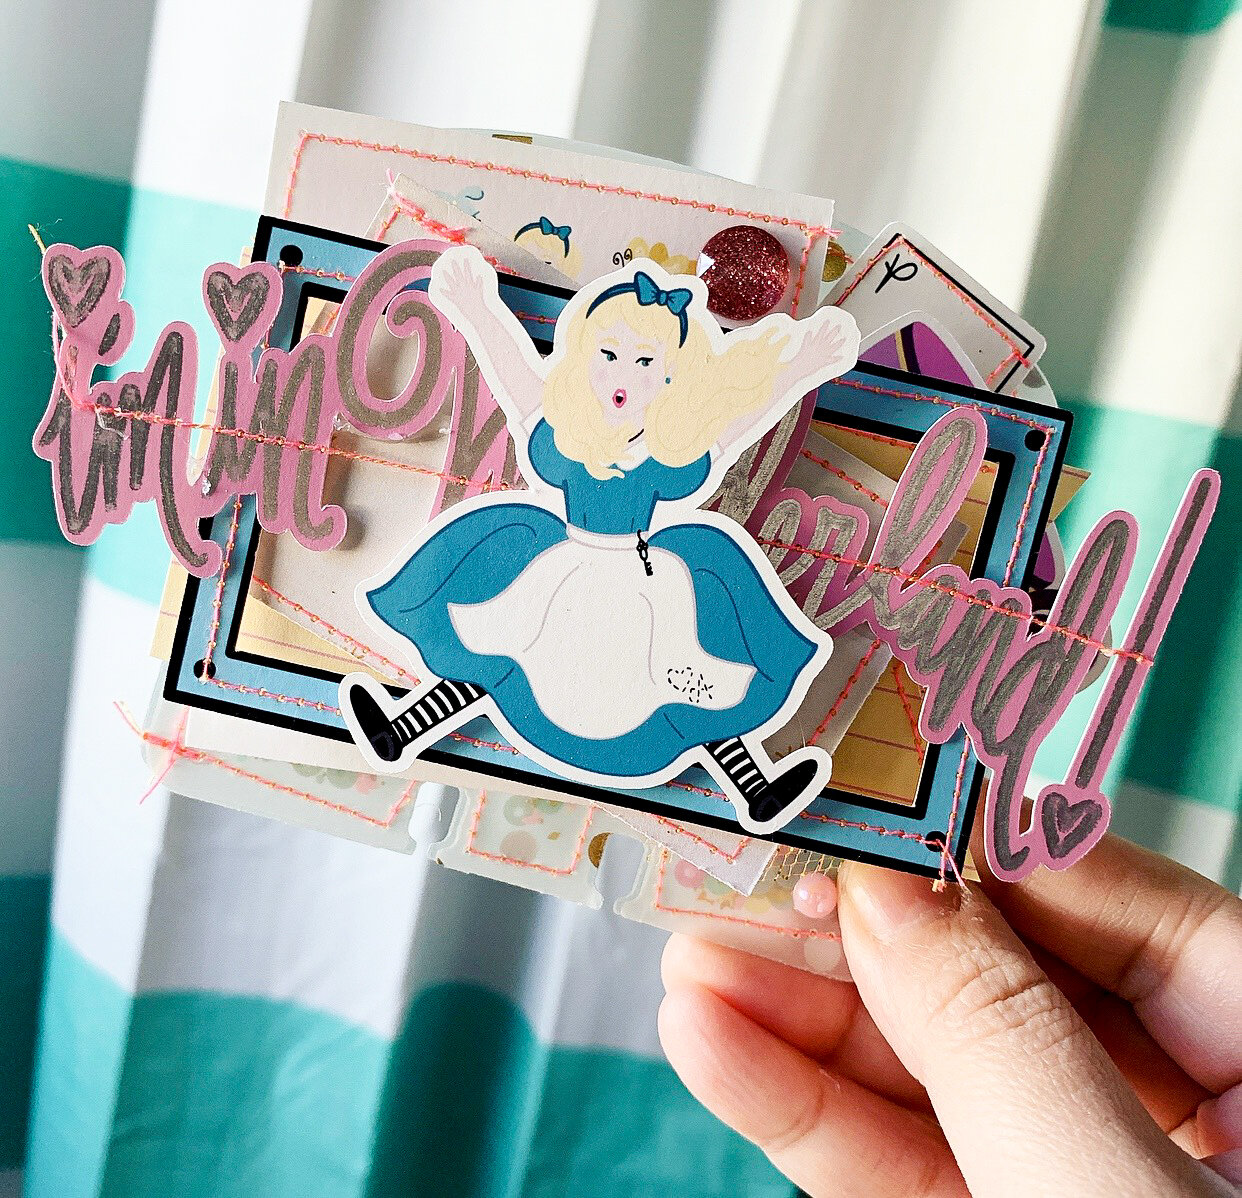
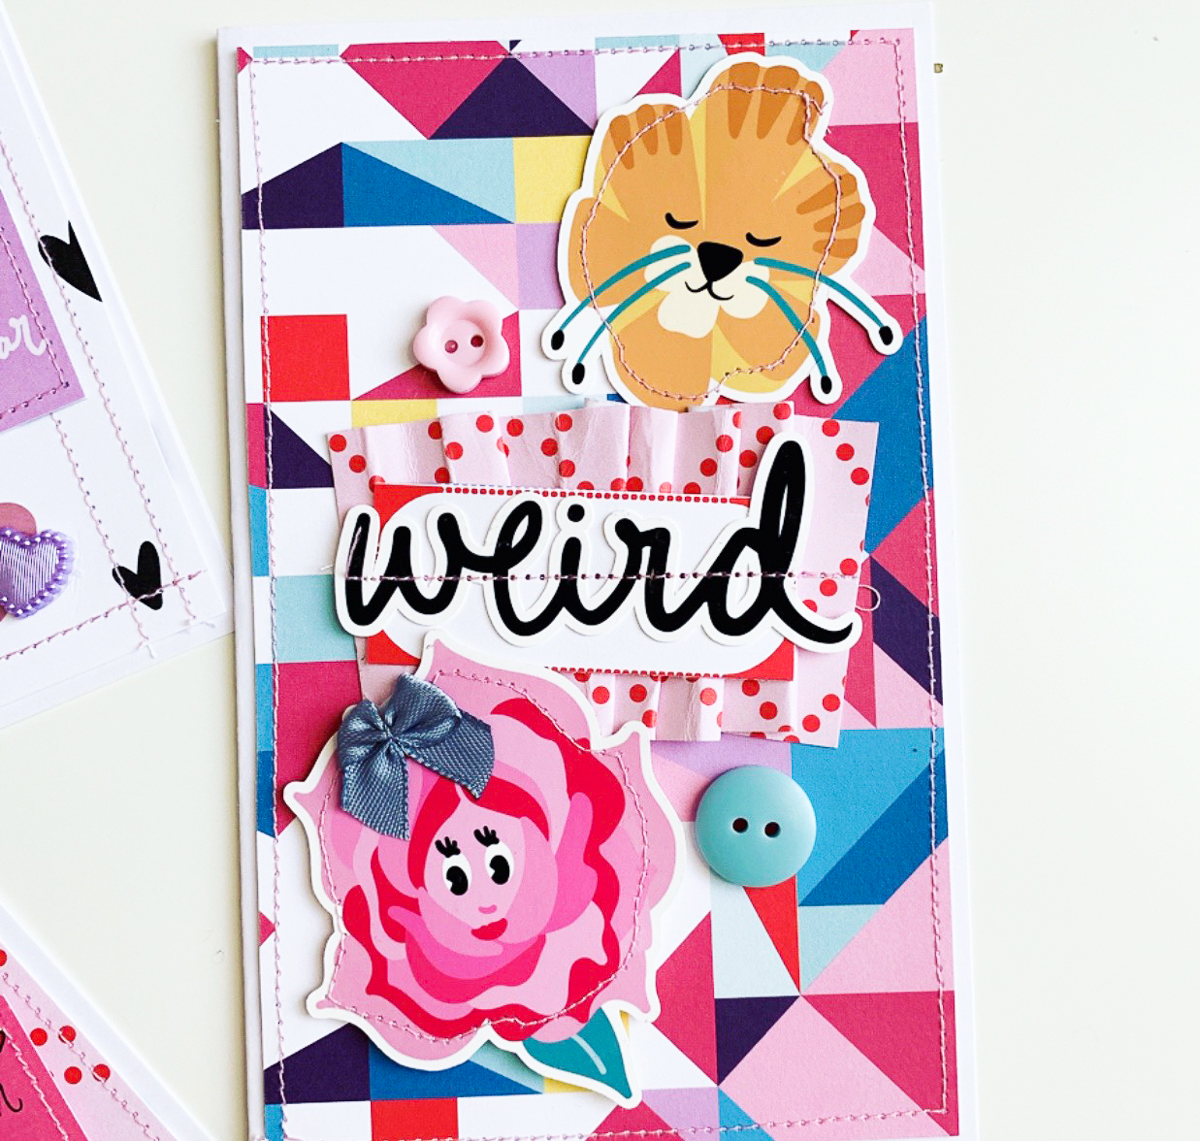
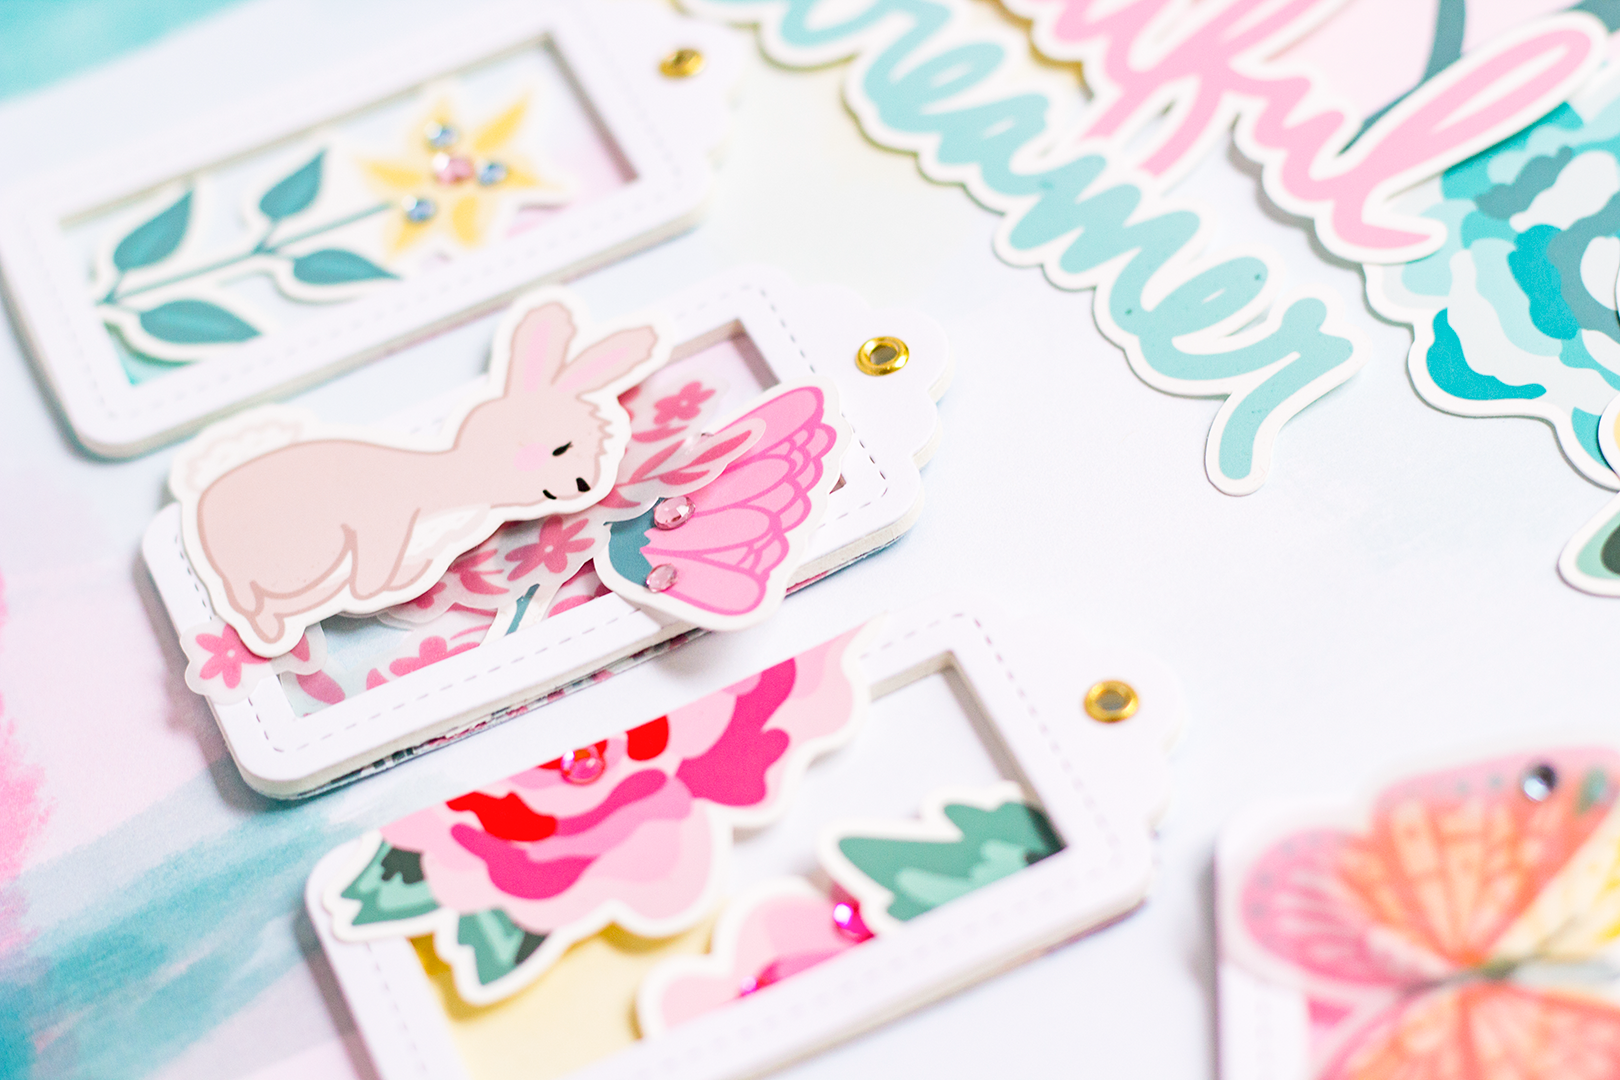
This kite box was an SVG file I cut with my Cricut. I then layered it with the "My Magical World" papers. I love how vibrant the papers are! Then I layered up a tag with a rosette and some of the die cuts. OMG these die-cuts guys! You really need to see them in person. I gave each element some dimension with foam tape. Also, when you open the box, you will find it filled with some cute rolled roses!

I haven't made rolled roses in a while. It was so fun, and I really like how everything turned out. So go grab your "My Magical World" collection now! Also check out my video for a closer look:

Kellie's Quick and Easy Cardmaking with "I'm in Wonderland!"

2019-09-06 14.07.27"We're all mad here..." has to be one of my favourite quotes of all time.  I think it nails my family, haha.  Today I'm here to share a quick card I made using the new "I'm in Wonderland!" kit.  This kit has everything you could need to create MANY cards if that's your thing.  So far I've created three different projects and still have enough kit to keep going on more.2019-09-06 14.07.27For this card I kept it simple.  I love that I now have a collection from previous cards made in the same form.  I could give them away, but I'm hoarding them, haha.  I absolutely love the strip along the bottom of each 12 x 12 pattern papers that come within the kits from The Fairytale Club.  Every time I have used them to create a card like this one.

I love how this card came together and the flower just goes with the flow of all the bright colourful patterns.

Do you like making cards?  Do you still send cards or happy mail?

Lilly's "Wonderland" Memorydex Cards

Hey guys, welcome back to the blog! Hope everyone is having a great week. Today I’m sharing with you guys some fun vellum shaker memorydex cards i created using the new "I’m in Wonderland!" collection.

IMG_4106.jpg

These are super easy and fun to create for pen pals in happy mail or just to collect in your own crafty stash. I stitched up the cards to create my shaker with some pink neon thread. Then, you guys, it was time to decorate and make these cuties nice and chunky filled with layers!

I used a bunch of the cut aparts and ephemera to add all sorts of details to these cards. The key to layering is to not think just add. Trust that in the end the finished product will look amazing. I think they turned out great and can’t wait to share these with my crafty friends. What do you think? Thanks for stopping by. Until next time… Stay Crafty!!!

Lilly's "I'm in Wonderland!" Handmade Cards

Hey guys, welcome back to the blog! I recently got the chance to play with the new “I’m in Wonderland!” collection.

I, of course, chose to make some handmade cards as my 1st project because I think Andrea’s collections are perfect for cards.

I love the brightness of the cards. I feel like these cards are great to send to a friend who needs a smile.

To create the cards I used 110lb white cardstock as my base. I matted the cards with the 12x12 sheets from the collection.

I did tons of stitching and added texture to each card with small embellishments from my stash. I love how with a little fold, stitch and doily you can transform the look of any project.

This is a great collection to work with and I can’t wait till I show you guys what I create next. Thanks for stopping by, and I’ll see you guys next time. Happy Crafting!!!

Kellie's "Beautiful Dreamer" Happy Mail Pocket

2019-08-02 12.02.26I wasn't lying!  Hi again crafty peeps, Kellie here with you again for another happy mail pocket only this time I've used the gorgeous kit, Beautiful Dreamer.  This kit, just stunning.
2019-08-02 12.02.26In case you missed this the first time, I followed the youtube video from the very creative @iamabsolutelyalice which was super duper simple to follow along with.⁠
2019-08-02 12.02.26The fun part about this is decorating back and front of the tags.
2019-08-02 12.02.26Again I'm so happy with the result and how these all came together.

Kellie's Happy Mail Pocket

Hello everybody! The full reveal for our new collection, “I’m in Wonderland,” will be posted soon, and we are so excited to share it with you! In the meantime, we have a few projects to share using previous collections from The Fairytale Club. Here’s talented design team member Kellie Winnell with a cute tag holder and tags, featuring the Magical and Mischievous collection.


2019-08-02 11.05.36Hi there everyone, Kellie here today, it's been a while since I've come to share anything here, but that will soon change as I have some projects I've been working on.  For now let me how you this one.  2019-08-02 11.05.36Sharing something a little different from me today and to be honest this was a bunch of fun to make. So much so that I grabbed a different kit and created same again, more to come on that.  But for this one I grabbed the Magical and Mischievous kit.  So good, still one of my faves. ⁠


2019-08-02 11.05.36

I followed the youtube video from the talented @iamabsolutelyalice which was super simple to follow and LOVING the end results with the Magical and Mischievous kit that is still my all time favourite from The Fairytale Club, because @andreabethkedesigns nailed it.


2019-08-02 11.05.36I'm actually really happy with how this came out and might even start looking to make a bunch to send out to make someone day.  But don't hold me to that, I think I'm going to start a lot of things, haha!

Do you send happy mail?

Michelle's "December Dreams" Christmas Cards

Hey there, crafty friends and welcome to the most wonderful time of the year! I’m back with another craft, this time using the December Dreams kit from The Fairytale Club. I love the recent trend of using pastel colors for all things Christmas, and so this kit was just perfect for all my crafting needs! First up, I need to knock out Christmas cards.

1202181004-01-01.jpeg

I think sending cards at the holidays is such a fun way for me to be crafty, and also send someone a little mail to remind them that I’m thinking of them. The first item that caught my eye was the sparkly silver snowflake ornament, of course! Then as I dug into my kit more, I came across the die cuts where I found the tree cup, cupcake, and the sugar plum fairy! I used foam squares to add height and dimension to it, and the first one was finished.

For the next card, I knew that I wanted to use a lot of red. The pink and red polka dot paper made the perfect base! From there, I mounted the red bow paper on to a piece of craft paper, and used red tinsel around that! I love how sparkly the tinsel is. It also reminds me of vintage christmas decorations, which matched perfectly with the Nutcracker die cut piece! Finally, I finished it off with a tag.

1202181007a-01-01-edit.jpeg

Lastly, I knew that with all the sweets and candies in this kit, I just had to do one with that theme! The blue paper with candy designs was just perfect! This card was a bit easier since the pattern on the paper was so cute! Next I fussy cut the candy cane out of one of the pages and added a bit of shimmer with iridescent embossing powder! Then I finished it up with the gingerbread house and a couple die cuts, and there you have a sweet Christmas card!

I love this kit from The Fairytale Club so much, and I can’t wait to work with it some more! Hope you all have a happy and crafty holiday season!

-Michelle

Solange's "December Dreams" Happy Mail Tag Flips

Hello crafty friends! Today I am showing you guys a happy mail project using the “December Dreams Kit”.

Tag flips are one of my favorite ways to send happy mail because it’s easy, fun and super cute! All you’ll need to make your own is a metal ring and your “December Dreams” kit, that’s it !

If you do not have any metal rings on hand you can just tie the tags with some pretty trim which will work just as well.

To make this tag flip I used the dashboards that come in the kit and fussy cut some of my favorite images such as the ballerina, the house and the pretty blue Christmas tree. For the pieces that I fussy cut, I simply punched a whole and added it to my tag flip, simple and super cute.

image3.jpg

Then I added some extra pieces that I cut into tag shapes and decorated them up using the beautiful ephemera pieces.

image4.jpg

Super easy and cute project, can’t wait to see what you guys will make with your kit. Until next time, Solange.