Spring Candy Basket with Carrie

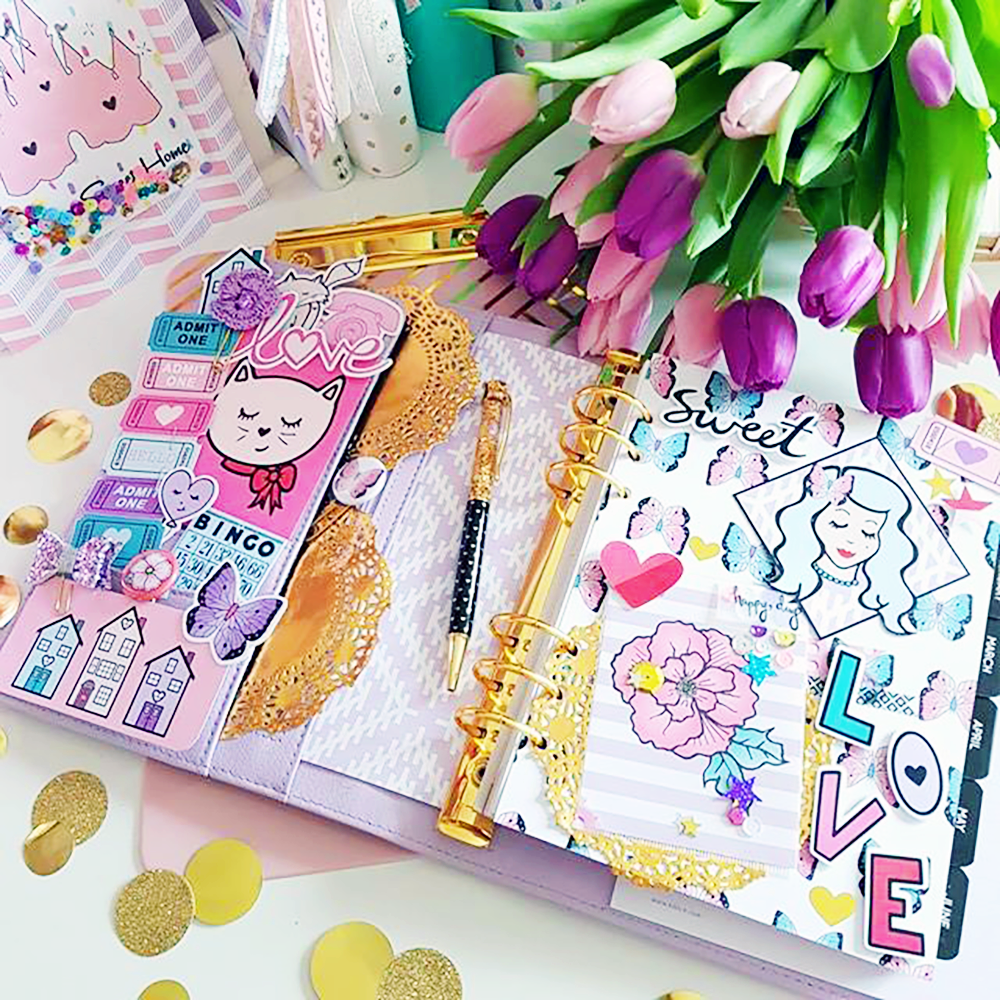
Hello everybody! It's Carrie here with a cheerful Spring themed candy basket using the Happy Day kit.

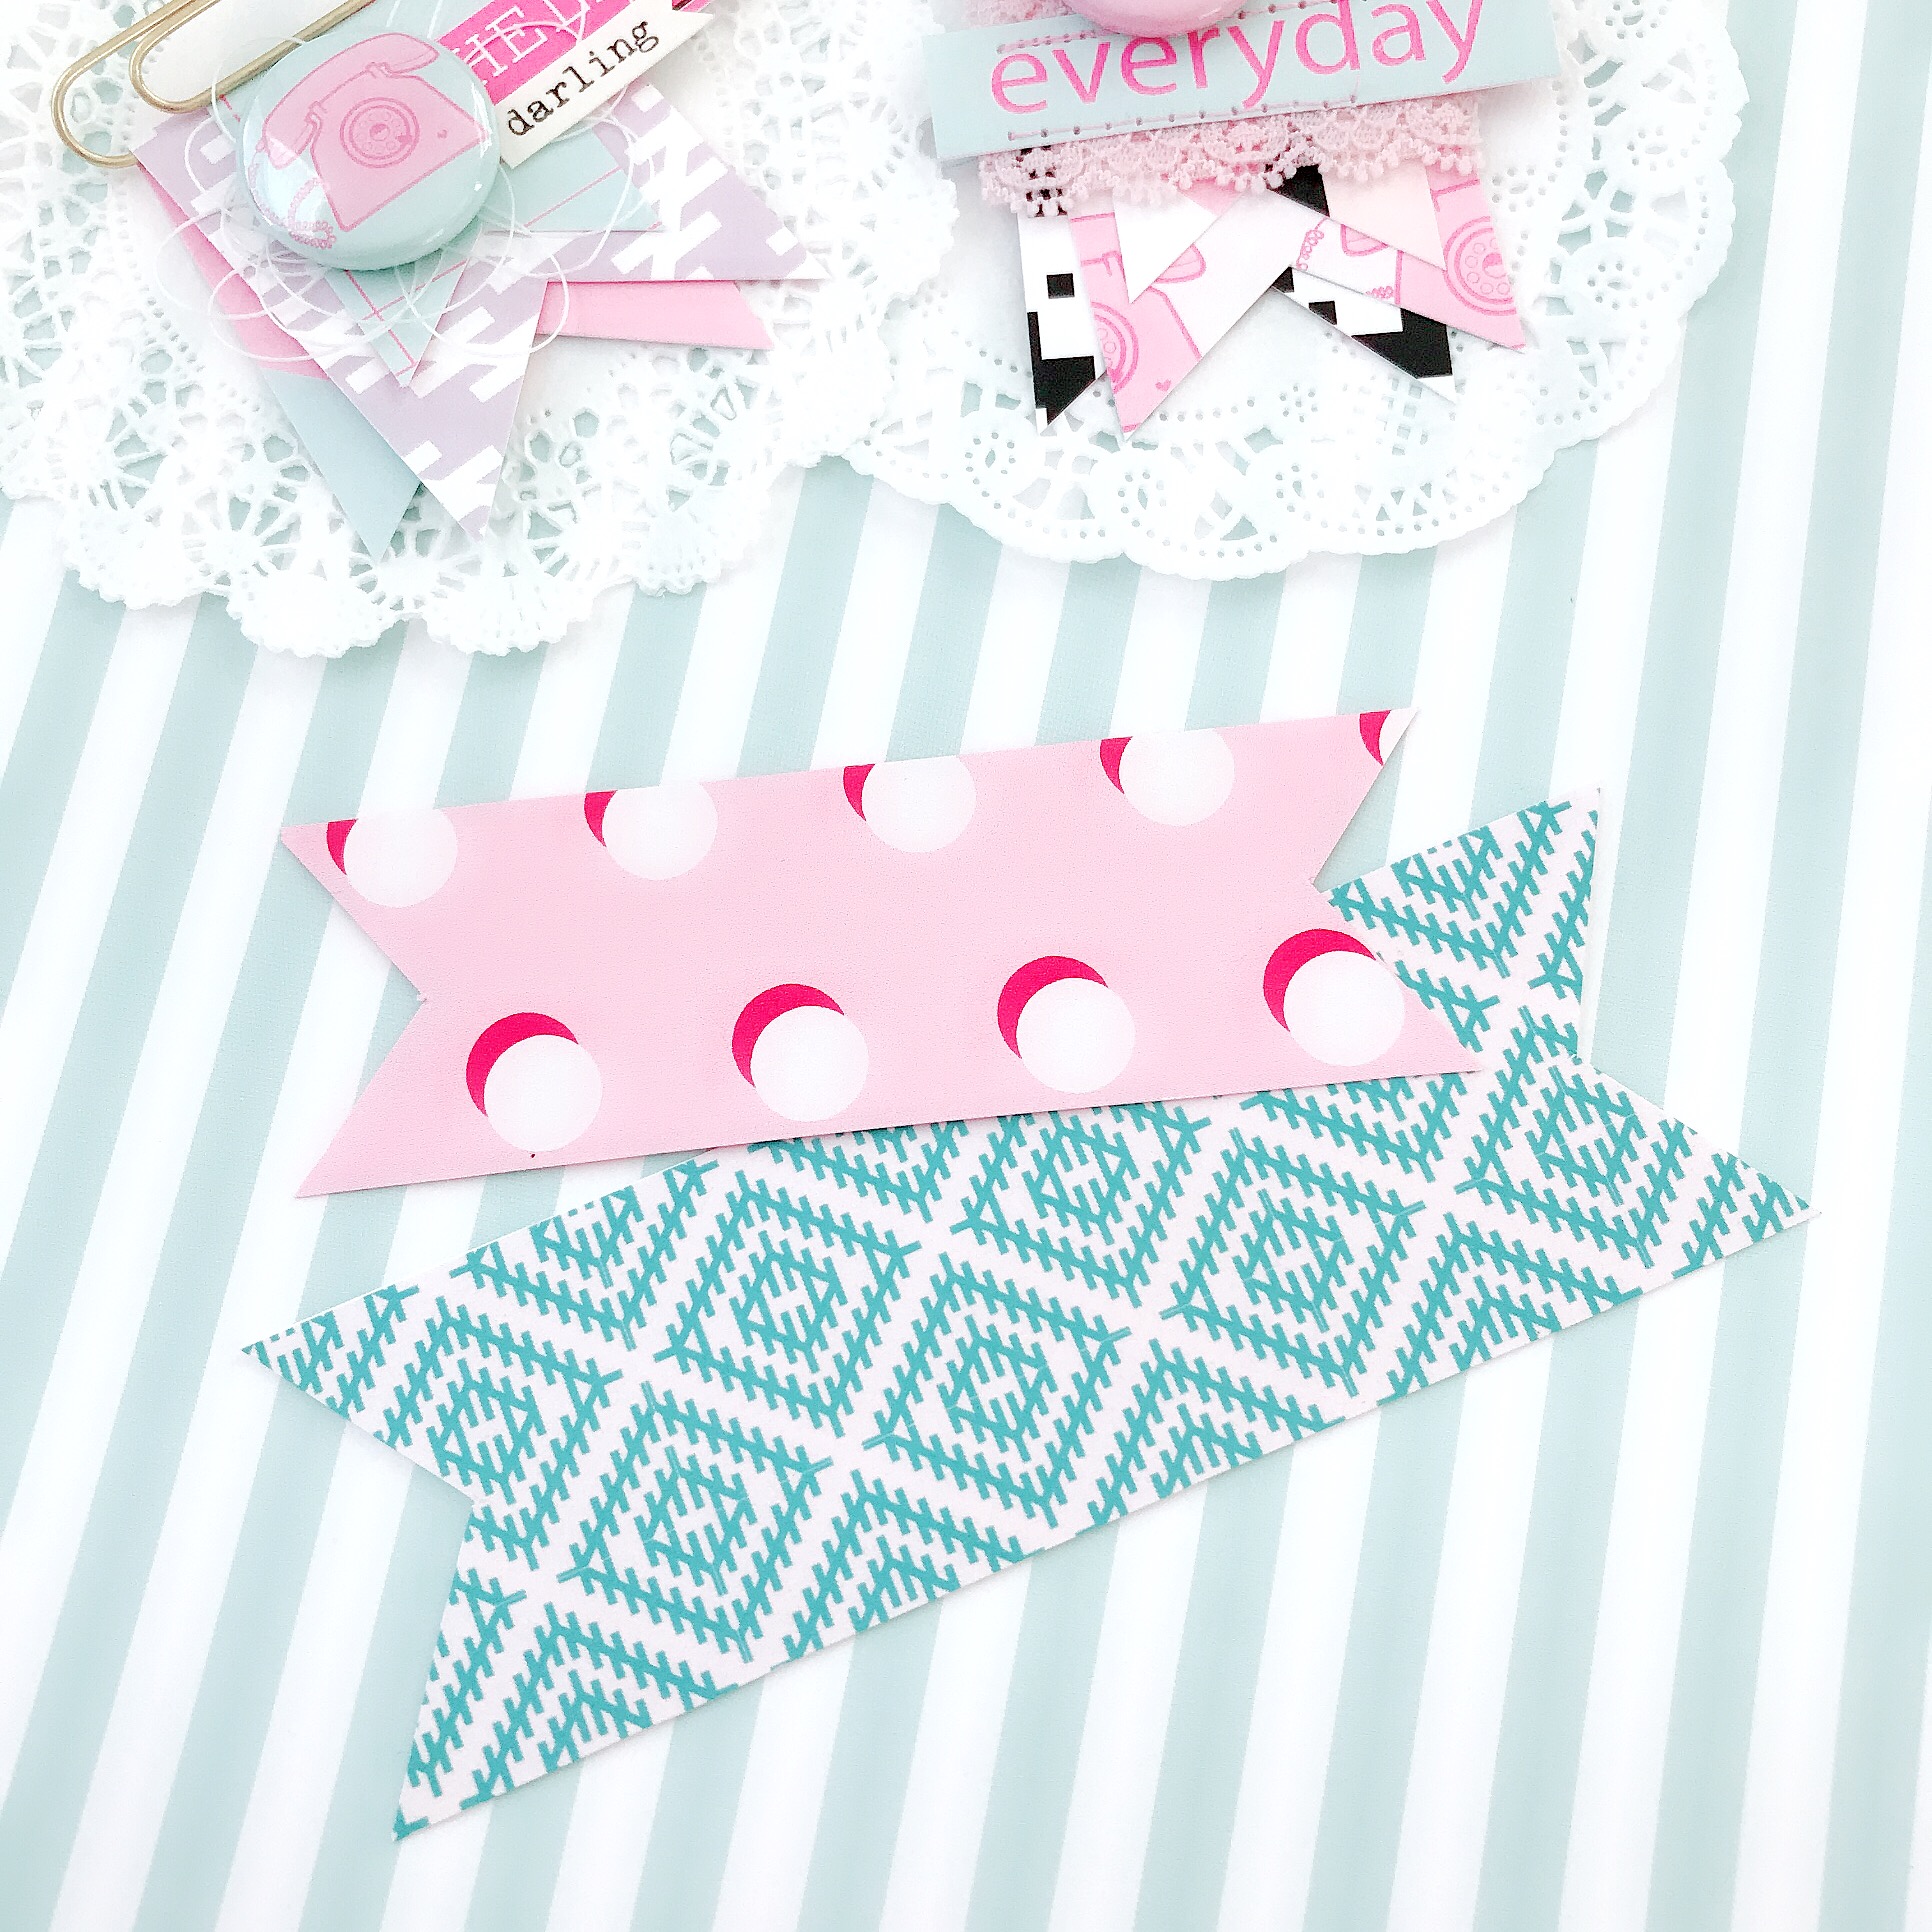
As a general rule I like to have chocolate in my house at all times lol!  So when I saw this adorable basket/purse in the Silhouette Design Store I thought it might be the perfect place to store a piece or two while still looking cute on my kitchen counter.  Plus, I have a fair few birthdays coming up and think it would be fun for holding a gift as well. The basket design ID is #63379 by Lori Whitlock. I started out by enlarging my basket to as big as it would fit on a 12 by 12 sheet of paper using my Silhouette software. Then I used a white piece of textured cardstock and ran it through my Silhouette Cameo to cut out the base. Next I took one of the planner inserts that had a blue background with polka dots and cut out a piece to layer over the front of my basket. Again, I used my Silhouette Cameo for this. The strips on the sides are from the same sheet of paper, and I measured what size they should be with a ruler and cut them down to size with my paper trimmer.  Then, I used red-line tape on the inside flaps and finished the assembly of my base.

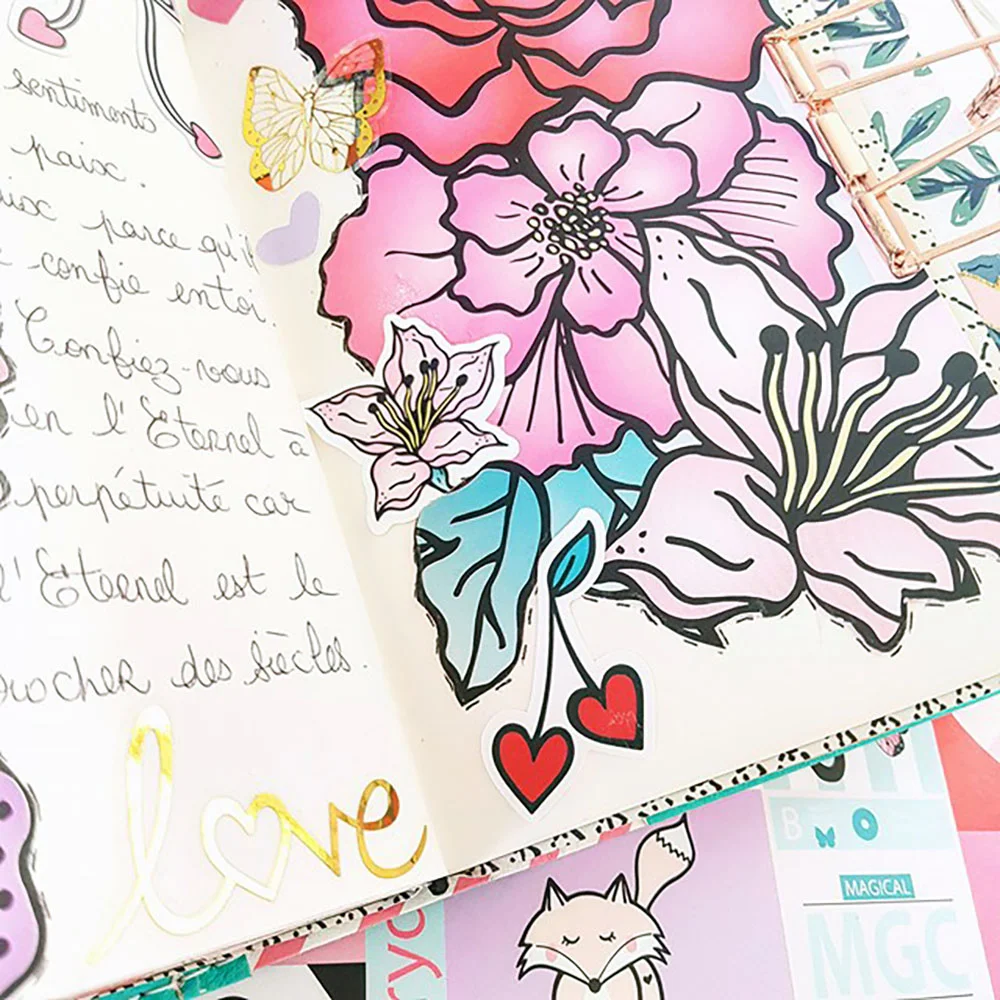
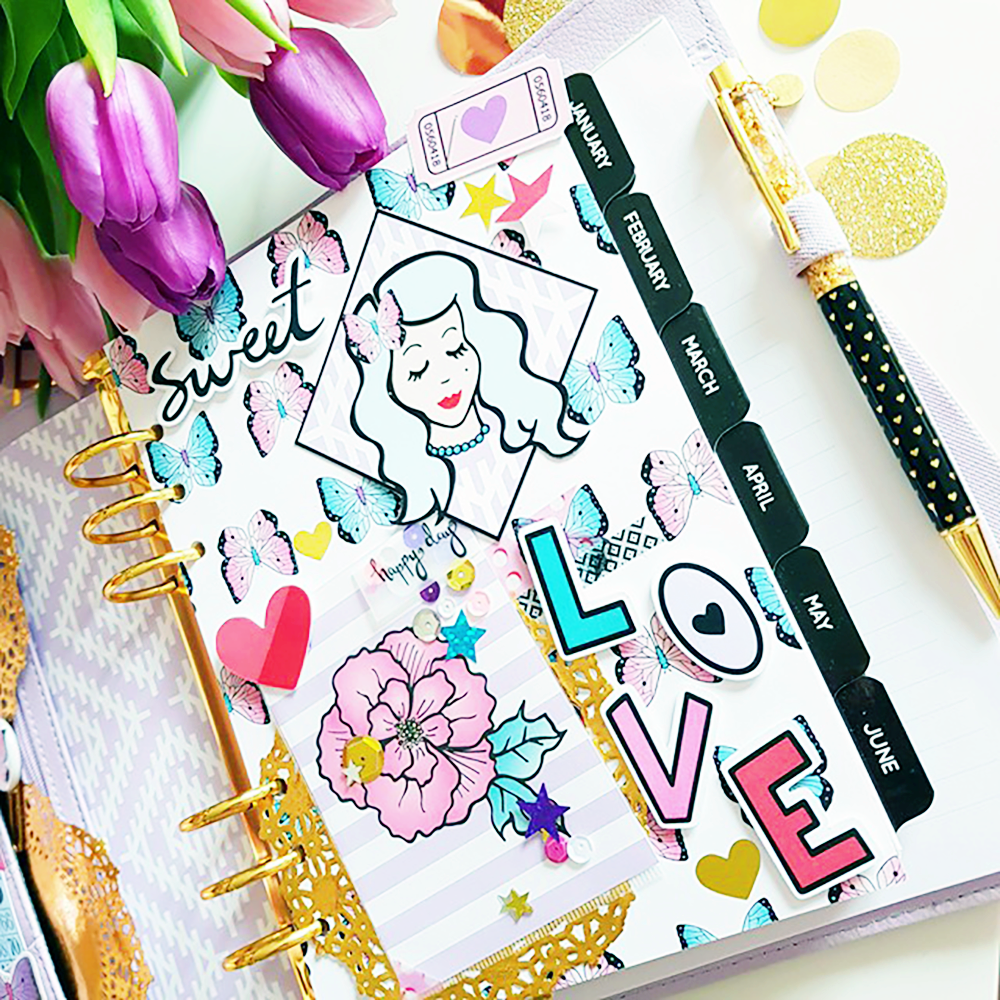
Now that my base is complete I decided to find some flowers from the Silhouette Design Store to add to the front of my basket.  I ended up choosing design ID #198967 by Carina Gardner. It came with quite a few flowers as well as a couple different types of leaves.  Again I used my Silhouette Cameo to cut everything out. For all the leaves I chose the planner insert with a super fun pink writing paper design. The backside is a light purple and blue background with a cute kitty, so most of the leaves are pink but three of them I turned around using the purple or blue.  For the center of each of the flowers I used the same white textured cardstock for consistency.
 

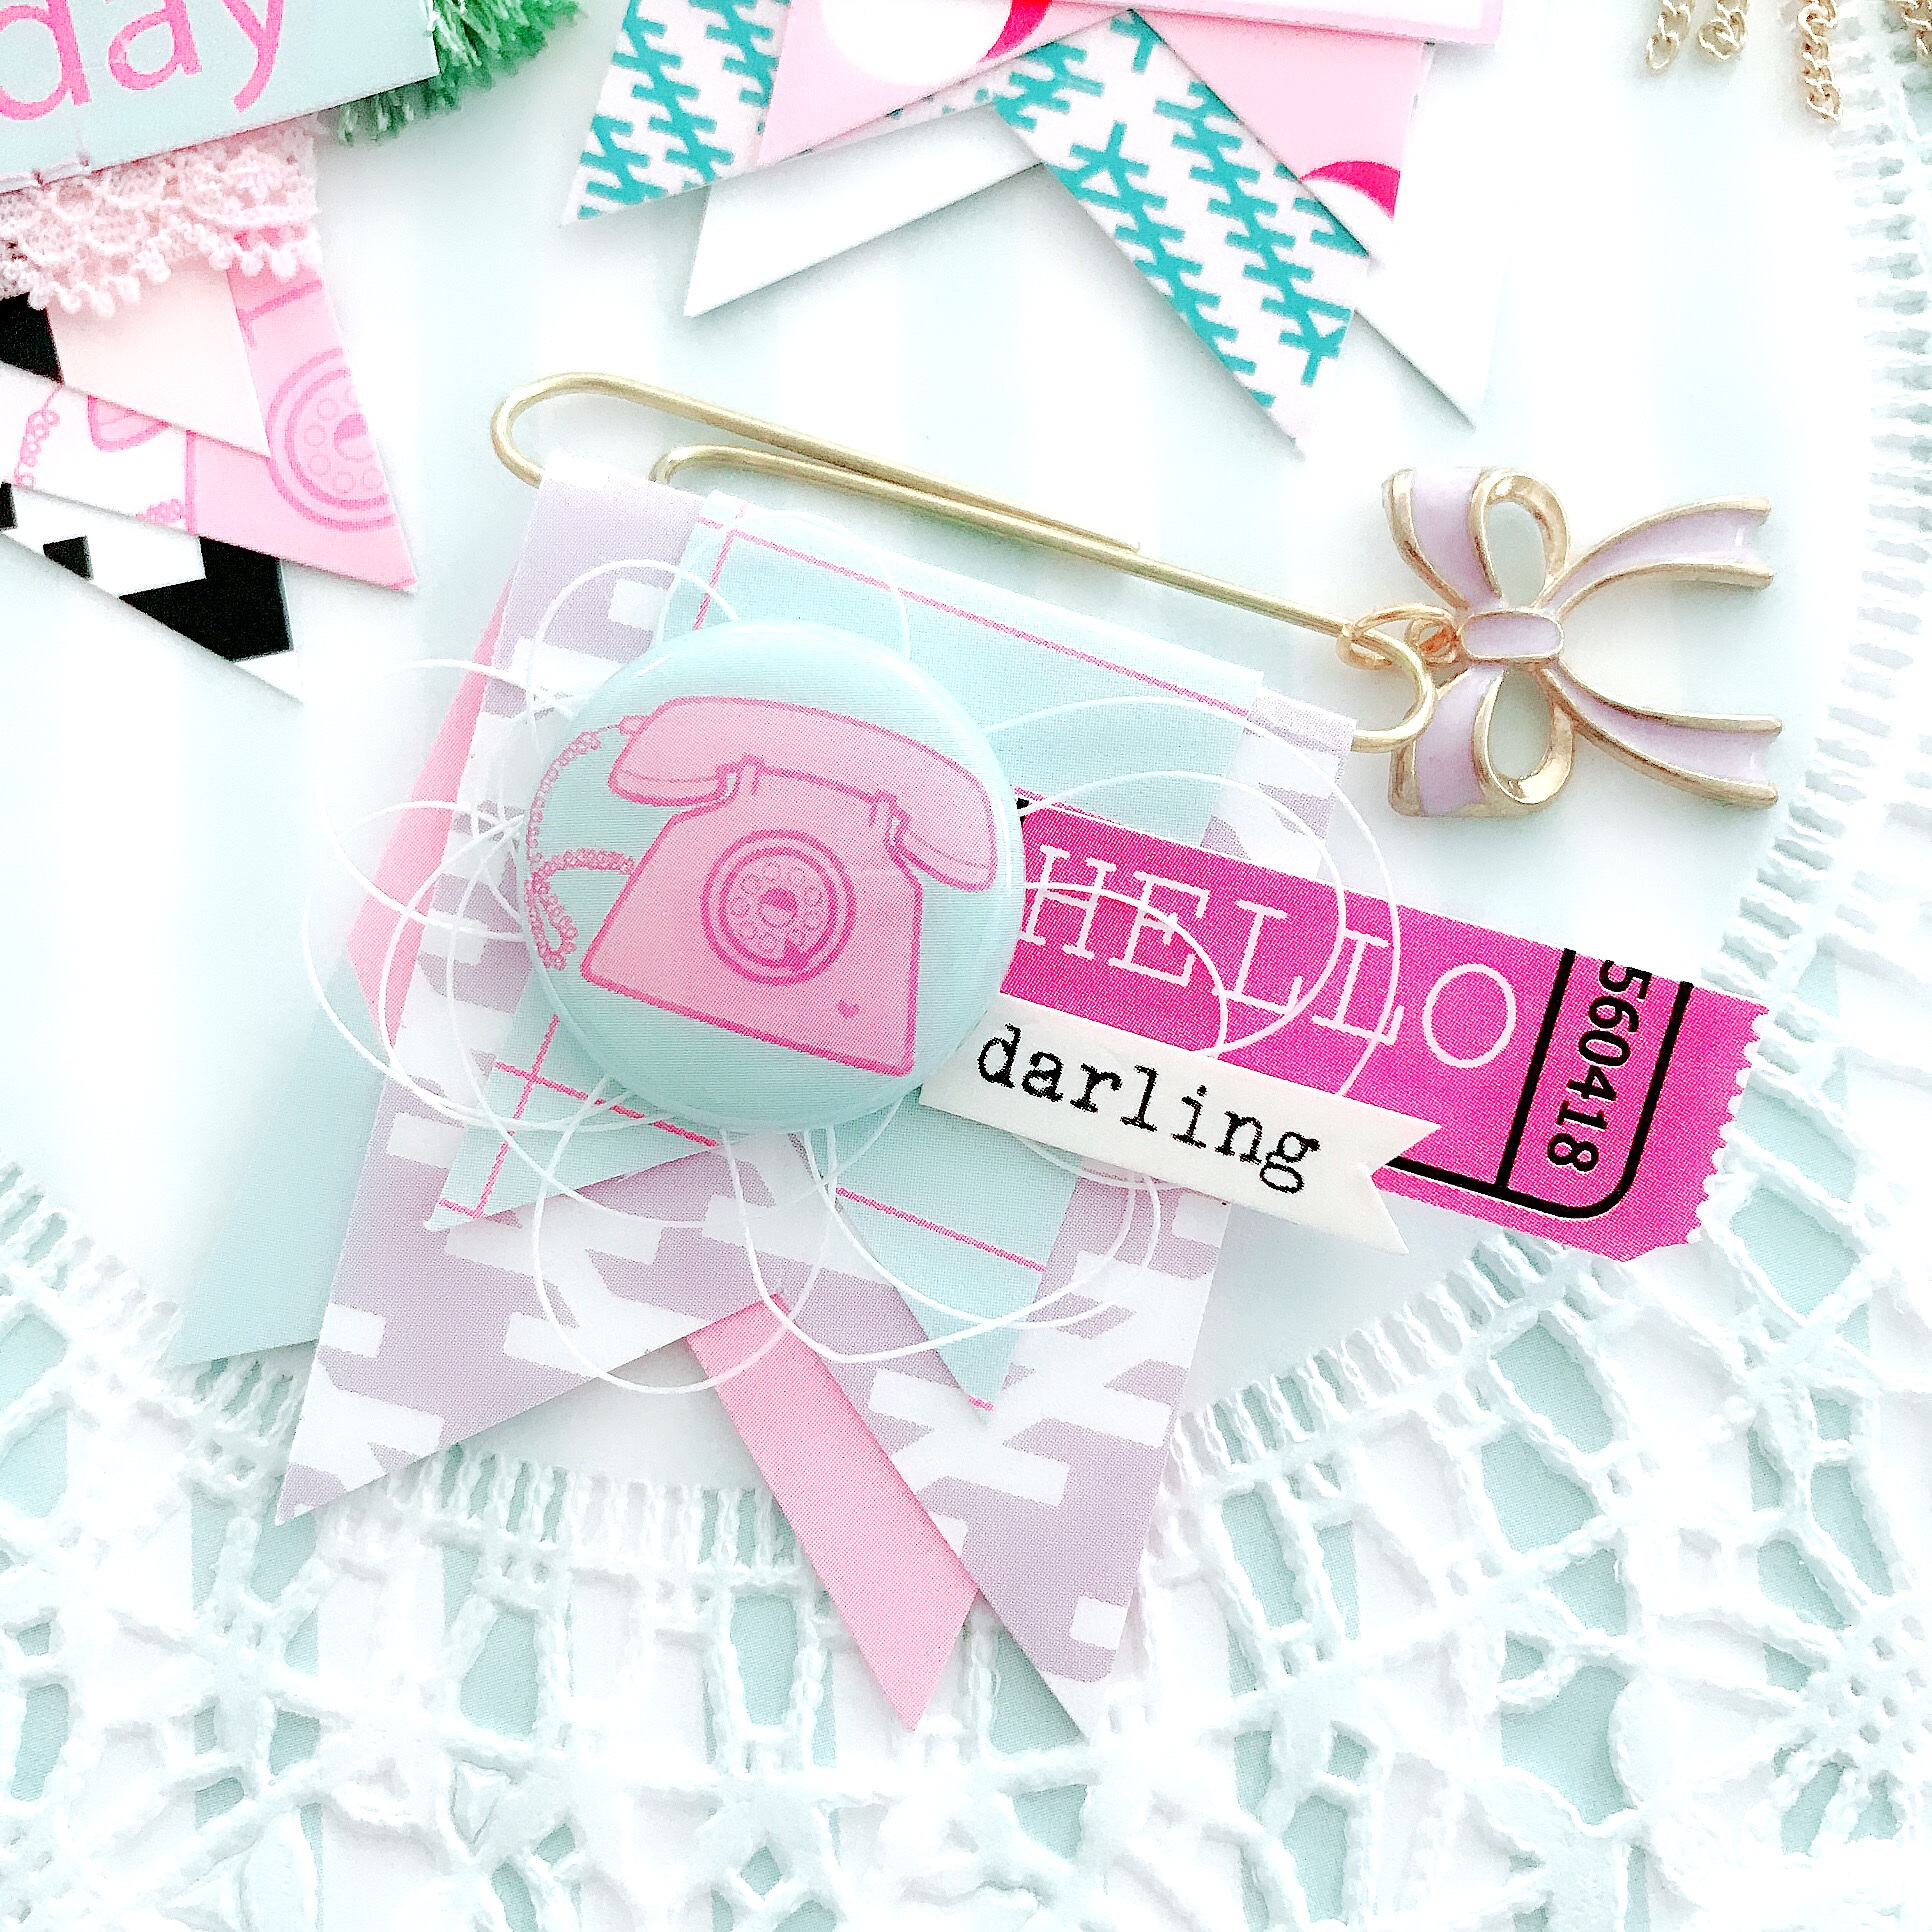
I knew I wanted to use lots of color and patterns for the actual flowers to make them pop, so one is cut from a planner insert with a pink background and retro blue graphic design that reminds me of an eye. The other two are cut from 12 x 12 papers. I chose the ticket design, and and the design cut into a bunch of pieces and colors. All are super colorful and fun! Now that all my pieces are cut out it's time to assemble the flowers and decide where to place everything on the front of my basket. I love this part because I get to be creative :-) First I attached the flowers, next the fern-like leaves, and lastly the large and small leaves of the same shape. To finish decorating I decided to add iridescent Swarovski crystals to the center of each of the flowers, and tied the handles at the top together with a pink ribbon.  Now my project is all done and ready to be used!

Thanks for taking a look at my project, and I'll see you next time!
Cheers!! Carrie

"Hello Spring" Printable

Hello everyone! It's Andrea here today, and I wanted to give you this fun free printable to wish you a happy Spring!  I hope you all had a wonderful Easter-time and that you are enjoying the new season!  The printable comes in 6x8 and 4x6!  Just left-click the graphic, and then right-click and select "Save Image As..." to download it in the size you want.  Hugs, and remember to live your life as a fairytale!!!  :)

6x8

4x6

Little Paper Clips with Henny

Hello 👋🏻 and happy Monday lovelies... it’s Henny again and today I wanted to share with you these little paper clips I made for first time using various materials of papers and elements from this kit.


So what I basically do is just trim two different double sided (patterned) pieces of paper and cut them into strips in bigger and smaller sizes and pictured below.

henny7.jpeg

The bigger one measures approximately 5”x1.5” and the small one measures just slightly smaller than the bigger strip of paper. Trim a triangle shape from the ends of both strips to make banners as shown above.


Then fold each strip in half, but crease lightly at the top, leaving some room as you’ll need to slip the paperclip on later. Then fold the other smaller strip over top of the first banner. Remember, it doesn’t have to be perfect.

Slide banners over the paperclip, and then you can crease them tightly if you wish to. Next all you need to do is decorate your clips however you like!


 The cute little paper clips are so adorable, they certainly will make such cute additions in Planners, bibles, books, tags, as gifts to your crafty friends or anything you can come up with.

 I hope you have enjoyed a look inside my little project today and it gives you lots of inspiration for your own.

Until next time,
Henny

Adeline's Faithful Life TN

Hi my Fairy friends,
It’s Adeline today for the Fairytale Club’s blog, I have not yet given you all the secrets contained in my traveler notebook!!!!! I think it might inspire you for yours.

So let me introduce you to my faithful life traveler notebook, I chose Julie Nutting from My Prima Planner’s journal for this purpose.

29852829_630468493959592_783595374_n.jpg

I love decorating my traveler’s cover with some charms and die cuts, so I cut a project life card from “Happy Days” kit, in love with this cherry heart design and I slipped it into the elastic and finally, I added cute die cuts, it’s very springy, don’t you think?


I think it adds a little cheerful to my cover, I find it so much prettier than not putting anything.

29663538_630468347292940_1774546755_n.jpg


Every month I do the Faithful Life Challenge from The Reset Girl, a challenge based on the study of the Bible.

Each month a different theme and each week some verses to study. I love this challenge because it allows linking spirituality and creativity.

29666047_630468363959605_573284234_n.jpg

So this week, I highlighted the verse of Esaie with the kit with its beautiful huge flowers and the others cute element of “Happy Days” kit.

29666103_630468390626269_1709631767_n.jpg
29750650_630468437292931_15162245_n.jpg

First I made my title by combining some different piece of the kit and mine.

My gold paper napkin in order to add light that I cut, on it I stuck a label and strips of washi and I finished with the little cat and bow die cuts.

29663624_630468403959601_405758454_n.jpg

For the second part of my page, I cut a 12x12 paper with the flowers pattern, these flowers are so beautiful can’t resist to add them in my notebook.

29666594_630468463959595_70433932_n.jpg

I cut the outline of the flowers, I love this oversize side of these flowers that makes us feel like Alice in Wonderland!!! Tiny !!!!

And finally, I added some gold foil transparent stickers, my favorites!!! which remind the gold paper napkin and some little die cuts.

29745941_630468443959597_1472367548_n.jpg

I hope you have appreciated my post, see you later for other fairy project and have a good Easter time with your family and friends, enjoy!!!!

With love,
Adeline


Adeline's Happy Days Planner Dashboard

Hi my Fairy friend, it’s Adeline today for The Fairytale club’s blog, it’s time to say goodbye to Winter and say hello to Spring. 

Beautiful days are coming so the new kit called “Happy Days” falls right, a fresh and colorful kit with pretty new design, love it so much especially the cute little cat, the ice cream…

So I created a new set up for my planner kikki k lilac which is just perfect for this kit with pastel shades with a dominant of pale purple.


Creating a new set up for my planners is the thing I prefer to do during my planner sessions, so that’s so that's what I did with this kit that inspires me a lot.

First I made my dashboard, I choose the cute spring A5 insert with butterflies, I just perforated the paper to be able to integrate it into my planner.

29666049_627891217550653_36350004_n.png

I decided to start with the bottom of the insert with a little shaker card and a gold paper napkin. I cut the project life paper, I chose the one with the flower, it reminds me of the Spring season, perfect!

For this shaker card, I used the flair button packaging, I always try to reuse product packaging. I inserted the card in the packaging and I added some sequins to have the touch of glitter that I love.

I added some finishes with the red heart die cuts that stand out on the pastel colors, so I added some pieces of transparent washi tape and finally, I added the letters LOVE in 3D.

I took the project life paper and I cut the girl picture, I added it to my insert, the glamor touch of this setup.

I added some details like the word “SWEET” and the ticket I stapled to the paper.

29138665_627890237550751_1124152753_n.png

I think this part is my favorite in creating my planner decor: the inside of the cover, my friends say I’m part of the “ team chargée” in French, which means that I like when there is a lot of decorative element in my planner, it's true that I like it …

I really like this accumulation of dies cuts, project life card, paper clips and napkins.

I love creating paper clips with the kit flair buttons, so pretty and that gives relief to my set up which it’s important to me like the brightness of foil and glitter.

29345432_627890860884022_1162931508_n.png

I hope you have appreciated my post, see you soon for another post with “Happy days” kit.

Kiss from France,
Adeline


Double Sided Shaker Dashboards with Henny

Hello and happy Monday lovelies... Henny again today, sharing with you my new shaker dashboard I made for my A5 size planner. 

image1.jpeg
image9.jpeg

So loving the designs and colors in this “Happy Day” kit. Can get enough of these cute adorable houses 🏠 which I’ve chose it and made as my shaker dashboard.

So what I did was cut all of the windows out. Then I used one sheet of clear pocket and placed on the back of this house. Before I filled up the pocket with sequins or confetti, I secured the pocket by taped every squares in every window, and leave the top pocket stayed open to fill with sequins later on. 

Once I have the pocket taped in, I used my “permanent waterproof marker” to draw the lines on every windows as the imagination of the window. Then I filled it up with lots of sequins and confetti, and closed the pocket with clear tape one side adhesive. 

And added embellishments with some diecuts from the kit.

image7.jpeg

Here’s the back side of the dashboard. I thought the bag of sequins was too plain if letting it be like that. I wanted to cover all of the appearances taped so I used one of the dividers from personal size ones, chose this kitty design and thought it would be perfect to hidden the tapes.

Anyways, I cut the kitty face off from the picture, then using my waterproof marker again and start drawing the kitty face. And there we have a double sided shaker dashboard ☺️.

image11.jpeg

Can’t say it done yet before completing the planner pocket, isn’t it? I simply love with how everything has turned out. 

Thank you so much for stopping by. I hope you have enjoyed your time reading this by like this post. 

Until next time 😉.

Sincerely yours,
Henny