Aimee's Tag Flip Mini Album

Happy New Year! Aimee here, and today I have a super cute little mini album for you.

1.JPG

I can’t resist a mini album! And when I saw the 12x12 “Key to the Kingdom” and “The Fourth Realm” Papers from the “December Dreams” kit I knew I was going to make a mini!

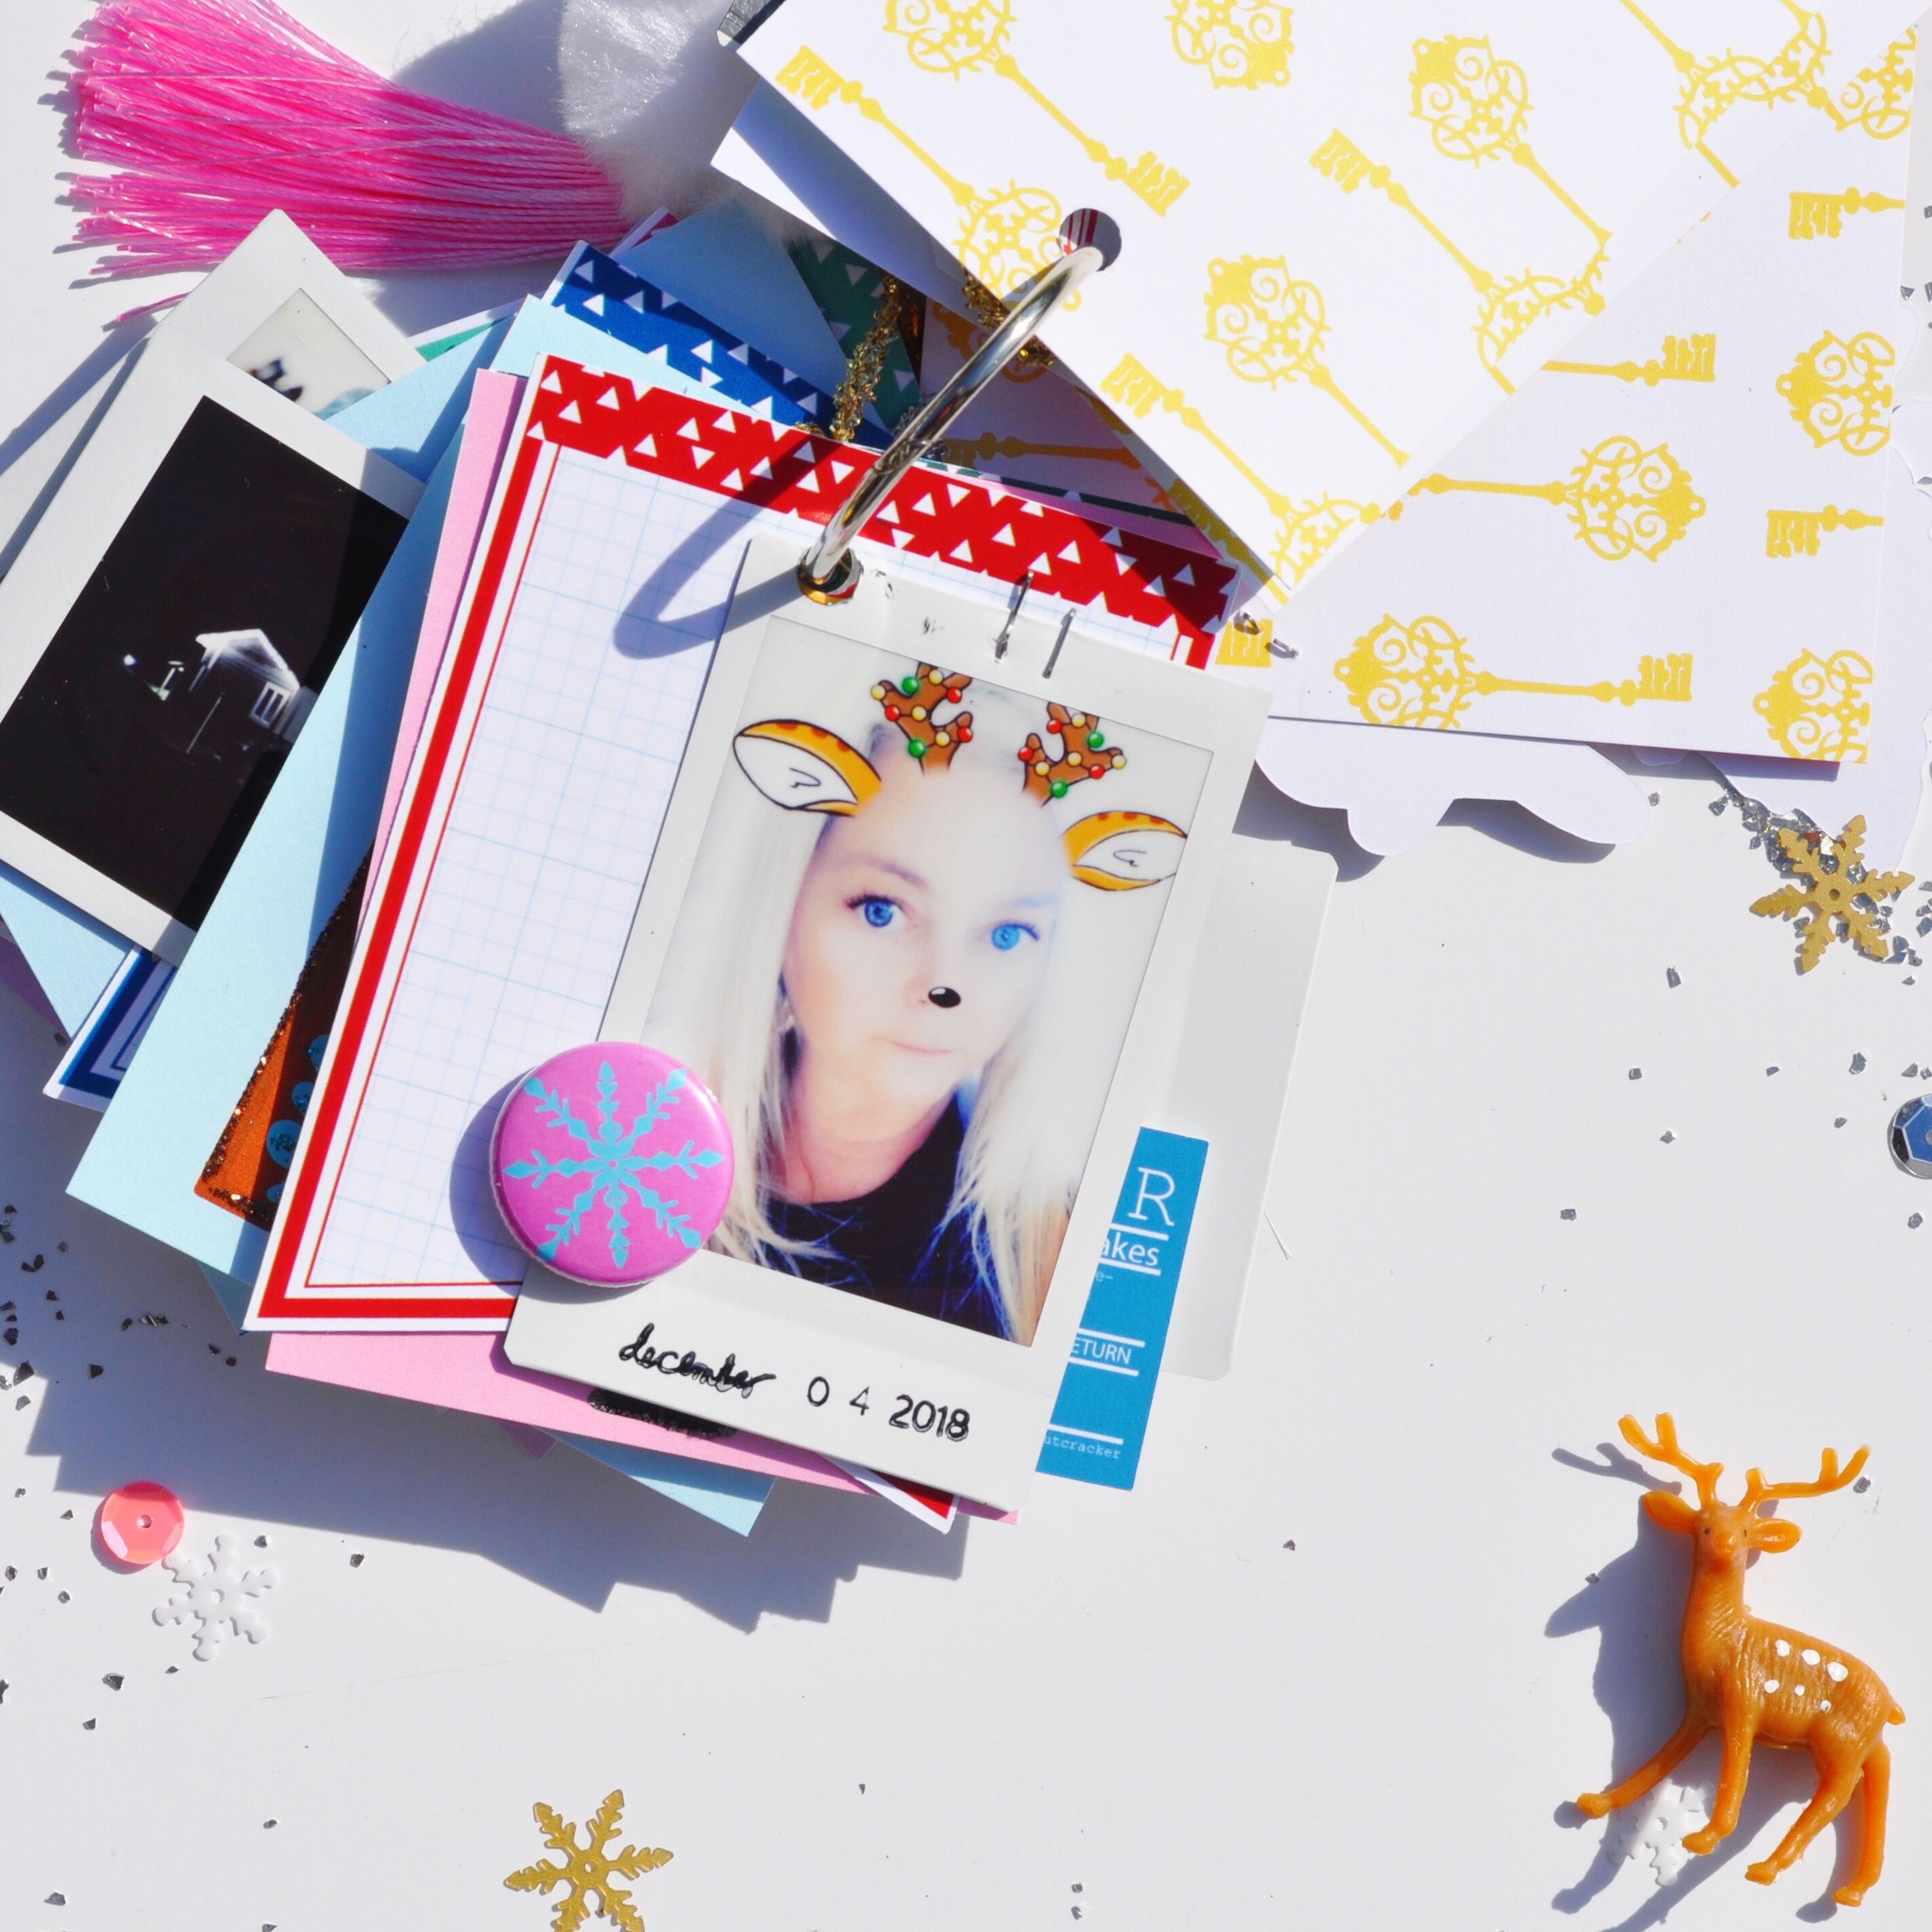
The point of my mini is just to highlight some of the magical moments from the Christmas Season. Plus, I love to print photos with my Instax Share Printer. These little minis are a great way to use those photos.

I started by cutting up the 12x12 papers into the 3x4 cards. I then paired each 3x4 card with a bookmark tag.

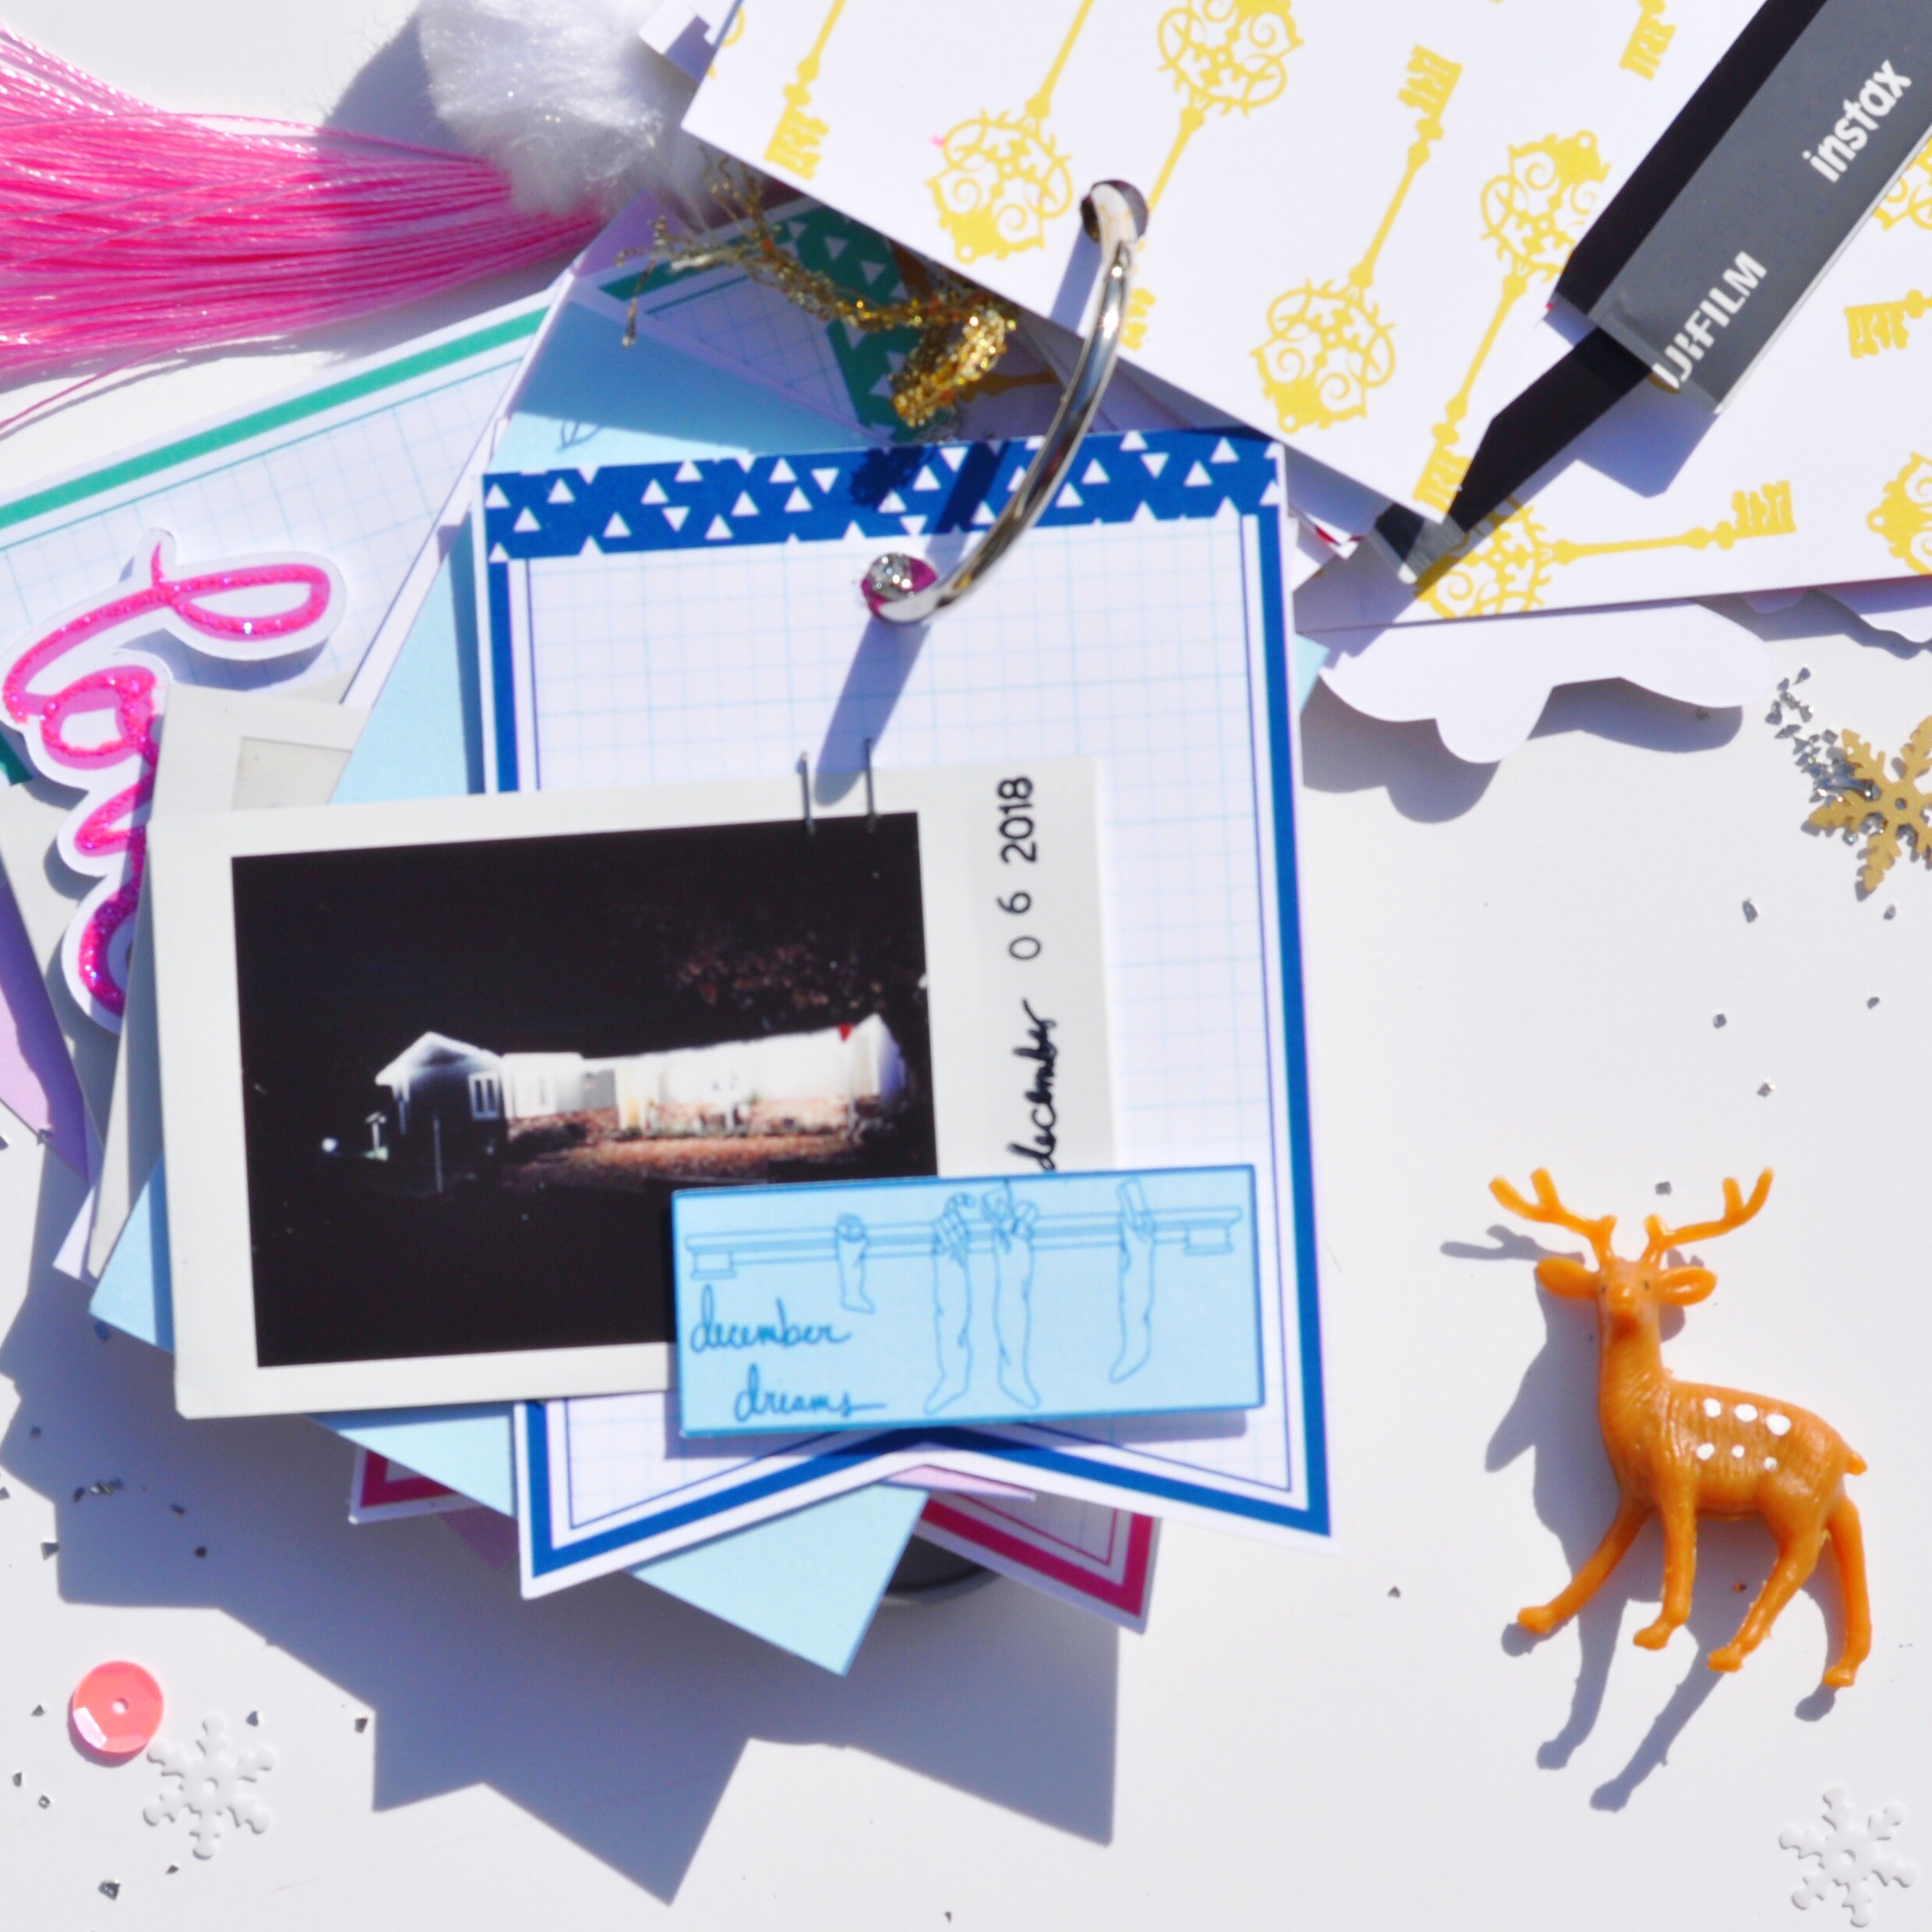
I laid out all the 3x4 cards with the bookmark tags. I printed my photos and placed them on the tag of choice. I then embellished each photo and bookmark tag with die cuts and little bits and pieces. I dated my photos with a date roller stamp. I also love using my tiny stapler to attach things, it’s the perfect scale.

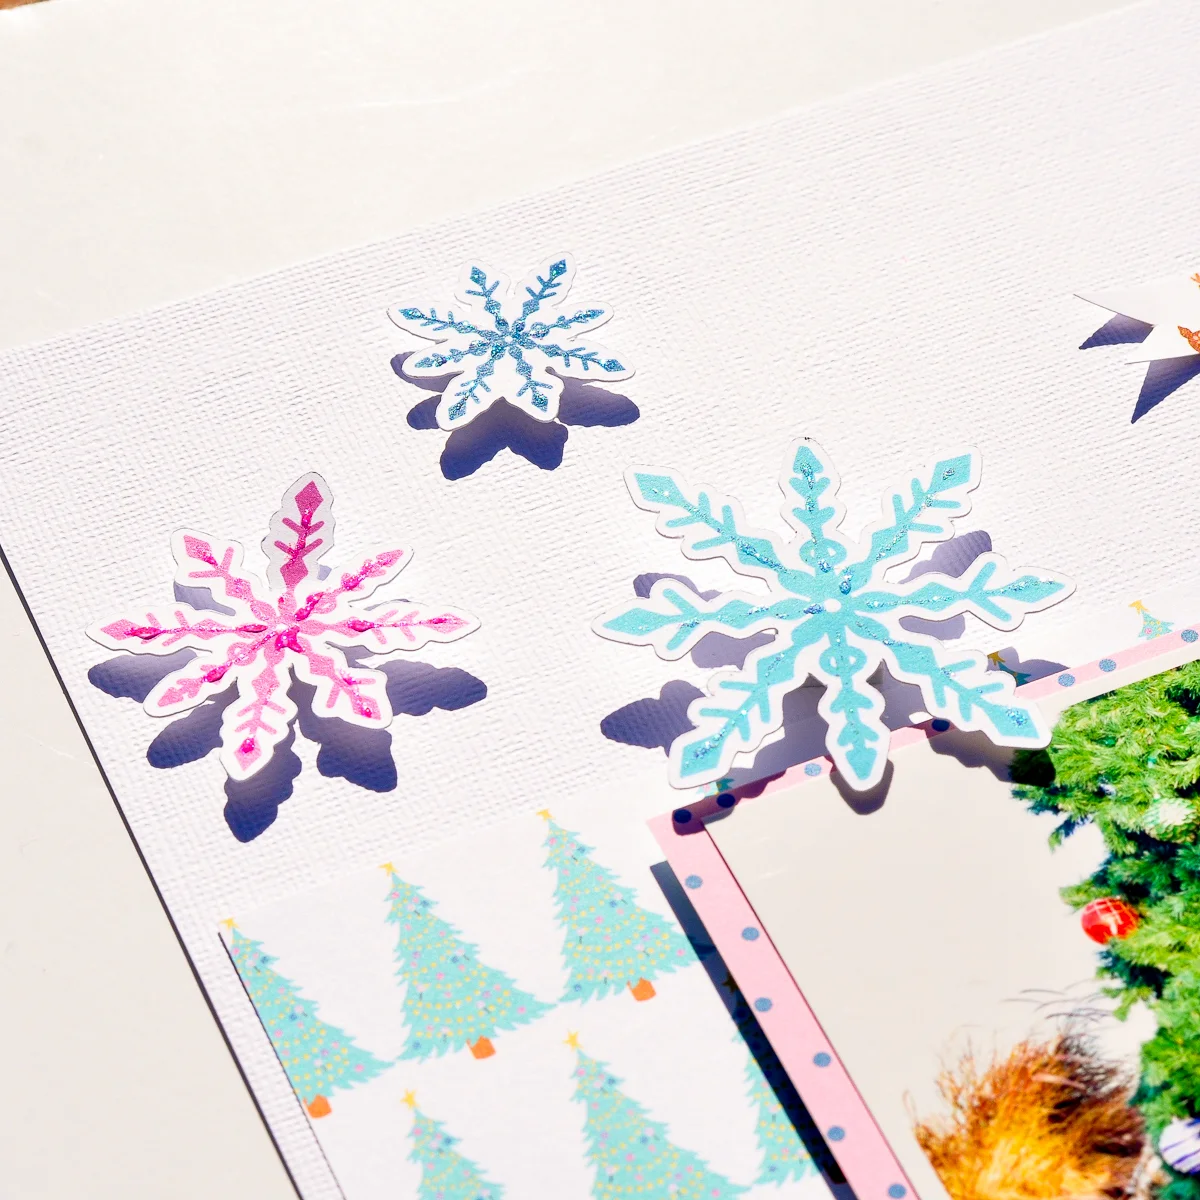
I choose one of the cards to be the cover and embellished it. I bedazzled all my 3x4 cards with stickles {glitter glue} to make them POP!

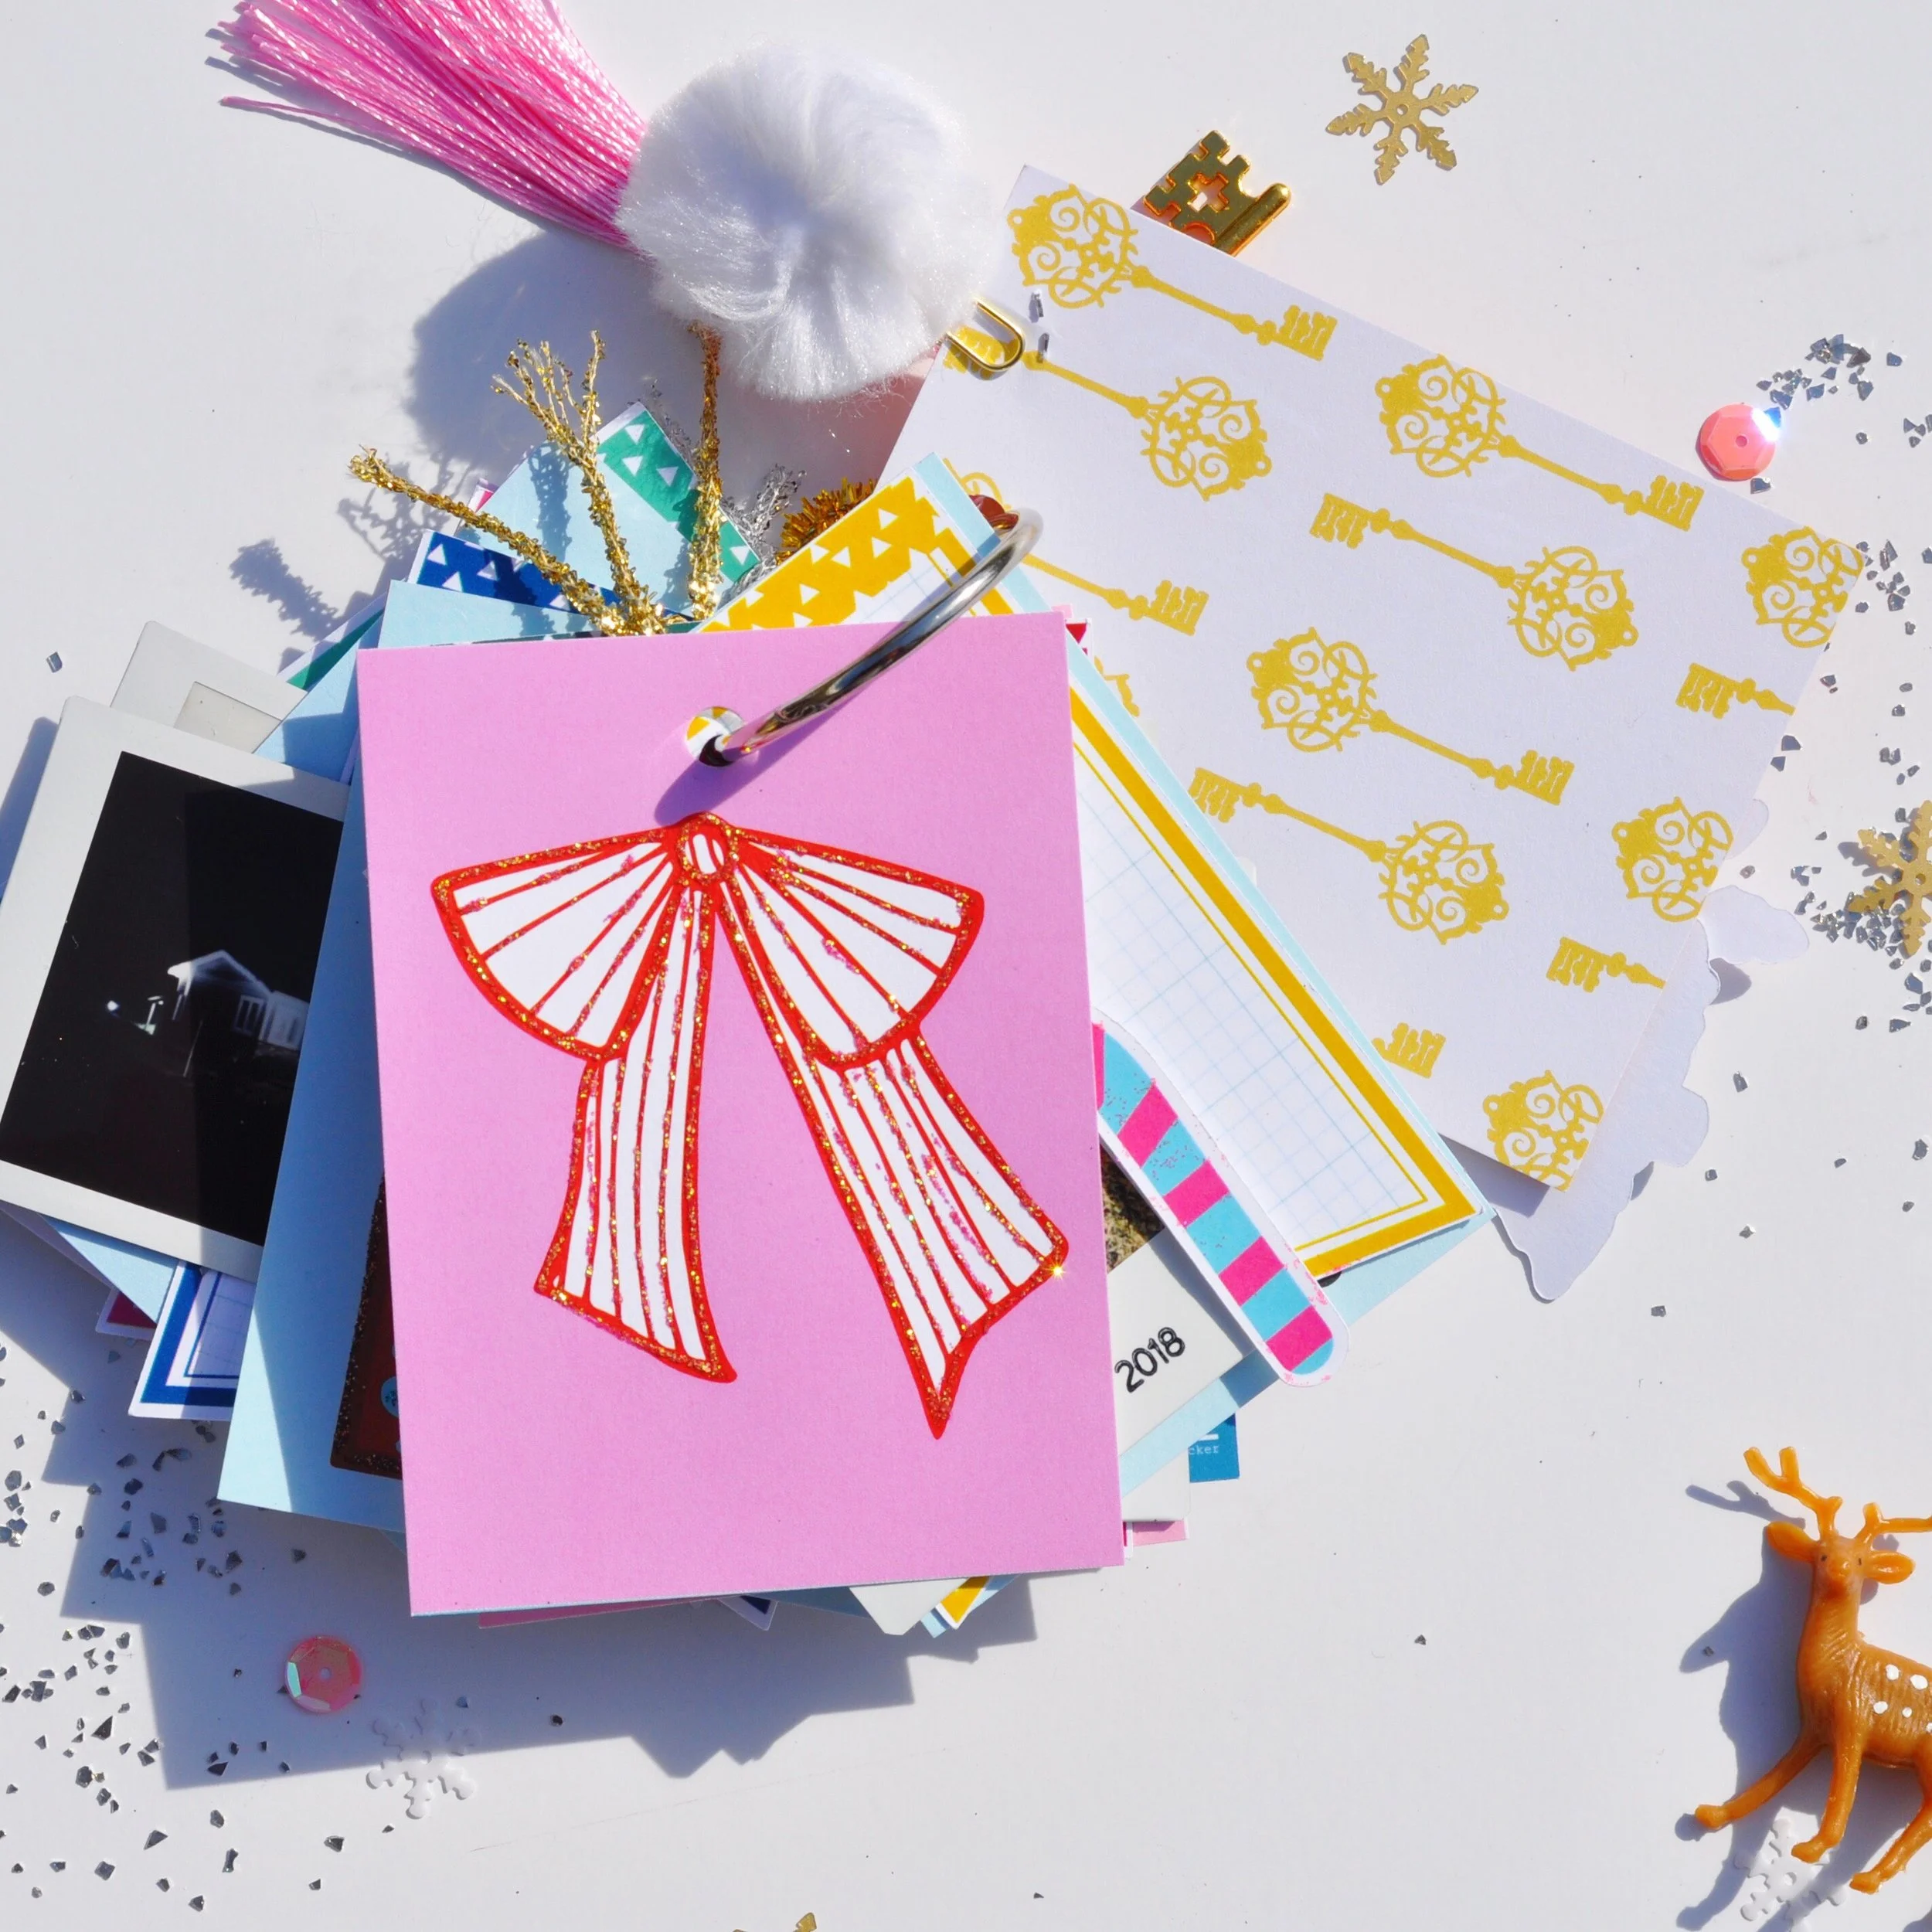
The pom pom paper clips are great for extra embellishing. I actually cut the back of the pom pom off so it would sit flush when the album is laying down. I also stapled it to the cover so it was secure. Don’t forget the Key to the Kingdom, I added a spilt ring to the key so it could be a charm

For reals, this is the easiest project! The whole album only took me an hour to create assemble {minus the dry time for the stickles}!

Do you enjoy creating mini albums?

XOXO Aimee

Aimee's "December Dreams" Layout

Hi there, Aimee here! Hope you are having a wonderful Monday, lol. Today I’m sharing a layout using “December Dreams.”

12-3-18.jpg

While I was out of town for the Thanksgiving holiday, my husband and I drove around and found some fun places to take photos. We came across this half-decorated tree, and I was all, “husband STOP this is a perfect photo opp!”

So, with fashionable style we took photos with a half decorated tree with a tub full of ornaments behind us. I highly recommend learning how to use the timer on your camera and have a tripod handy. I took some pretty awesome photos this way.

Keeping it simple as always I used my go to 8.5 x 11 white cardstock for my base. I cut a piece of “Oh Christmas Tree” just smaller than my cardstock. I layered my photo on one of the A5 dashboards, and cut it down to mat my photo.

3.jpg

I used 3-d foam to pop my matted photo of the page. I fussed around with some die cuts and settled with the 3 snowflakes, the Nutcracker, Sugar Plum Fairy and of course the Christmas Tree.

I also used the printed strip at the bottom of the 12x12 sheet of “Oh Christmas Tree” to create the ribbon flag, and layered it with the “joy” flair.

Of course, I stamped my layout with the date the photo was taken {Date roller stamp from Heidi Swapp}.

2.jpg

And to take my layout to the next level I add sparkles to my die cuts. I dug into my old supplies and pulled my box of Stickles, I haven’t used these in ages. I love this extra sparkly touch!

I love this silly photo of my husband and I. Do you every stop at random places to take photos? Thanks for stopping by the blog today!

XOXO Aimee