Veronica's "My Magical World" Scrapbook Tag Flip Album

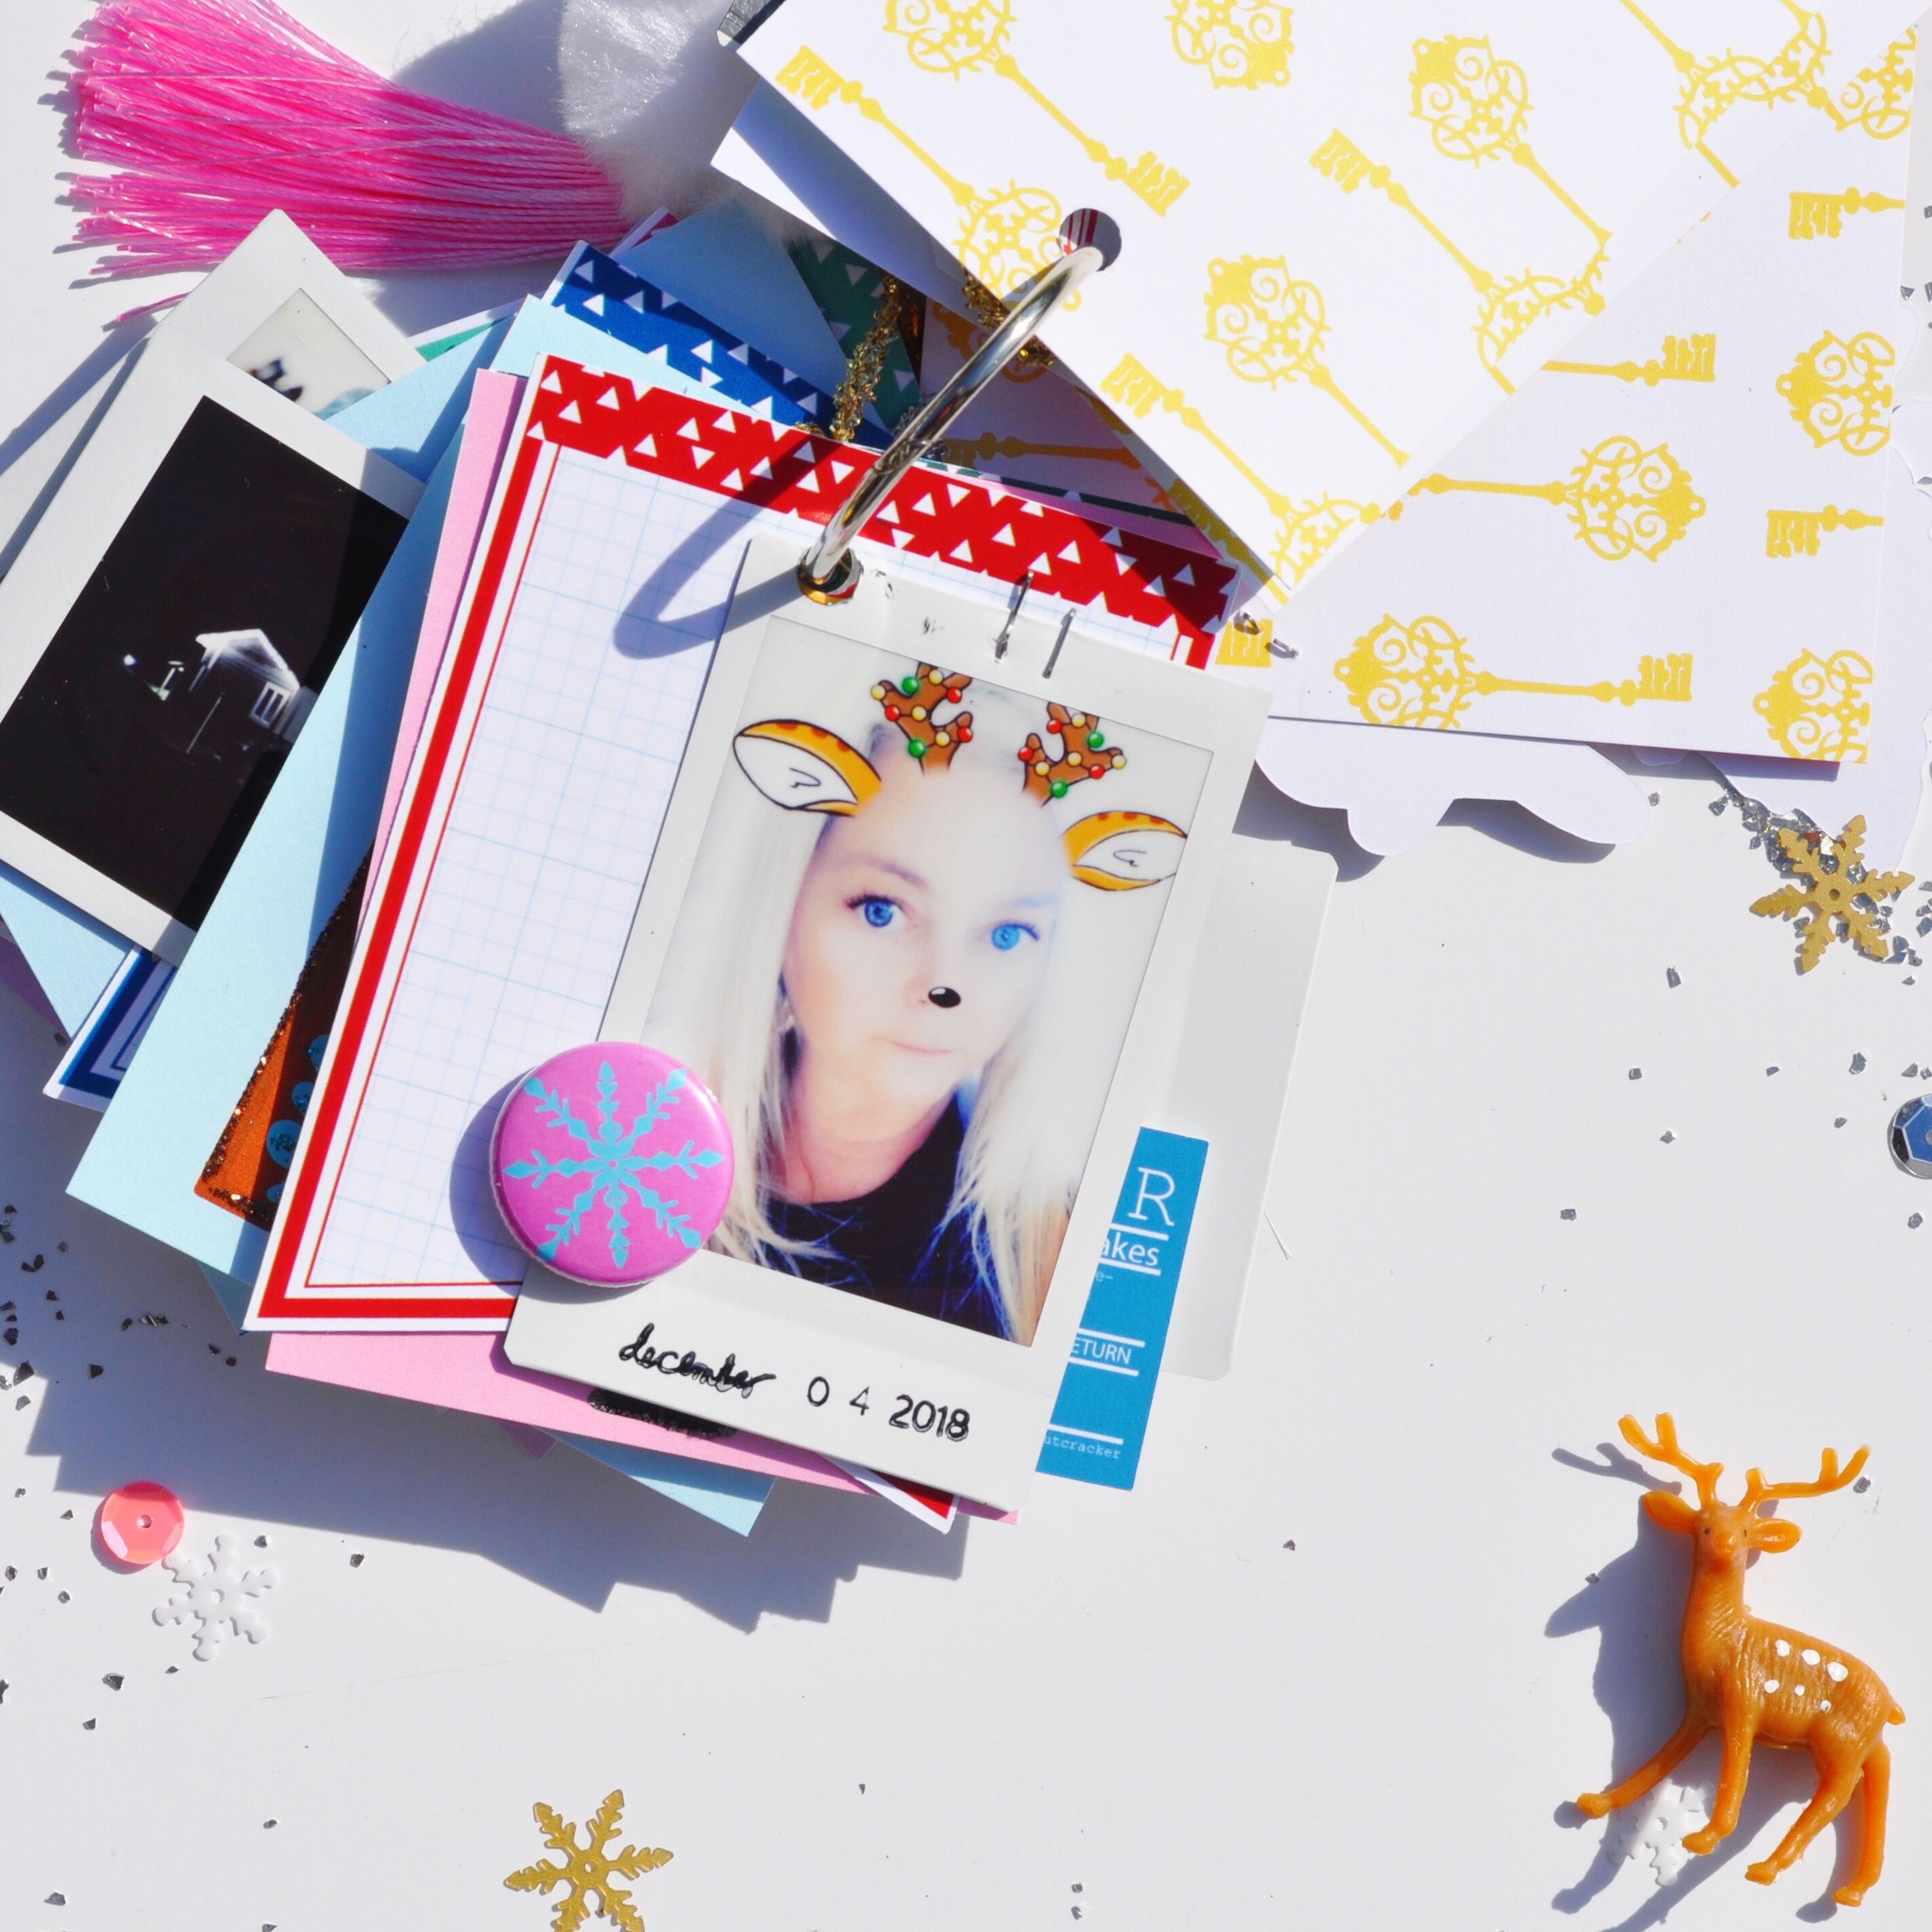
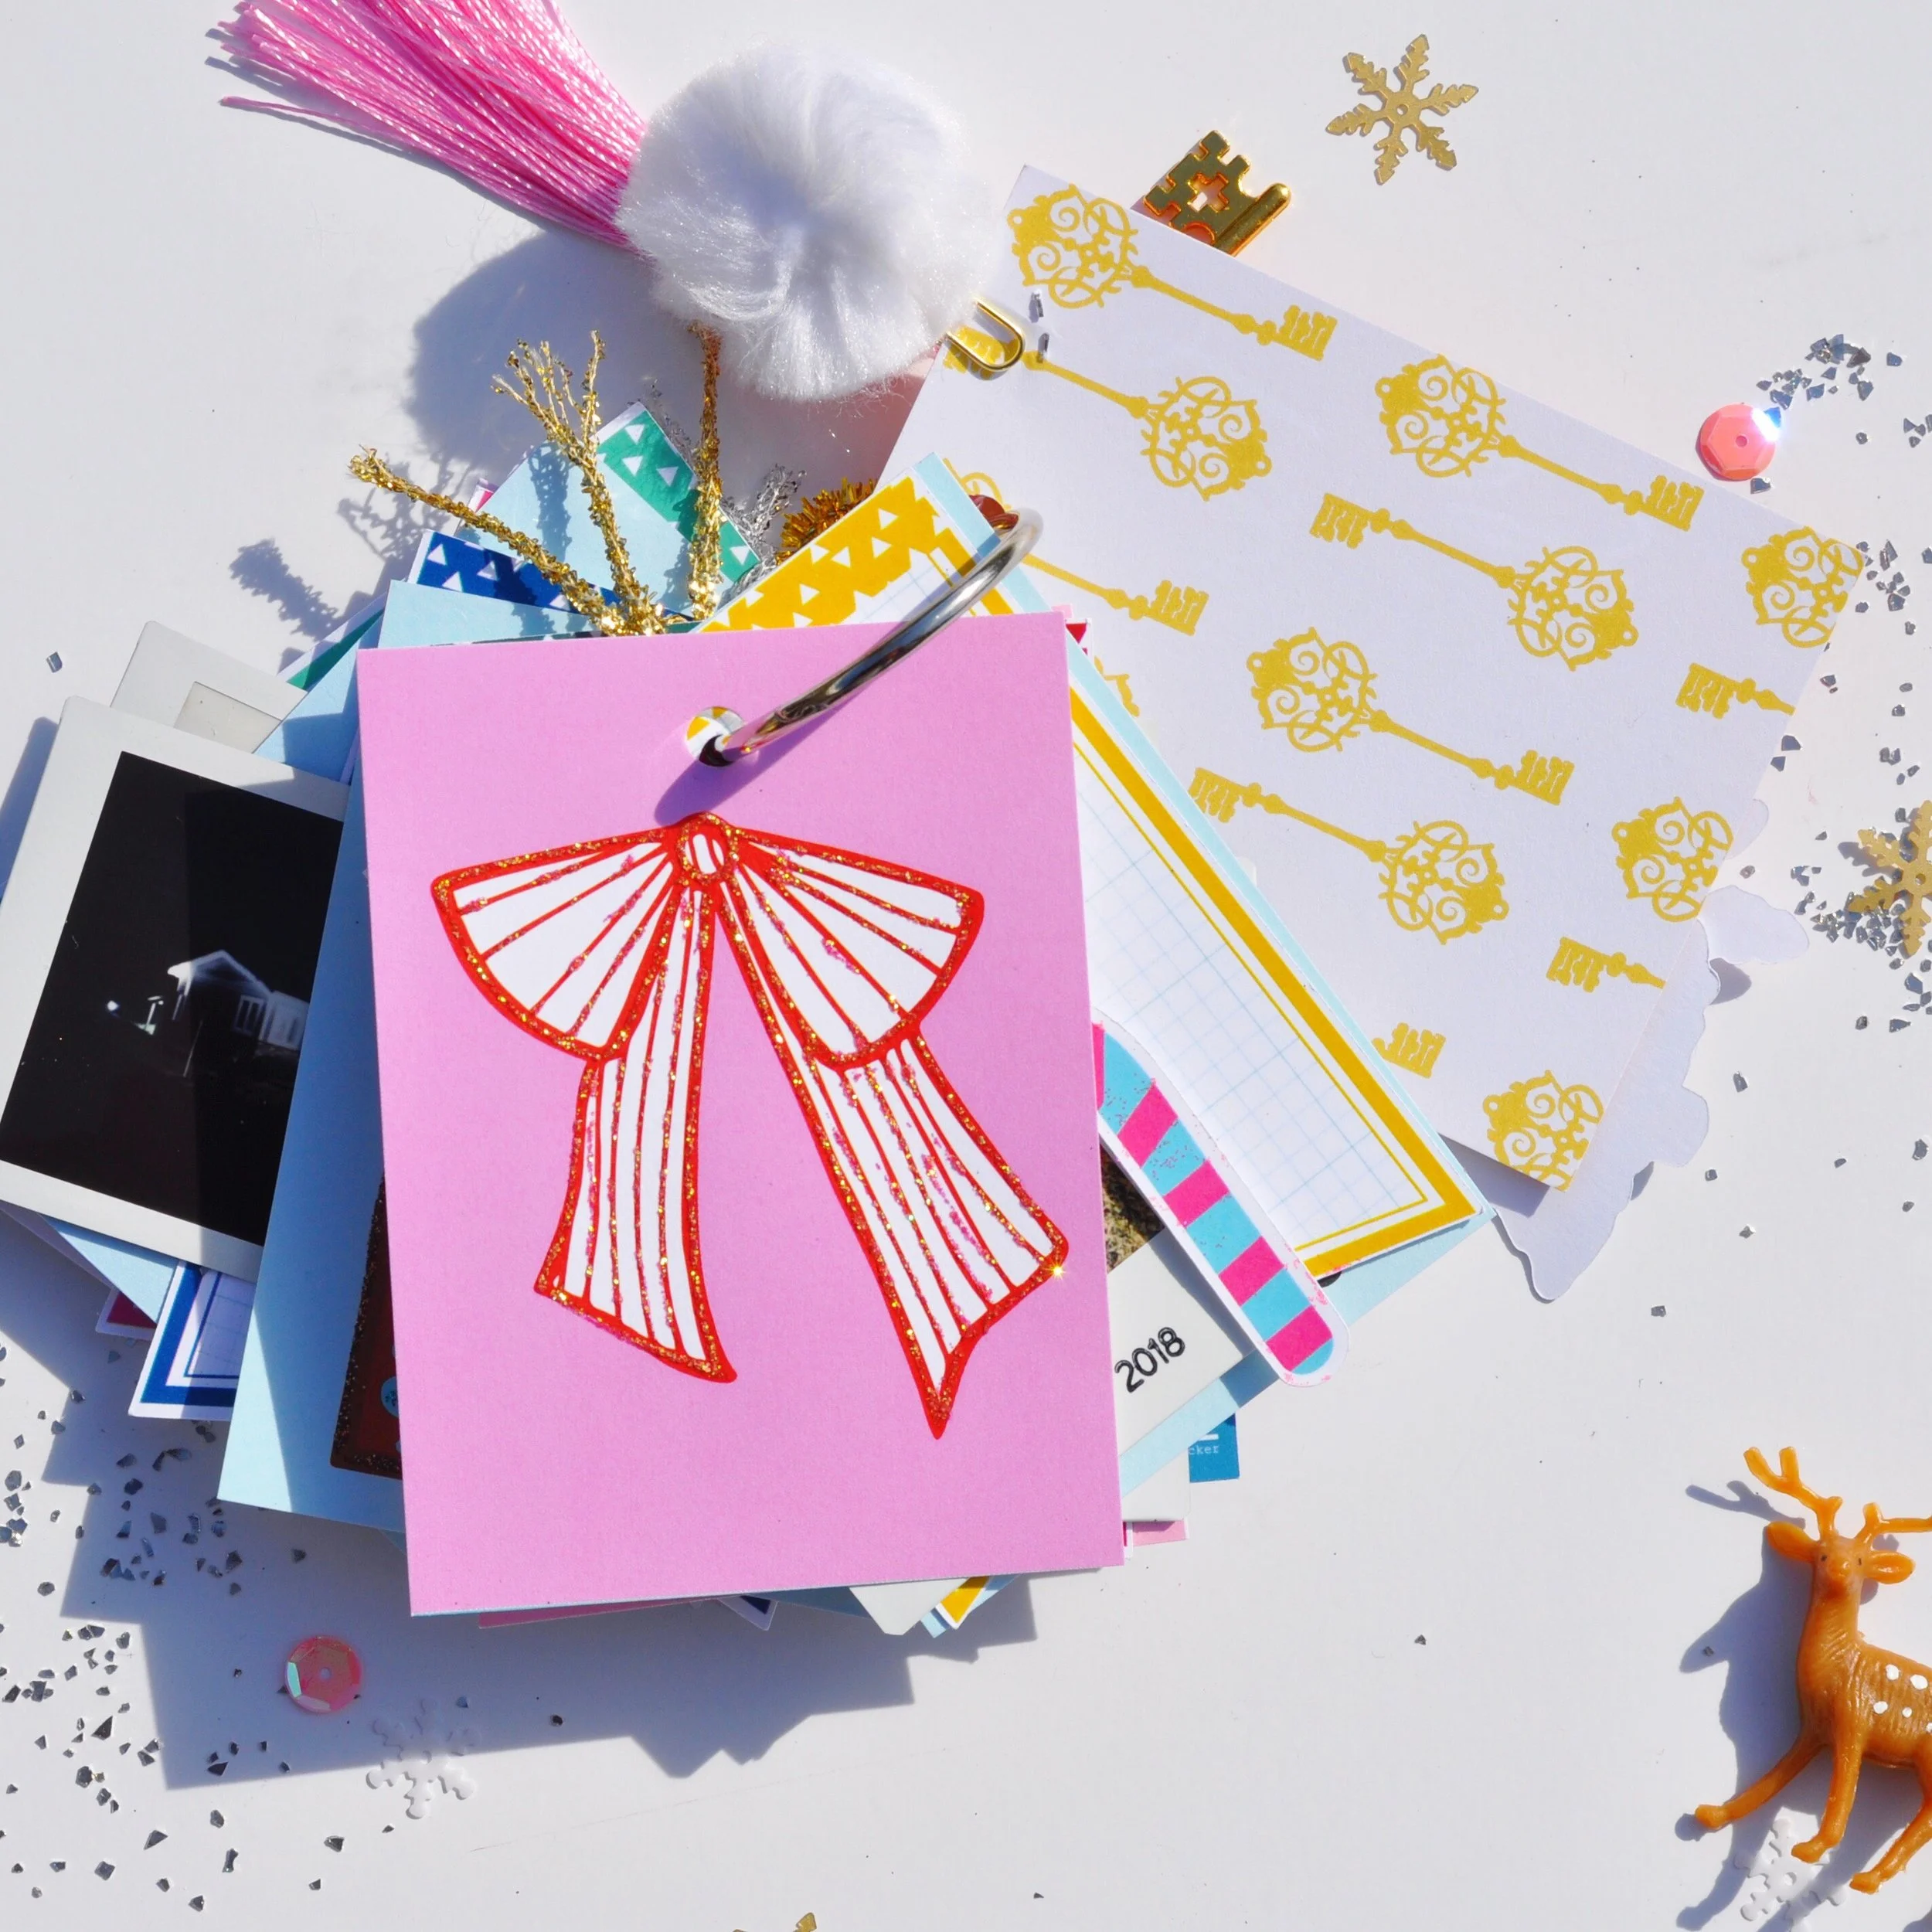
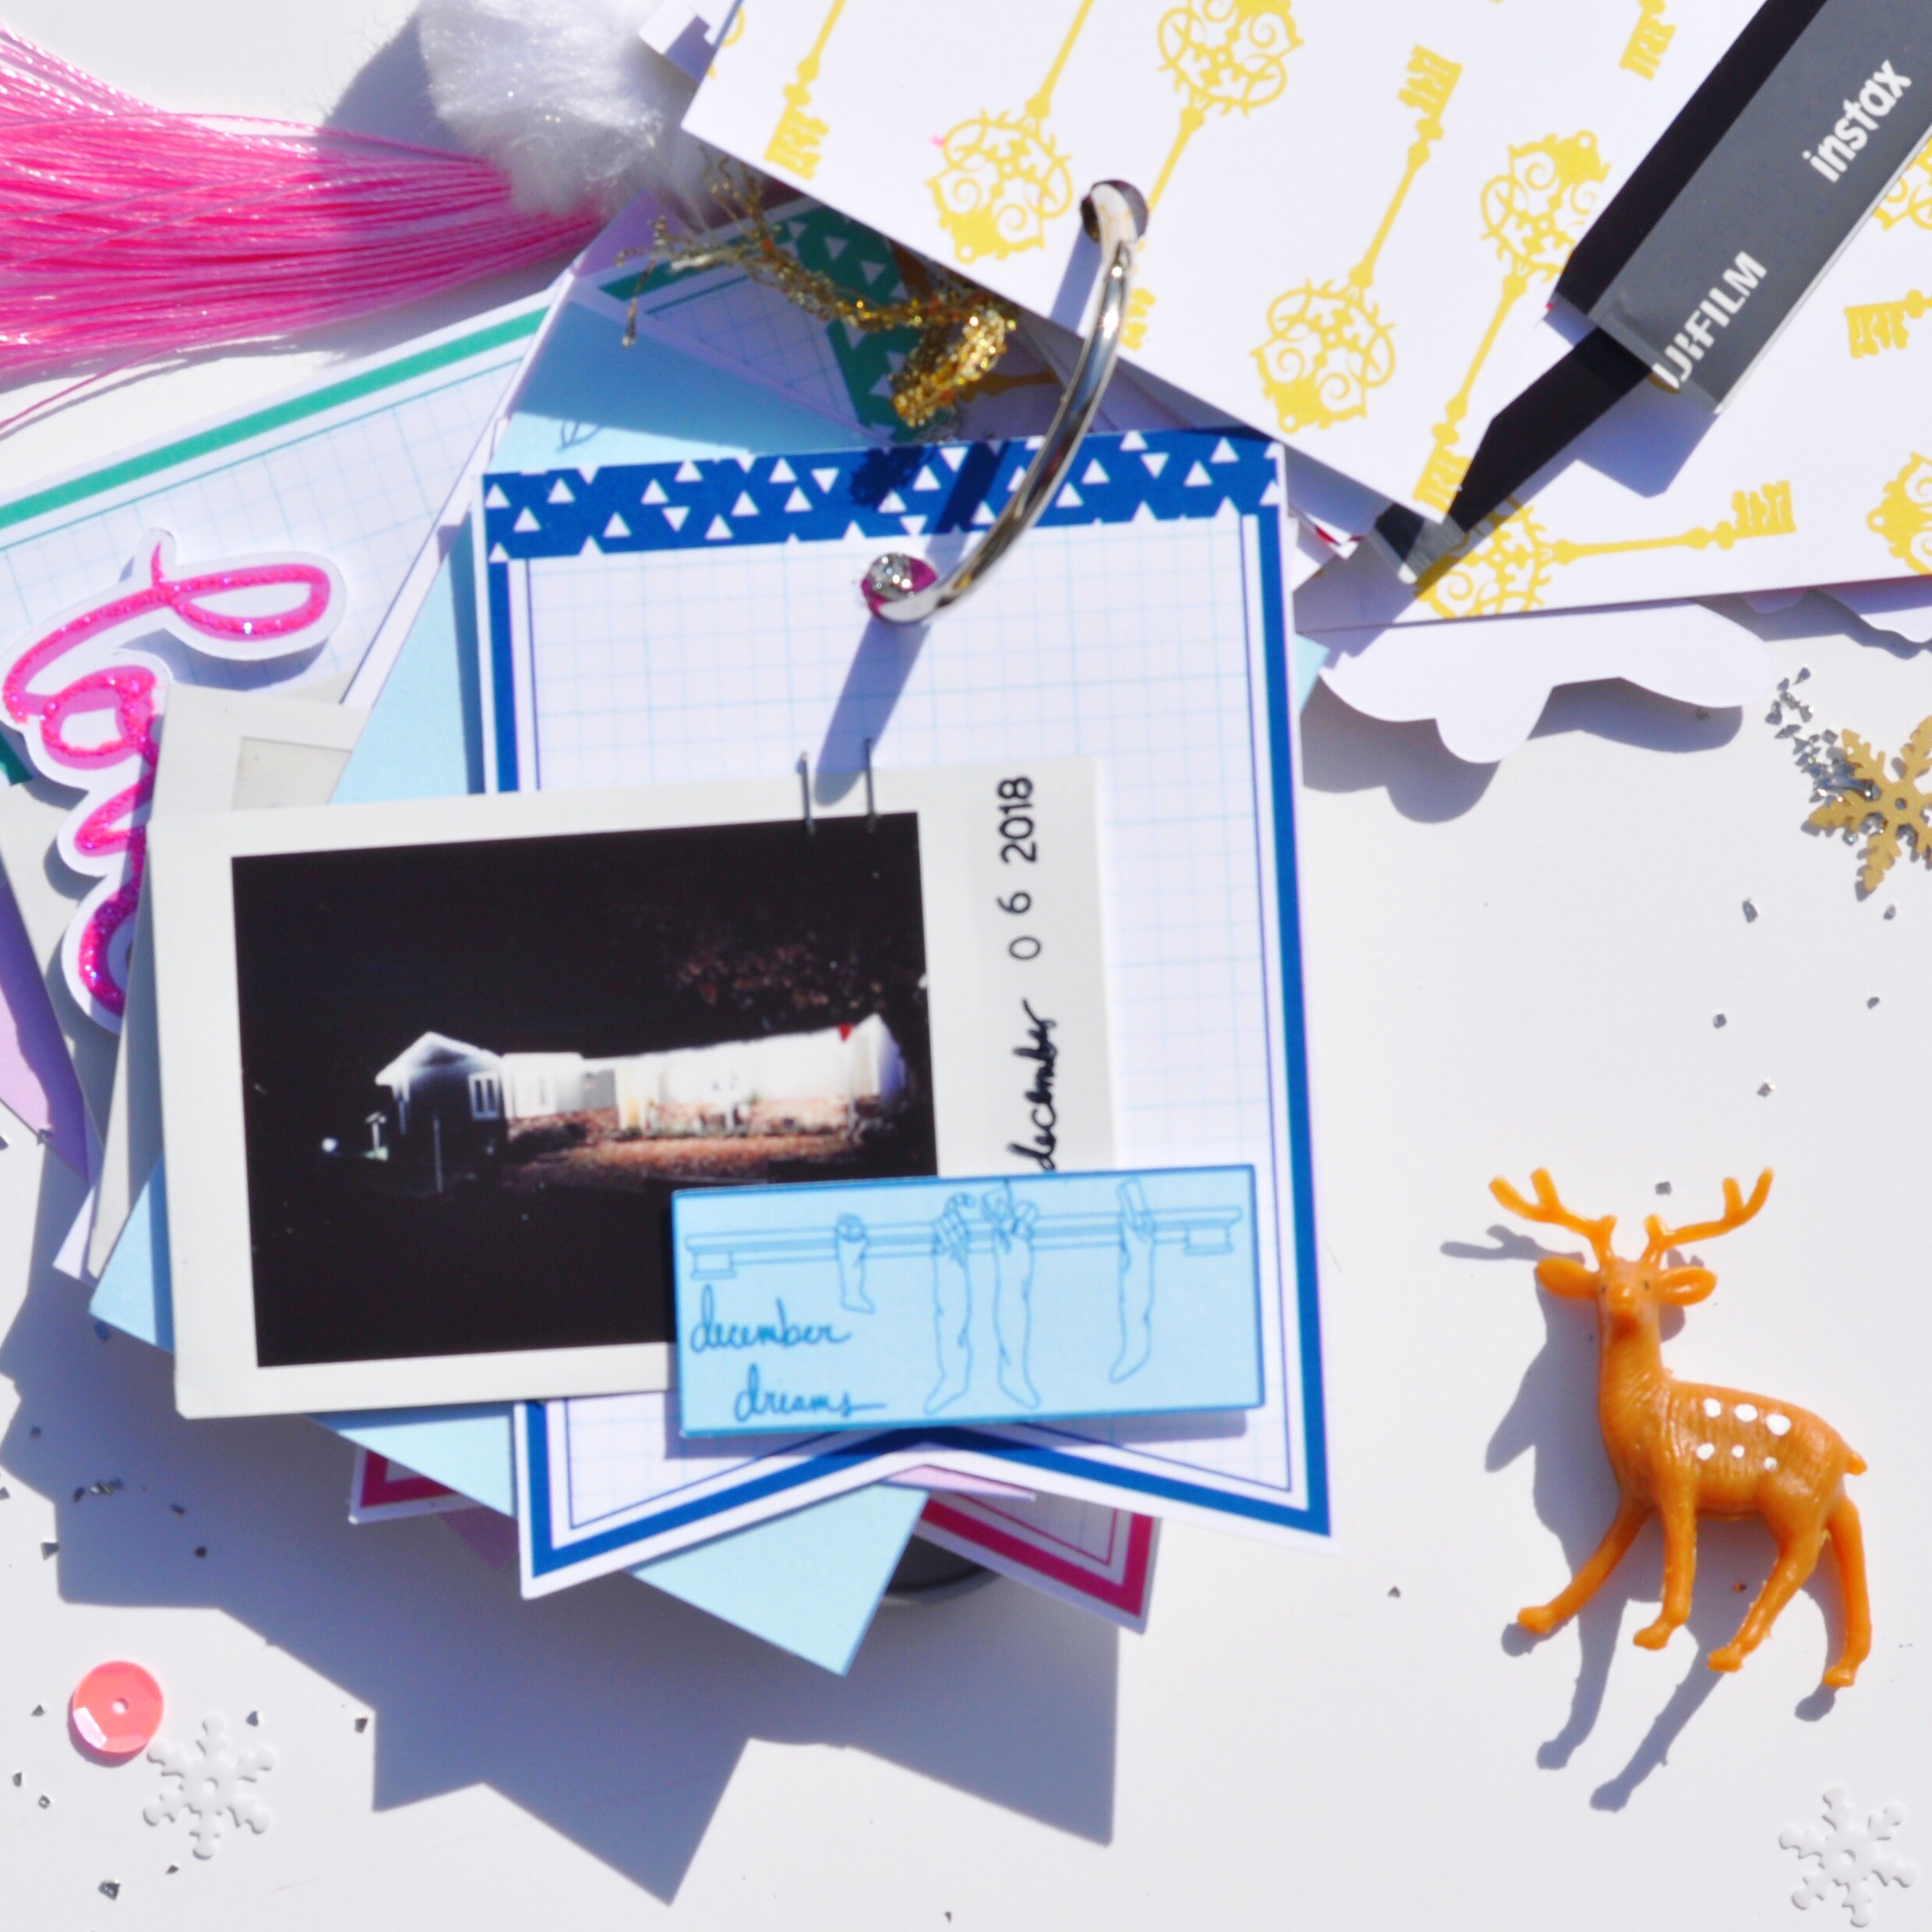
Hello! Veronica here, one more time. Coming back somewhat to my crafting roots, I’ve created a scrapbook tag flip album. Wow, say that 3x fast!

IMG_3956.jpg

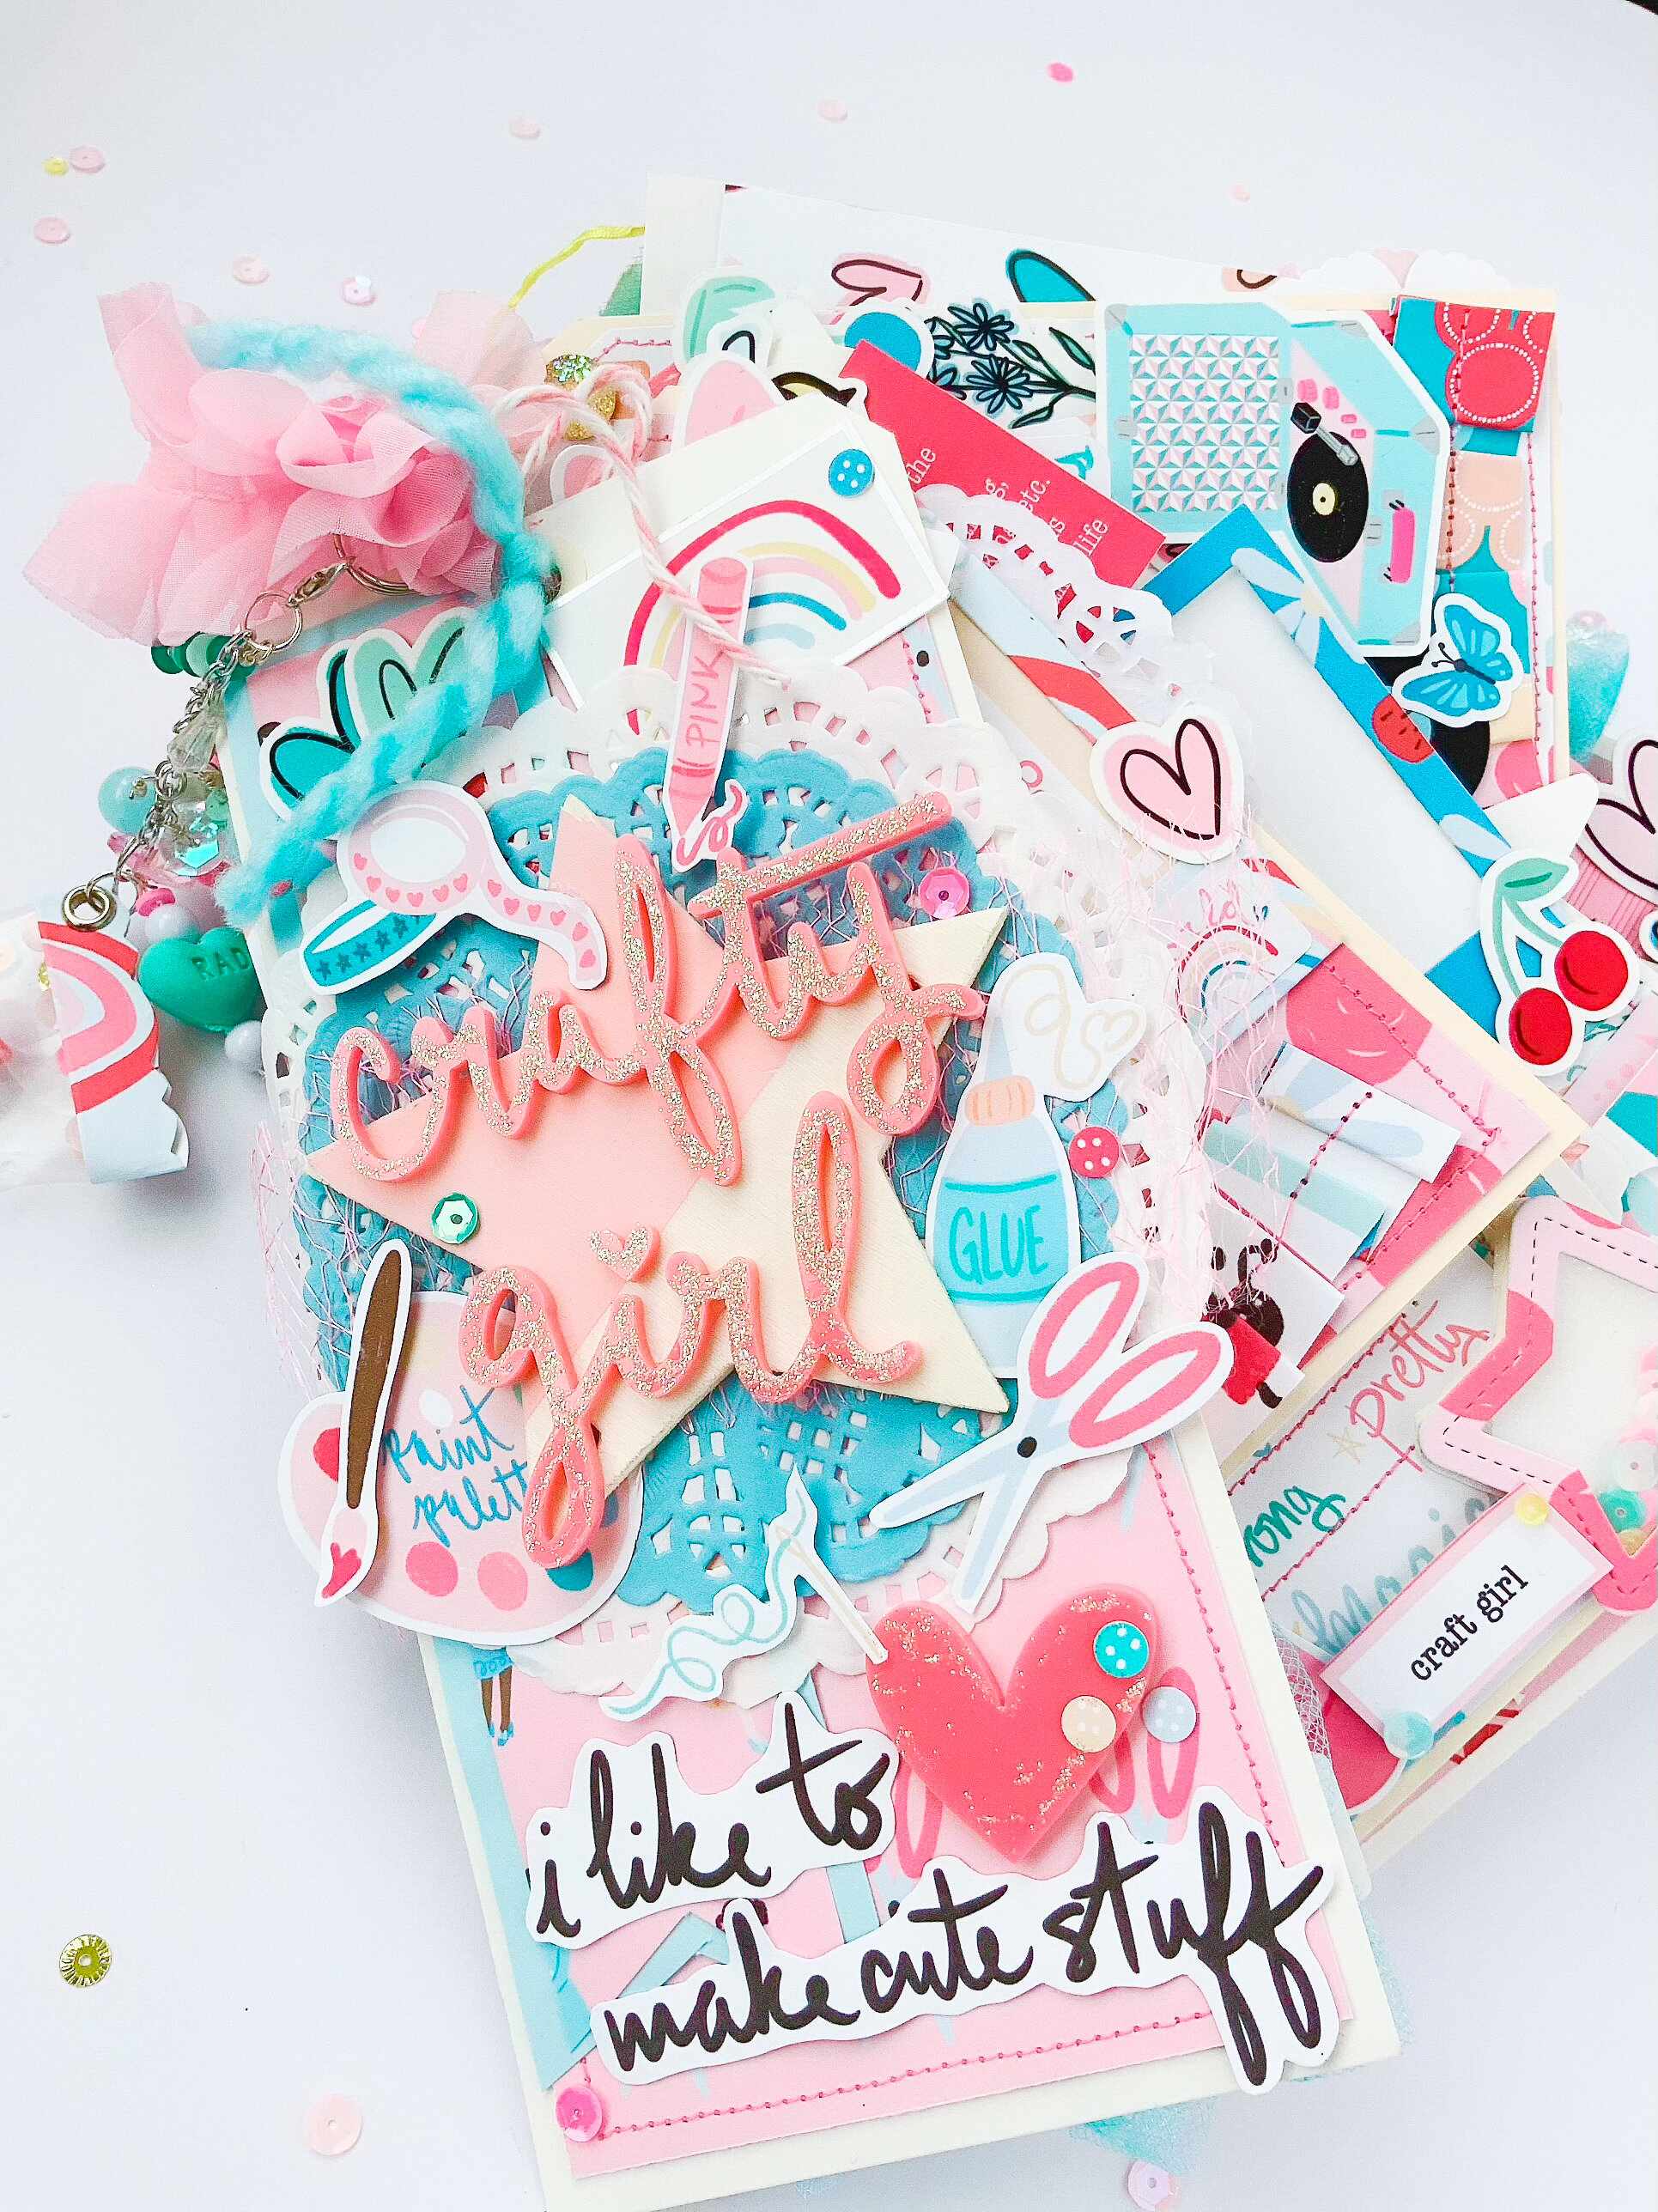
This collection has so many “Crafty Girl” vibes and all the supplies that crafters would use. So I brought those together in this project.

IMG_3971.jpg

I’ll use Polaroids to add in pictures later of fun craft sessions with my gal pals.

IMG_3969.jpg

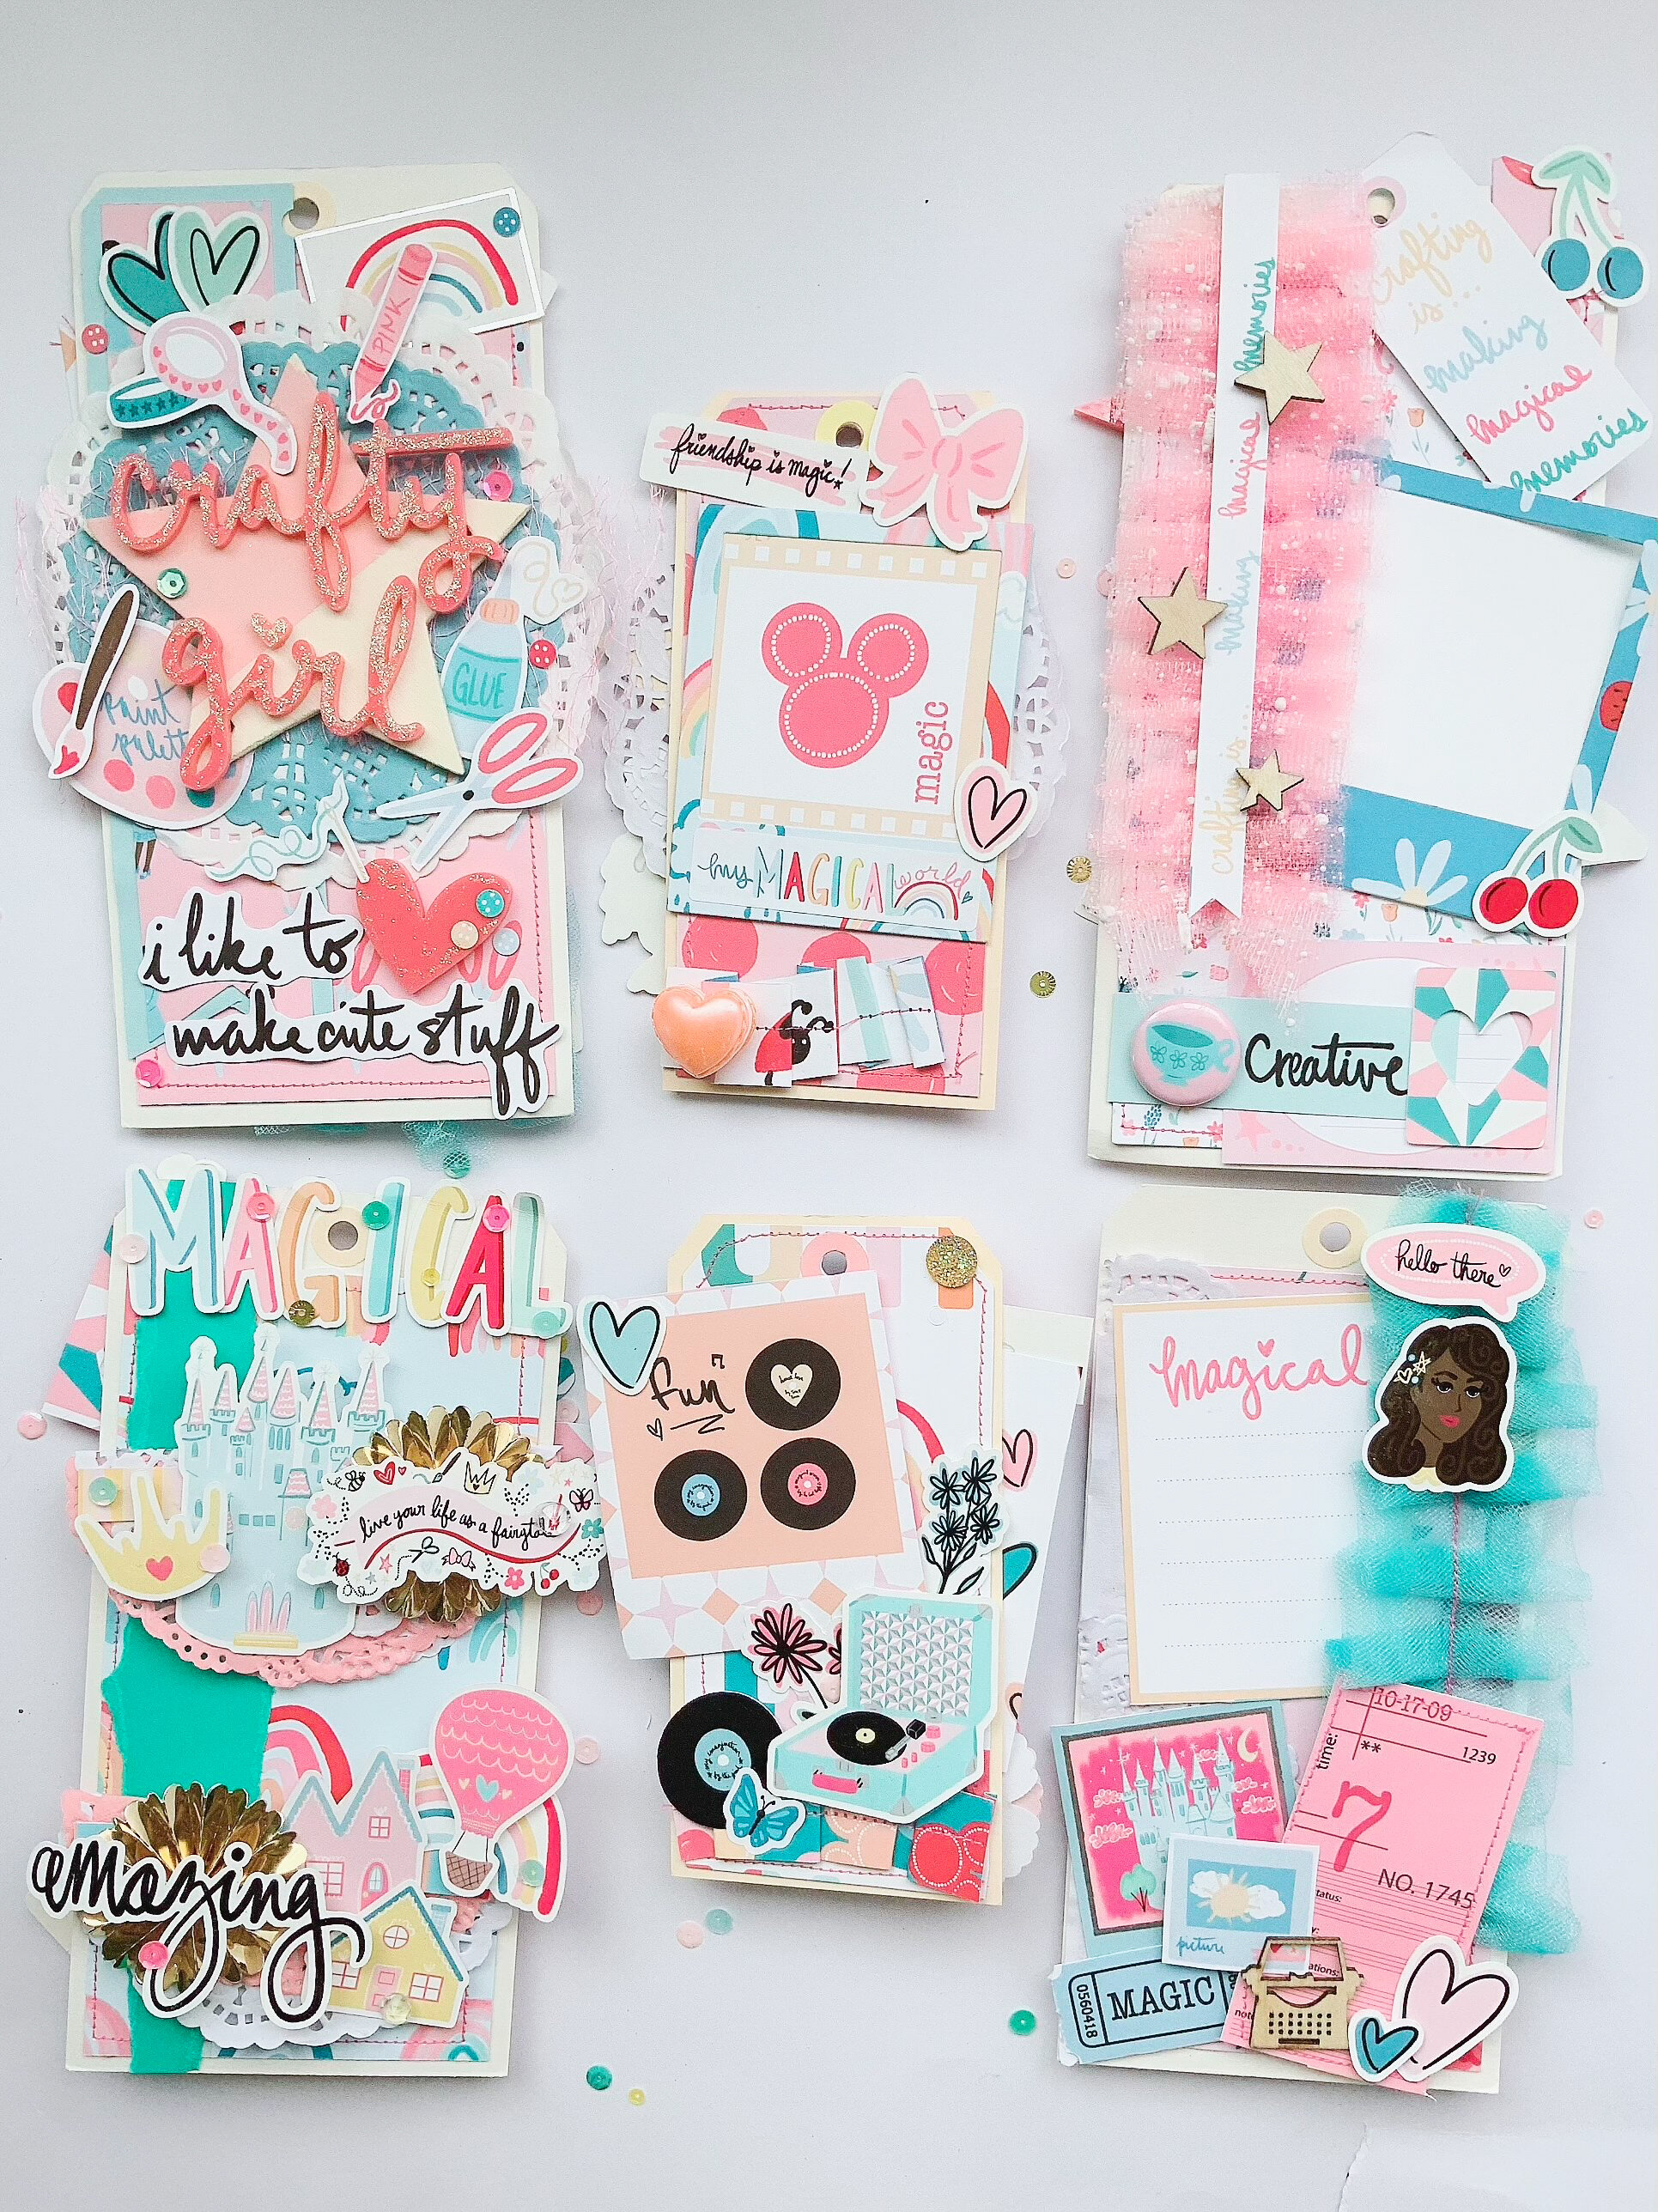
Again I can’t get over how beautiful all the colors are in this collection. It truly brings out ideas and dreams into your own magical world!

IMG_3965.jpg

-Veronica, @daisyludesigns

Aimee's Tag Flip Mini Album

Happy New Year! Aimee here, and today I have a super cute little mini album for you.

1.JPG

I can’t resist a mini album! And when I saw the 12x12 “Key to the Kingdom” and “The Fourth Realm” Papers from the “December Dreams” kit I knew I was going to make a mini!

The point of my mini is just to highlight some of the magical moments from the Christmas Season. Plus, I love to print photos with my Instax Share Printer. These little minis are a great way to use those photos.

I started by cutting up the 12x12 papers into the 3x4 cards. I then paired each 3x4 card with a bookmark tag.

I laid out all the 3x4 cards with the bookmark tags. I printed my photos and placed them on the tag of choice. I then embellished each photo and bookmark tag with die cuts and little bits and pieces. I dated my photos with a date roller stamp. I also love using my tiny stapler to attach things, it’s the perfect scale.

I choose one of the cards to be the cover and embellished it. I bedazzled all my 3x4 cards with stickles {glitter glue} to make them POP!

The pom pom paper clips are great for extra embellishing. I actually cut the back of the pom pom off so it would sit flush when the album is laying down. I also stapled it to the cover so it was secure. Don’t forget the Key to the Kingdom, I added a spilt ring to the key so it could be a charm

For reals, this is the easiest project! The whole album only took me an hour to create assemble {minus the dry time for the stickles}!

Do you enjoy creating mini albums?

XOXO Aimee

Solange's "December Dreams" Happy Mail Tag Flips

Hello crafty friends! Today I am showing you guys a happy mail project using the “December Dreams Kit”.

Tag flips are one of my favorite ways to send happy mail because it’s easy, fun and super cute! All you’ll need to make your own is a metal ring and your “December Dreams” kit, that’s it !

If you do not have any metal rings on hand you can just tie the tags with some pretty trim which will work just as well.

To make this tag flip I used the dashboards that come in the kit and fussy cut some of my favorite images such as the ballerina, the house and the pretty blue Christmas tree. For the pieces that I fussy cut, I simply punched a whole and added it to my tag flip, simple and super cute.

image3.jpg

Then I added some extra pieces that I cut into tag shapes and decorated them up using the beautiful ephemera pieces.

image4.jpg

Super easy and cute project, can’t wait to see what you guys will make with your kit. Until next time, Solange.

Kat's Halloween Flipbook

Hello Spooky Friends!

It’s Kat, and I am bringing you my second project as guest designer for the month of October. My focus has been creating projects that I will cherish for years to come. For my second project I have created a flipbook of sorts that I will be filling up with Halloween memories.

For the cover I choose this super spooky cute journaling card and layered it with some fun ephemera from the “Magical and Mischievous” collection. I used a flare button as a clasp to keep my flipbook closed with some twine.

Sometimes when we memory-keep, we can quickly run out of space to store all our treasures. I decided to make a smaller scaled project that would be easy to store. I trimmed my base to 5x5 squares for a total of 5 squares and adhered them together using 1x5 inch slips of paper. I then choose some of my favorite prints and trimmed them to 4 ½ inch squares and adhered them to my base for a total of 9.

After adhering all the Spooktacular papers I chose ephemera that would compliment each square. Layering and creating clusters allow each little square to come to life.

For most of the squares I left large areas to go back and add my pictures from Halloween day. I made sure to only adhere the edges of the ephemera to allow me to slip the pictures in and drape the ephemera over the pictures. Some squares I made into decorative pieces to tell the story of my album flipbook.

For the ephemera I mostly used the colorful and gorgeous images from the “Magical and Mischievous” collection but I also I sprinkled some of the fun foiled phrases. I just love how the “Happy Halloween” phrase is the perfect size for this flipbook.

When the flipbook is completely opened it just shows how super cute and fun it is! I can’t wait to fill it up with some cute memories from my Halloween. I hope you also create your very own “Magical and Mischievous” Halloween album flipbook. The perfect way to display all your favorite memories. Stay Spooky cuties!