Veronica's "My Magical World" Scrapbook Tag Flip Album

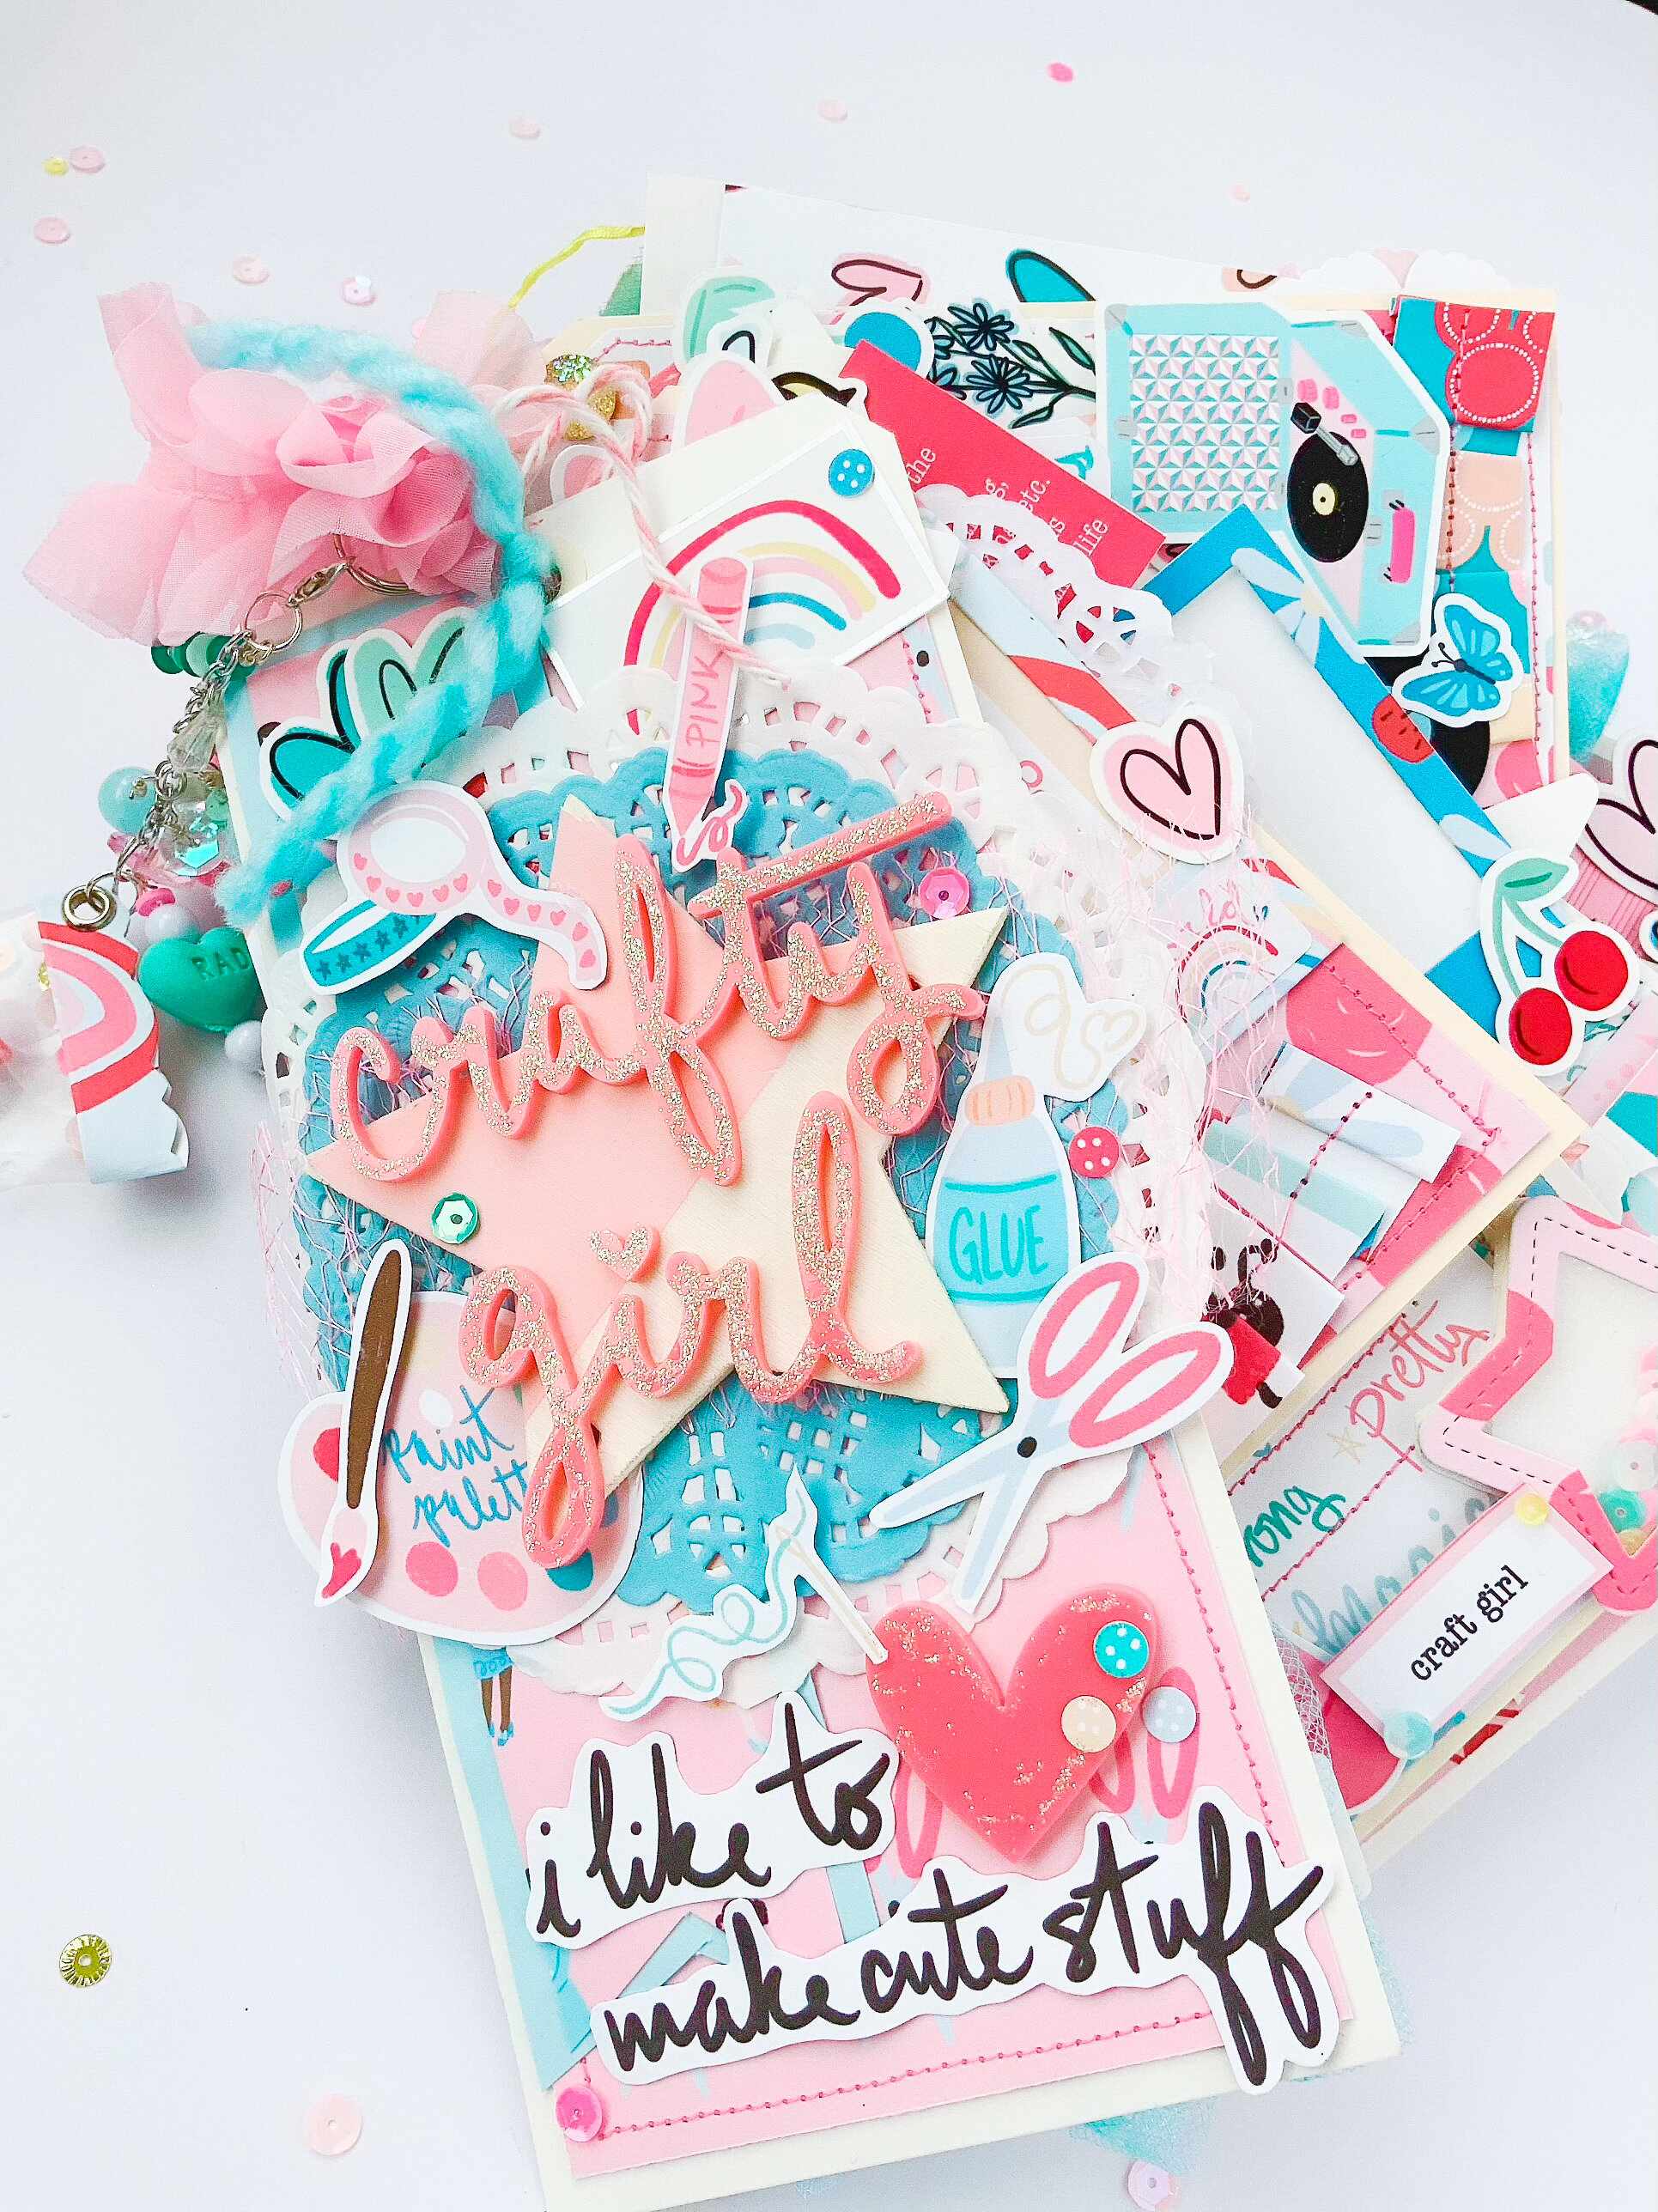
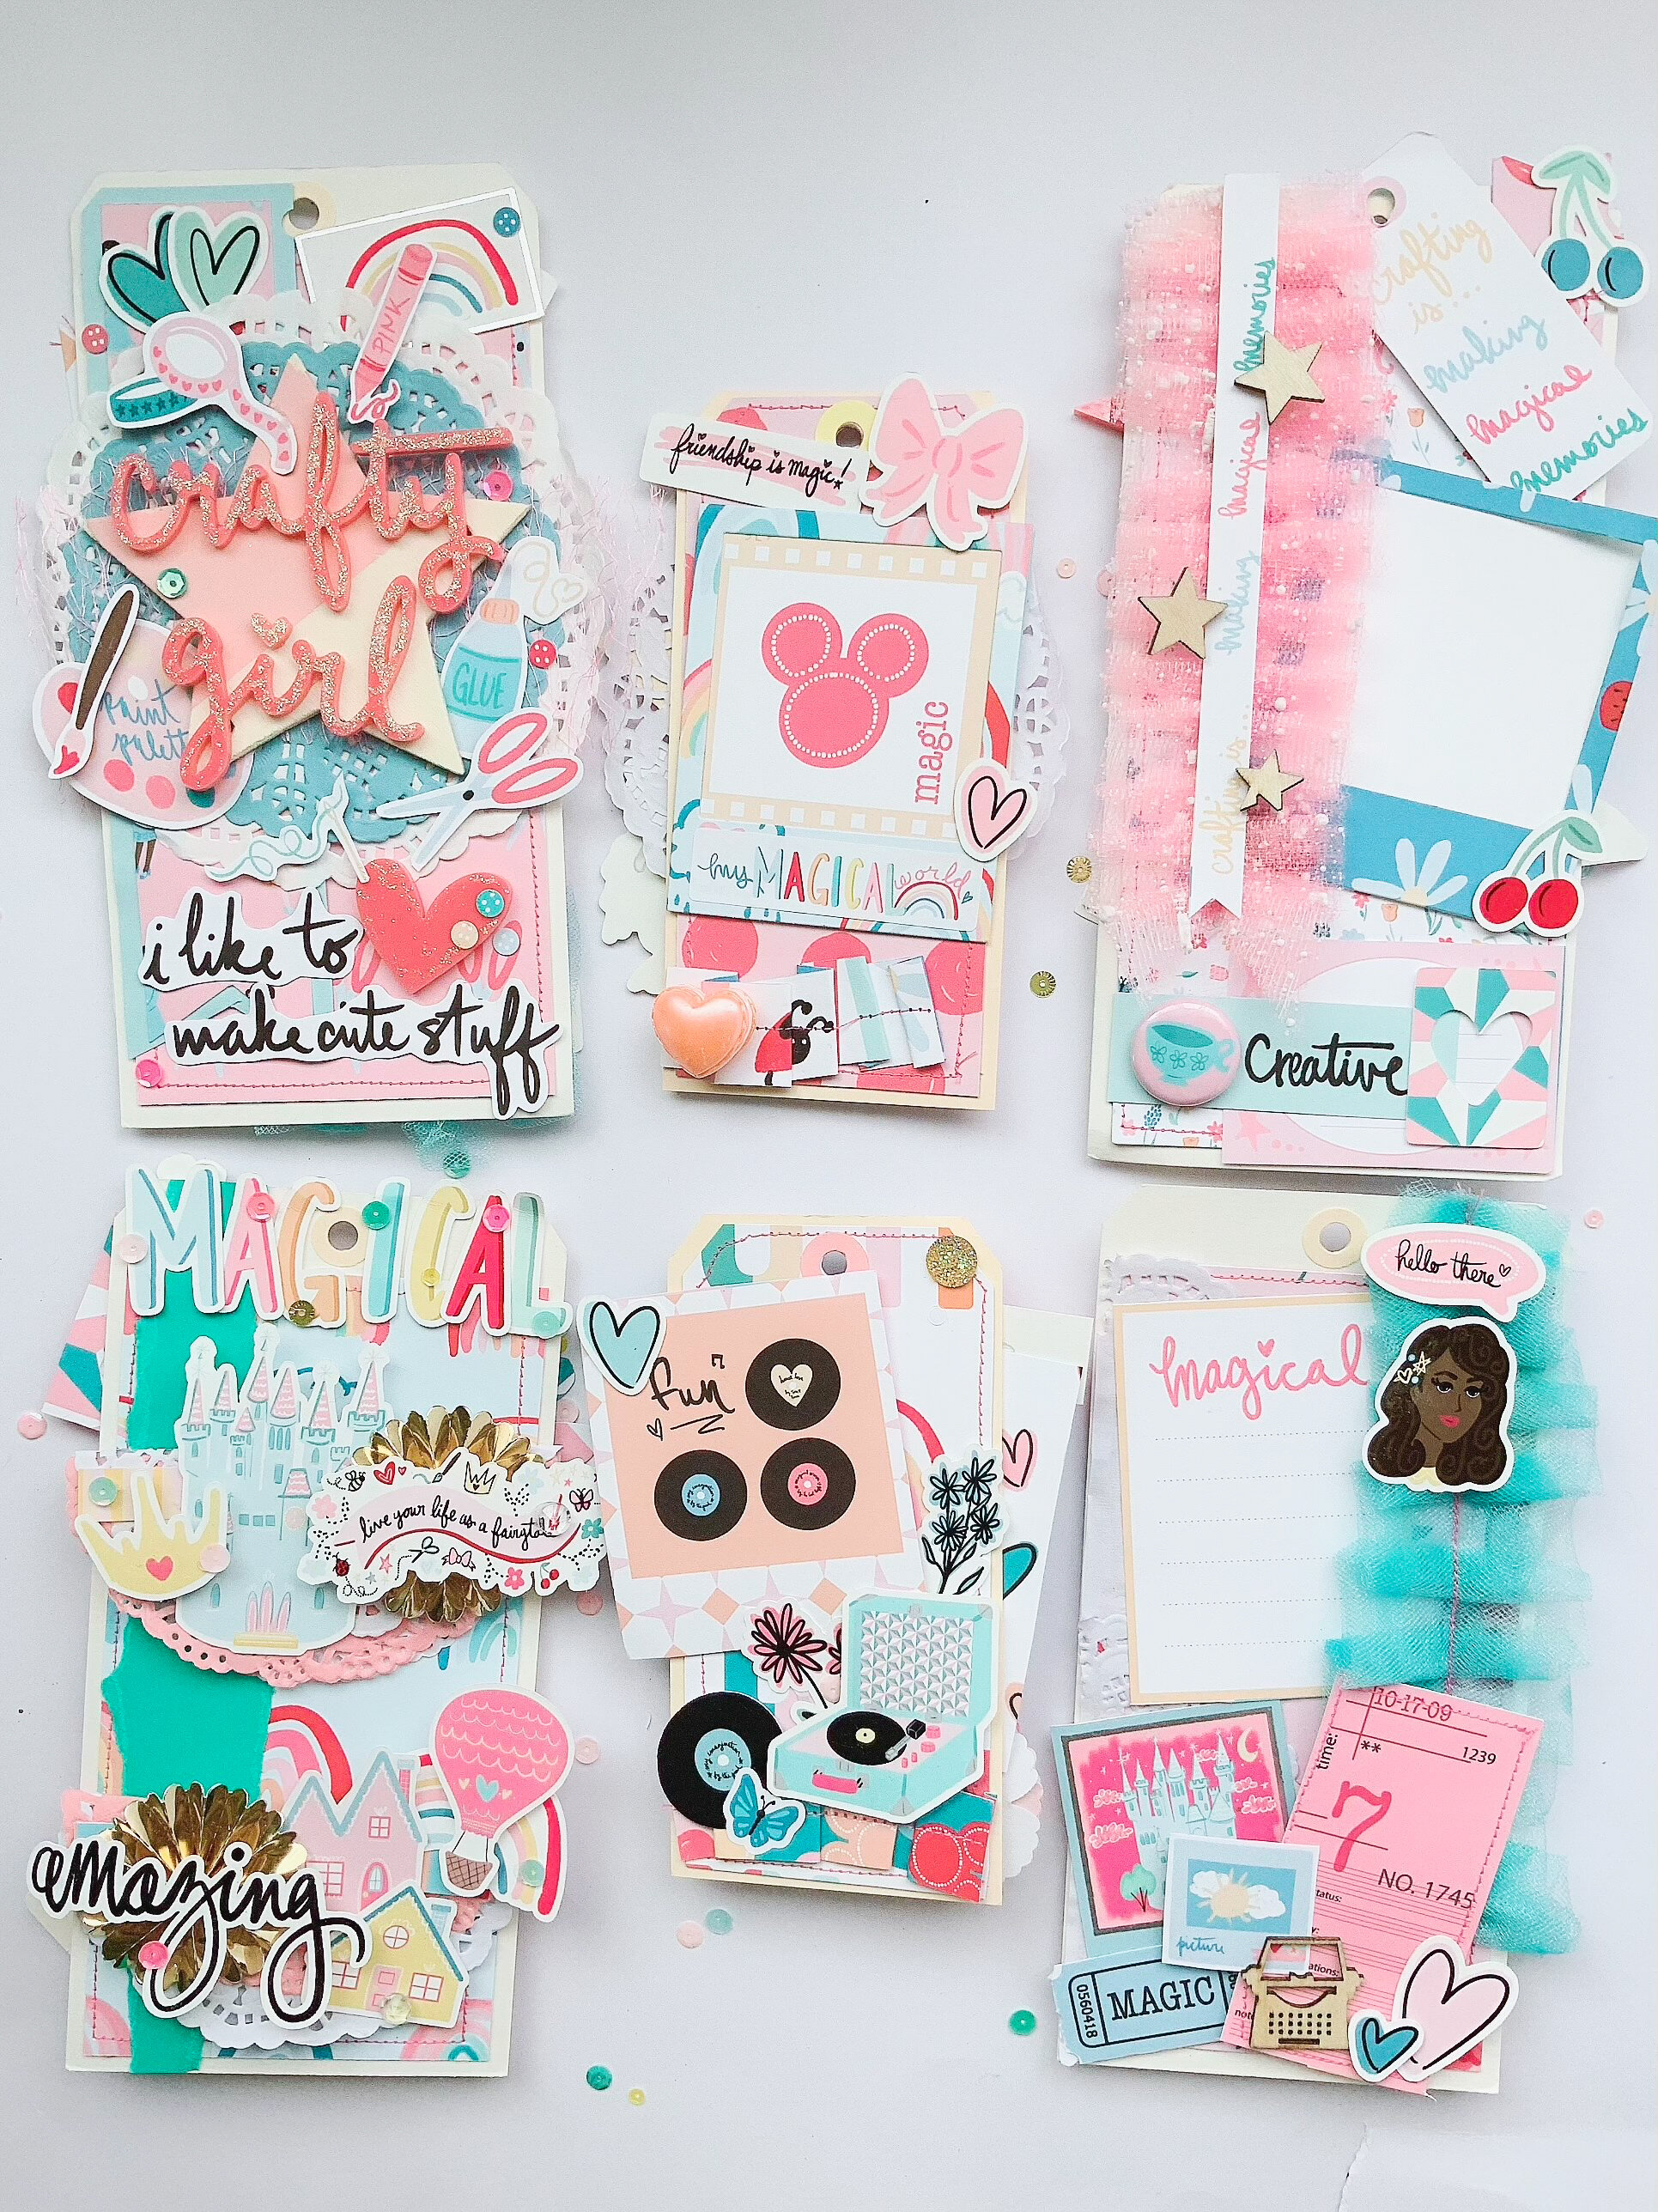
Hello! Veronica here, one more time. Coming back somewhat to my crafting roots, I’ve created a scrapbook tag flip album. Wow, say that 3x fast!

IMG_3956.jpg

This collection has so many “Crafty Girl” vibes and all the supplies that crafters would use. So I brought those together in this project.

IMG_3971.jpg

I’ll use Polaroids to add in pictures later of fun craft sessions with my gal pals.

IMG_3969.jpg

Again I can’t get over how beautiful all the colors are in this collection. It truly brings out ideas and dreams into your own magical world!

IMG_3965.jpg

-Veronica, @daisyludesigns

Aimee's "Beautiful Dreamer" Mini

Hey FTC fans, it’s Aimee!

beautiful dreamer mini.jpg

Today I am sharing a mini tag album that is ALL about me!

ACS_0810.jpg

The Beautiful Dreamer Kit totally inspired me to make a little mini about me.

I mean it’s totally obvious why right??? She’s blonde and she sleeps, that describes me to the T.

3.jpg
4.jpg
5.jpg
6.jpg

 I started this album by cutting the 2, 12x12 papers with 3x4 pocket cards, “Make it Pink, Make it Blue” and “Nap Queen”.

7.jpg
ACS_0816.jpg
8.jpg

I then printed 8 photos of myself using my instax share printer.

9.jpg
10.jpg

I then choose 8 of the different cards that went best with my photos, and of course I used the tags too.

11.jpg
12.jpg

For my photos I used some Bookmark Tags from Pretty Little Studio {limited availability} as the base.

13.jpg
14.jpg
15.jpg

I embellished my photos and tags using die cuts from the variety pack and stickers from the sticker sheet.

16.jpg
17.jpg

I also labeled my photos with the date by printing on to white cardstock and cutting tiny strips.

18.jpg

I finished embellishing with my tiny stapler and other bits from my stash.

19.jpg

 I put all the tags and cards onto a painted binder ring and also used some charms and a tassel from my stash to give it more pop.

20.jpg

 I love that I finally made a little album just about me!

Do you ever make projects just about yourself???

XOXO Aimee

Aimee's "Christmas-land" Mini Tag Album

Hey Fairytale Club Fans, this week our Design Team Members will be sharing some of their favorite projects they created this season using our 2 Christmas Kits “December Dreams” & “Christmas-land”!

First off we have Aimee with a Mini Tag Album using “Christmas-land”.


Hi there, Aimee here!

Have you all seen the Christmas-land kit? You know the one Andrea and Carolee did a workshop with.

Well it’s even better in person. Like way better! It’s so awesome, I made my husband take me to Disneyland on Christmas Day, just to take pictures so I could use the christmas-land kit and make this Album TRUE STORY!

And this mini tag album came out WAY better than I could have ever dreamed! For this album I used 2 of the 12x12 papers from the kit “Christmas at the Park” and “All I want for Christmas is a castle!” and some bookmark tags from my stash.

I printed all the photos I wanted to use with my Instax share printer. I cut up the 12x12 papers into the 3x4 journaling cards. I also used a few of the tags too.

I then placed the 3x4 cards with the bookmark tags and photos. Once I was happy with which tag went with what photo and what card, choose die cuts from the die cut pack that went with each pile of cards. When everything was placed, I adhered the photos to the bookmark tags. You can find a video of this on my YOU TUBE Channel.

I then stamped each photo with a different sentiment form a roller stamp. I also embellished each card/tag with puffy stickers and stickles to give them some added depth. Once I was happy with all of the embellishments, I punched a hole in the top of each card/tag.

I choose the “all I want for Christmas…” Journaling card as my cover for this album.

I attached a decorative pom pom paper clip to the top. I then placed all the cards on to a large binder ring and this created the album.

To create the bell dangle, I used a tassel from my stash along with some jump rings. I added 1 or 2 bells from the Christmas-land Variety pack to each jump ring and continued until I had used all the bells. I just love this addition to my album.

10.jpg

I also made some shaker tags (with my fuse tool and all the goodies from the Christmas-land Variety pack). OMG I love these. I think by far this was the best addition to my mini. This was the first time making this type of tag, and I think it turned out so AWESOME. I just traced the bookmark tag with a sharpie, I then ran my fuse tool (against a ruler to keep my lines straight) on the inside of the sharpie, I fused 4 sides before adding all the goodies, and then sealed the tag from the top. To make the hole (so it would be closed and the glitter wouldn’t come out) I burned a hole through the sleeve with a rounded tip.

Do you enjoy making Mini Albums?

XOXO Aimee

Solange's "December Dreams" Tags

Hey everyone, Solange here with another project using the “December Dreams” kit. I hope you are all having a wonderful holiday season with tons of crafting.
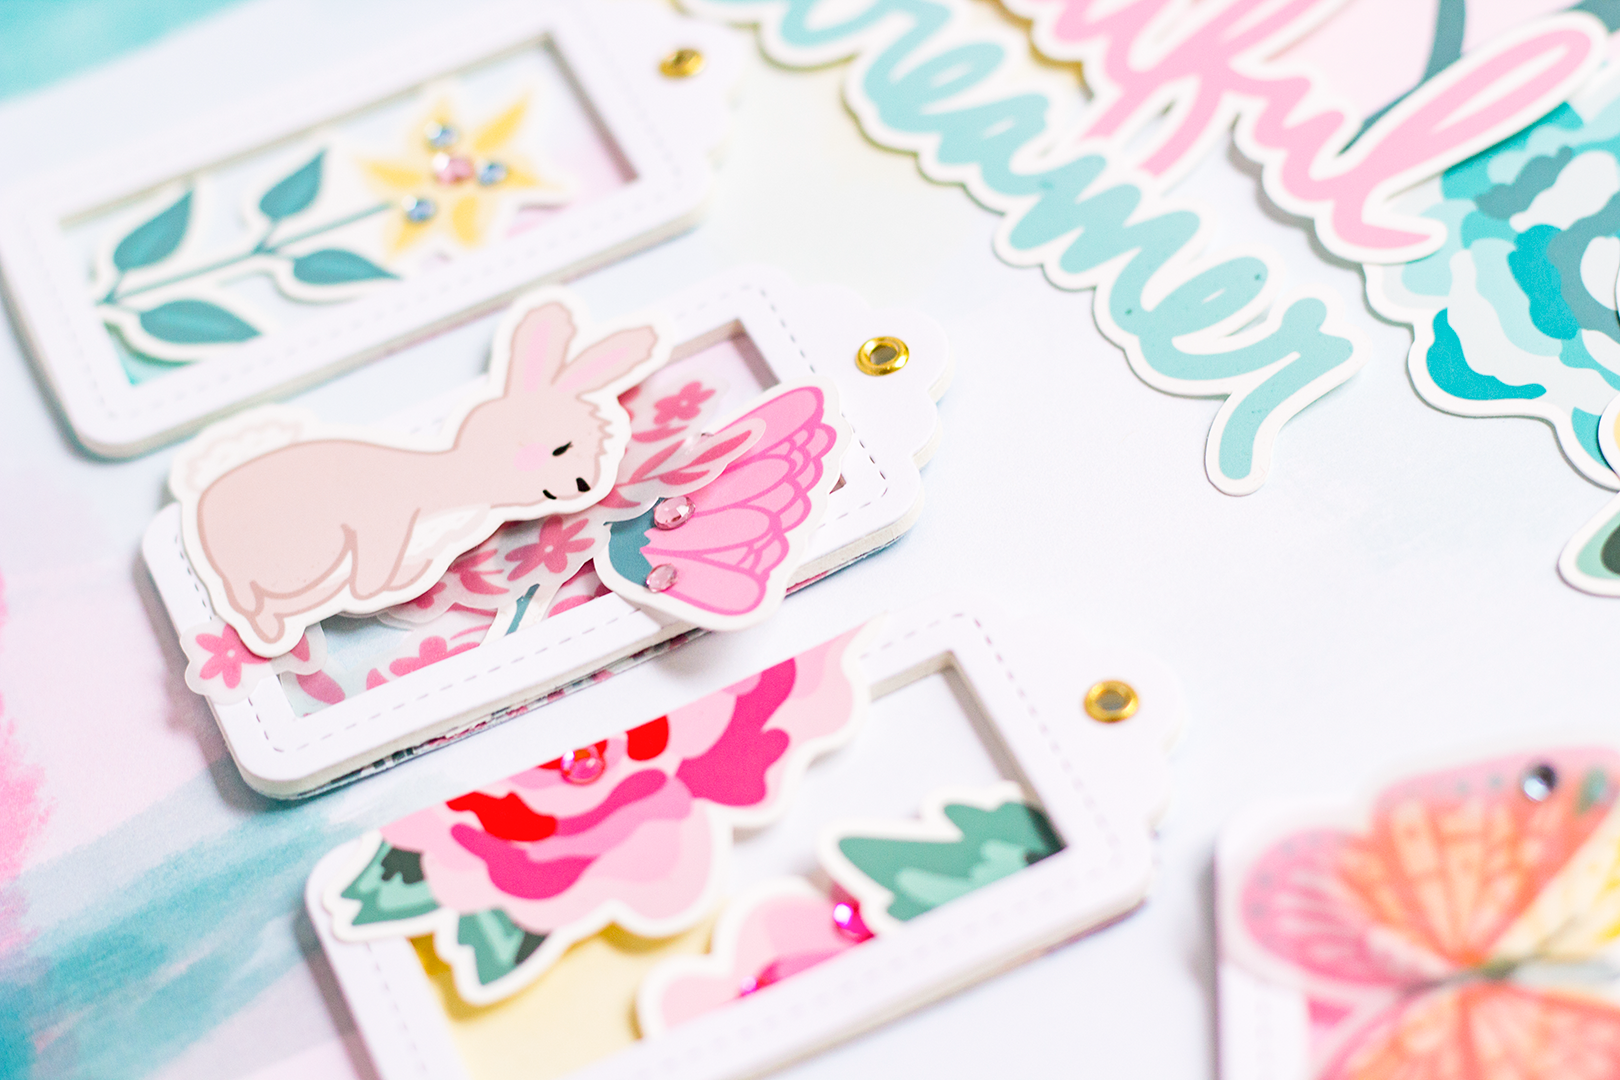
In today’s project I made two tags which you can use as decor in packaging or include in a tag flip or just send as a goodie to a penpal.

To create the tags I simply cut them out of the 12x12 papers using another tag from my stash as a guide. Tags are super simple to decorate because they are small and therefore you’ll only need a few things to dress them up.

For the first tag, I fussy cut the reindeer from the cut apart sheet and then just added two ephemera pieces to finish it off .

image2.jpg

For the other tag I fussy cut a tree from the cut apart sheet and the big tree from the dashboards. I glued the big tree right onto the tag but I added foam tape to the smaller tree to make it stand out and give the tag some dimension. I also added the cute fairy from the ephemera pack on foam tape to make her the center of attention. To finish it off I added the beautiful tassel that came in the kit which gives the tag some texture and an interactive element.

I hope this has inspired you to make some cute and easy tags using your “December Dreams” kit and I’ll see you next time.

Xoxo, Solange .

Aimee's Tag Flip Mini Album

Happy New Year! Aimee here, and today I have a super cute little mini album for you.

1.JPG

I can’t resist a mini album! And when I saw the 12x12 “Key to the Kingdom” and “The Fourth Realm” Papers from the “December Dreams” kit I knew I was going to make a mini!

The point of my mini is just to highlight some of the magical moments from the Christmas Season. Plus, I love to print photos with my Instax Share Printer. These little minis are a great way to use those photos.

I started by cutting up the 12x12 papers into the 3x4 cards. I then paired each 3x4 card with a bookmark tag.

I laid out all the 3x4 cards with the bookmark tags. I printed my photos and placed them on the tag of choice. I then embellished each photo and bookmark tag with die cuts and little bits and pieces. I dated my photos with a date roller stamp. I also love using my tiny stapler to attach things, it’s the perfect scale.

I choose one of the cards to be the cover and embellished it. I bedazzled all my 3x4 cards with stickles {glitter glue} to make them POP!

The pom pom paper clips are great for extra embellishing. I actually cut the back of the pom pom off so it would sit flush when the album is laying down. I also stapled it to the cover so it was secure. Don’t forget the Key to the Kingdom, I added a spilt ring to the key so it could be a charm

For reals, this is the easiest project! The whole album only took me an hour to create assemble {minus the dry time for the stickles}!

Do you enjoy creating mini albums?

XOXO Aimee

Project Life Instax Album - December Daily, with Aimee

Happy Saturday all, can you believe that there is only 9 days till Christmas. Wow!

This year for my December Daily, I’m using The Project Life, Instax Album. This is a fun size to use because you can use all different sizes of page protectors. The biggest bummer about this album, is that it’s a traditional album style, and there are no pockets for extra little trinkets like tags etc.

When I saw the Library Card Pocket form the “December Dreams” Kit, I just knew it was perfect for the inside of my album.

I used my typewriter to fill out the card, and it’s perfectly imperfect. Just like a library card would be. I choose myself as the author, cause I’m the one creating this book {look I totally messed up and put my name on the wrong line, did you even notice?}.

I choose the title of the book to be “December Daily 2018”. And for all the check-out days I but my name and date that I worked in the book. I love how I mixed it up with the red and black writing {you know, as if someone else was doing the checking out?}. I even forgot to capitalize the A on one of the lines.

7.JPG

I also made some tags to slip in my DD using die cuts and the sequin mix from the “December Dreams” Kit. I just used my Fuse tool, metal die cuts to trace. I placed the “ingredients” inside of the fuse sleeve and placed my metal die over making sure all the “ingredients” fit within the die cut, and just fused around it! Viola . . . some custom tags!

Are you using the “December Dreams” in your December Daily?

XOXO, Aimee

Solange's "December Dreams" Happy Mail Tag Flips

Hello crafty friends! Today I am showing you guys a happy mail project using the “December Dreams Kit”.

Tag flips are one of my favorite ways to send happy mail because it’s easy, fun and super cute! All you’ll need to make your own is a metal ring and your “December Dreams” kit, that’s it !

If you do not have any metal rings on hand you can just tie the tags with some pretty trim which will work just as well.

To make this tag flip I used the dashboards that come in the kit and fussy cut some of my favorite images such as the ballerina, the house and the pretty blue Christmas tree. For the pieces that I fussy cut, I simply punched a whole and added it to my tag flip, simple and super cute.

image3.jpg

Then I added some extra pieces that I cut into tag shapes and decorated them up using the beautiful ephemera pieces.

image4.jpg

Super easy and cute project, can’t wait to see what you guys will make with your kit. Until next time, Solange.

Michelle's Halloween Banner

Hey there, crafty friends! Michelle here, and I’m back with a new project using the Magical and Mischievous kit from The Fairytale Club! I don’t know about you, but I’ve always wanted to be one of those people whose home is decorated for every season. And since I spend so much time in my home office, I thought I would take this kit of magical Halloween goodies and make a cute banner for my bookshelf!

I started by selecting five patterns from the 12x12 sized pages and cutting them into the banner pieces. Then I selected three cards from the cut-out sheet that coordinated well with the patterns I chose.

Then it was time for the fun part, which was to add all the trim and ephemera! This step always makes the biggest mess but it is also the most fun! I spread all the bits and pieces across my desk, and through trial and error, I see what works best.

I really like to play with different textures, which is something you can see in this project. Most of the banner pieces have cute ephemera bits, as well as some sort of textured elements, such as ribbon or the ever-so-cute pom poms!

1022181015d-01.jpg

After each banner piece was all done, I laid them all out and used hot glue to attach them to the orange and white string I happened to have on hand. Being a crafty lady is so fun! You never know what kind of supplies you may find in my stash.

The final step was to add the mini pom poms to the strand, and hang it up! I love how this came together, and it adds a little seasonal touch to the office!

1022180941a-01.jpg

I hope you enjoyed this fun and festive project! It demonstrates just how versatile paper crafting can be and I hope this inspires you to try something new. Happy crafting!

-Michelle