Hello, everyone! We are super excited to share with you our newest collection, "Darling and Daisy"! Ok, I know that there are so many collections that I love and I say are my favorite, but this one is particularly special to me! And I really do love it, and it’s definitely at the top of my favorite’s list right now! There is just so much that I put into this collection that makes me happy. And I think you will understand what I am saying when I tell you that I get an instant boost of serotonin when I look at the papers and embellishments in this collection. In fact, I dare you not to smile when you look at everything in "Darling and Daisy"!
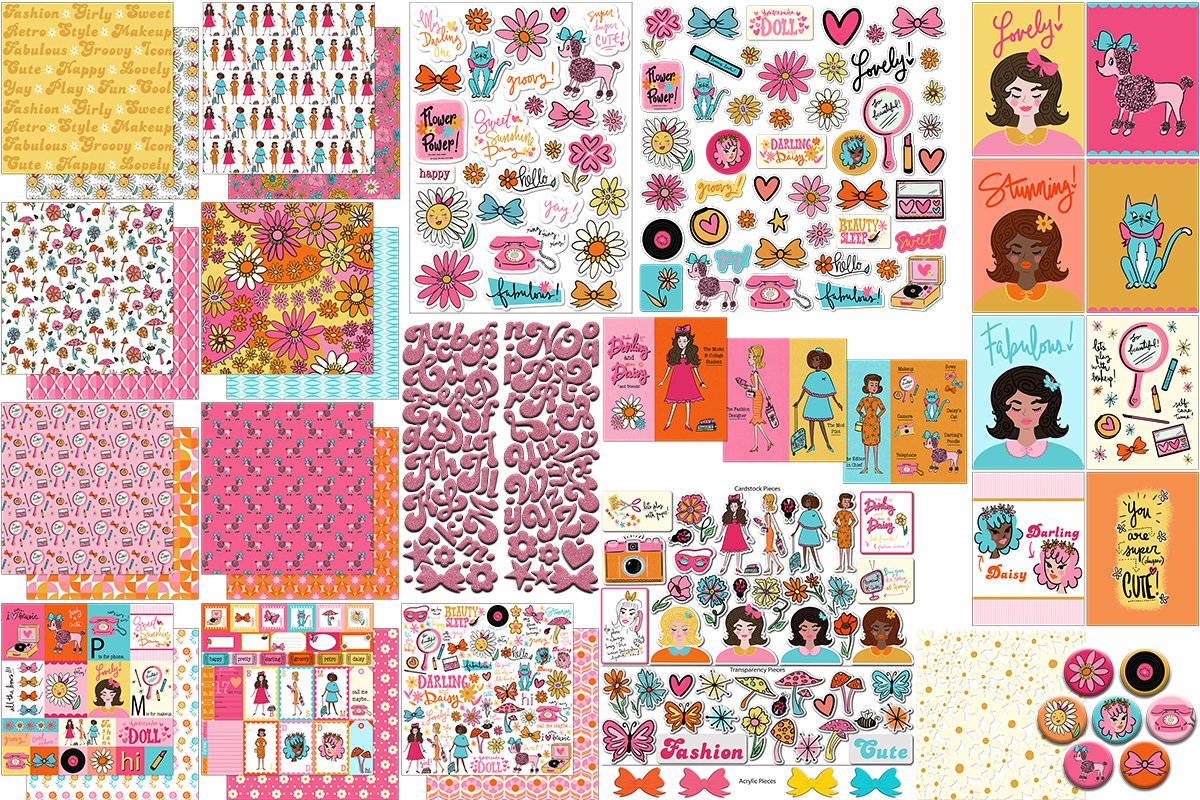
I created this collection during a difficult time with my health (my CRPS pain). So I kind of focused on what was really helping to distract me from the pain and bringing me a lot of joy -- and for me at the time, it was vintage, and specifically Midcentury Mod, flower power vintage, and, also, dolls — specifically vintage, 60s mod, Barbie dolls, plus happy colors like bright pink, orange, aqua, and marigold yellow! I was also watching a lot of Trixie Mattel and specifically, the Trixie Motel series on Discovery+ at the time, and that show really combined those ideas that I had already been so inspired by. This made for a super cool coincidence that coordinated with the kind of aesthetic I had already begun building in my mind and on the page.

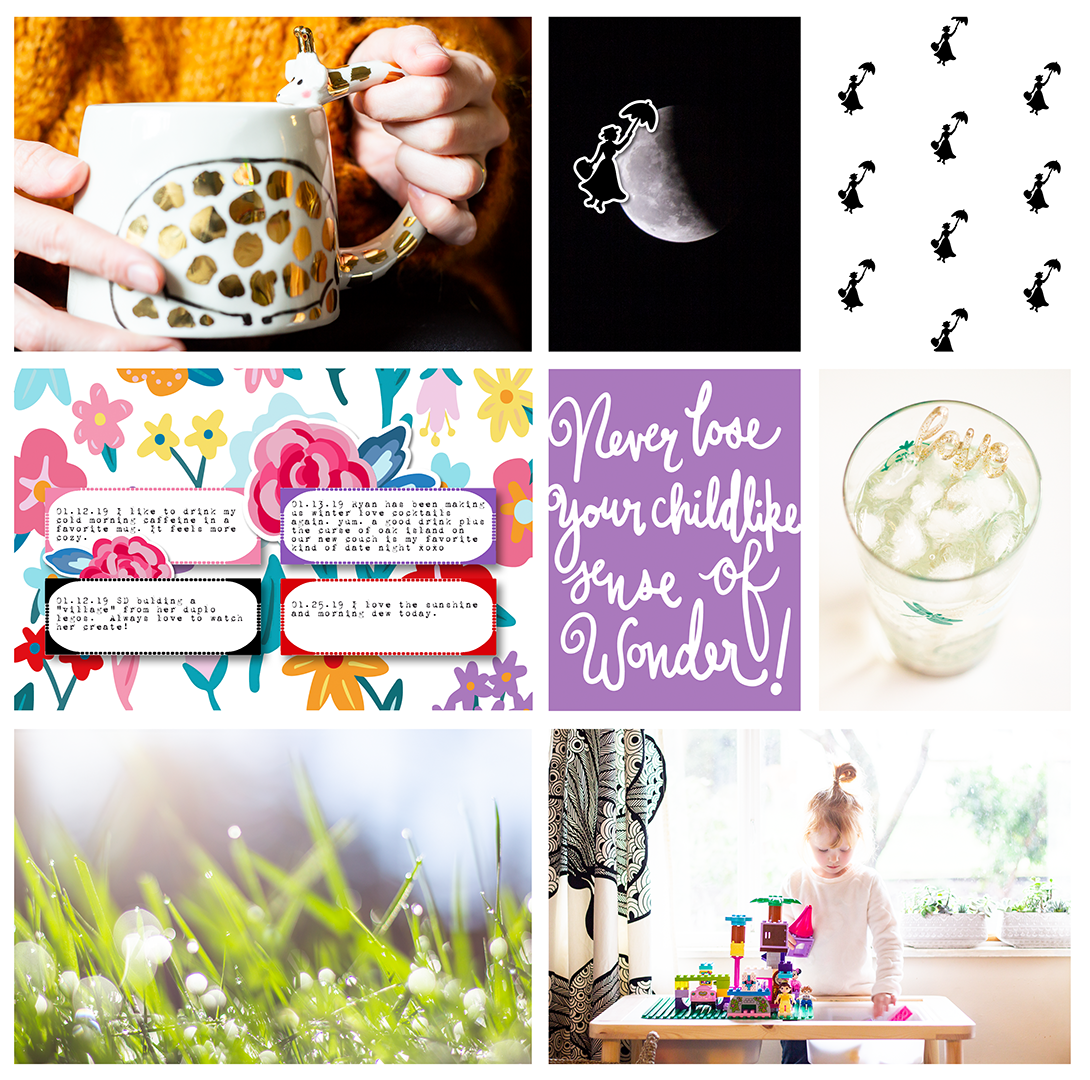
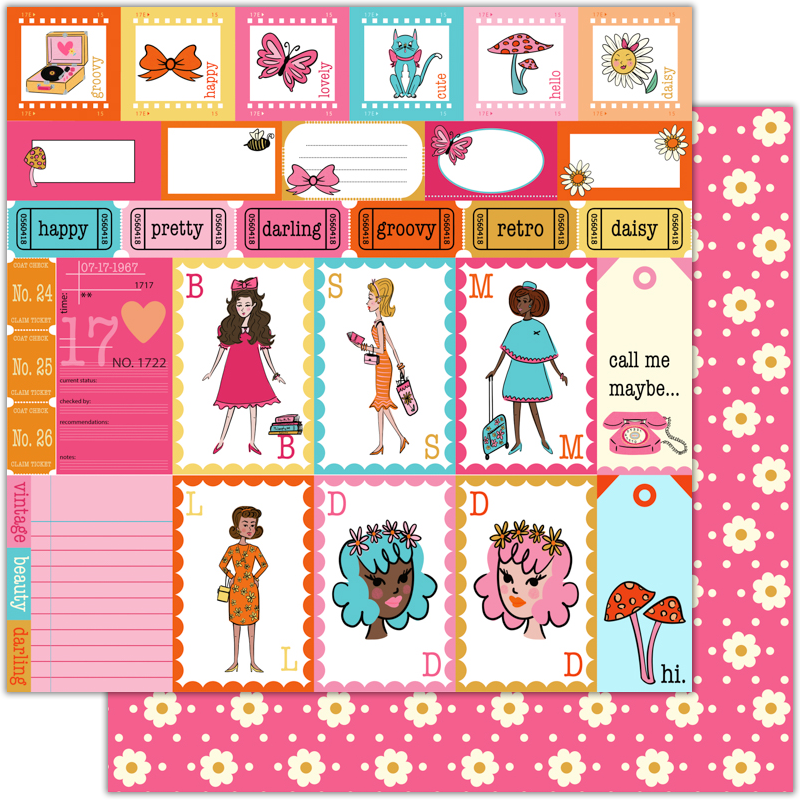
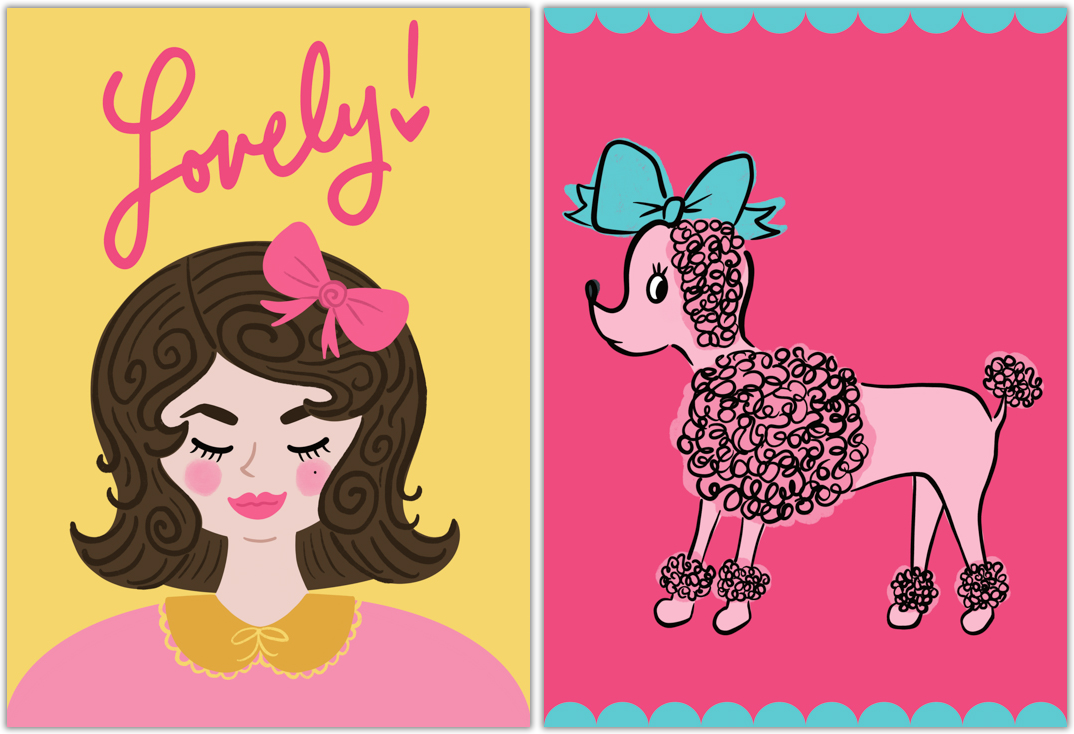
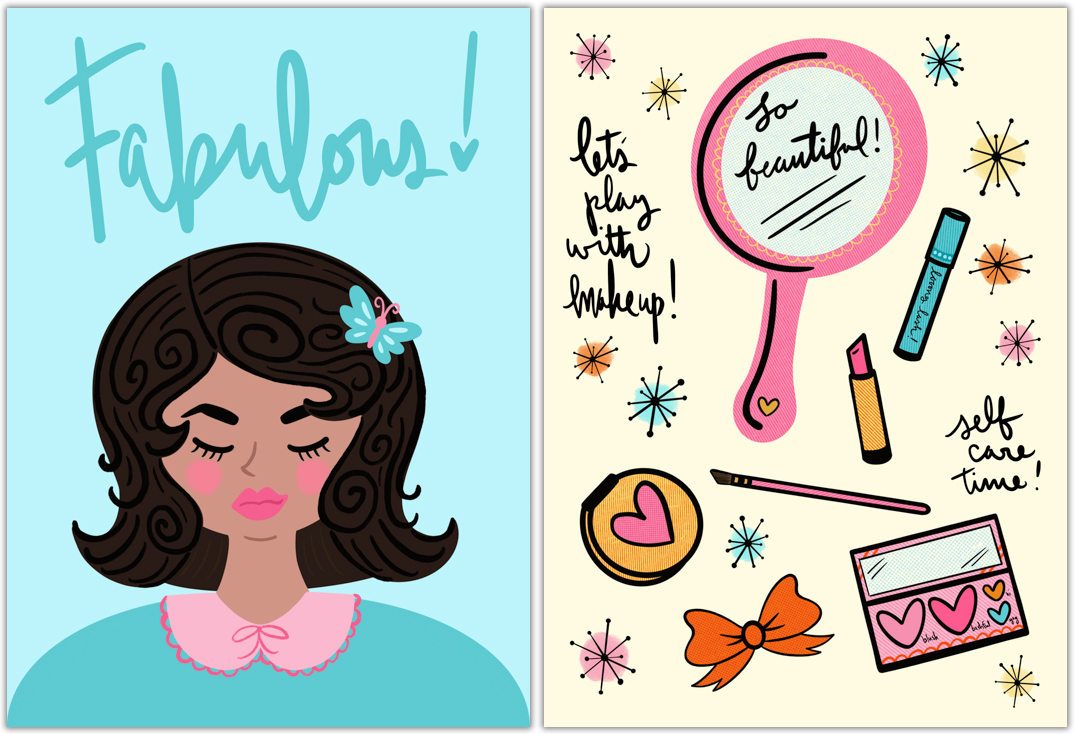
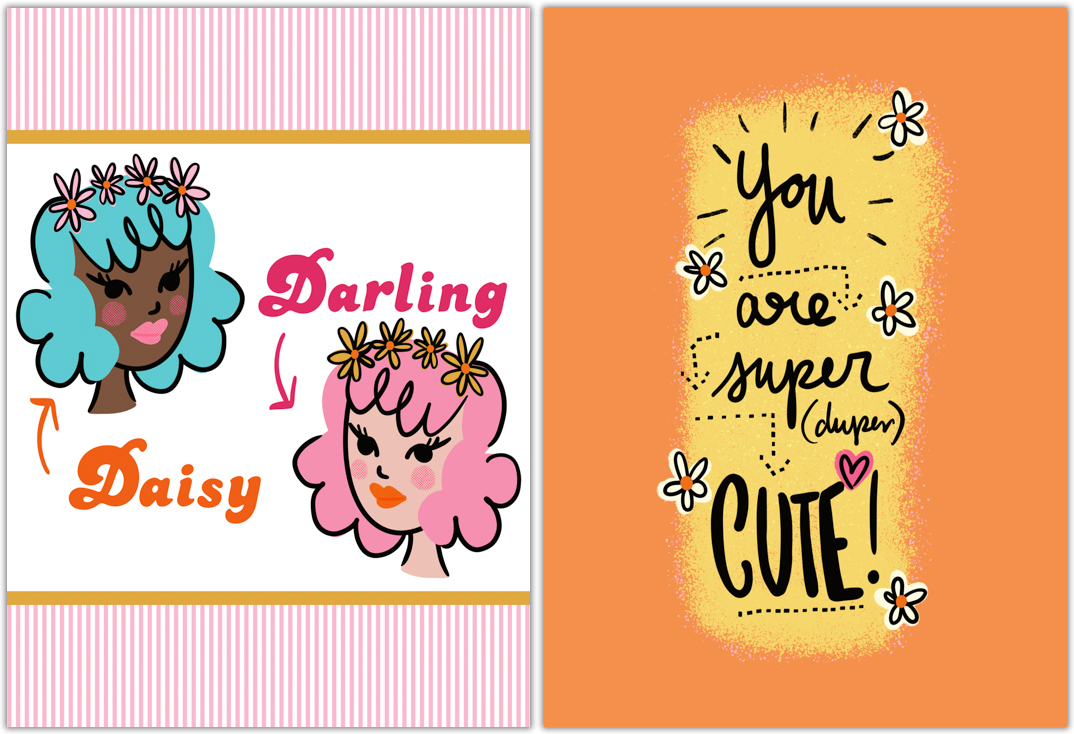
When you look through the collection, I think you can see the vintage, fashion doll vibe shining throughout. I wanted to create an experience that mimicked the kind of childlike sense of wonder that we would get when we were young and looking at sweet, packaged toys in the toy store, resplendent with bright colors, lots of pink, pretty fonts, fun flowers, and kitschy cute graphics! And even though I was definitely very inspired by the sixties, those same elements have been true, as far as toy packaging, for every decade from then ‘til now. I suppose that “look” works because there is something about that vibe that just seems to invite imagination, creativity, and play! And that same kind of vibe is something we find on adult products nowadays, too -- like on makeup, purses, etc.
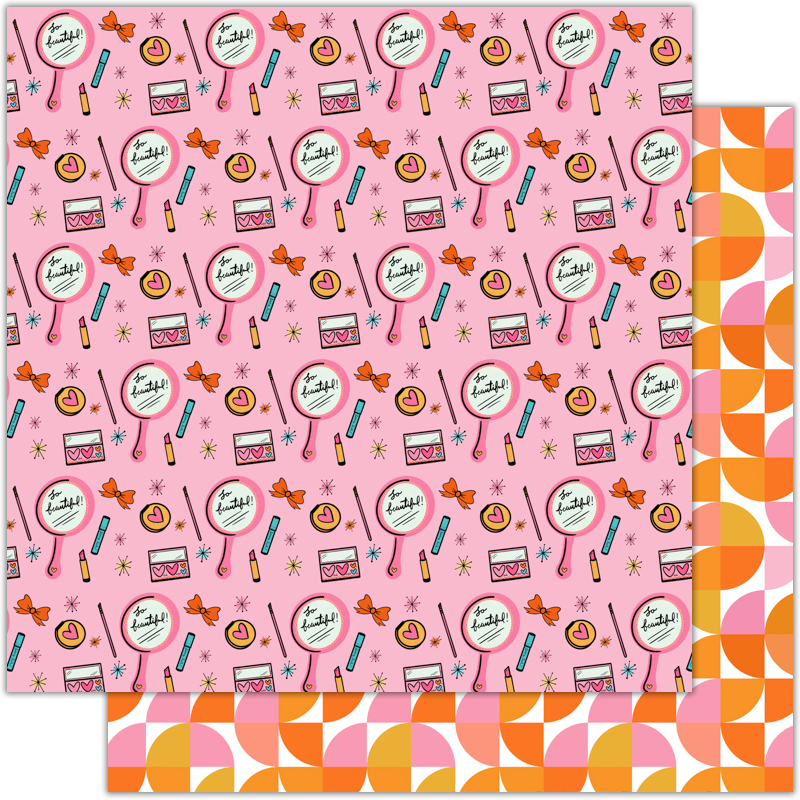
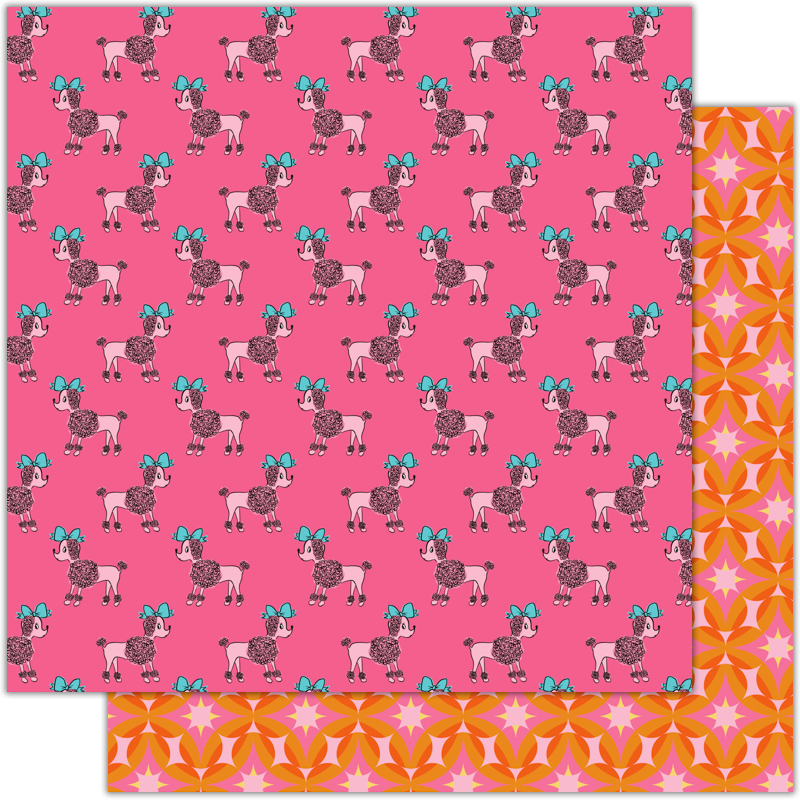
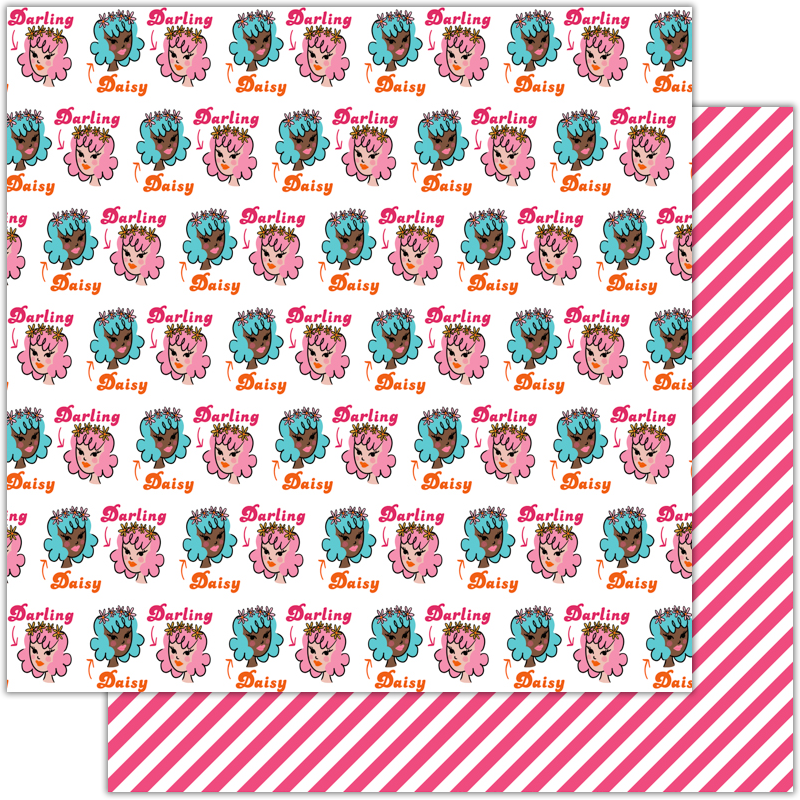
Main Set 12x12 Papers


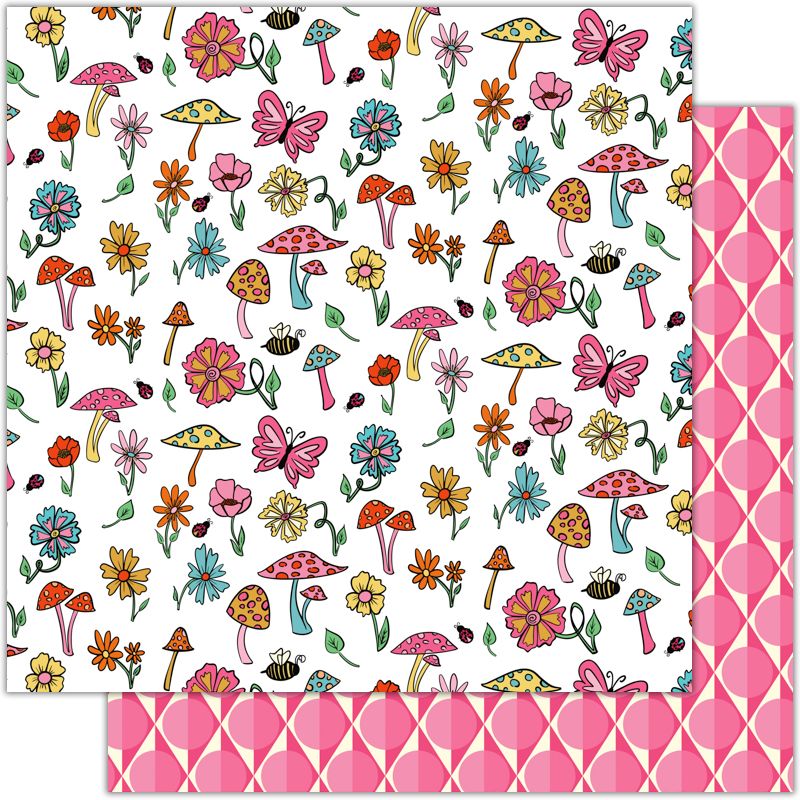
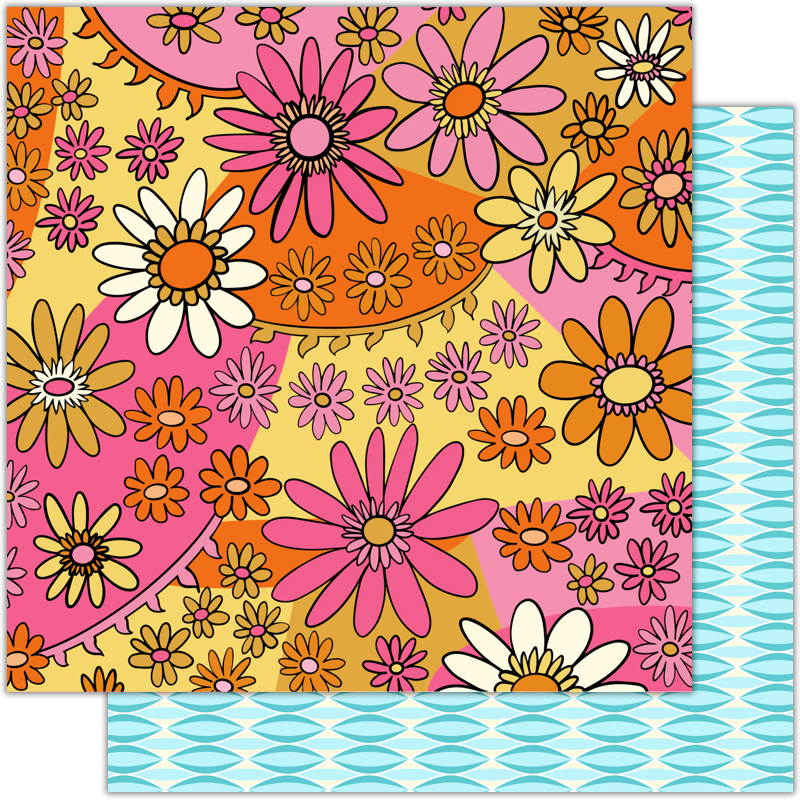
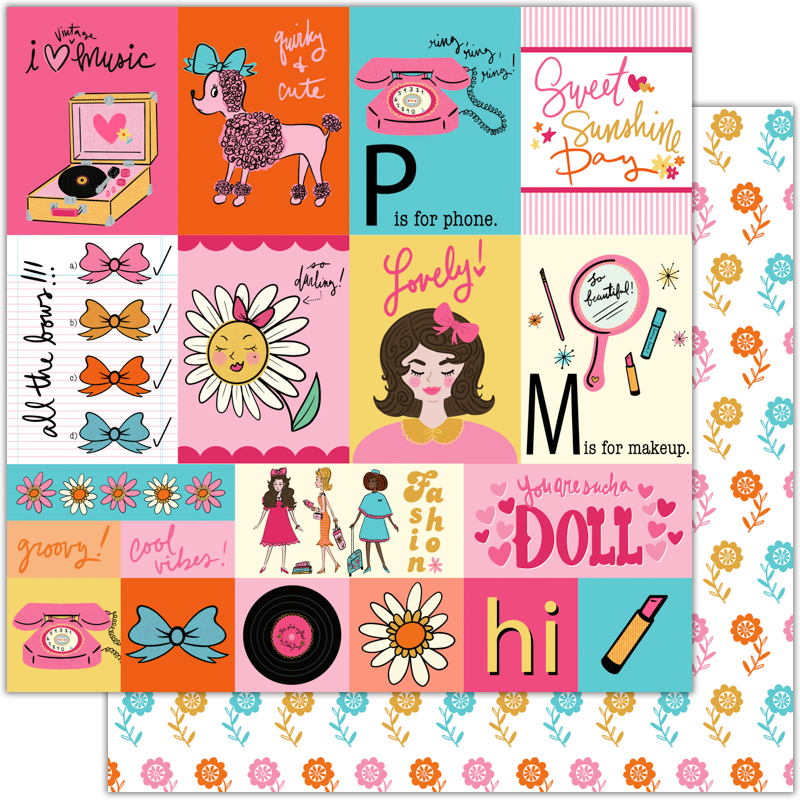
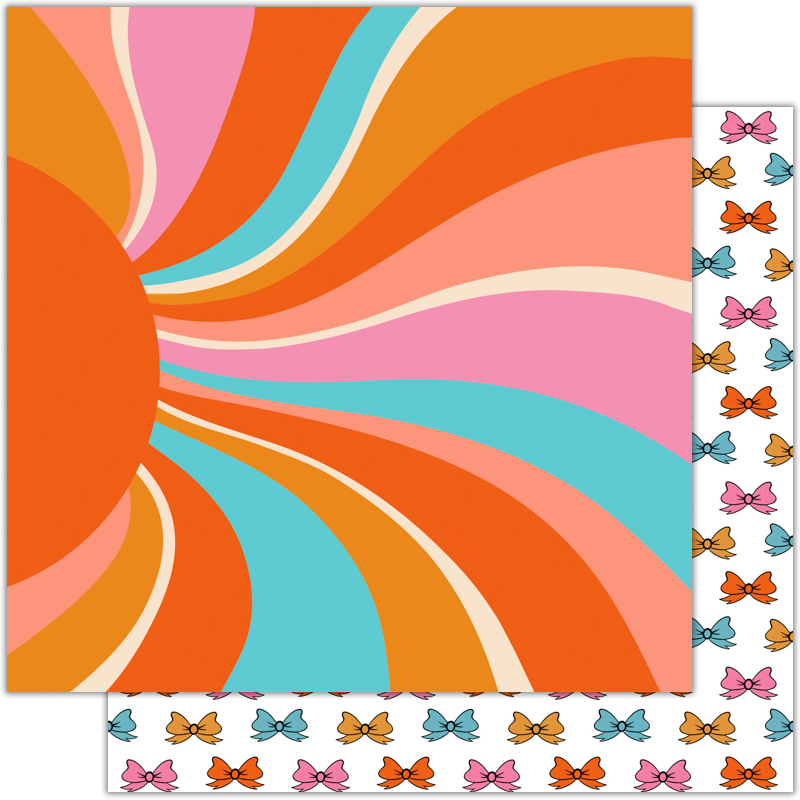
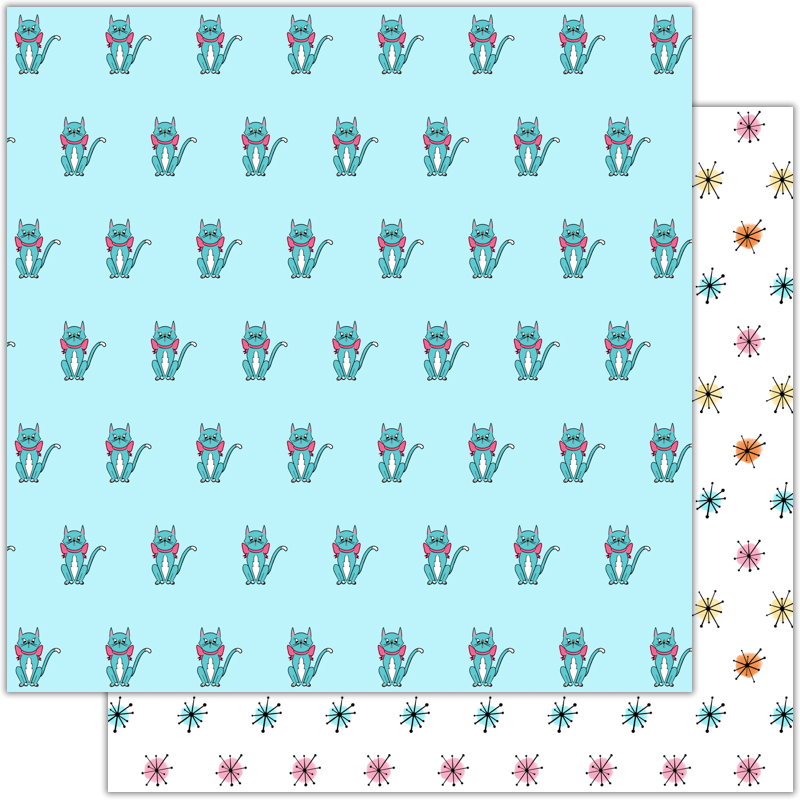
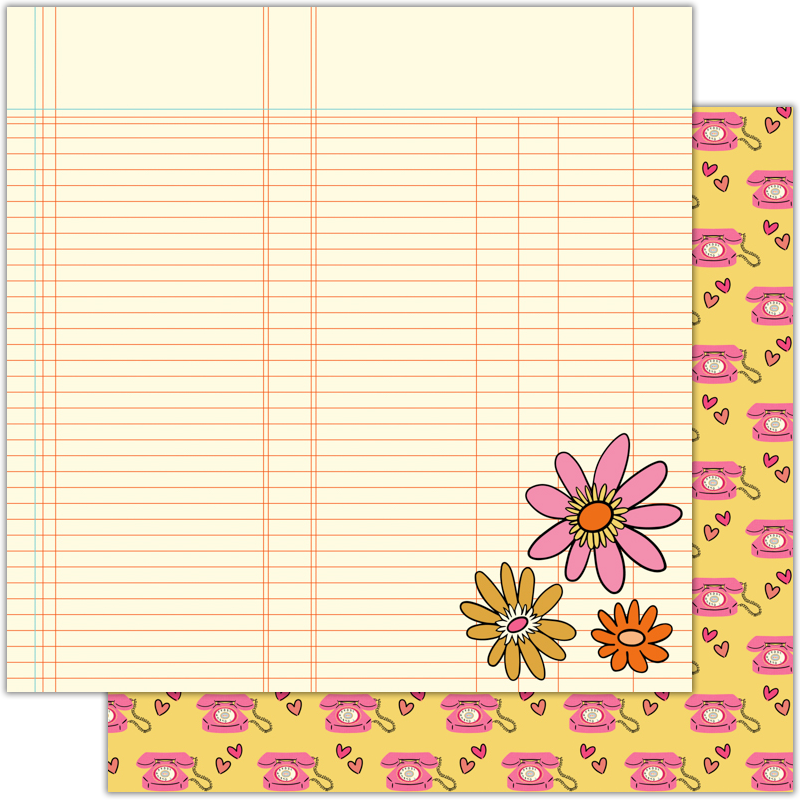
Add-On Set 12x12 Papers
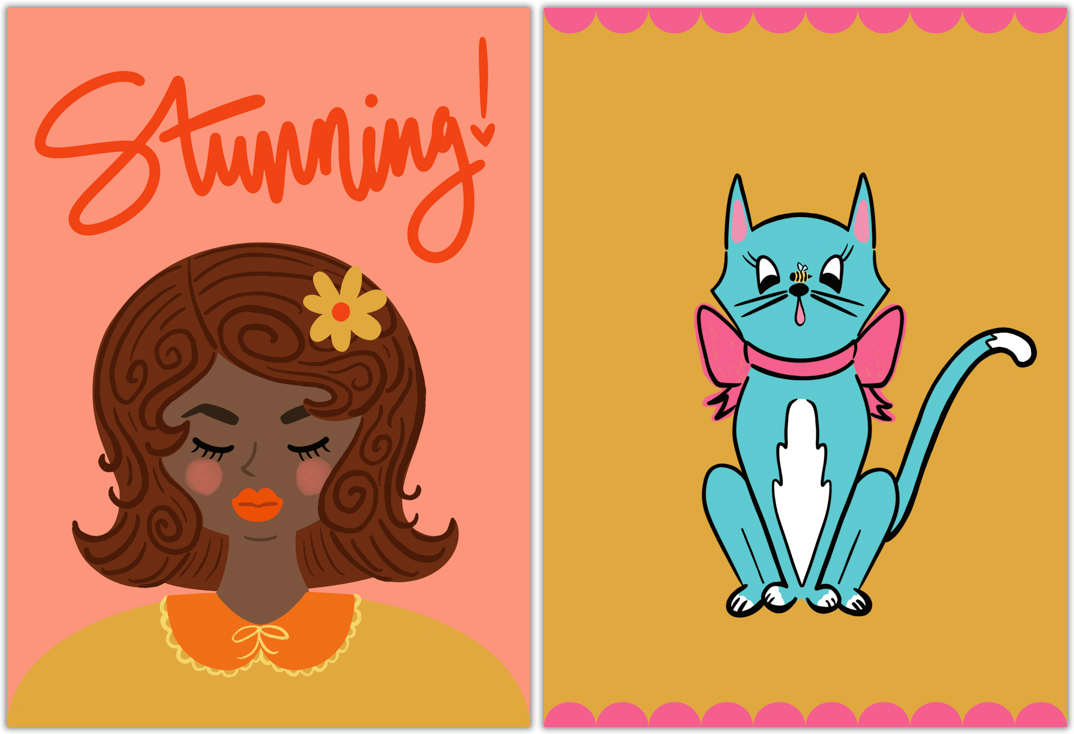
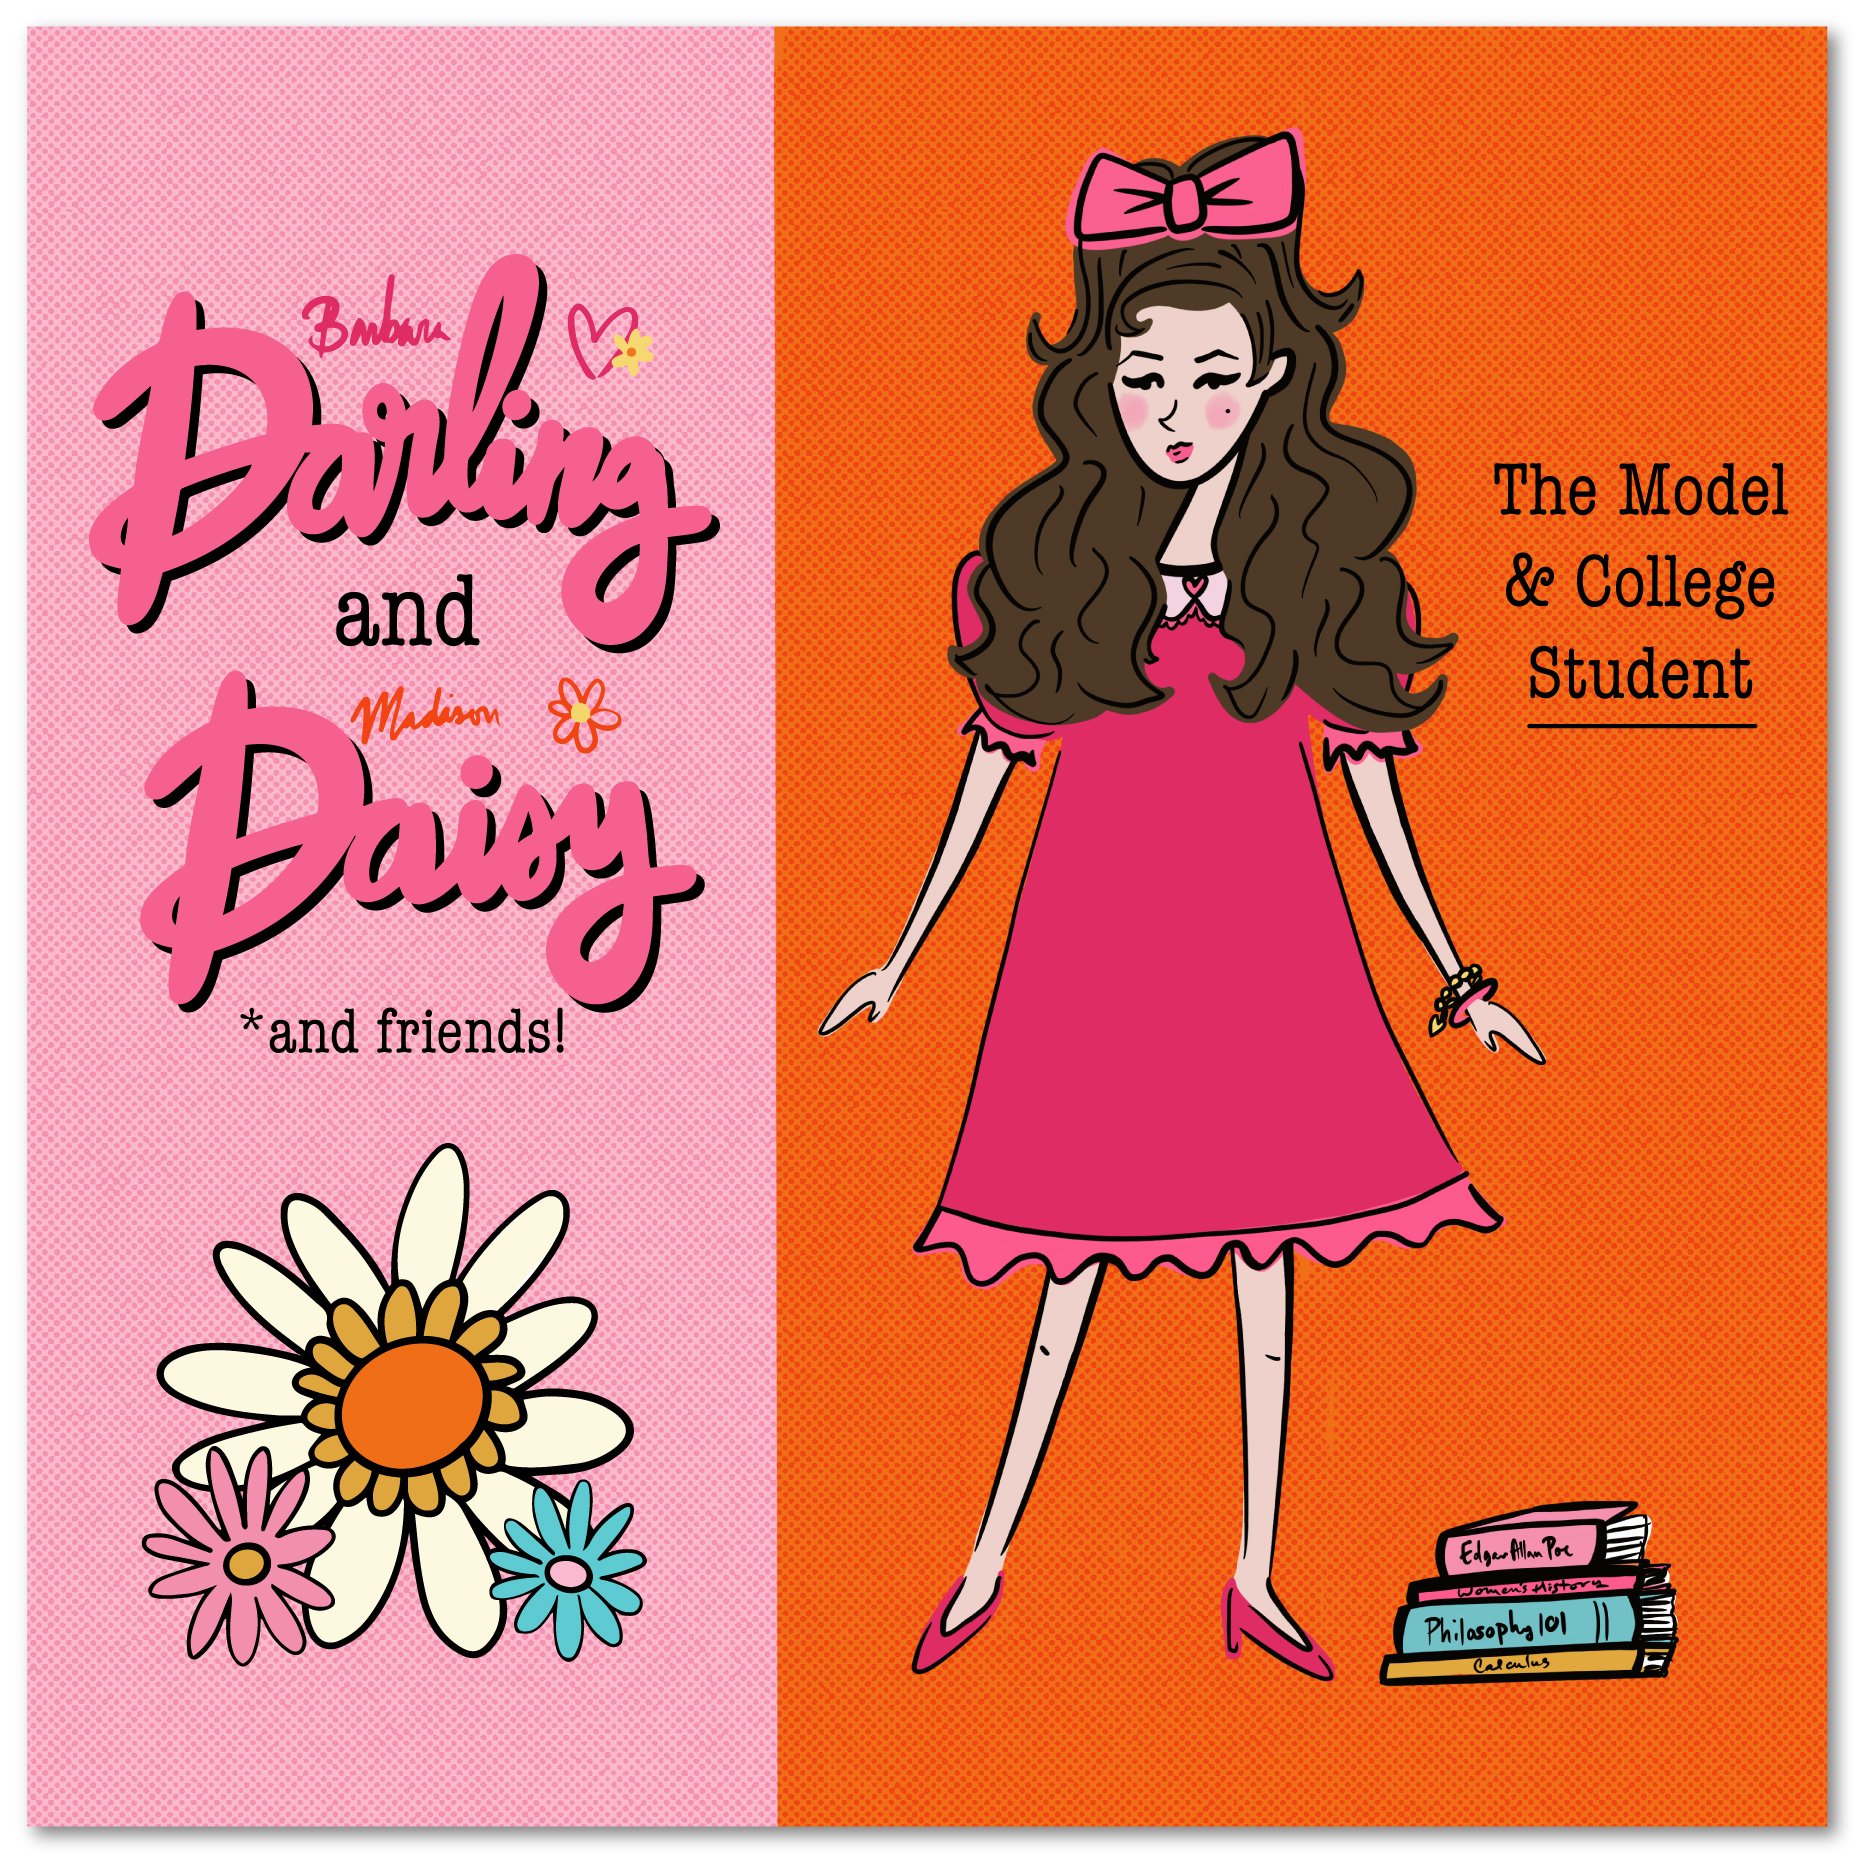
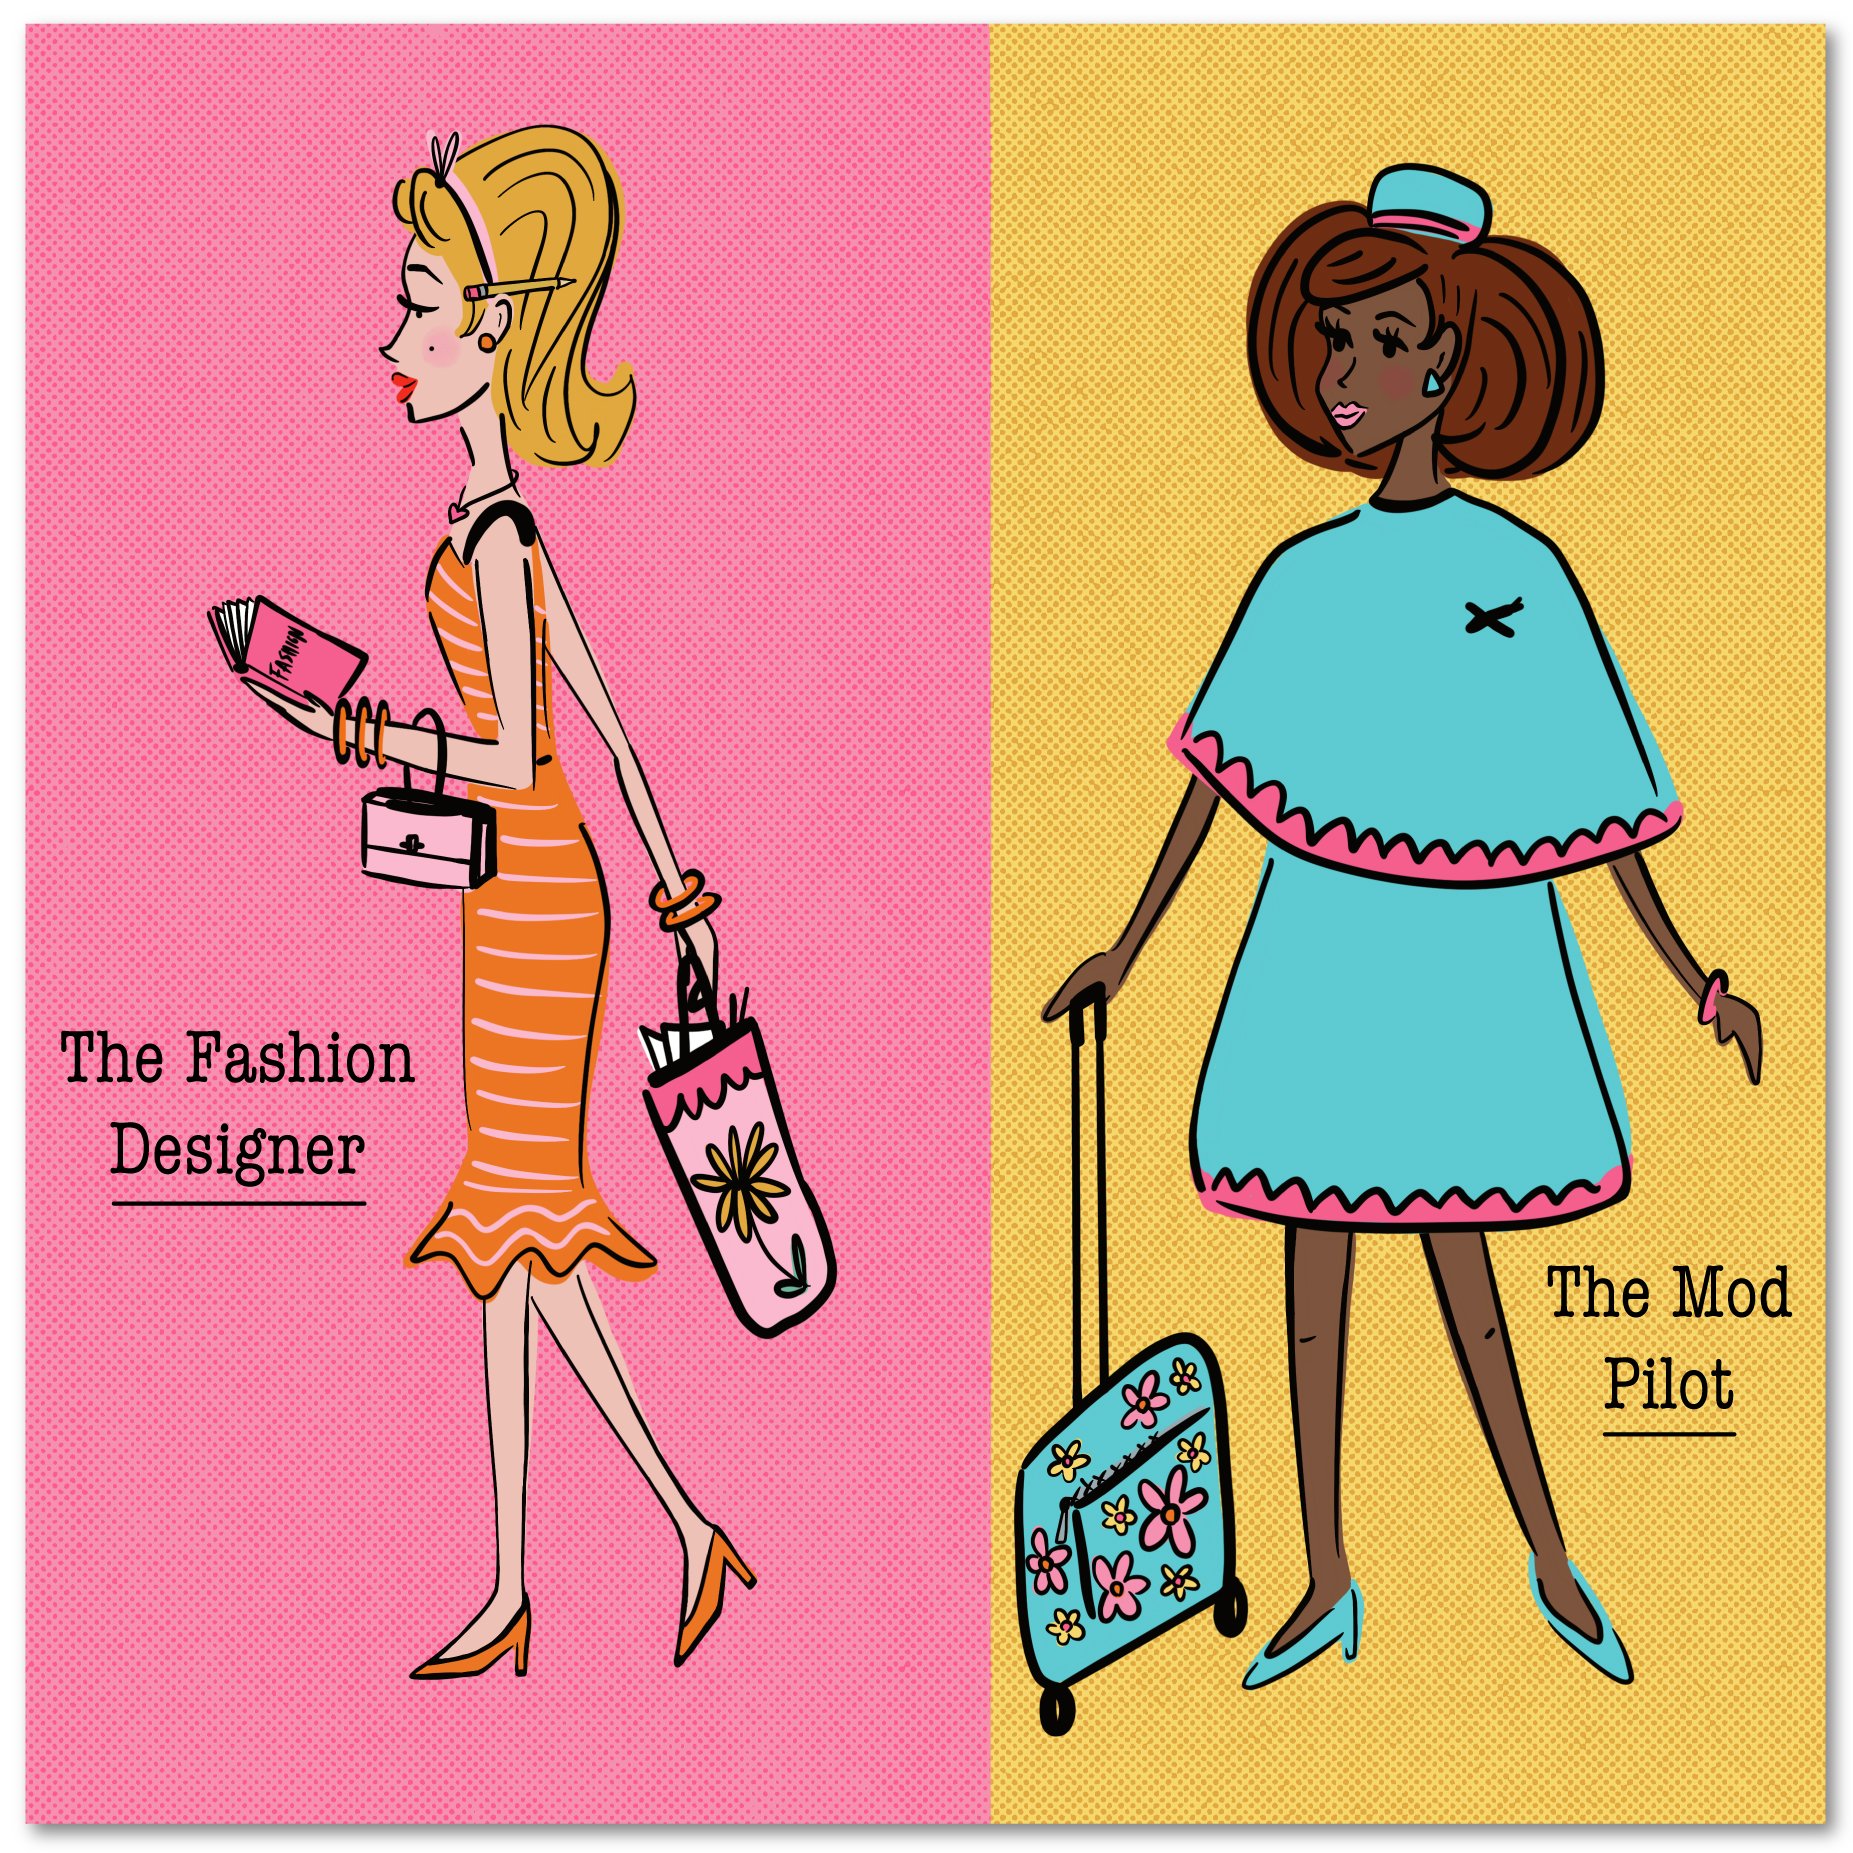
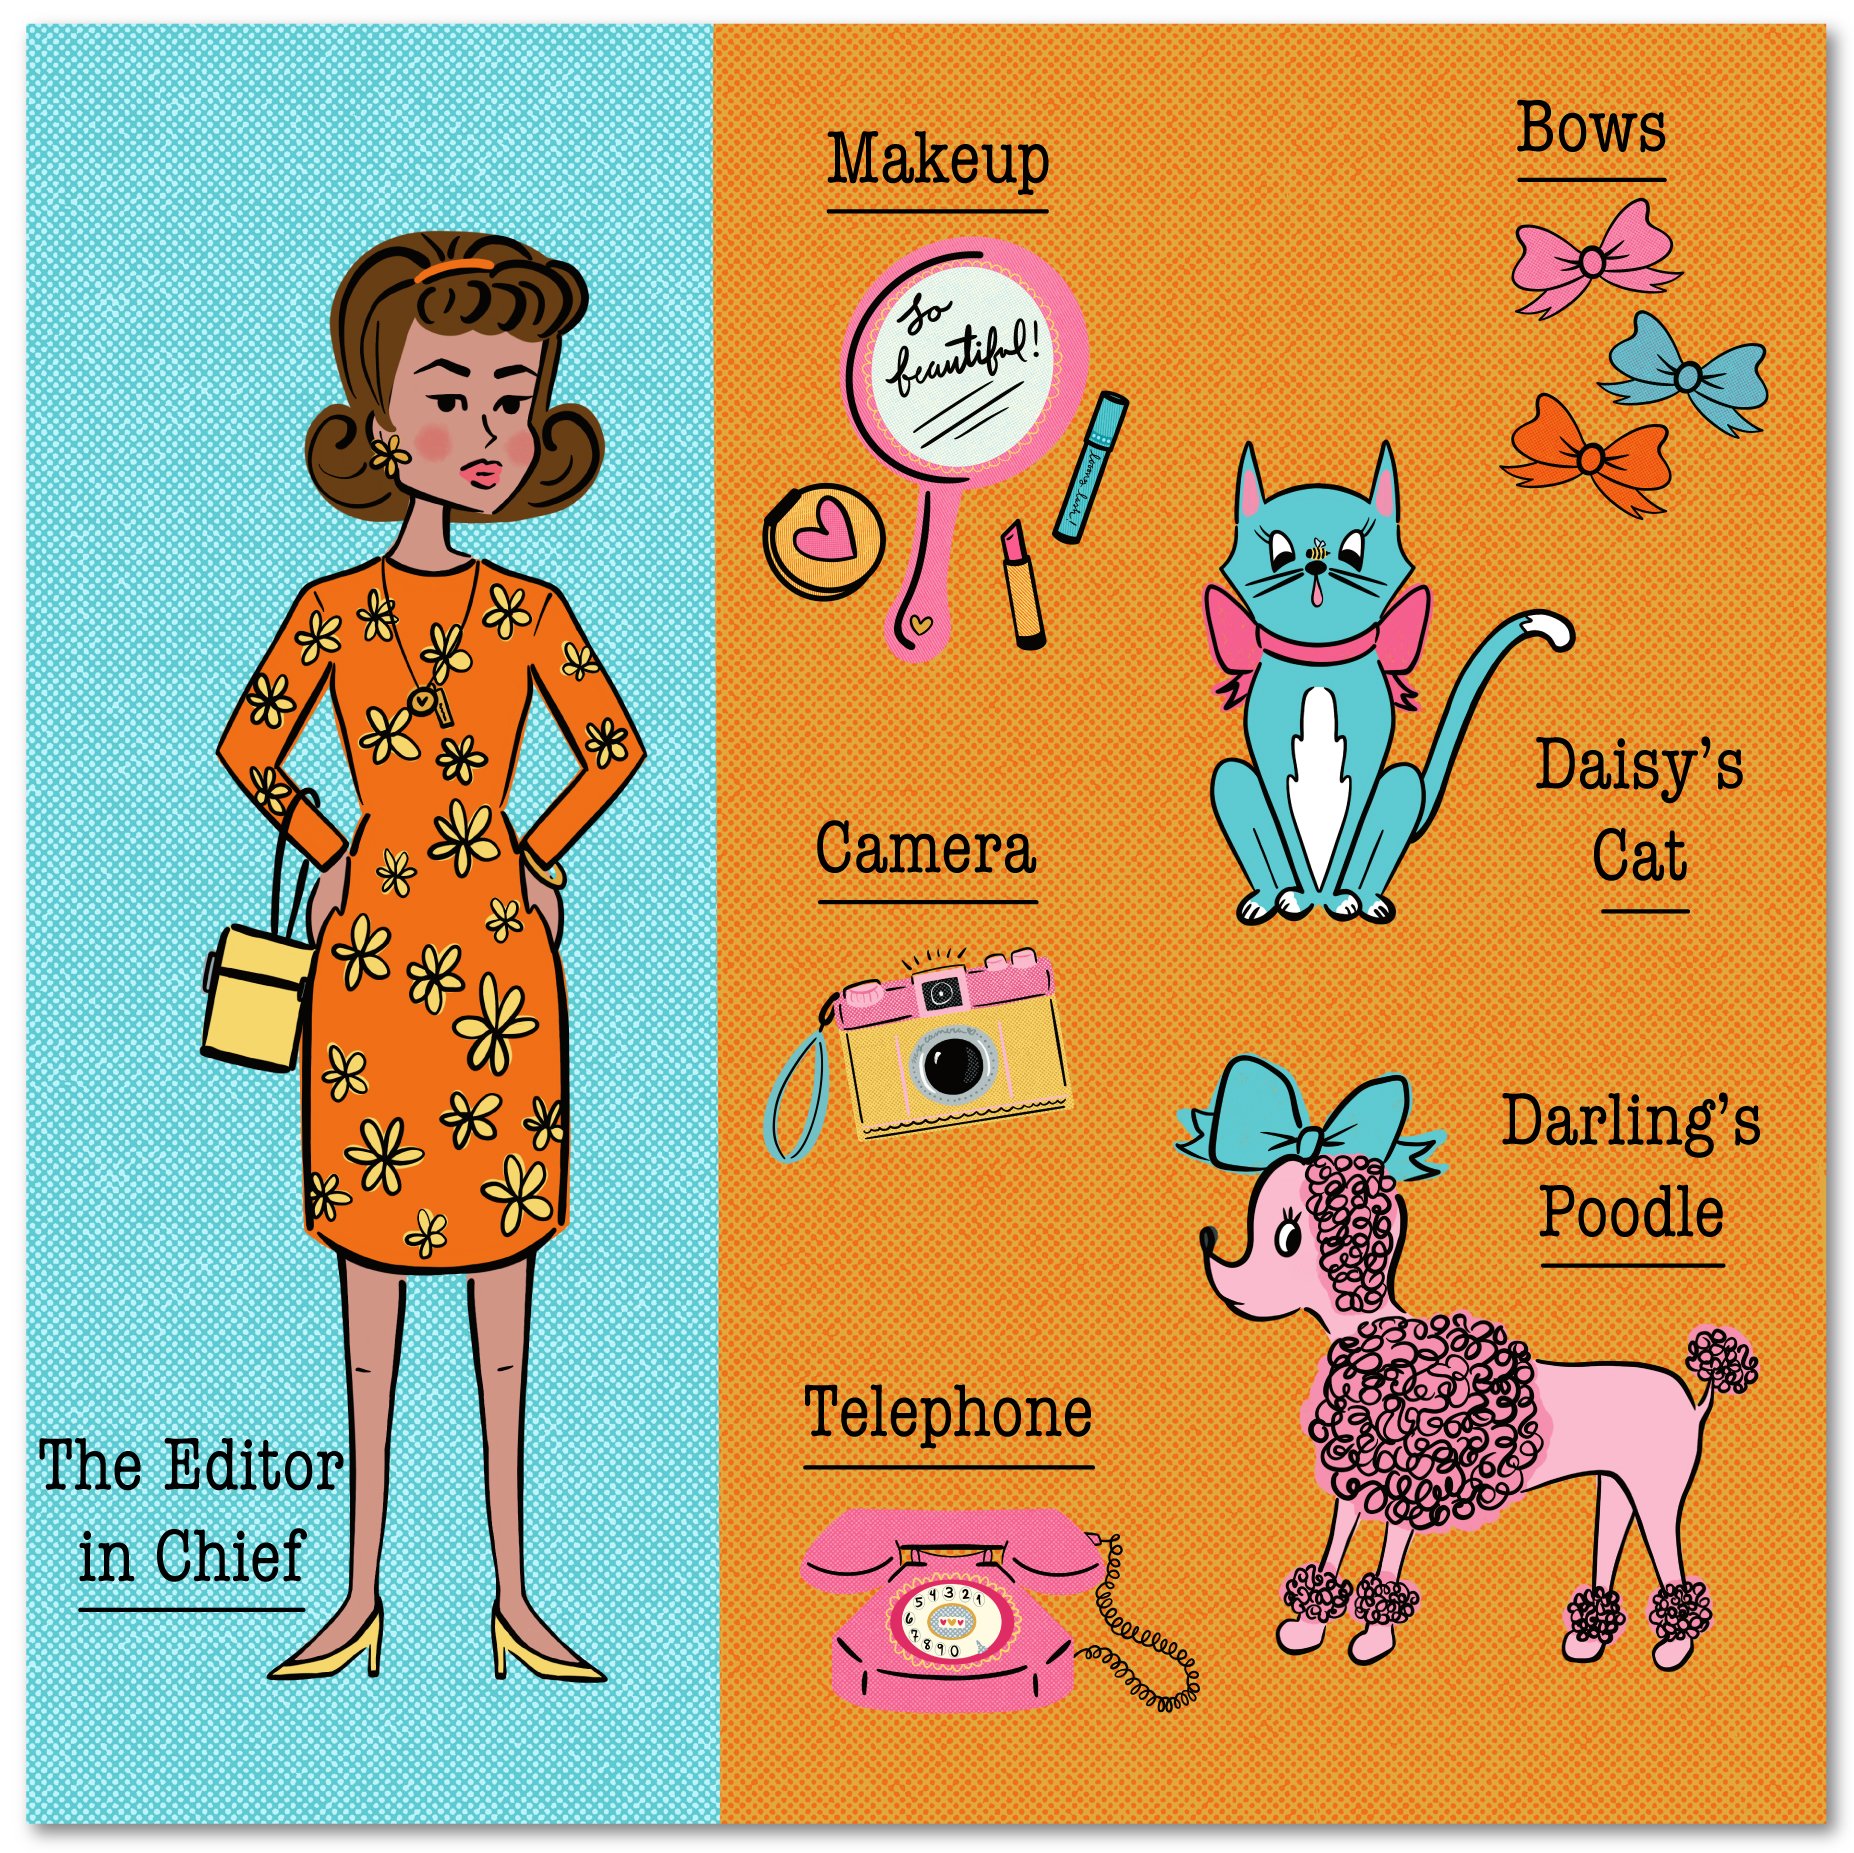
It’s definitely what some people might call a "girly" collection...just like how many would refer to playing with a Barbie, or even to Barbie, herself. However, one thing I have always appreciated about Barbie is the fact that she was so different from other dolls! She was the first doll to show young girls that they could be literally anything -- she wasn’t just a baby doll, teaching young girls how to mother; instead, Barbie was a fashion model, an astronaut, a teacher, a student, a doctor, a nurse, a single woman with her own "dream home" that belonged to her! And she was diverse. Barbie and Midge weren’t the only girls in that world, even in the 60s — there was Julia and Christie, too — and that world has only gotten more and more diverse since then! I wanted to have that kind of message in the collection, too! I wanted to create a collection that inspired women to believe in themselves, a collection that reminds us that we can do anything, be anything, and that celebrates the fact that we are all beautifully diverse and special!!! I wanted to make something that would make us feel good -- that would remind us that we are both big, wondrous kids on the inside and also, grown, beautiful, amazing, and capable adults!
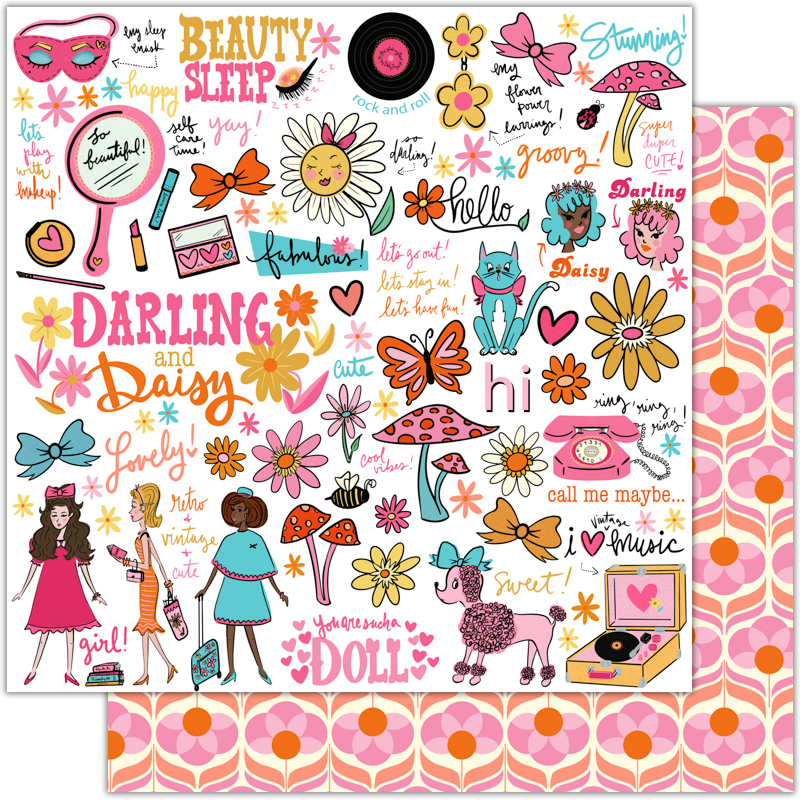
Embellishments


Specialty, 12x12, Double-Sided, Daisies Die Cut


Planner Dividers


Anyways, I really hope you all love this collection as much as I do! Huuuugs to you all! Have fun with this collection -- use it to create beautiful and imaginative and playful things that reflect the beautiful and imaginative and playful person that you are!!!
Love,
Andrea Bethke
Owner, Designer, Founder
The Fairytale Club by Andrea Bethke
Oh, and Ryan and Pastel too! :-)