Adeline's "December Dreams" Traveler's Notebook

Hi my Fairy friends,

LRM_EXPORT_374321520754181_20181218_204847943.jpg

It's Adeline today for a merry, week layout in my traveler notebook. I use this traveler for my weekly planning so this week is the holidays : Christmas is coming! So let's see my week decor with the “December Dreams” kit - ephemera, paper, and flair buttons.

LRM_EXPORT_374498814569593_20181218_205145236.jpg
LRM_EXPORT_374383090423252_20181218_204949512.jpg

I hope you enjoyed it! I wish a very merry Christmas to you and your family.

Kiss from France,

Adeline

Adeline's "December Dreams" Planner Setup

Hi my fairy friends,

It's Adeline today for the blog. So happy to be here again with you for the most beautiful time of the year with a Christmas planner project, using the "December Dreams" kit.

First I made my inside cover decor with so many cute things from the kit. I cut out a sheet of patterned paper, then I added ephemera and a ribbon of pom poms.

Then I slipped my paper into my cover to make a cute background, and I did the same with the gold keys acetate paper. I also added some die cuts to enhance this part of my set up.

Then I recycled the pretty packaging to not only decorate my cover but also to make a tag that I embellished with yarn and the silver glitter snowflake of the kit.

For the dashboard, I decided to create two parts: 1) the background which uses the swans paper (I am obsessed by them - they're so cute!), and 2) the layer just above that, which is the gold keys acetate paper.

I perforated my two sheets of paper and I inserted them in the planner. Then I decorated only the acetate paper with pieces of paper and die cuts.

In this kit, we also had pretty crystal snowflakes and charms in the Variety Pack, so I created a jewelry bookmark with string.

The last step was to put the pom pom paperclips on my pages.

I hope you like this set up! Enjoy the delights of Christmas!

Kiss from France,

Adeline

Andrea's "December Dreams" Holiday Planner Set-up

Hello there everyone! It’s Andrea here, and today I want to share with you a fun planner set-up using the new "December Dreams" collection/kit!

I absolutely love setting up my planner for the holidays and since I start my holiday season in November (because I like to include my Thanksgiving plans in with my "holidays" stuff), I decided to go ahead and set up my planner using "December Dreams" now so that I could start getting things ready for my holiday-time!

I used the A5 decorative planner pages and punched them to go in my platinum Carpe Diem planner. For the front dashboard page, I used the Sugarplum Fairy planner page and added a clear transparency on top, and between the two sheets I sandwiched some of the matching sequins that come with the "Happily Ever After" kit version of "December Dreams." I did this so I could create a fun shaker page! I love shaker pages like this for my planner! They are easy to make, and all you have to do to close everything up is just stitch around the edges. I used a zig-zag stitch on my sewing machine and some red thread. I think this dashboard came out really cute!

And to finish things off on my dashboard, I just added a little paperclip with a little label from the cut-apart sheet and some ephemera pieces (like the gingerbread man, the word "merry," and a little peppermint) to it on the bottom right corner. This just adds a cute, extra jolly detail!

For the pockets in the front of my planner, I just used different 3x4 cards from the cut-apart sheet and placed them here and there to my liking, and then I also added in some of the smaller cut-apart pieces as well as some pretty die-cuts from the ephemera pack. I added a few paperclips to keep things in place how I wanted, and also to add some more dimension and texture.

For added depth, I placed a decorative pink pom-pom paperclip at the top (from our decorative paperclips pack) and I also created a few of my own decorative paperclips by attaching some of the adorable flair that comes in the collection to some simple gold paperclips.

And for some extra glitz and glam, I added in the big glitter-snowflake that comes in the variety pack to the front bottom pocket...and I added in the little silver snowflake charm to one of the top pockets as well...so cute!

There are more decorative pom-pom paperclips as well as some of the flair paperclips that I made added here and there in my planner, marking different pages. They are all along to top and you can see from the front how they look like pretty tabs...choose one to turn to particular and important pages in my planner.

And finally, I added to the rings the beautiful gold key to the four realms that comes in our new variety pack. It looks so gorgeous and special! I added a December 25 tag from one of our cut-apart sheets to it by just threading it through the pink tassel that comes with the key and I also created a little snowflake charm dangle using a gold paperclip and one of the clear crystal snowflake beads that comes in the variety pack too!

And for a last and lovely touch, I placed the gold key transparency sheet in the back of my planner...just because I think it looks so cool and magical!

Alright, I hope you like how I setup my planner for this holiday season and that I gave you some good tips, tricks and ideas for your planner set up (or maybe for a Christmas mini album, or a December Daily)! Hope you all are having a happy holiday-time!!! Hugs and remember to live your life as a fairytale (especially during this magical time of year)!

-- Andrea

Founder/Creator/Owner of The Fairytale Club :-)

Adeline's Halloween Planner Setup

Hi my fairy friend,

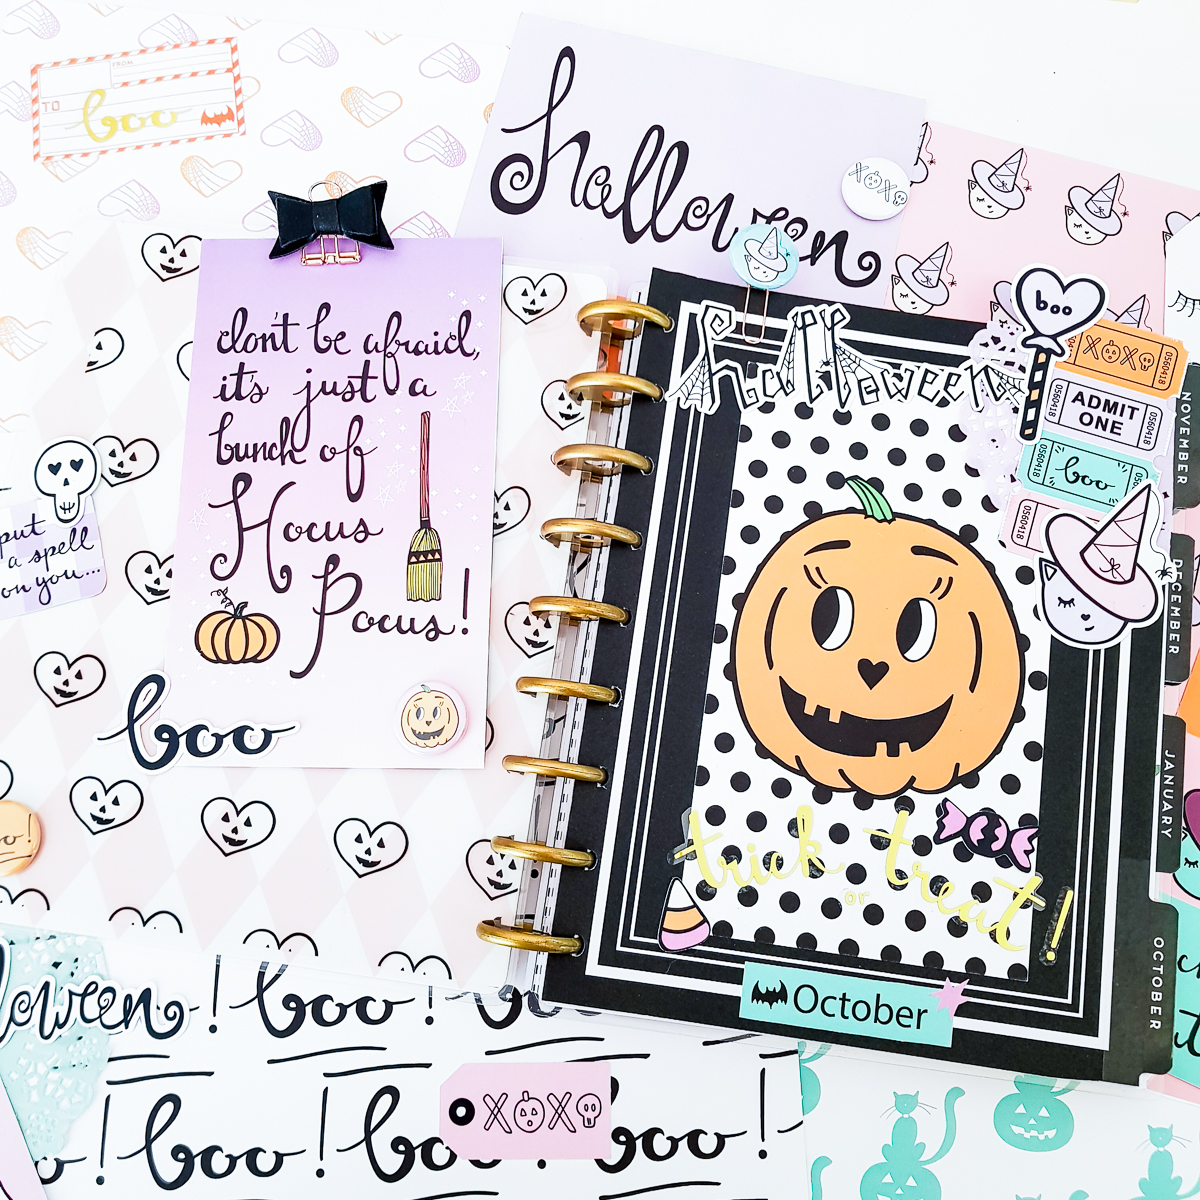
It's Adeline today for the blog, I'm happy to see you again for a bootiful post!!! As I said in my last post, Autumn is my favorite season, and I really love Halloween. I think that Andrea's Halloween themes are the best!!!! Magical and Mischievous is a good witch theme. I love the design, the colors, EVERYTHING!!! I knew this kit would be perfect for my new purple holographic planner from Kikki K, so I made my setup with it.

Magical 1.jpeg

I tried to create a girly magic halloween atmosphere, for that I decided to accentuate the effects with different items from the kit.

First I made my inside cover decor with the blue pumpkin. She is so pretty, and I added so much ephemera, like Halloween candy corn, the pretty witch...finally I added the pom-pom paper clips (I love them so much!!).

Regarding my dashboard, I decided to do it in three separate parts. For the first part I just cut my insert from a sheet of paper decorated with pretty witches. I punched it and integrated it into my planner, and it was the base of my dashboard. Its decoration is very simple - I just glued a ribbon of pom poms onto it.

For the second part of the dashboard, I have my insert with spiderweb acetate, and I chose the purple side of it. I punched it and integrated it into the planner without decorating it. This step will come at the end.

Magical 4.jpeg

For the third part of my dashboard I chose a project life card that I cut and punched. And finally I decorated it with kit ephemera and some crystals in the colors of the kit.

And then, I came back to the second part of my dashboard, the acetate sheet, to which I added decorations suited to the project life card that was added on to it so that everything was harmonious.

Then I chose some pumpkins and the poisoned love apple that I love and the perfect silver foil words "Happy Halloween". Also I made a little cat paper clip with a super cute "Magical and Mischevious" ephemera.

I hope you enjoyed my planner set up with this bootiful kit.

Kiss from France,

Adeline

Michelle's Halloween Traveler's Notebook

Happy Halloween, crafty friends! Michelle here, back with a project featuring the latest collection from The Fairytale Club, Magical and Mischievous! To be totally honest, Halloween is not my favorite holiday. And I would even say it’s not even in my top three. However, because this kit of goodies contains pastels and super cute designs, I’m actually really excited to do some festive crafting this year!

1010181818-01.jpeg

I love how everything in this kit is so cohesive! It all fits together so perfectly, and I knew I could make an adorable set up in my traveler’s notebook with these fun paper bits! I love really filling up the pockets of my TNs with cute pieces, so I started there.

I love how perfectly the cute haunted house card fit right in that front pocket! From there, I grabbed some of the die cuts from the pack and layered them with other elements to create a fun pocket set up!

As for the opening dashboard, I just knew that it had to be this quote card about the magic of Halloween! When I opened the kit and looked at all the pieces, this really stood out to me. It really captures the fun and childlike wonder that Halloween is all about!

And I don’t know about you guys, but October seems to kick off the busiest times of the year, which means that my planner and favorite planner accessories are always on the go with me. That’s also why I love this dashboard from The Fairytale Club that has the month of October on it! It’s the perfect size to go in my TN and will totally help keep me organized this month.

Also, being so busy, you never know when you might find a minute to add something pretty to a page, or do some journaling on the go! Because of this, I wanted to add a bunch of extra pockets so I could take these magical bits and pieces with me! So to do this, I made a pocket dashboard! I simply took one of the adorable 12x12 sheets, trimmed a bit off the top, and tri-folded it so that it would fit around the insert, and then fold out, where I added the pockets!

I love how this kit came together to make such a cute set up in my TN! It has all the Halloween classics like witches, bats, and pumpkins, but all of it has the cutest flair to it! This all has me feeling so festive and I can’t wait for Halloween! Happy crafting,

Michelle

"This is Halloween" Sale and October Planner Dashboard and Calendar Setup

“This is Halloween” Sale! In addition to our beautiful new "Magical and Mischievous" collection that we put out for this Halloween-time, we also have a few goodies left in stock from last year's "This is Halloween" collection. So, right now for a limited time, we are having a special sale on last year’s Halloween goodies! All products from "This is Halloween" are 40% off (no code required)...and as an added, spooktacular bonus, if you also purchase a "Magical and Mischievous" kit or paper set along with your “This is Halloween” goodies, you get 15% off of that with the code "HALLOWEENSALE"! Yaaaaaay! NOTE: For us to honor the code, you must have “This is Halloween” product(s) as part of your purchase!

Oh, and here is a cool little planner project our DT member Adeline made using last year's Halloween kit...it’s so cute, right? Get yourself some "Magical and Mischievous" and some "This is Halloween" goodies today! They will totally coordinate together and look so creepy cute!!!


Hi my fairy friend,

It's Adeline today for the blog, I am happy to see you for a new post! And not just any post, but a post on one of my favorite themes. Autumn is my favorite season, and, after Christmas, the holiday I love most is Halloween! So, you guessed it! My post for today will be on this theme.

This is halloween1.jpg

So I decided to use the kit from last year called “This is Halloween” and my Happy Planner to achieve two decorations. First of all, I made a dashboard.

For that, I cut the acetate sheet from the kit and added it to the happy planner (on the left). Then, on the right-hand side planner insert I adhered one of the personal-sized dividers from the kit (pumpkin with black on white polka dots). Then I added some embellishments like gold foil stickers, die cuts, doilies, and a paper clip done with a flair button.

Don’t you find this pumpkin so cute?

And the second thing I decided to do, and I did not do it often enough, was to decorate my monthly double page to make it really fun and boo-tiful!!!!

This is halloween1.jpg

For that I used some die cuts from the “This is Halloween” kit and also some regular stickers and some gold foil ones .

I created a little Halloween Bucket list which is :

  • “Watch Hocus Pocus” - I love the Sanderson sisters, don’t you?

  • “Drink a pumpkin spice latte” - It’s not traditional in France, but I want to taste it.

  • “Read a magic book” - They’re my favorite.

This is halloween6.jpg

I hope you enjoyed this post, and I cannot wait to see you for the next Halloween-themed post with the new kit “Magical and Mischievous.”

Kiss from France,

Adeline

Adeline's Weekly Layout using "Tiki, I Love You!"

Hi my fairy friends,

It's Adeline here today! I hope you're fine. Sunny days may be gone, but in my planner it is still summer thanks to the “Tiki, I love you” kit!!!!!! I made my week layout with it.

Tiki week layout 1.jpeg

The bright colors and the trip theme are good because this weekend we are going to an amusement park called Walibi!! This name seems tropical but it is in Belgium!! LOL

Tiki week layout 2.jpeg

I knew the kit was going to be great for the trip.

What I like to do with my weekly layouts is to put pretty things that make me want to work or to accomplish my daily tasks. Do you do that, too?

I used so many elements from the kit, including pieces of paper I cut and stickers and ephemera that I’ve accumulated.

I also cut out the project life card with a perfect quote : "I want 2 go where the mermaids are!" and used it in my planner - I just added a pom pom ribbon.

I wish you a good day, and I’ll see you soon for another post.

Tiki week layout 7.jpg

Kisses from France,

Adeline

Violet's "Tiki, I Love You" Planner Bookmarks

Hi! Violet on the blog again today, and I wanted to share how I used the "Tiki, I love you" kit in my ring bound planner.

image1.jpg

I used the journaling cards and card stock to make planner book marks. I trimmed the parrot from a journaling card and added it to card stock. I added some glitter to his feathers, because he needed to be a little extra. He’s so stinking adorable!

I use them inside my planner so I know exactly where I want to open my pages. I used the "everyday" word ephemera on top and laminated it, before I punched and placed it in the perfect spot.

Here is a top view of the planner bookmark. And below, you can see how I used the sunglasses ephemera as a tab for the top of the other bookmark. It just adds that little extra cuteness and a good way to use up your ephemera.

image6.jpg

I absolutely love the "Tiki, I love you" kit. The colors reminds me of summer, and all the tropical vibes, from flamingos to parrots and mermaid, made it a planner's paradise!

Violet

Floral, "Tiki, I Love You" Paperclips with Violet

Hello! Violet here, and today I will be showing you how I used the "Tiki, I love you" kit to make these floral paperclips.

I love to use every bit of the kits and don’t want any of it to go to waste. I use my small desk die cut machine and scraps of paper, along with a floral die cut.

First, I cut out all the pedals and leaves, using all scrap pieces from the Tiki I love you kit. I grab some paperclips and the flair buttons.

image3.jpg

I begin to layer them together and pick out the flair button that would go best with the flower.

I love how they look so much. I want a whole Tiki I love you bouquet!

image5.jpg

Here are the floral paper clips in my planner. They are perfect for that special touch to any planner and just one more way to meep your spot in a fun and creative way. Thank you to everyone who took the time to stop by the blog today. 

Violet

Aimee's "Wonderful World of Disney" Memory Planner Spread!

Hey all, Aimee here to share a spread from my memory planner.

01_Aimee_2018_08_11.jpg

August is a special month for me, and especially this year. My husband’s birthday is August 5th, our 1 year wedding anniversary is August 10th and my 40th birthday is August 15th.

So I thought it was pretty important that I make a special planner spread! And when I saw this calendar layout in the WWOD Kit I just knew it was meant to be.

Now that I have the most important dates marked for this month, I can’t wait to see what other memories are made for me to cut and paste and add to this spread!

Do you have a month in your life that is flooded with wonderful things?

XOXO Aimee