Adeline's "Tiki, I Love You!" Memorydex

Hi my fairy friend,

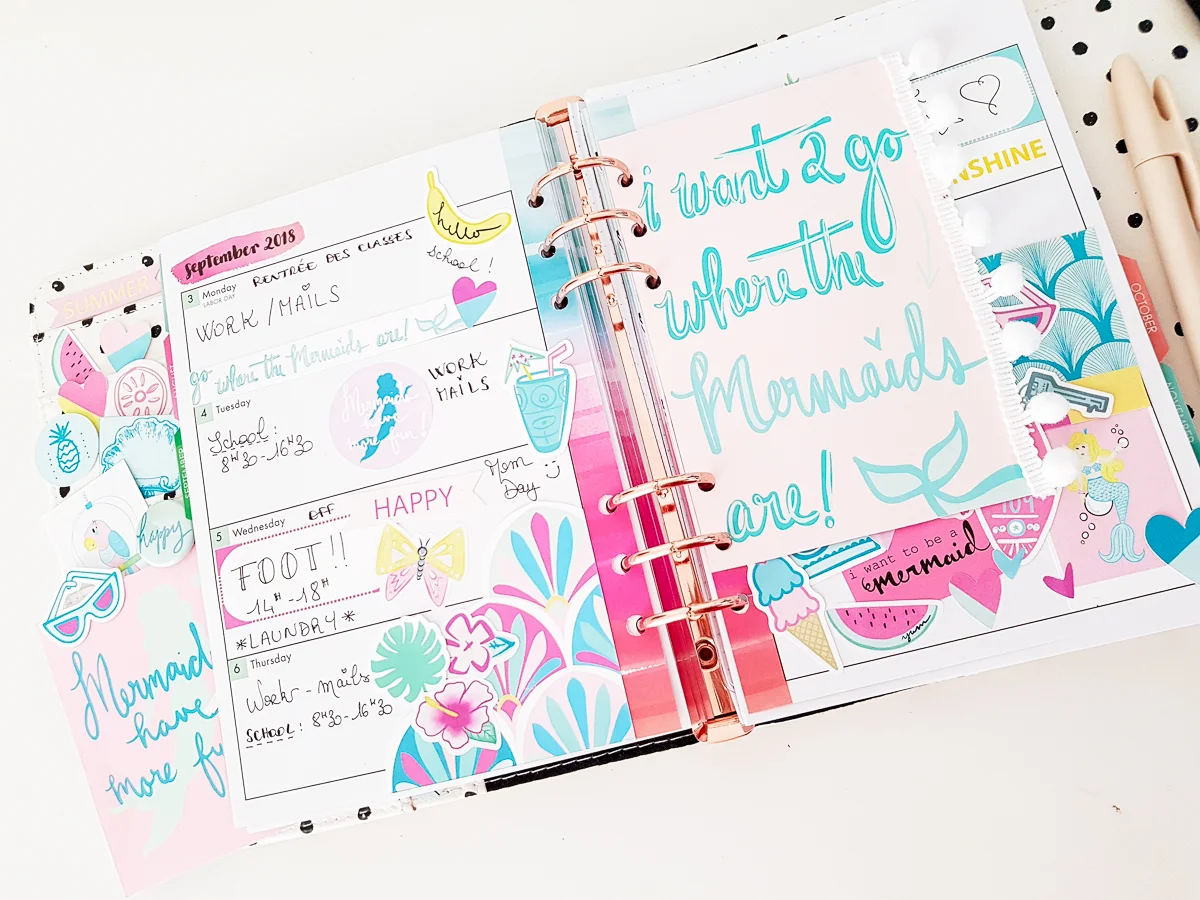
It’s Adeline again, today, and I'm so happy to see you here! I hope you spent a great summer break!!!! Well, today I want to extend those summer days with the perfect sunny kit: “Tiki, I love you!!!!”

Some time ago I made a post on memorydex cards using the “Jolly” Christmas collection. Well, every season I like to create some cards to decorate my desk or send to my friends. So this time I made those little cute cards with “Tiki!” Let's look at what I came up with together.

Tiki memorydex 1.jpg

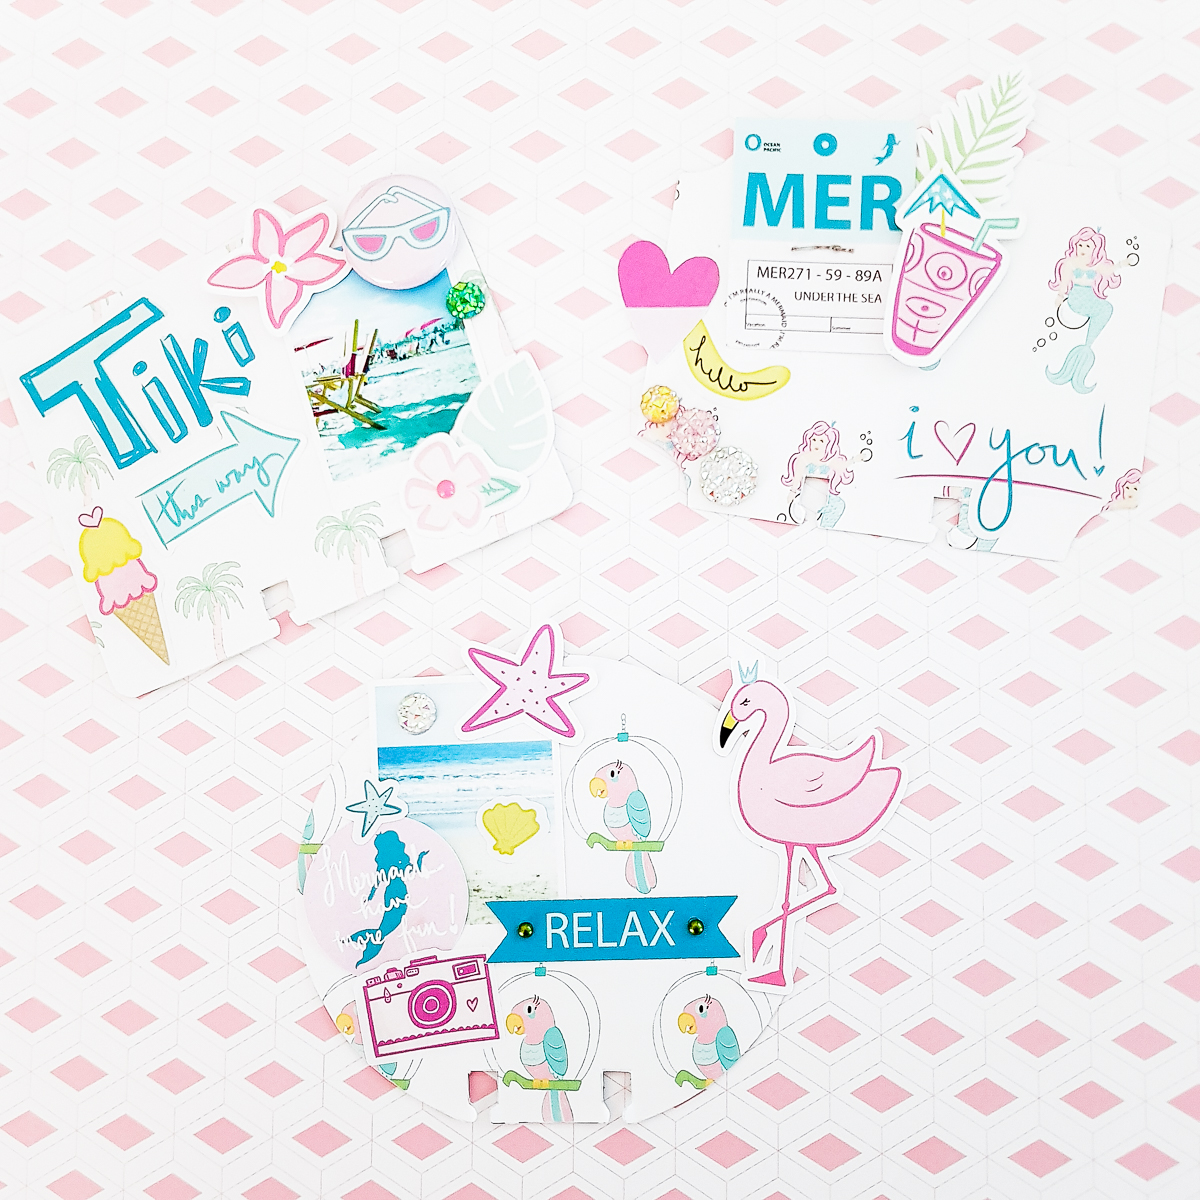
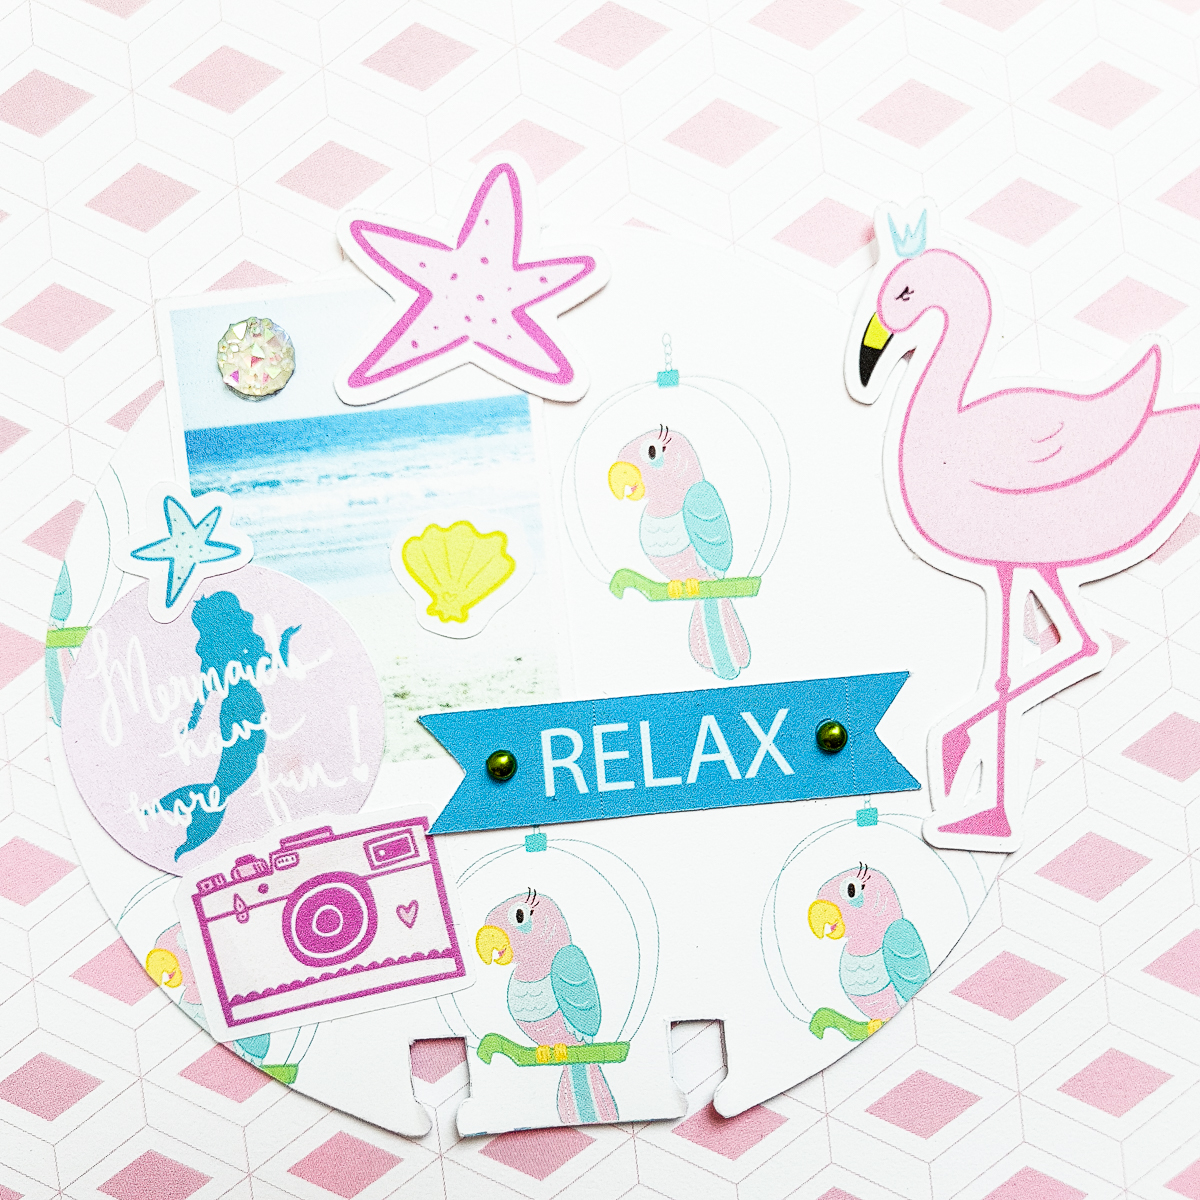
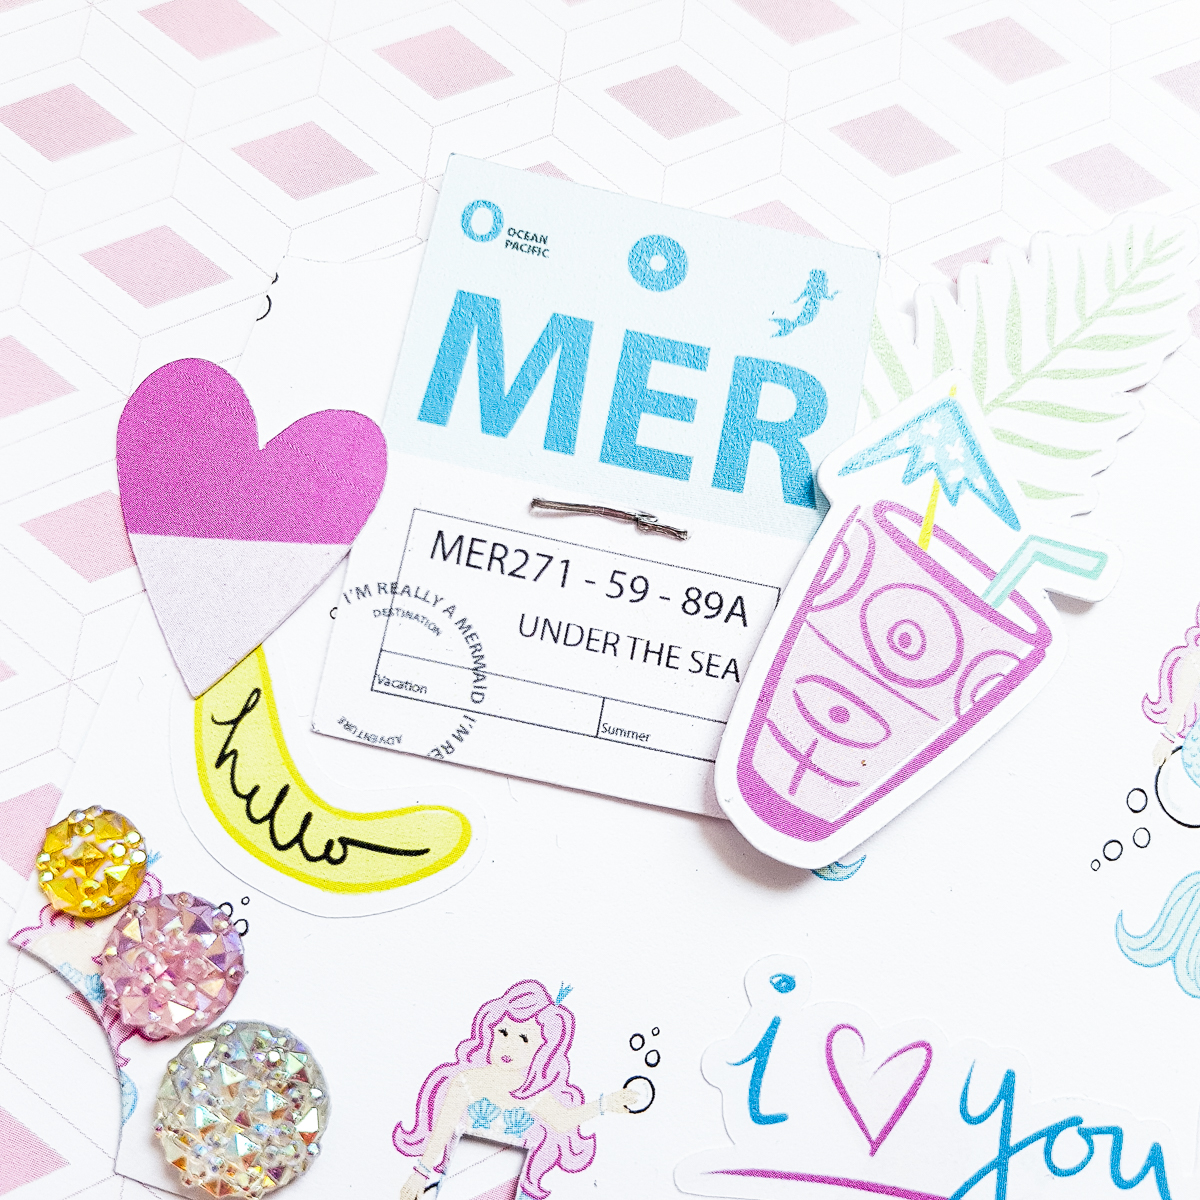
For these I cut some paper from the kit with my Silhouette, and I added some embellishments - very easy and so fun to create.

Tiki memorydex 2.jpg
Tiki memorydex 4.jpg

So, what to do you think?

I hope you liked it, we'll see you soon!

Kiss from France,

Adeline

Adeline's Weekly Layout using "Tiki, I Love You!"

Hi my fairy friends,

It's Adeline here today! I hope you're fine. Sunny days may be gone, but in my planner it is still summer thanks to the “Tiki, I love you” kit!!!!!! I made my week layout with it.

Tiki week layout 1.jpeg

The bright colors and the trip theme are good because this weekend we are going to an amusement park called Walibi!! This name seems tropical but it is in Belgium!! LOL

Tiki week layout 2.jpeg

I knew the kit was going to be great for the trip.

What I like to do with my weekly layouts is to put pretty things that make me want to work or to accomplish my daily tasks. Do you do that, too?

I used so many elements from the kit, including pieces of paper I cut and stickers and ephemera that I’ve accumulated.

I also cut out the project life card with a perfect quote : "I want 2 go where the mermaids are!" and used it in my planner - I just added a pom pom ribbon.

I wish you a good day, and I’ll see you soon for another post.

Tiki week layout 7.jpg

Kisses from France,

Adeline

Violet's "Tiki, I Love You" Planner Bookmarks

Hi! Violet on the blog again today, and I wanted to share how I used the "Tiki, I love you" kit in my ring bound planner.

image1.jpg

I used the journaling cards and card stock to make planner book marks. I trimmed the parrot from a journaling card and added it to card stock. I added some glitter to his feathers, because he needed to be a little extra. He’s so stinking adorable!

I use them inside my planner so I know exactly where I want to open my pages. I used the "everyday" word ephemera on top and laminated it, before I punched and placed it in the perfect spot.

Here is a top view of the planner bookmark. And below, you can see how I used the sunglasses ephemera as a tab for the top of the other bookmark. It just adds that little extra cuteness and a good way to use up your ephemera.

image6.jpg

I absolutely love the "Tiki, I love you" kit. The colors reminds me of summer, and all the tropical vibes, from flamingos to parrots and mermaid, made it a planner's paradise!

Violet

Floral, "Tiki, I Love You" Paperclips with Violet

Hello! Violet here, and today I will be showing you how I used the "Tiki, I love you" kit to make these floral paperclips.

I love to use every bit of the kits and don’t want any of it to go to waste. I use my small desk die cut machine and scraps of paper, along with a floral die cut.

First, I cut out all the pedals and leaves, using all scrap pieces from the Tiki I love you kit. I grab some paperclips and the flair buttons.

image3.jpg

I begin to layer them together and pick out the flair button that would go best with the flower.

I love how they look so much. I want a whole Tiki I love you bouquet!

image5.jpg

Here are the floral paper clips in my planner. They are perfect for that special touch to any planner and just one more way to meep your spot in a fun and creative way. Thank you to everyone who took the time to stop by the blog today. 

Violet

Aimee's "Tiki, i love you" Embellishment Pocket Page

Aimee here, sharing a pocket page using the “Tiki, I love you” kit.

mermaids 1.jpg

I love pocket pages. They are so fun and easy to make. I personally like using baseball card holder’s ones. They hold instax photos perfectly. Well the slots are larger than an instax, so the photo kinda just floats in it.

Here I have made a page without any photos. This is a first for me. But I thought this would be so cute in my album.

Let me tell you about my album real quick. I have an 8.5x11 album, that I use just for pocket pages. This is because I only make a few pocket pages a year. So, I have dividers in the book with the years on them. And when I make a pocket page I just pop it in the album chronologically. This is my very own version of “project life”. This page will get slipped into the summer of 2018, since that’s when this kit is from {really there are no rules}.

I filled the pockets with some of my favorite ephemera from the kit. I added some sequins to one of the pockets, die cuts and flair to the others. I fused them closed and then I stitched “Mermaids” on top of the pockets.

This is a really fun way to use all those extra bits and pieces!

Do you make pocket pages?

XOXO Aimee