Water Color and Peonies with Aimee

It’s Aimee again! Today I got messy with the “Beautiful Dreamer” Kit and just had to share with you!

peonies_01.jpg

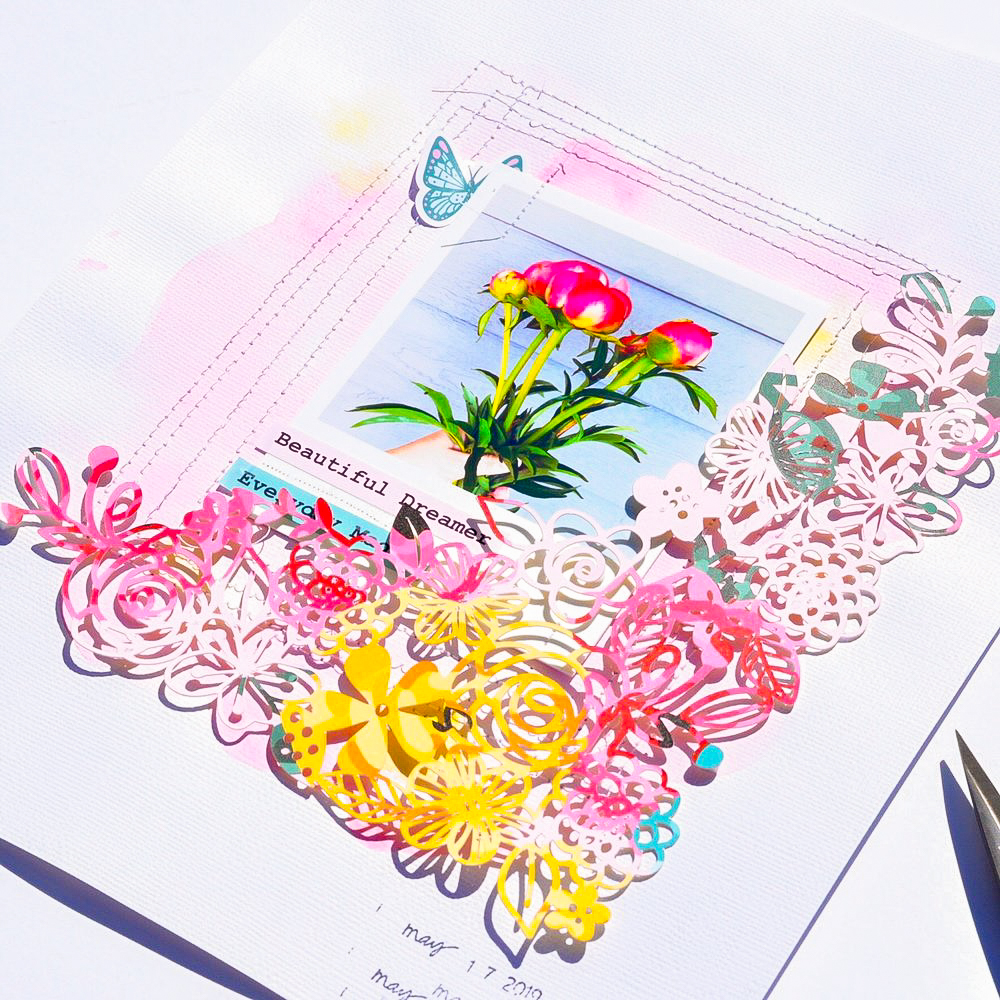
 I went way out of my comfort zone with this one! I mixed water colors with a fancy cut paper and machine stitching.

peonies_02.jpg

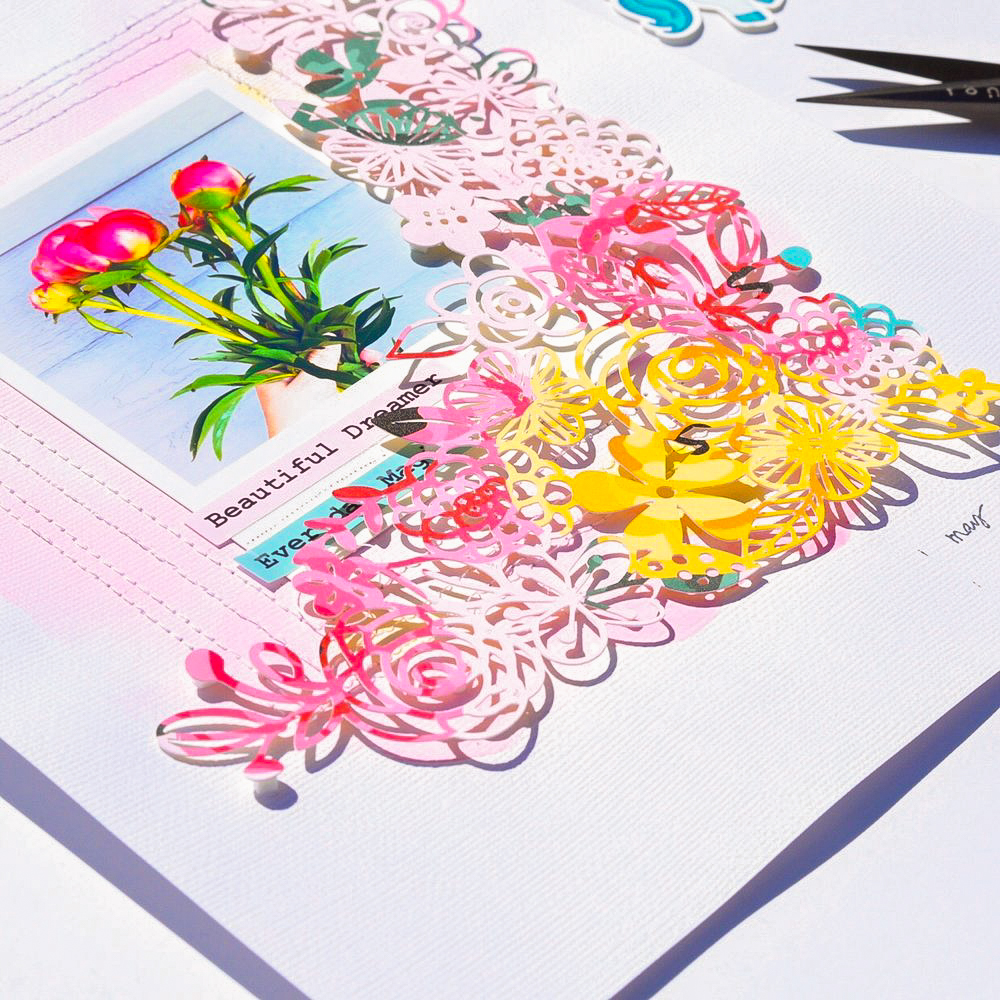
 I started this layout off by using a cut file from Kim Watson, you can find the file here.  I scaled down the file and cut it using the “Her Name is Aurora” 12x12 paper. You guys, this paper is so beautiful and the decision to cut it was so hard to make!

 I printed my photo to look like a polaroid picture.

peonies_03.jpg

 I marked where I was going to adhere my photo and I water colored around the outside of those marks.

Now, I really don’t know how to water color. I just moved some color and water on the paper and this is the final look! This is WAY out of my comfort zone.

peonies_04.jpg

 After it dried, I placed a heavy book on my paper and let it dry overnight {I don’t care for how the paper gets wavy after you have put paint/water on it - another reason why this is out of my comfort zone}

peonies_05.jpg

 I adhered my photo to my paper and then stitched around the photo several times.

I used some stickers from the sticker sheet to complement the photo, and then I placed my cut file over my photo, adhering it with 3-d foam adhesive.

peonies_06.jpg

 I also dated the layout with my date roller stamp

7.jpg

 How often do you leave your comfort zone when scrapping???

 XOXO Aimee

Lilly's Handmade "Beautiful Dreamer" Cards

Welcome back to the blog, guys!!! Today I’m sharing some fun handmade cards I made using the “Beautiful Dreamer” collection.

I love how fun and bright these handmade cards look. That cute bird is one of my favorite elements from the collection.

What I usually do to make my hand made cards is use a 8.5 x 11 piece of 110lb cardstock, cut 5x7 cards, and decorate away. Add a little stitching and some cute layering, and you got yourself a card your crafty friend would love.

One of my crafty secrets is that when I don’t have much time to craft, I tend to make a cute card because they are fast and easy to make :) Thx for stopping by guys, catch you on my next post 💗

Hoppy Easter!!! Easter/Spring Printable

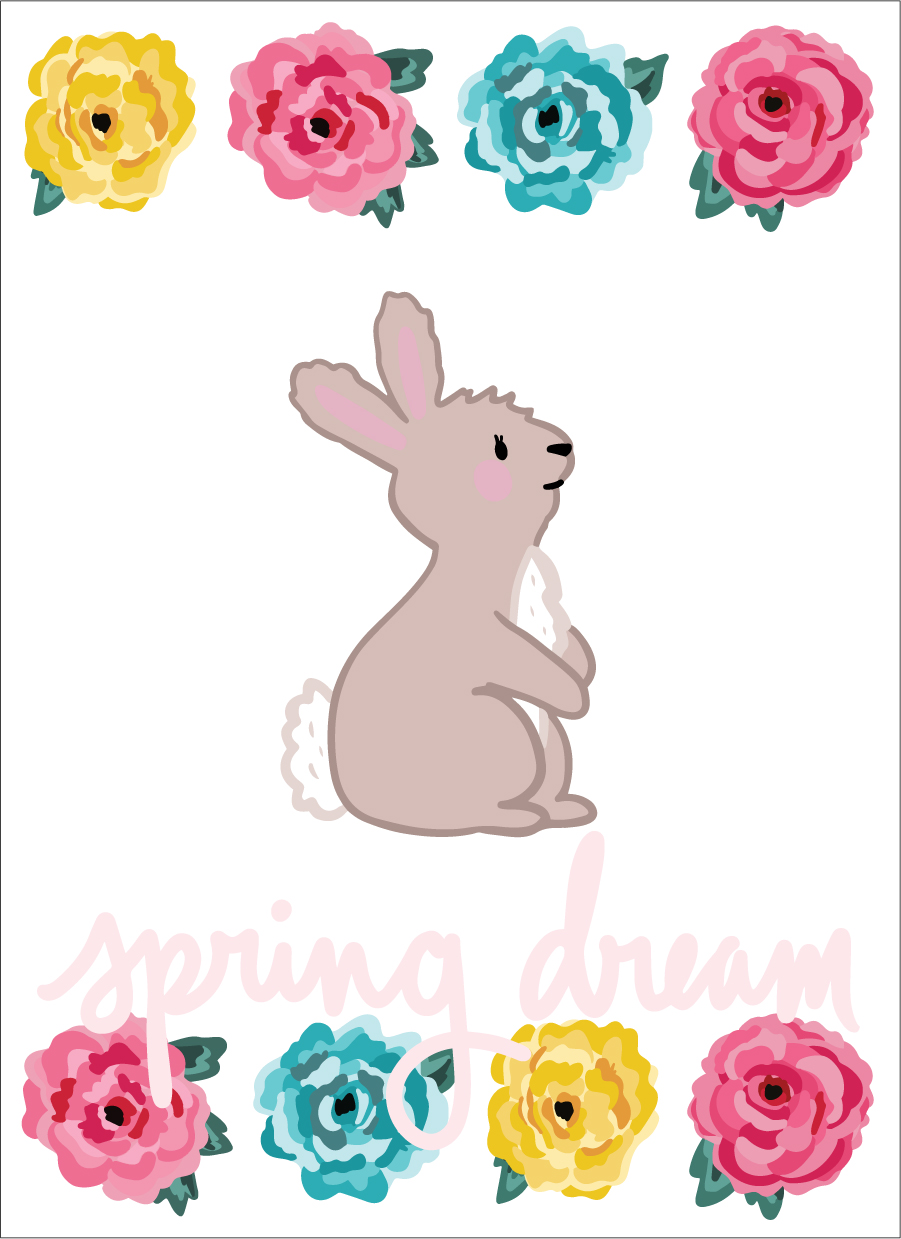
Hello everyone! Today we just wanted to share a free printable for Easter/Spring, featuring our cute, little, bunny graphic from our newest collection, “Beautiful Dreamer.” Anyway, to download the printable, left-click on the image below, then right-click and select "Save Image As..." to download the file. We hope you have a wonderful day with friends and family.  And hugs to you all!


Floral, "Tiki, I Love You" Paperclips with Violet

Hello! Violet here, and today I will be showing you how I used the "Tiki, I love you" kit to make these floral paperclips.

I love to use every bit of the kits and don’t want any of it to go to waste. I use my small desk die cut machine and scraps of paper, along with a floral die cut.

First, I cut out all the pedals and leaves, using all scrap pieces from the Tiki I love you kit. I grab some paperclips and the flair buttons.

image3.jpg

I begin to layer them together and pick out the flair button that would go best with the flower.

I love how they look so much. I want a whole Tiki I love you bouquet!

image5.jpg

Here are the floral paper clips in my planner. They are perfect for that special touch to any planner and just one more way to meep your spot in a fun and creative way. Thank you to everyone who took the time to stop by the blog today. 

Violet