Project Life Instax Album - December Daily, with Aimee

Happy Saturday all, can you believe that there is only 9 days till Christmas. Wow!

This year for my December Daily, I’m using The Project Life, Instax Album. This is a fun size to use because you can use all different sizes of page protectors. The biggest bummer about this album, is that it’s a traditional album style, and there are no pockets for extra little trinkets like tags etc.

When I saw the Library Card Pocket form the “December Dreams” Kit, I just knew it was perfect for the inside of my album.

I used my typewriter to fill out the card, and it’s perfectly imperfect. Just like a library card would be. I choose myself as the author, cause I’m the one creating this book {look I totally messed up and put my name on the wrong line, did you even notice?}.

I choose the title of the book to be “December Daily 2018”. And for all the check-out days I but my name and date that I worked in the book. I love how I mixed it up with the red and black writing {you know, as if someone else was doing the checking out?}. I even forgot to capitalize the A on one of the lines.

7.JPG

I also made some tags to slip in my DD using die cuts and the sequin mix from the “December Dreams” Kit. I just used my Fuse tool, metal die cuts to trace. I placed the “ingredients” inside of the fuse sleeve and placed my metal die over making sure all the “ingredients” fit within the die cut, and just fused around it! Viola . . . some custom tags!

Are you using the “December Dreams” in your December Daily?

XOXO, Aimee

Kellie's "December Dreams" Manufacturer's Strips Card

Kellie here with you to share a card I made with the strips along the bottom of each 12x12 patterned paper that comes with the December Dreams kit.  I did this last month with the Magical and Mischievous kit.  I'm planning to try and build a little card collection ready at hand when I need.  Best of all they are SUPER easy to make.

TFC_CARD_4

Always make sure to cut off those strips at the bottom - don't go throwing them away thinking you won't use them, because OH boy you will once you start!

TFC_CARD_1
Here is how I created this Christmas card. First of all I started with a base of white cardstock. Then I worked my way through the strips of off-cuts, as I mentioned, from the bottom of the 12x12 papers included with the December Dreams kit. Once laying them out and moving them around, and I was happy with the layout, I got out the ephemera packet that comes with every kit. 

TFC_CARD_2

Ephemera are my favourite thing to use and always the first thing I look through when my kit arrives.

TFC_CARD_3

Add on a flair from the kit and BAM you have yourself an easy, beautiful card!  See what I mean?  Super easy.  Give it a try!

-Kellie

Michelle's "December Dreams" Christmas Cards

Hey there, crafty friends and welcome to the most wonderful time of the year! I’m back with another craft, this time using the December Dreams kit from The Fairytale Club. I love the recent trend of using pastel colors for all things Christmas, and so this kit was just perfect for all my crafting needs! First up, I need to knock out Christmas cards.

1202181004-01-01.jpeg

I think sending cards at the holidays is such a fun way for me to be crafty, and also send someone a little mail to remind them that I’m thinking of them. The first item that caught my eye was the sparkly silver snowflake ornament, of course! Then as I dug into my kit more, I came across the die cuts where I found the tree cup, cupcake, and the sugar plum fairy! I used foam squares to add height and dimension to it, and the first one was finished.

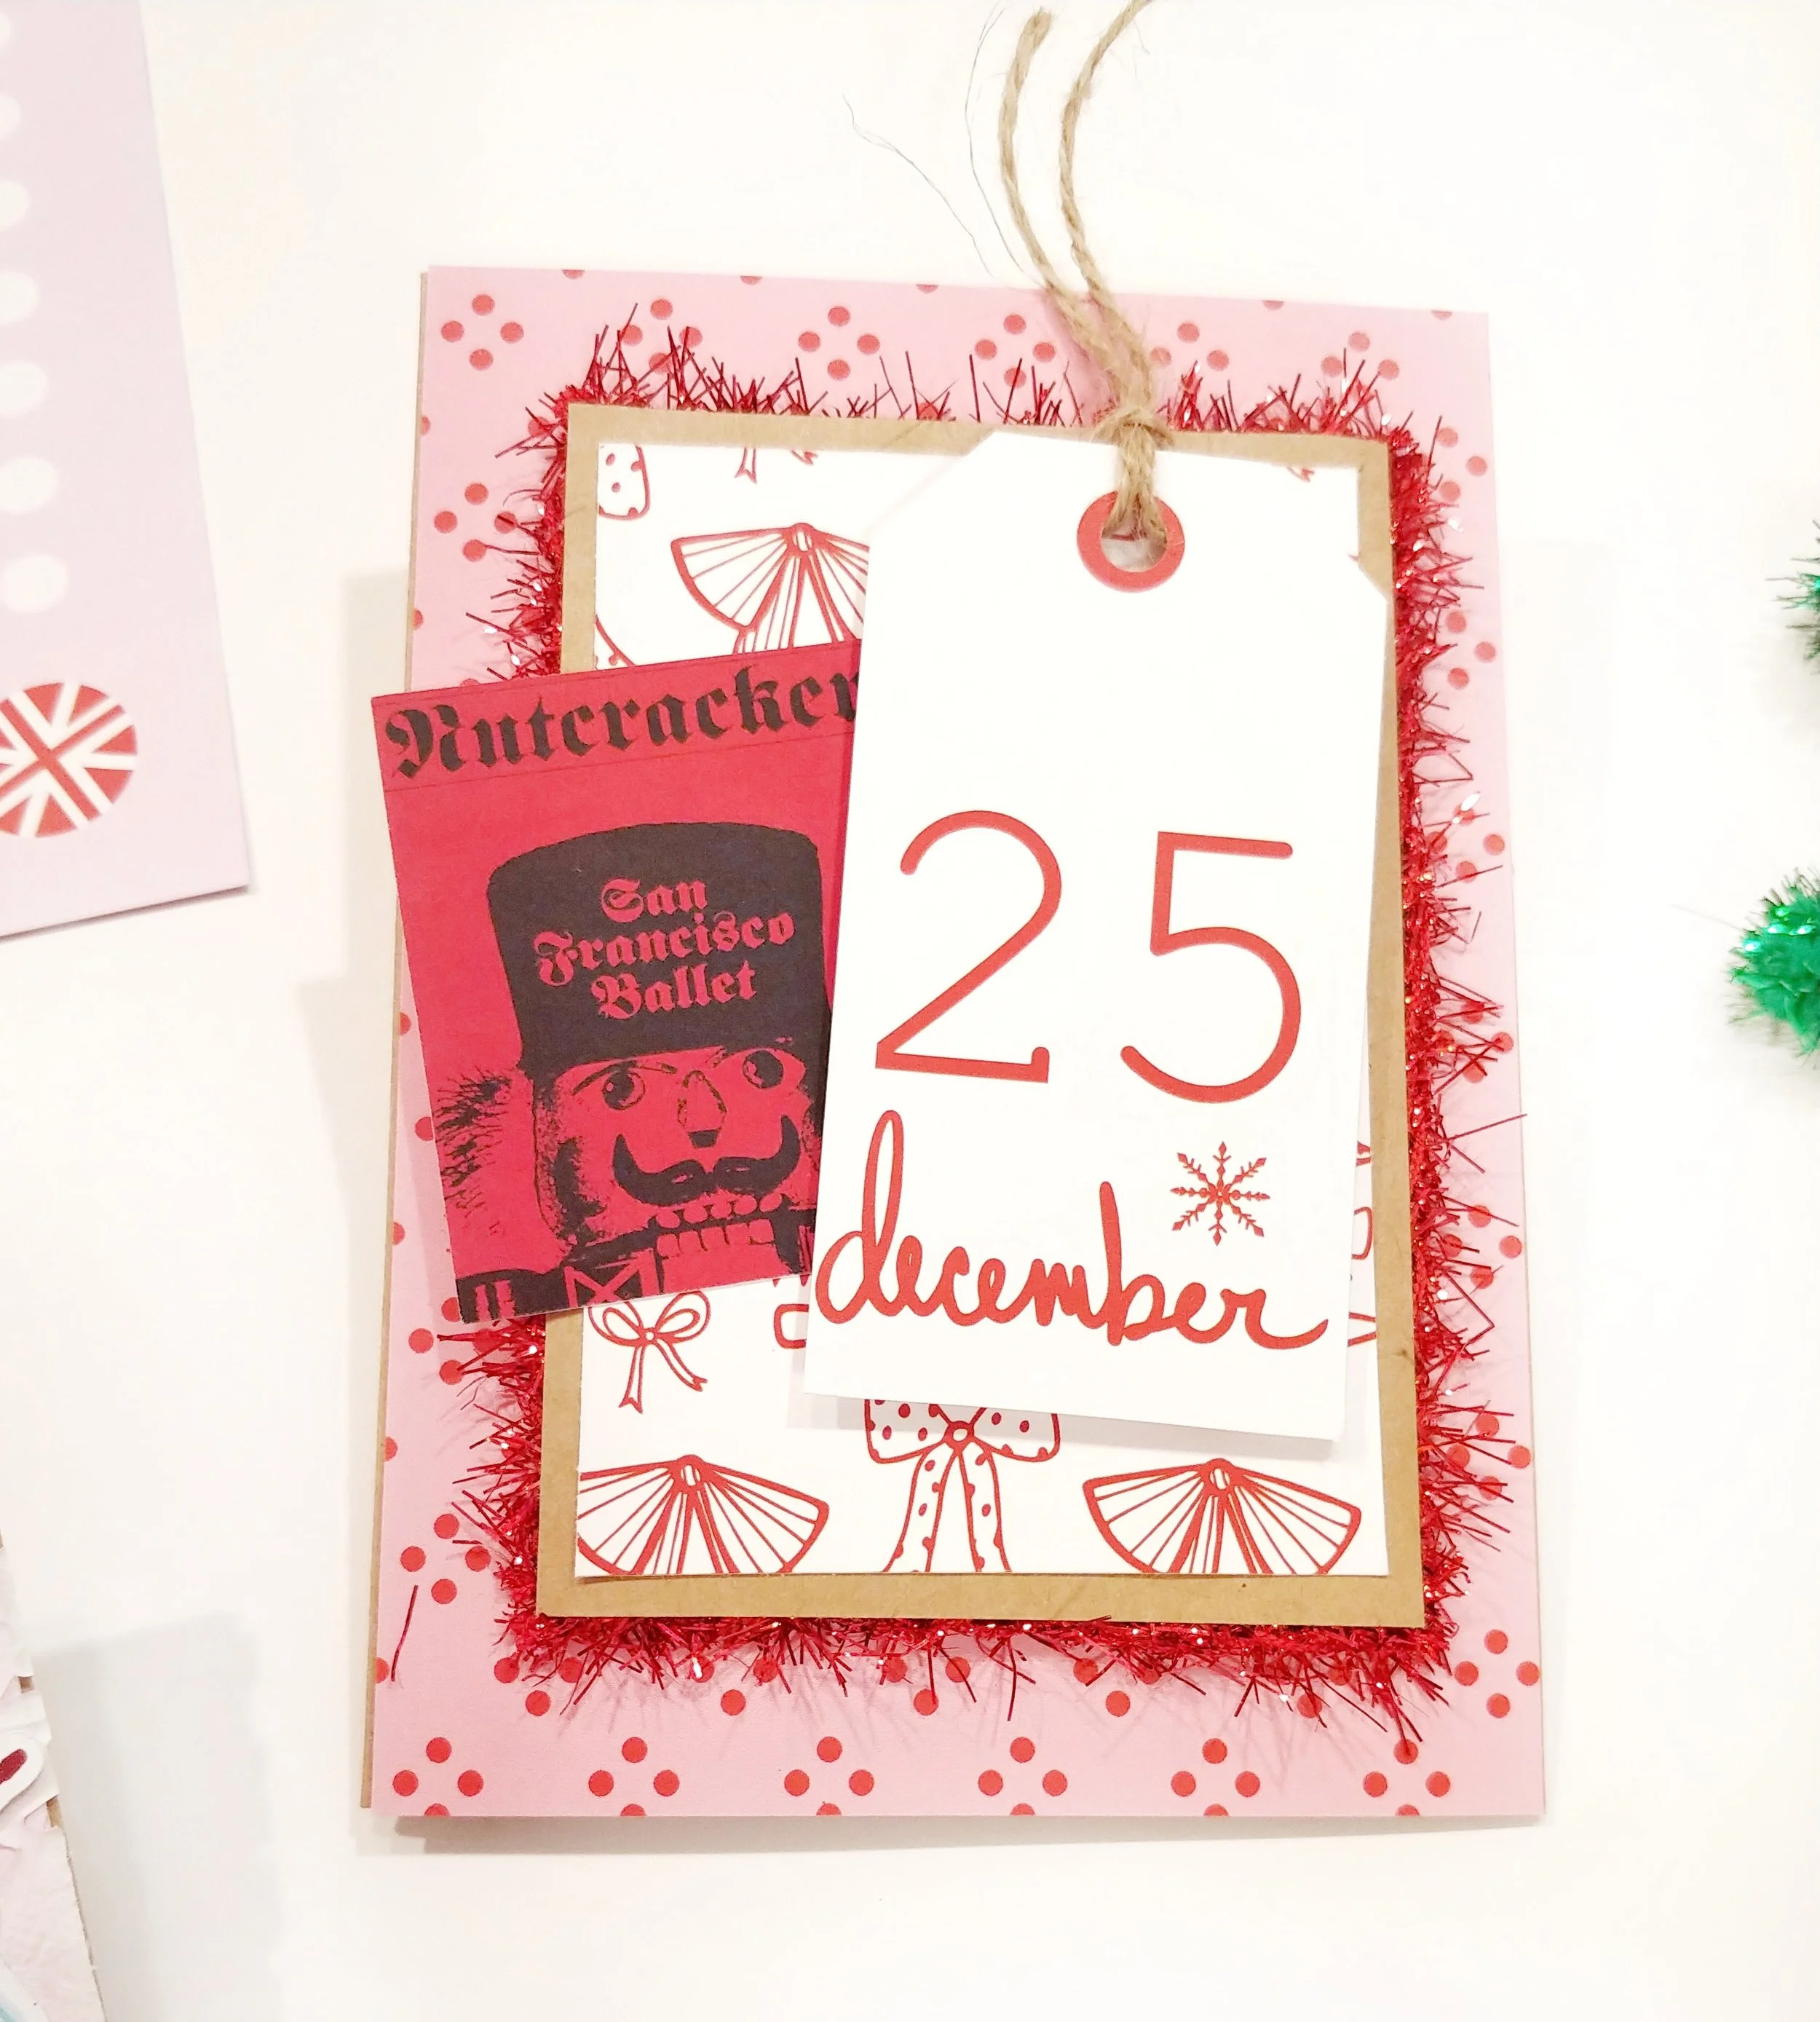
For the next card, I knew that I wanted to use a lot of red. The pink and red polka dot paper made the perfect base! From there, I mounted the red bow paper on to a piece of craft paper, and used red tinsel around that! I love how sparkly the tinsel is. It also reminds me of vintage christmas decorations, which matched perfectly with the Nutcracker die cut piece! Finally, I finished it off with a tag.

1202181007a-01-01-edit.jpeg

Lastly, I knew that with all the sweets and candies in this kit, I just had to do one with that theme! The blue paper with candy designs was just perfect! This card was a bit easier since the pattern on the paper was so cute! Next I fussy cut the candy cane out of one of the pages and added a bit of shimmer with iridescent embossing powder! Then I finished it up with the gingerbread house and a couple die cuts, and there you have a sweet Christmas card!

I love this kit from The Fairytale Club so much, and I can’t wait to work with it some more! Hope you all have a happy and crafty holiday season!

-Michelle

Michelle's Halloween Banner

Hey there, crafty friends! Michelle here, and I’m back with a new project using the Magical and Mischievous kit from The Fairytale Club! I don’t know about you, but I’ve always wanted to be one of those people whose home is decorated for every season. And since I spend so much time in my home office, I thought I would take this kit of magical Halloween goodies and make a cute banner for my bookshelf!

I started by selecting five patterns from the 12x12 sized pages and cutting them into the banner pieces. Then I selected three cards from the cut-out sheet that coordinated well with the patterns I chose.

Then it was time for the fun part, which was to add all the trim and ephemera! This step always makes the biggest mess but it is also the most fun! I spread all the bits and pieces across my desk, and through trial and error, I see what works best.

I really like to play with different textures, which is something you can see in this project. Most of the banner pieces have cute ephemera bits, as well as some sort of textured elements, such as ribbon or the ever-so-cute pom poms!

1022181015d-01.jpg

After each banner piece was all done, I laid them all out and used hot glue to attach them to the orange and white string I happened to have on hand. Being a crafty lady is so fun! You never know what kind of supplies you may find in my stash.

The final step was to add the mini pom poms to the strand, and hang it up! I love how this came together, and it adds a little seasonal touch to the office!

1022180941a-01.jpg

I hope you enjoyed this fun and festive project! It demonstrates just how versatile paper crafting can be and I hope this inspires you to try something new. Happy crafting!

-Michelle

Making a Halloween card with Kellie!

Hi there everybody, it's Kellie here with you today and I'm here to share a card I created using the new Magical and Mischievous kit.  Now most of us down here in Australia don't celebrate Halloween, but that doesn't mean I don't absolutely love working with Halloween theme.  The pumpkins, witches, black cats, bats and so much more, what's not to love?

2018-10-10 15.04.08-1
The pattern paper in this kit is so good.  Did you know that the 12 x 12 papers come with patterns on the bottom part of each sheet where the name of the sheet is located?  I always love cutting them off my The Fairytale Club kits and using them almost as a washi tape look.

2018-10-10 11.53.51-1

Here is how I created this card.  First of all I started with a base of kraft cardstock, my favourite and then worked my way through the strips of off cuts, as I mentioned from the bottom of the 12 x 12 papers included within the Magical and Mischievous kit.  Once laying them out and moving them around and happy with the layout. I got out the CUTE to boot ephemera packets, because this month the kit comes with two.  One set is all silver foiled and spooking awesome.

2018-10-10 12.00.18

After having fun with all the ephemera I popped on a flair button, BOO.  Then called it done and I really love the end result. 

2018-10-10 12.00.25

So don't throw out the off cuts along the bottom, cut them out and make a fun card with them!

Do you enjoy making Halloween cards?

Lilly's "Magical and Mischievous" Embellishment Book

Hey Guys, Welcome back to the blog!! Happy October!! Who’s super duper excited for Fall and all the holidays to come?! I totally am! October is def one of my favorite months - not only because of Halloween but because it’s my daughter and mom’s bday month, 🤗 so there’s lots to celebrate! 🎉 Well enough about me lol. Today I have a spooky embellishment book to share with you guys, using the latest kit released by The Fairytale Club, “Magical and Mischievous.”

IMG_4568.jpg

If you guys haven’t gotten your hands on this kit to play with during this season, what are you waiting for?? It’s a super cute kit and easy to create with.

I incorporated tons of the papers and ephemera from the kit to decorate the book. If you want to see a tutorial on how I create these books, I have one up on my channel. They are super easy and fun.

I filled it with a bunch of embellishments I created for Halloween happy mail.

Well I hope you guys enjoyed the pics! Be sure to try out this form of happy mail for your own pals.

Happy Spooky Crafting guys.. See you on my next post 🧡

Michelle's "Hello, Beautiful!" Greeting Card

Hi there, crafty friends! I recently got inspired to make a bunch of greeting cards, and I’m happy to share this one with you using digital printables from the “Hello, Beautiful!” collection from The Fairytale Club. A friend of mine recently started graduate school and her first week was a bit rough, and I knew that a whimsical card is just what she needed

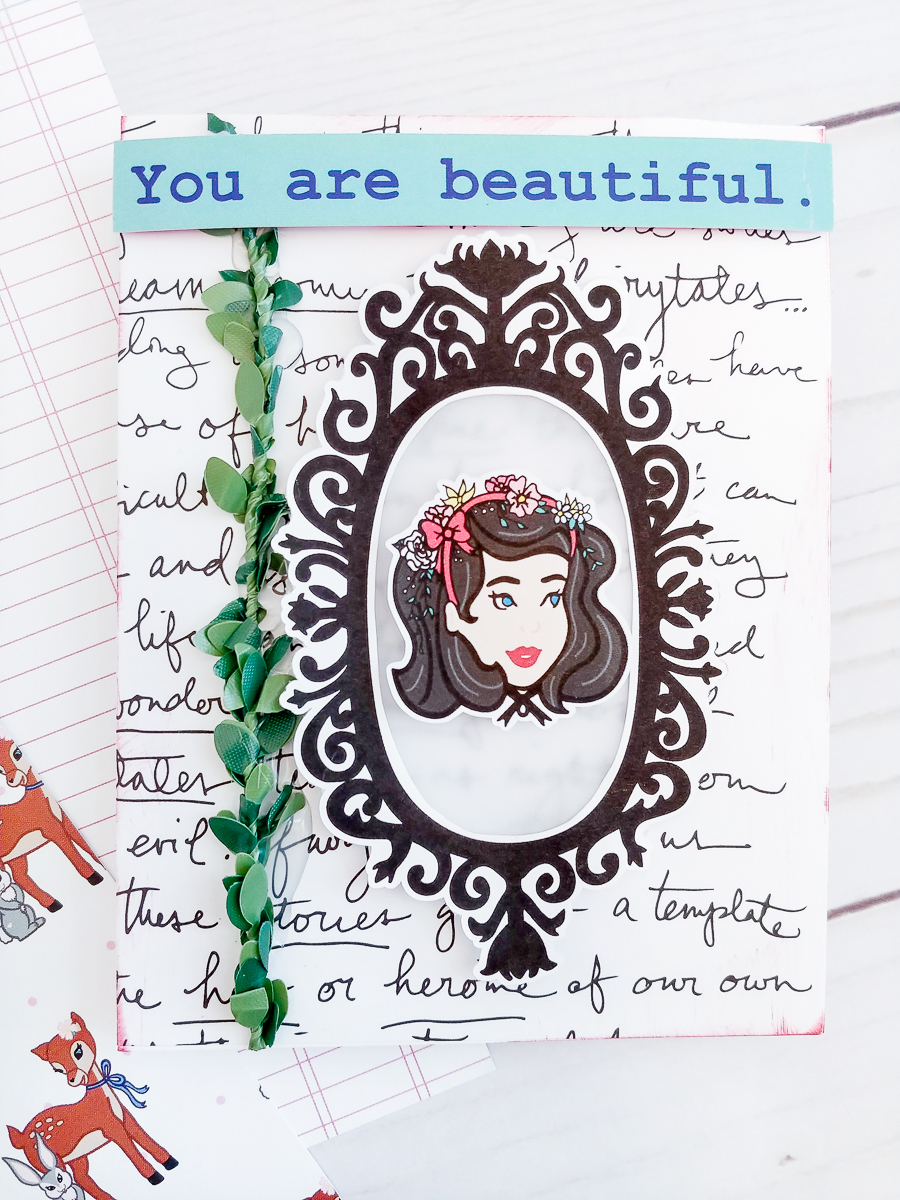
She and I have been friends for a long time, and we have a lot in common. But one of the things we differ on is a love of sparkles. As for me, I can’t get enough, but she’s not so into glitter and girly things like I am. I remembered that the “Hello, Beautiful!” kit had some black and white elements that I could layer to make a pretty card.

0911180948a-01-01.jpg

I wanted to keep this pretty simple, so I didn’t add too many elements or color, and I knew the “Fairytales” paper would make the perfect background. Also, I thought that vellum inside the frame would be a great way to kind of block out the text a bit, but not completely, and I love that look. Finally, I added that bit of leaf trim on the side and voila!

0911180949-01.jpg

I love how this card turned out and I can’t wait to start another very soon!

-Michelle

Making a Greeting Card with Michelle

Hi there, crafty people! Michelle here, back with another fun project using the “Hello Beautiful!” kit! For this project, I made a greeting card to send to a dear friend of mine.

As I wrote in my last post, I recently went on a vacation with my husband to Portland, Oregon. While we were there, we went to an Asian supermarket! The were aisles filled with different and unique kinds of snacks and beauty products that I’m sure I wouldn’t be able to find in any other store. A particularly fun section was the bookstore, with all of its pens, stationery, and books! I ended up getting quite a few things for myself and things to give as gifts to friends. And what goes better with a gift than a handmade card?

For the cover of this greeting card, I started out knowing that I wanted to use the red lined ledger paper, and a strip of the rose “Enchanted Forest” pattern. From there, it was all about adding elements that I thought went together really well! I loved the idea of using the ephemera that looks like a letter to Snow White on the front, plus some of the other ephemera bits. I really wanted the “hello” tag to stand out from the rest of the card, so I layered it on top of gold glitter paper (because who doesn’t love a touch of gold glitter?) and a mounting square, to really set it apart.

For the inside of the card, I couldn’t just leave it plain! One of the many things I love about these kits from The Fairytale Club is the little strip at the bottom of the 12x12 sheets that you can cut off and use! So I decided to do that for the left inside bottom of the card. I cut off the decorative strip that had those beautiful vines, added the bunny ephemera piece, and finished it off with “You are beautiful”, which was another of those pieces at the bottom of a 12x12 sheet.

For the opposite page, I knew that I wanted to use Snow White somehow. I fussy cut her out of a larger piece, and it fit just perfectly at the bottom of the “You are my favorite!” tag! I originally punched out a hole in the greeting card where I was going to tie the tag to the card, but I decided I liked the look of the bow at the top better, so that’s how I finished it off!

It has been so fun to bring you these projects from the “Hello Beautiful!” kit, and with the reveal of the next kit so close, I hope you are getting just as excited as I am to see what is in store! Until next time,

Michelle