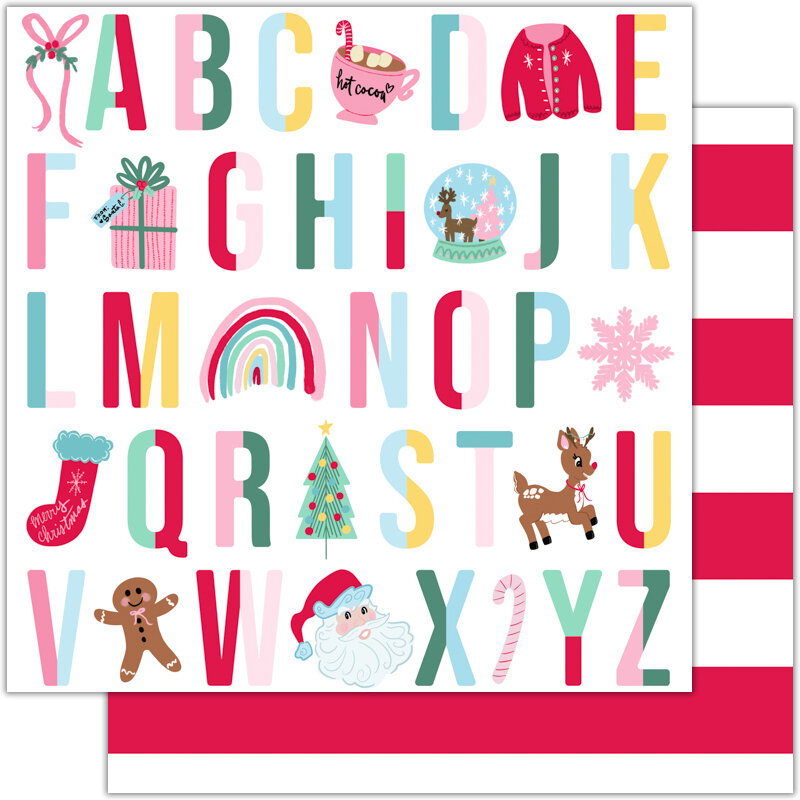
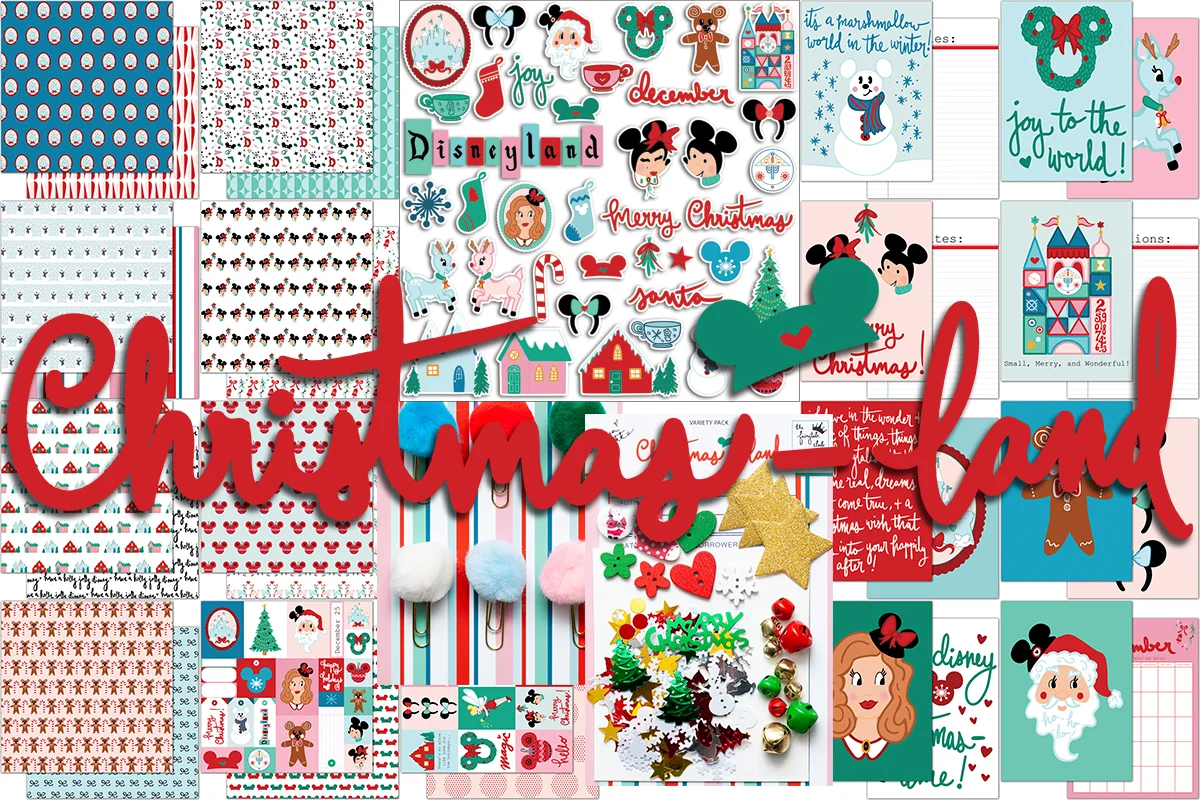
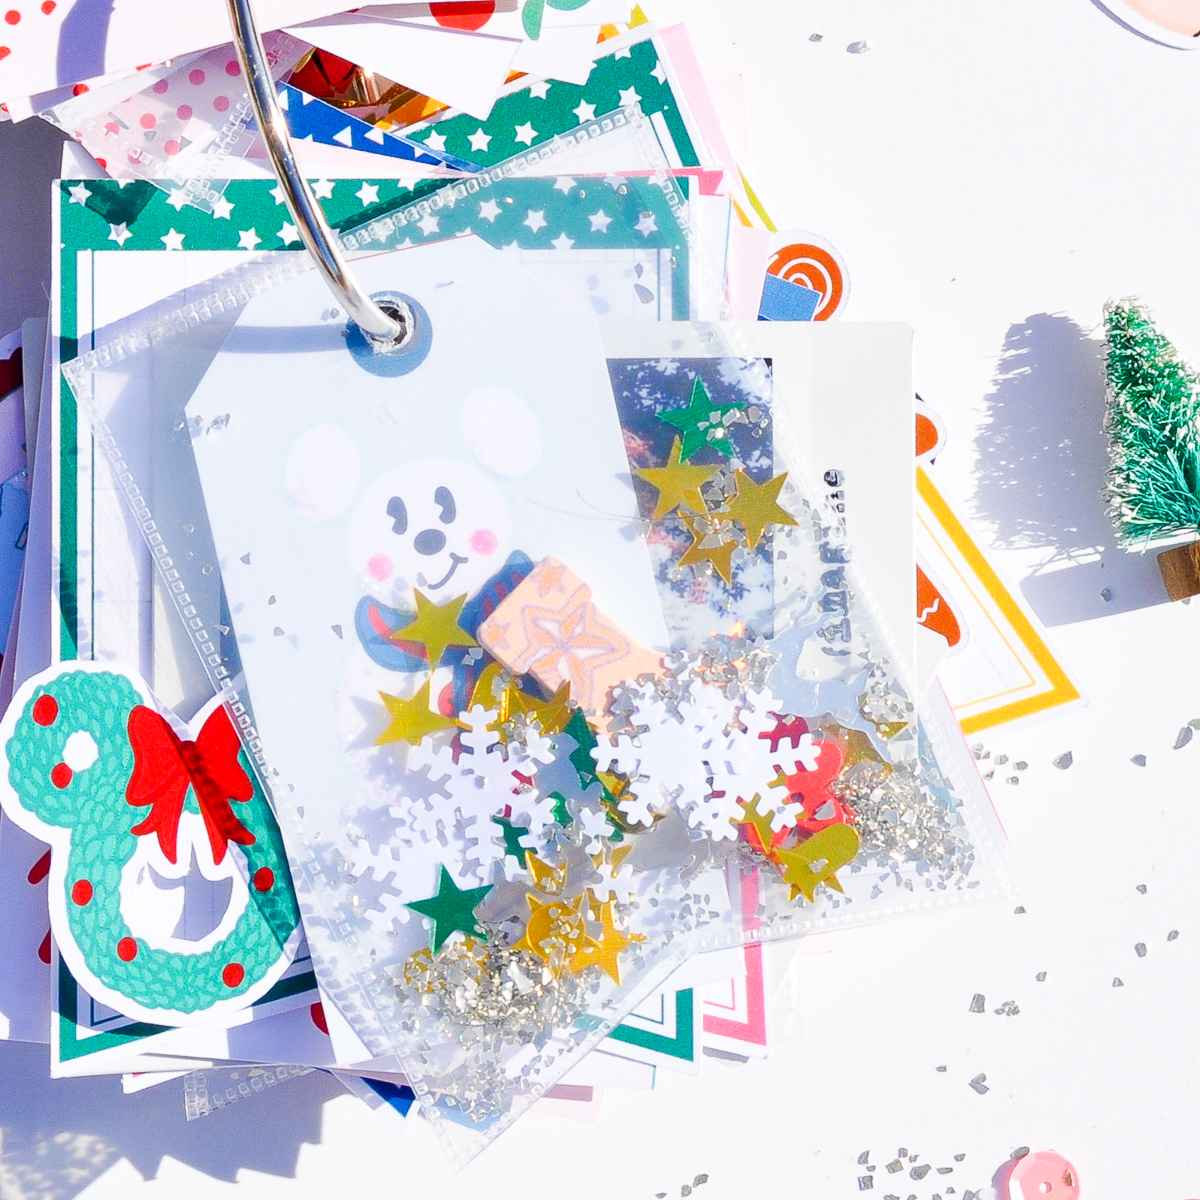
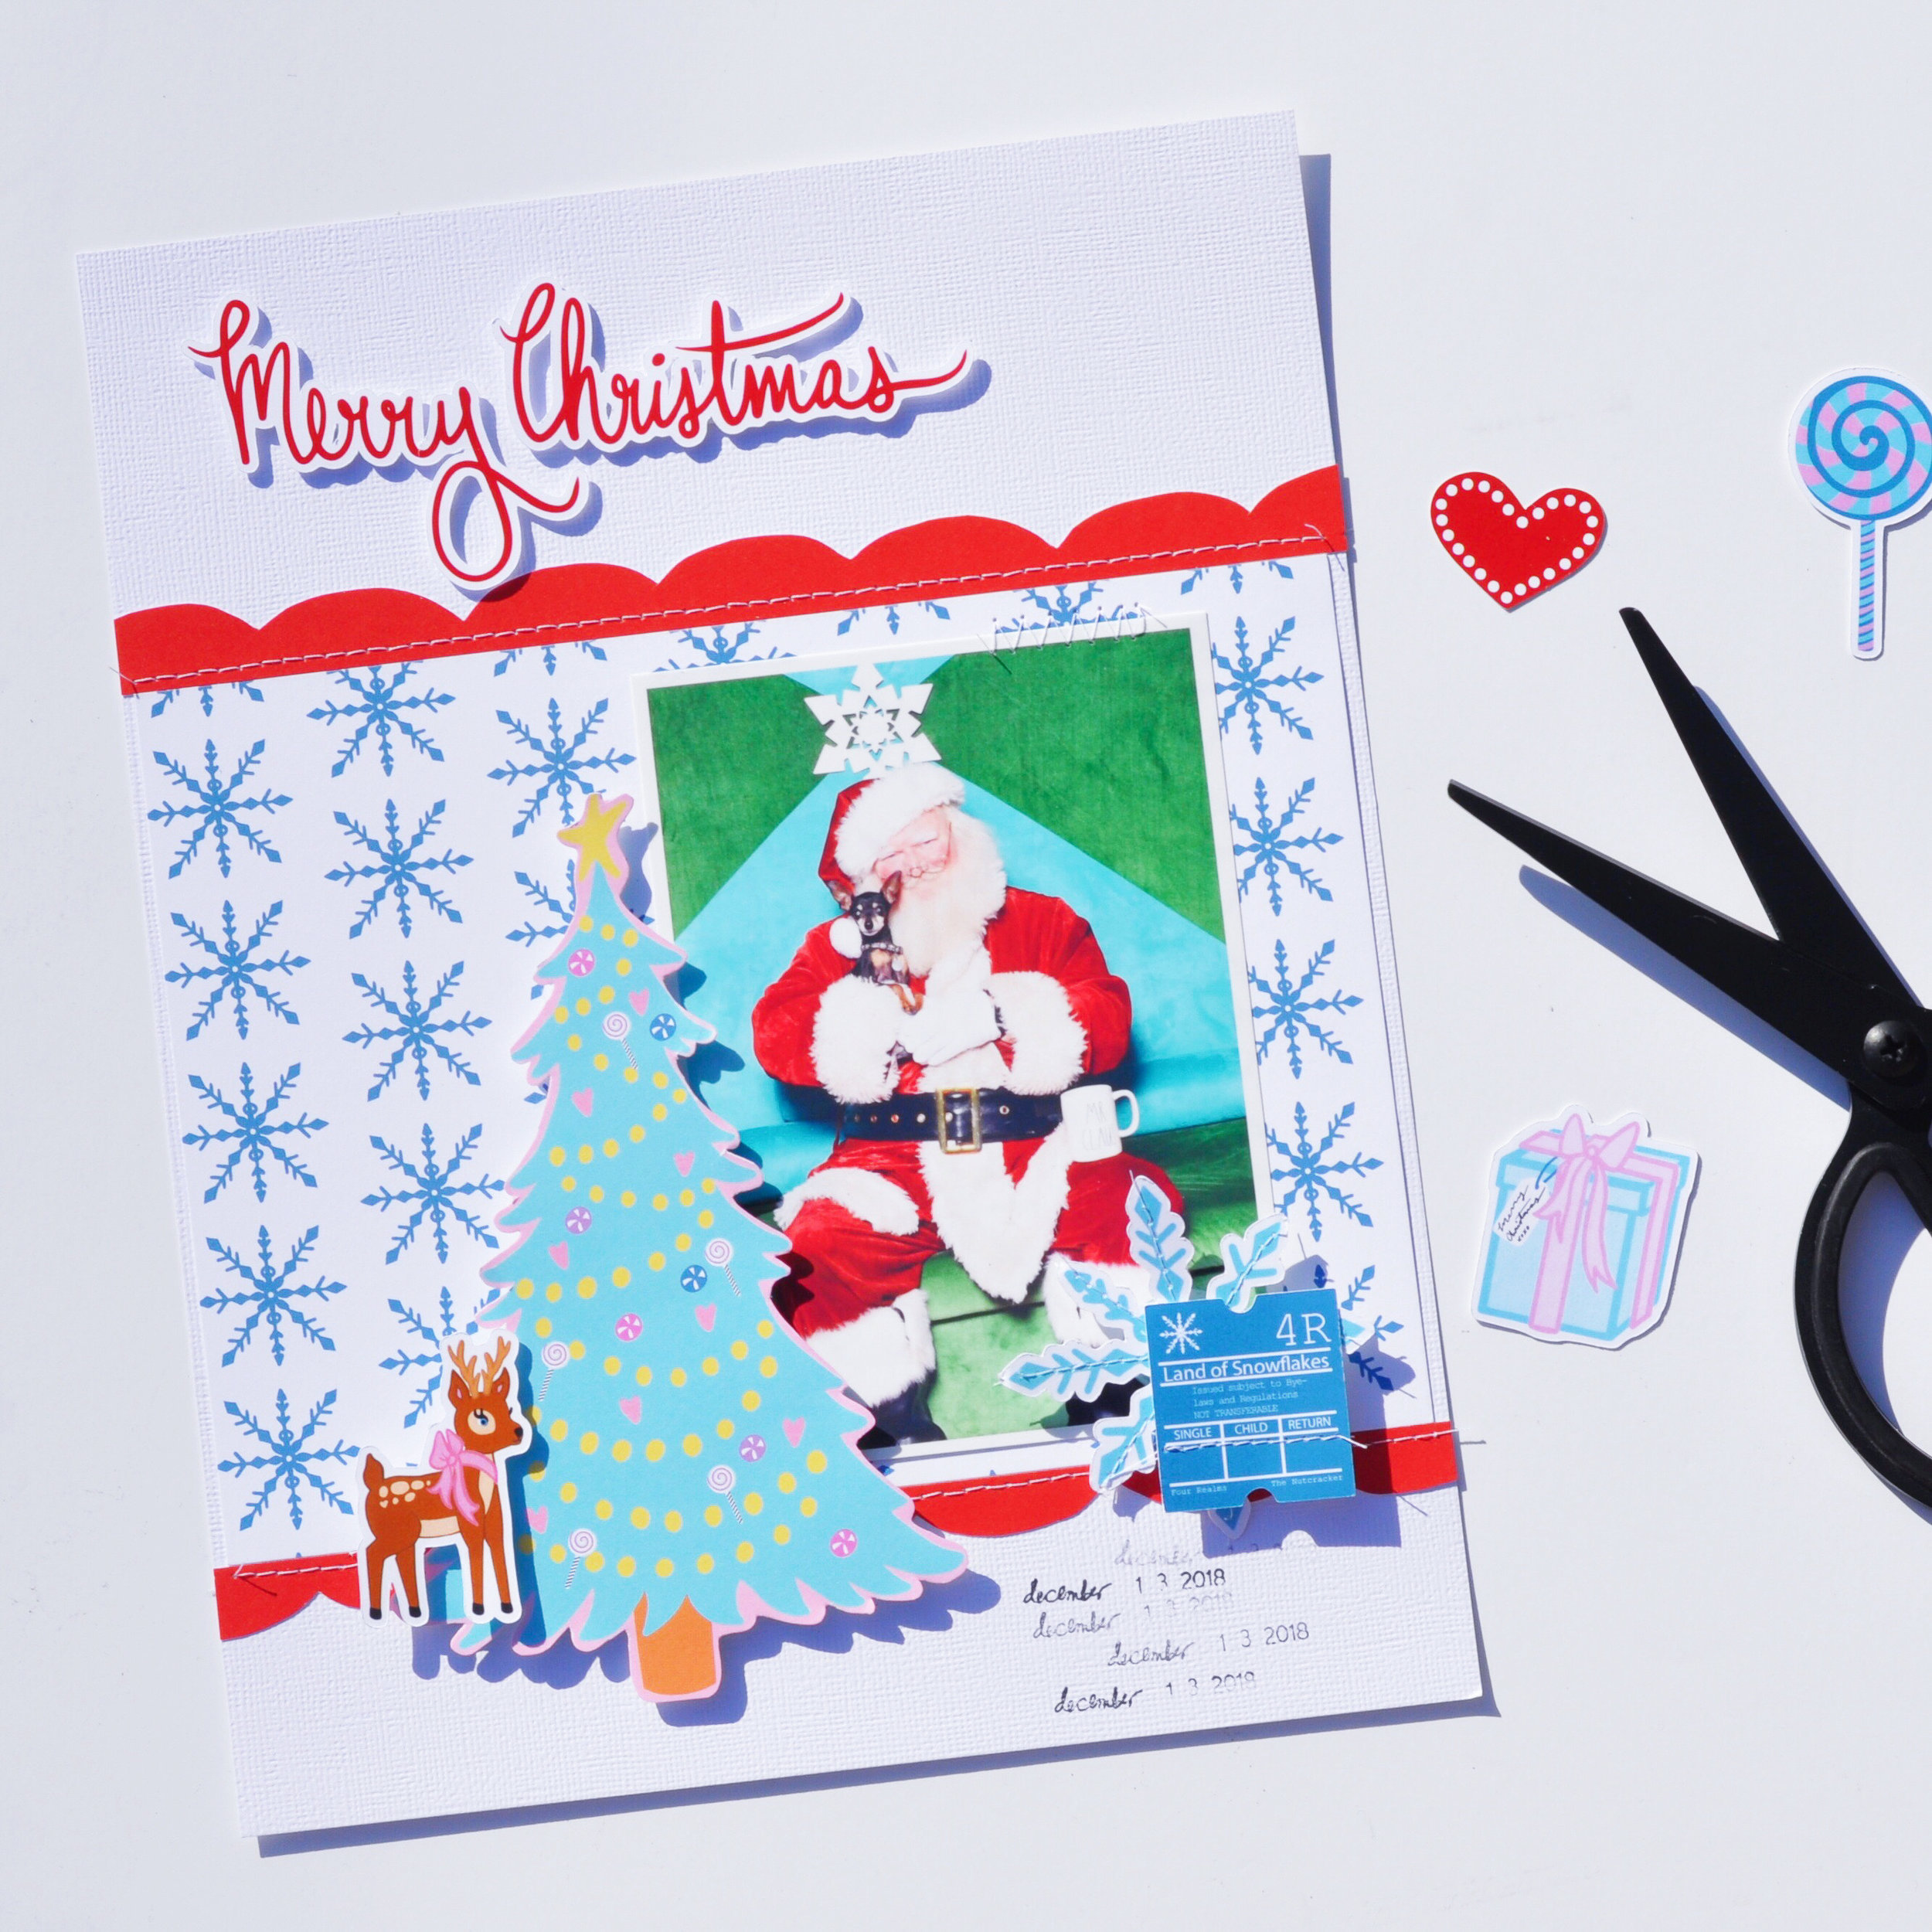
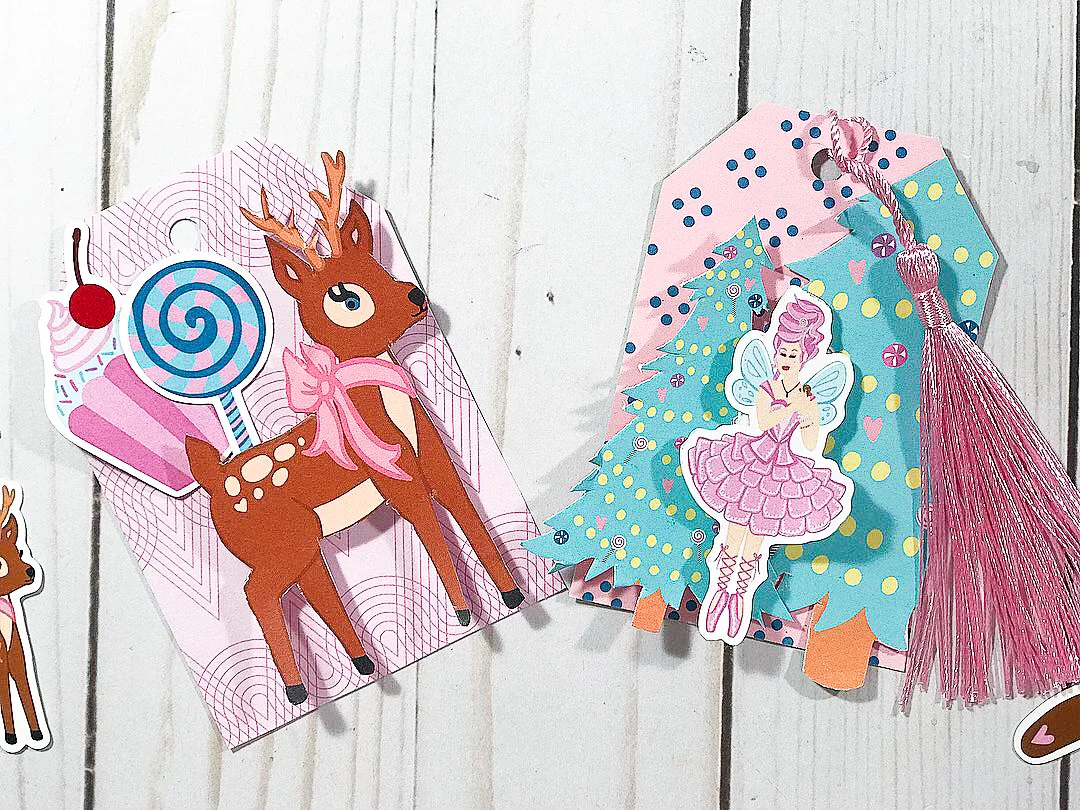
For "The Merriest," I created a really cute, modern-but-also-vintage-inspired, Christmas, color scheme consisting of pinks, mints, light yellow, some pretty blues, and a touch of aqua, alongside the more traditional red and green. And I definitely wasn't stingy on the pink...I love a pink Christmas, don't you? Anyhow, with the patterns themselves, I tried to incorporate a number of fun, Christmas-at-home, comfy, cozy themes like a cute, Christmas sweater, a nice, warm cup of hot cocoa, Holiday music, snowflakes and a snowman, some sweet little pets, the decorated tree, presents, and, of course, quaint little Christmas houses. Plus there is so much more Christmas adorableness to love in "The Merriest", including a super jolly, dancing Santa Clause, a very happy and cute Rudolph, and more! And I decided to make a special Christmas rainbow for this collection because rainbows are symbols of happiness and hope and I definitely think we can use more of both those things right now!
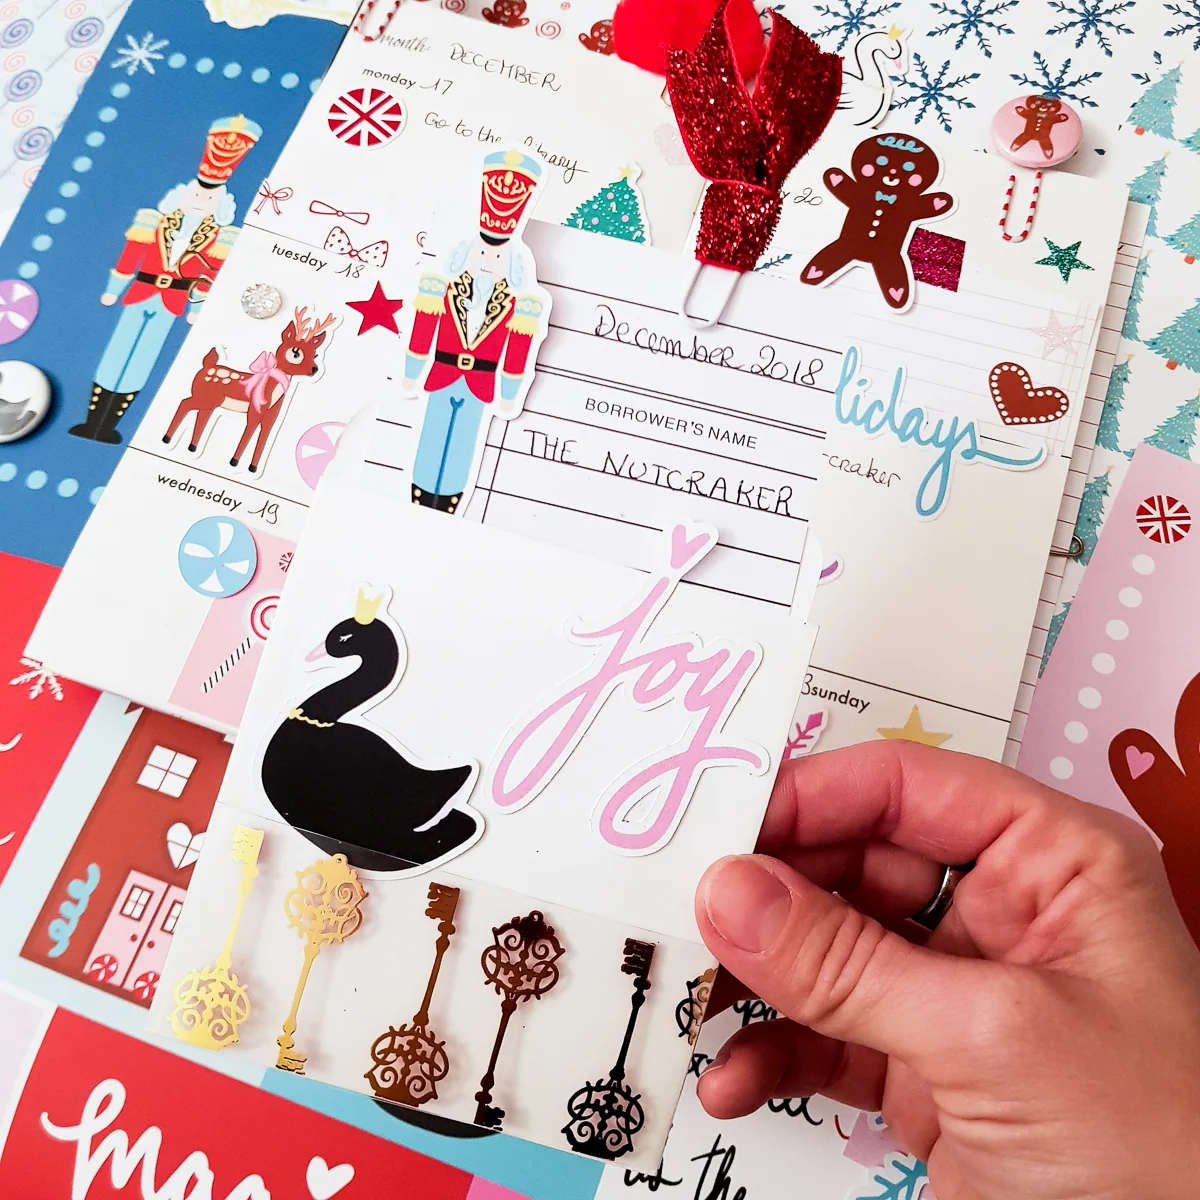
Alright, now that we have gone over the patterned papers in general, let's take a closer look at each 12x12 patterned page individually. First, we have "The Merriest" -- yes, it is a 12x12 page named after the collection itself. And it is aptly named as it includes a number of the cute holiday images that can be found throughout the collection. In fact, it is kinda like a visual summary of the collection, with words, imagery and themes that embody "The Merriest" as a whole! I love it!!! And on the back we have a simple but elegant red pattern that is reminiscent of a Christmas star or snowflake.