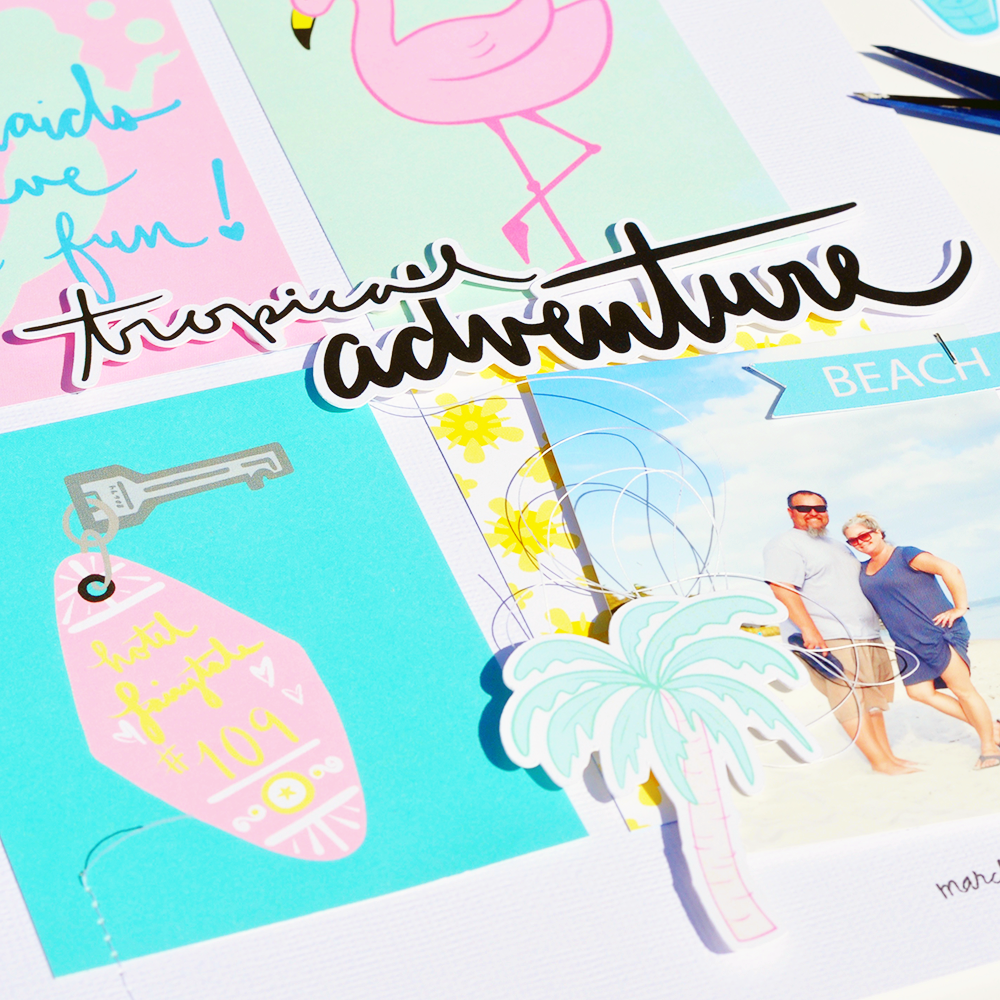
Hello everyone! I wanted to share a fun project I did recently using the new Tiki, I Love You! kit and some of my favorite dies! I love making little tags for packages or to use in layouts and often times, I'll just sit down and have a tag making session. That's what happened here. Let me show you!

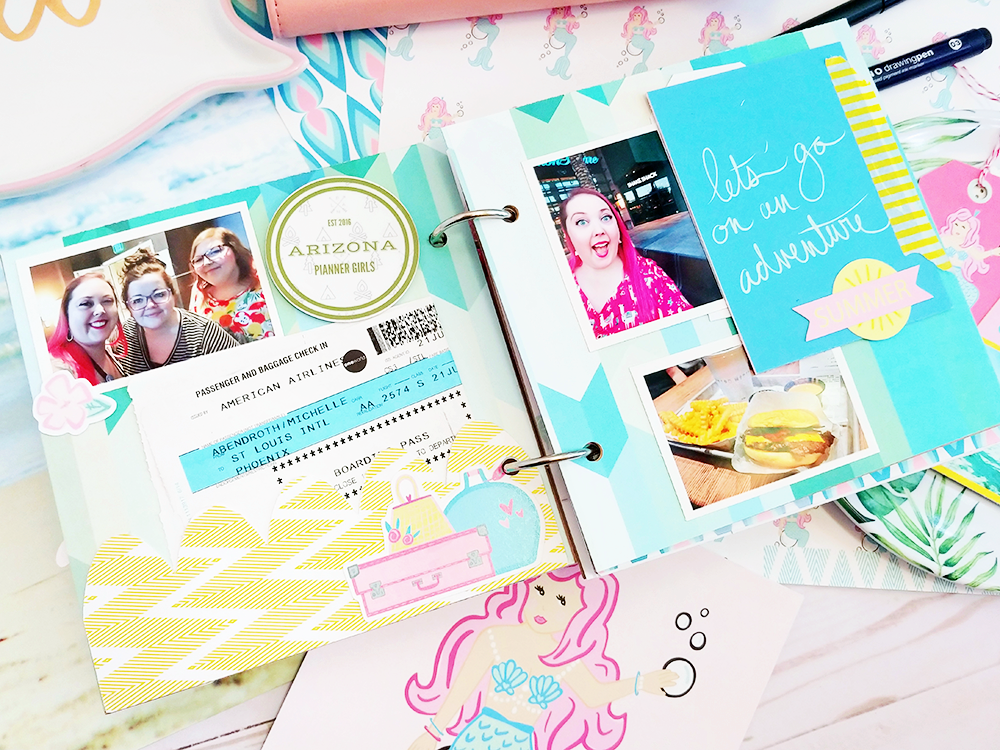
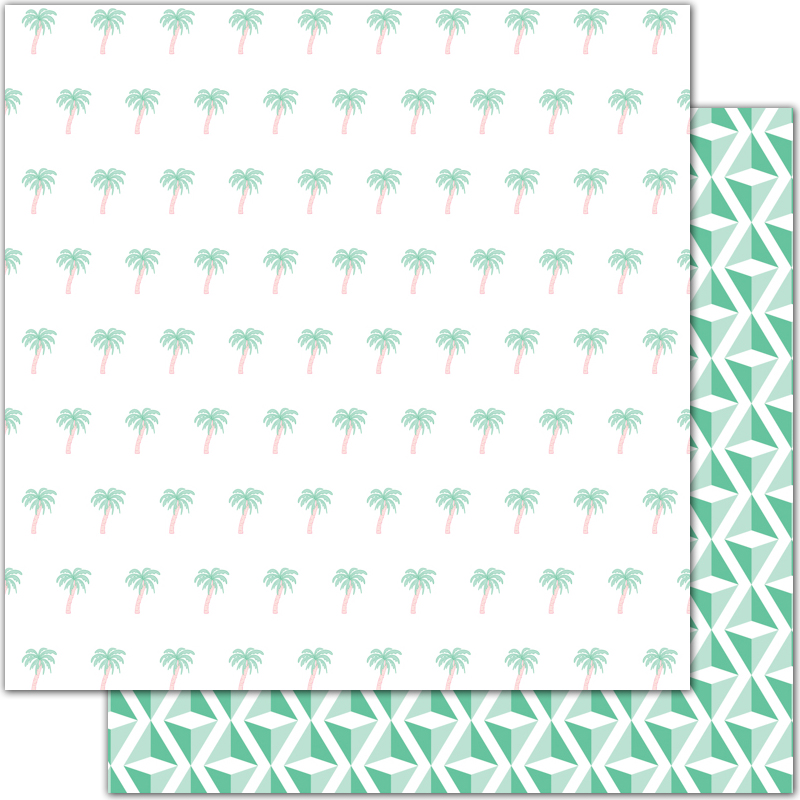
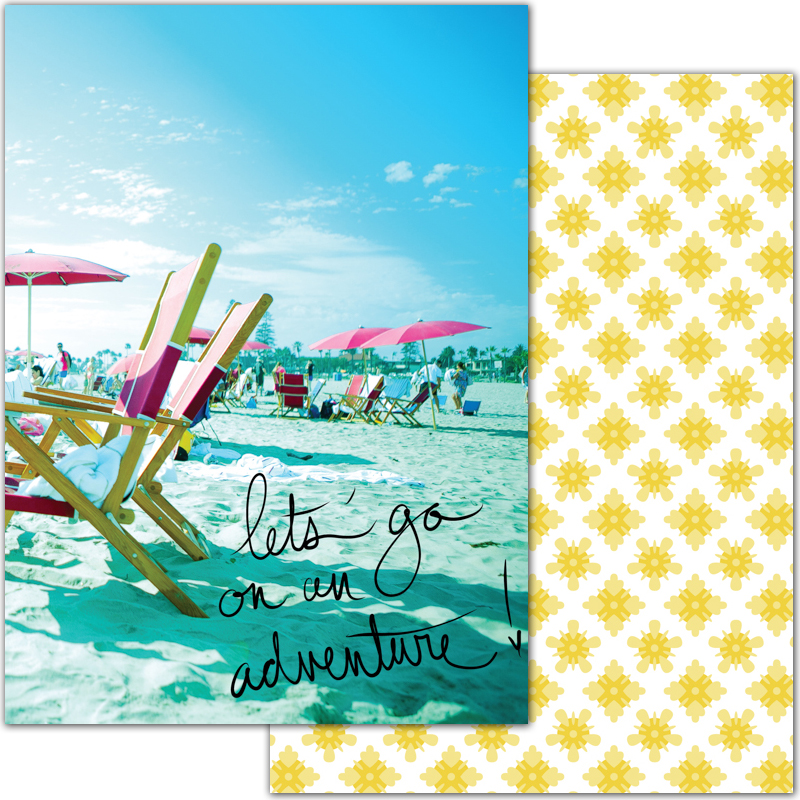
First up is this let's go tag! I love this one and think it would look great on a travel themed layout, especially tropical travel. With these types of smaller projects, I like to use the back sides of the personal sized dividers since the patterns tend to be smaller and that's what I did here. I used a stitched circular tag die and cut it from the blue and white stripe paper. Next up, I adhered the "let's go" to the tag. After that was the luggage (also, is it just me or does everyone want those bags in real life?!) Lastly, I added the flower sticker just to add that extra bit of cute!

The second tag is this one which I call Hello Sunshine! I imagine it going great on a layout for an afternoon in the sun! With this one, I stacked two tags of different sizes, using a bit of foam tape to add dimension. After that, it was time to go die cut crazy! I layered the flower over the drink and frond then placed the "hello sunshine" sticker over that. Finally, I felt like it needed a little glitter and the two butterfly sequins did the tr

Last up is this Happy Beach Day tag. I thought it'd be good for a beach day layout or as a cute birthday gift tag. First I cut the tag from the pink polka dot paper. Next I used a doily die to cut a layer from the vellum sheet. After that, it was die cuts, the frond and the flamingo first, then the words. I added a couple of stickers and it was done. Easy peasy!
I hope you all enjoyed hearing my process for these tags and that they encouraged you to try your own. If you do, tag me (@onecraftypotato) and @thefairytaleclub in your picture so I can see! Until next time, happy crafting!