Floral, "Tiki, I Love You" Paperclips with Violet

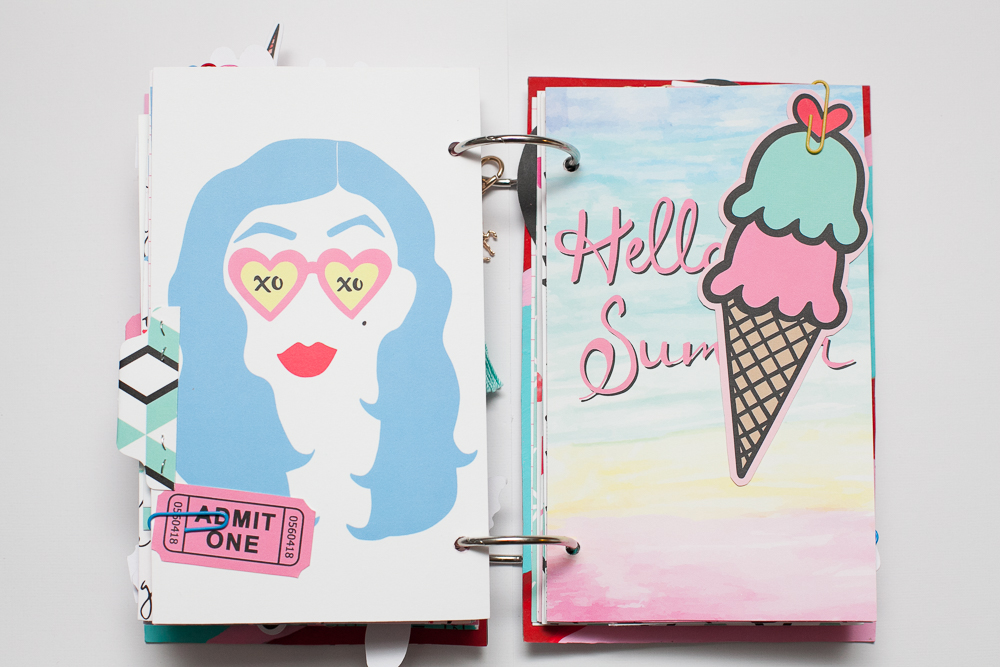
Hello! Violet here, and today I will be showing you how I used the "Tiki, I love you" kit to make these floral paperclips.

I love to use every bit of the kits and don’t want any of it to go to waste. I use my small desk die cut machine and scraps of paper, along with a floral die cut.

First, I cut out all the pedals and leaves, using all scrap pieces from the Tiki I love you kit. I grab some paperclips and the flair buttons.

image3.jpg

I begin to layer them together and pick out the flair button that would go best with the flower.

I love how they look so much. I want a whole Tiki I love you bouquet!

image5.jpg

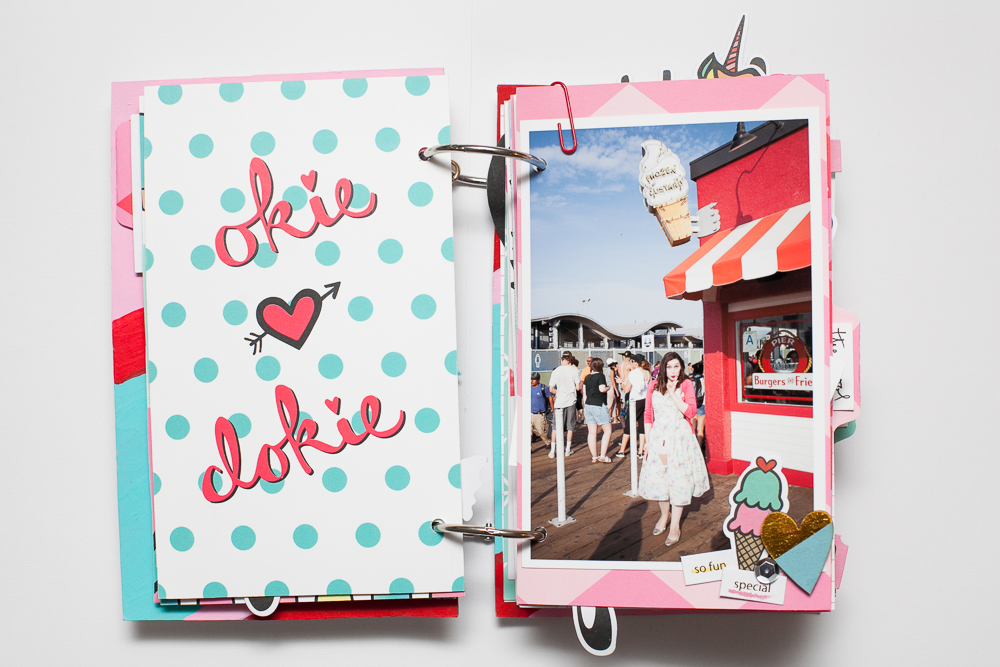
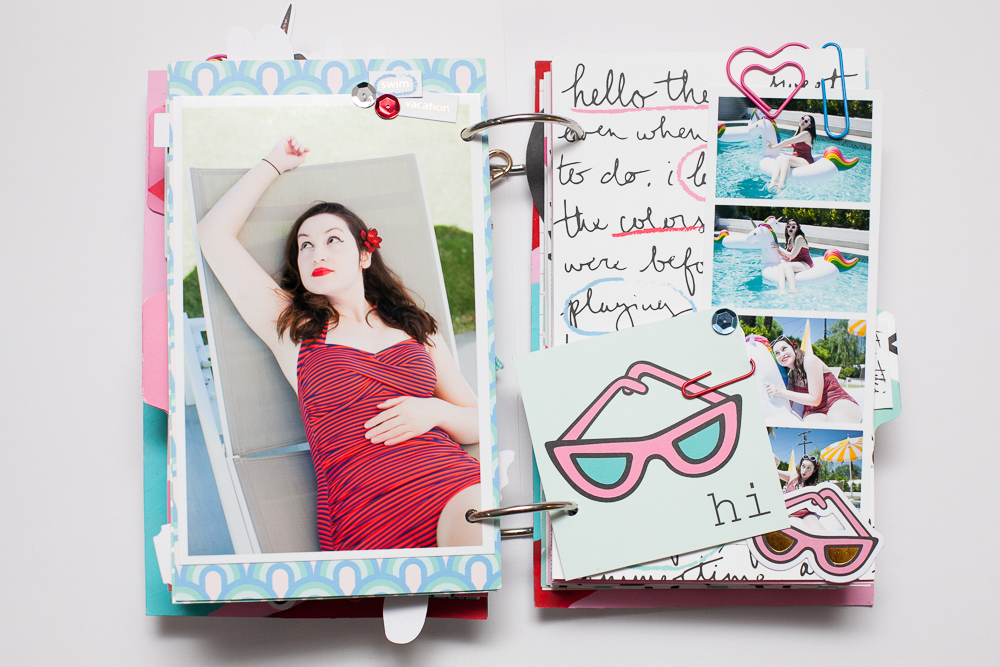
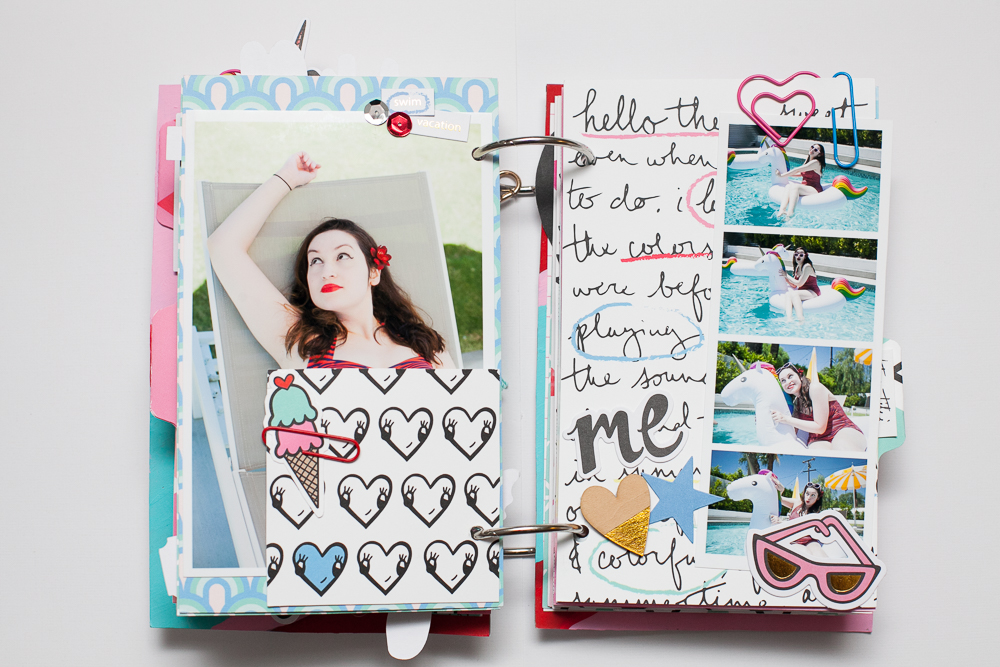
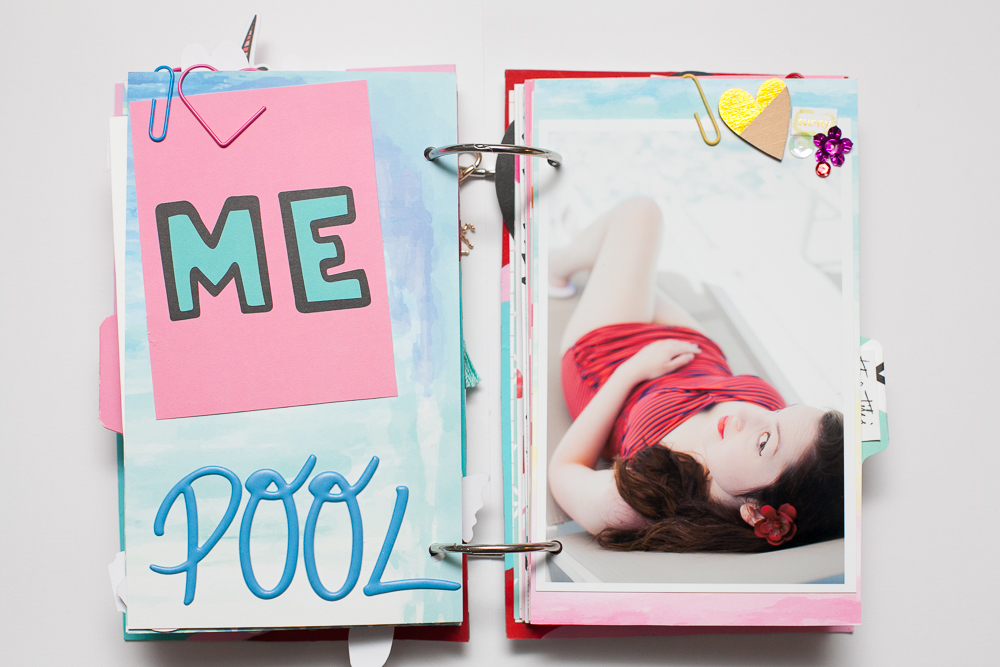
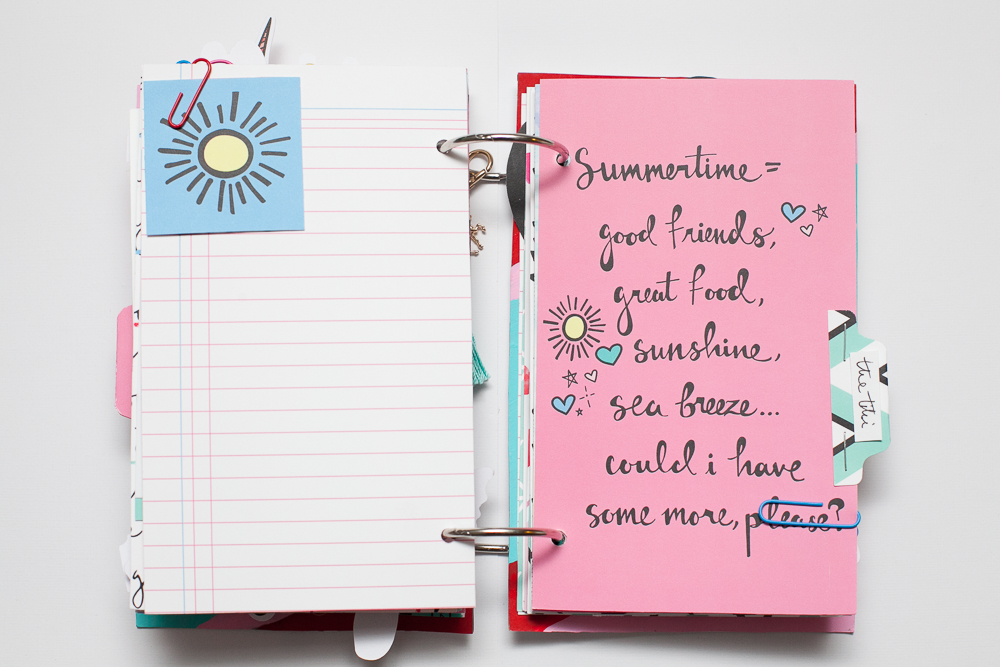
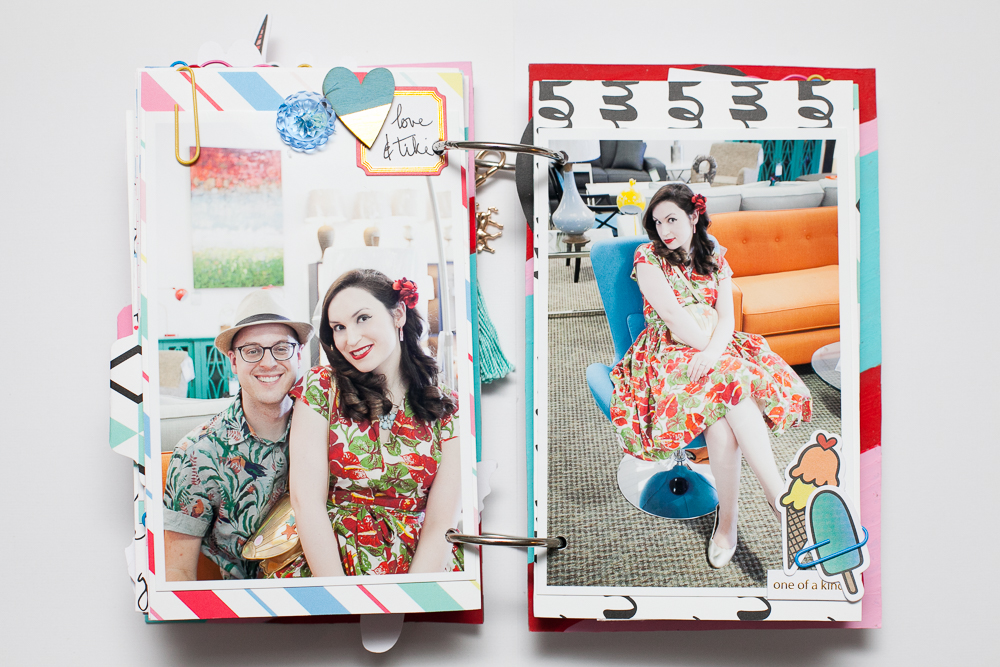
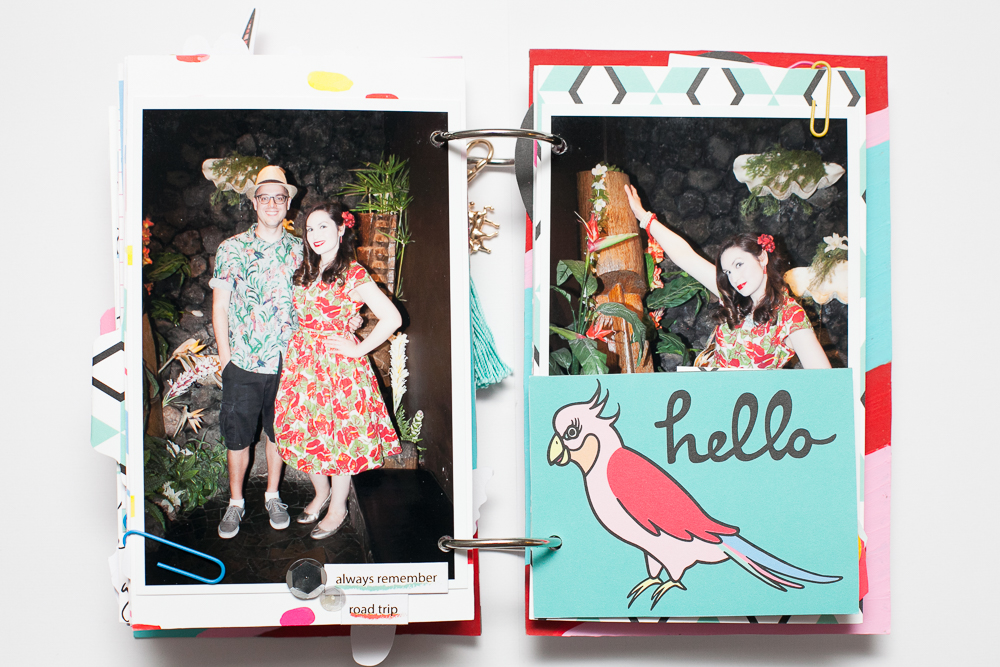
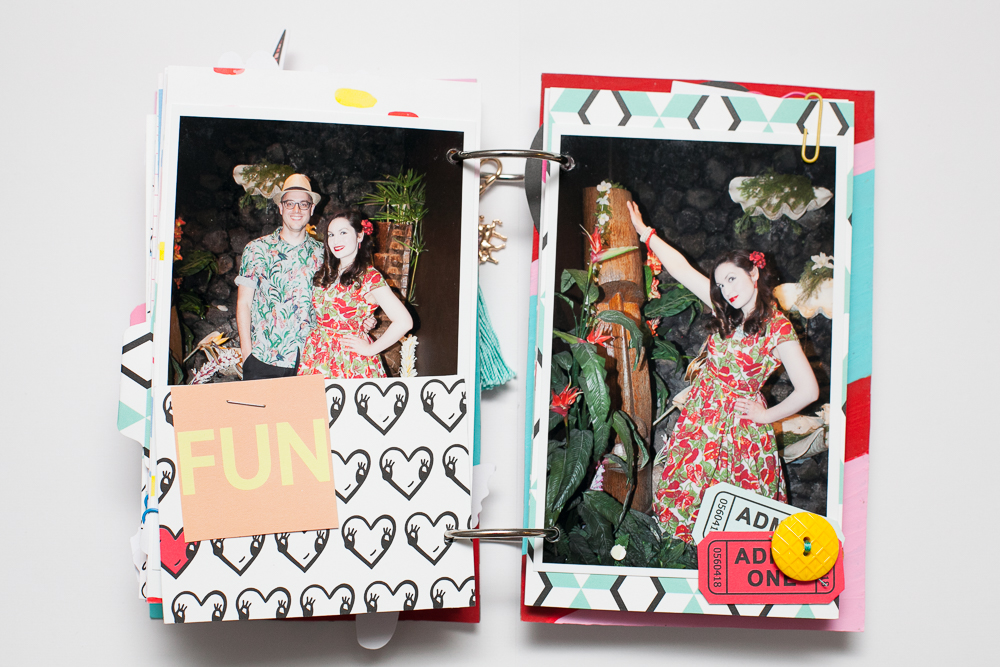
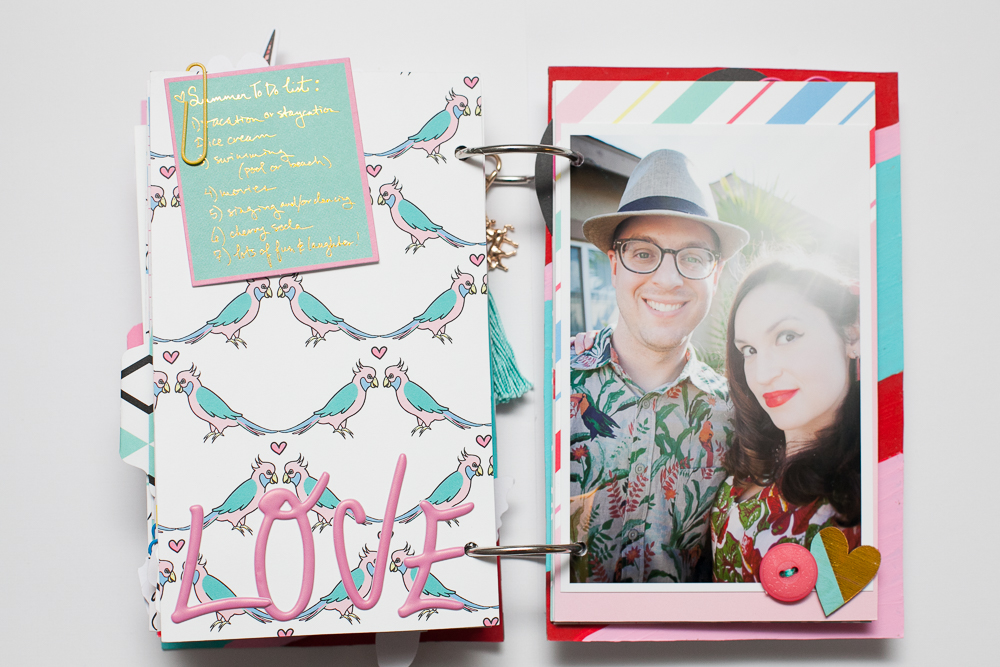
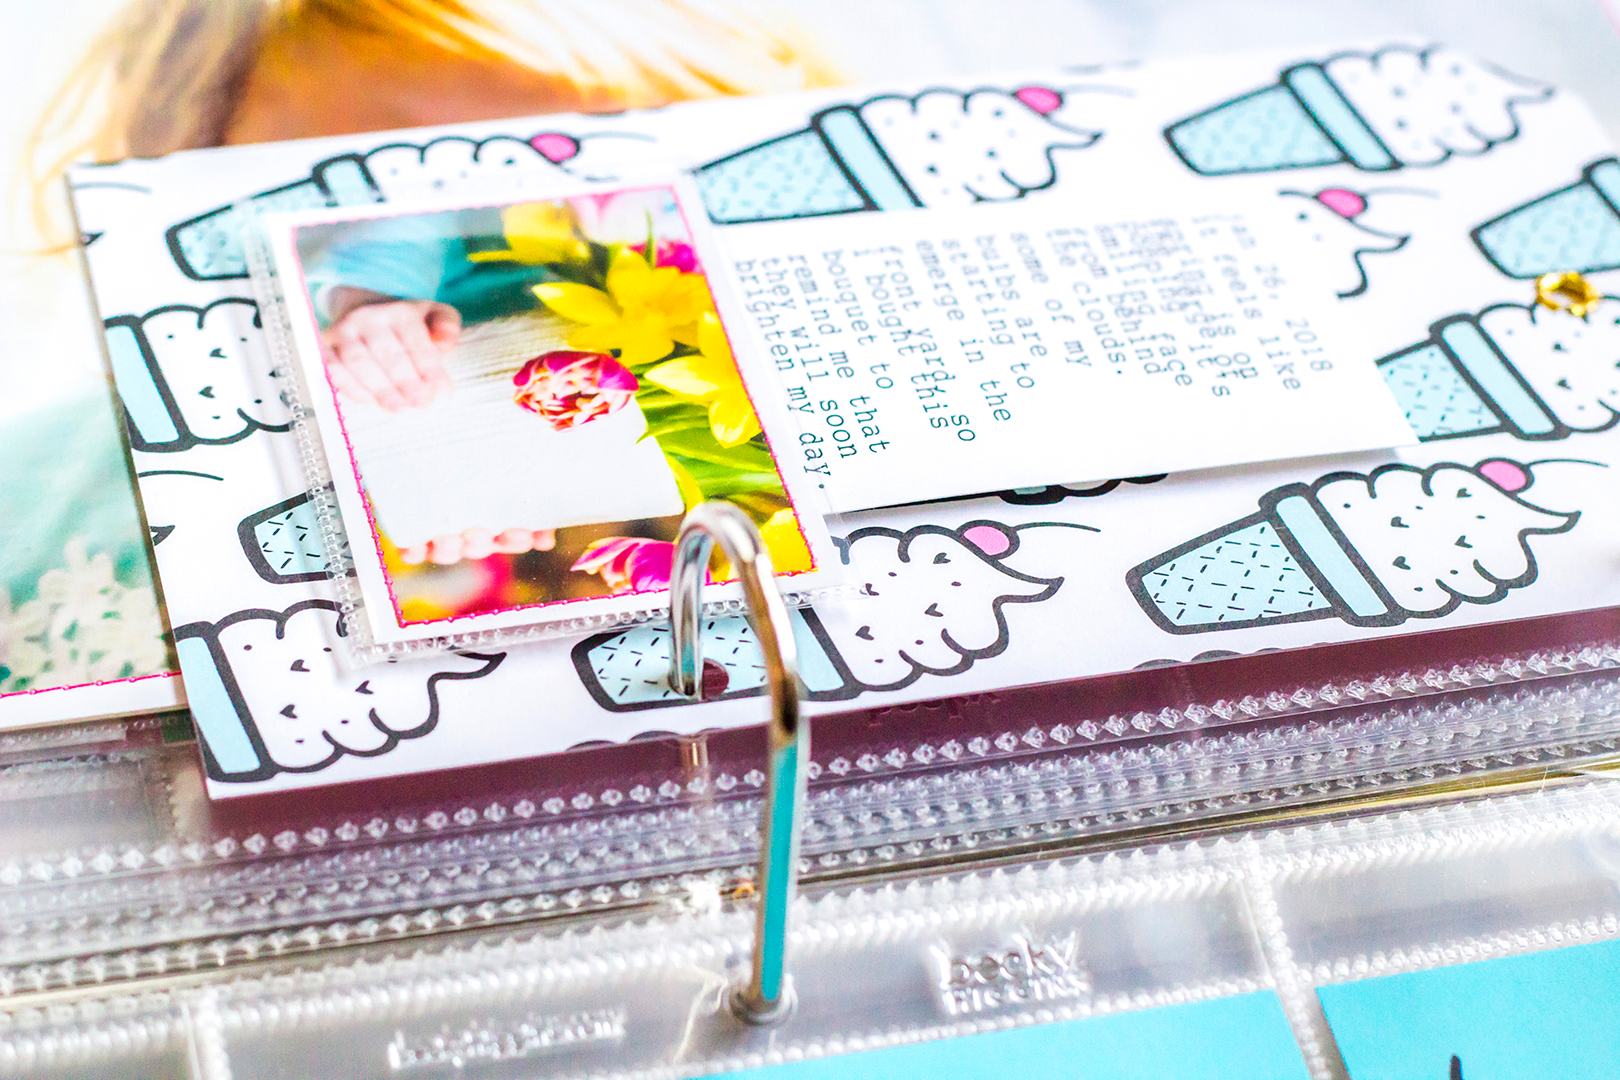
Here are the floral paper clips in my planner. They are perfect for that special touch to any planner and just one more way to meep your spot in a fun and creative way. Thank you to everyone who took the time to stop by the blog today. 

Violet

Making a Tag Album with Kellie

Hi there everyone, Kellie here.  I'm back again to share a little creation I made using the new "Hello Beautiful!" Kit.

2018-05-12 16.19.55

A little tag album!   Have you tried one of these?  They are so fun to make.  This is only my second time making a tag album and won't be my last.  Not only that, I also got to use a bunch of older instax photos I'd been hoarding for years of my three girls.  Almost all were taken with my instax camera before I got the instax printer that, may I add, I absolutely LOVE to bits.

2018-05-12 16.21.14

Where do you start when making a tag album, you might ask?  for me it was all about the photos first. I start by grabbing a bunch of photos.  After I know I have enough photos, I sit with the kit and photos and work out what suits what and which matches and get the idea on how I want to go about it.  Then the fun part really starts - cutting up the pattern papers to make the tags!

2018-05-12 16.21.47

I work section by section or tag by tag.  I like to have everything laid out in front of me on my desk - all the ephemera, die-cuts, stickers and flair.   I really do make quite the mess, but having everything laid out helps to see what I have, making it easier to move things around until I'm happy with the result.  The "Hello Beautiful!" kit all works together so beautifully, I loved working with it to make this album.

2018-05-12 15.59.48

This mini tag album came together so well and the kit is absolutely beautiful, which made working with it super easy. 

A Whimsical Flipbook! with Solange :-)

Hey crafty friends! It’s Solange here with my first ever Design Team Project for The Fairytale Club -- a whimsical flipbook using the new "Hello Beautiful!" collection, that will make your fairytale dreams come to life! 

image1 (1).jpeg

For the cover of this flipbook I decided to use all of my favorite pieces together to tell the story of Snow White! The main focus was obviously the princess herself but I also wanted the cover to speak for itself! I used Snow White as the main focus and surrounded her by the beautiful florals that I fussy cut from the 12x12 paper.

5.jpg

I then added the beautiful tag from the ephemera pack and to make it more magical I added the whimsical animals that brought it all together. I especially love the bunny peeking through, he is just darling. I also added the apple because what’s Snow White without the apple, right? To top it off I added lots of foam tape to make everything pop and to give the illusion of dimension.

image5.jpeg

For the inside of the flipbook I used some of the cut aparts and more florals, you can never have enough florals, am I right ladies? 

image2.jpeg

To add some texture and fun I decided to add some confetti and put it in a glassine bag which toned down the colors to make it even more magical. 

3.jpg

I had so much fun creating this flipbook and using this amazing collection! Thanks for joining me today! Hope this inspires you to make your own whimsical flipbook! See you later! -- Solange

Carrie's January Project Life Spreads

Hello Everybody!  It's that time of the month where I start to work on my Project Life spreads for January!! 

Over the years I've found that since I don't take photos very often I enjoy a monthly format of documenting best.  I tend to take photos of events I want to remember, meals I like, my current favorite mug, etc....you get the picture.  So today I have a couple spreads from the end of January where I showed my daughter Fantasia 2000 for the first time, as well as a bouquet of flowers we put together to remind us of Spring.

Above you can see this first layout has a couple photos from watching Fantasia 2000.  My daughter is laying on the floor in her jammies.  The lady in green is a photo I took with my camera of the TV screen during one of our favorite songs / scenes.  The 6x12 photo is actually a double photo where I took another picture of the TV screen and layered it over a photo of our living room with the bouquet of flowers in the foreground.  I layered them together using Photoshop, and once printed added a thin strip of purple paper to the bottom.  I can't believe how well the product from the Everyday Wishes Kit matched up with the colors of my photos!  In case you didn't know, I'm all about color, color and more color lol!!  This spread was a dream to put together!  Here are more of the details:

The two 3x4 pockets are filled with lots of layers!  I used a yellow ticket from the cut apart sheet and curled the end up, tucking it under the die cut camera.  The gorgeous transparency is layered under it all while resting on top of a tag from the cut apart sheet.  I added an eyelet to the tag for fun.  Here you can also see a peek at some of the green shimmer stitching around the border of the photo at the bottom.

I used the shimmery green thread for the two photos I took of the TV, and the yellow for the pic with my daughter.  (The pink thread is used on my next spread.)

Adding this extra touch of thread to the borders of my photos made them all pop just a little bit more.  Plus, I love the added texture ; )

Here's a better look at both 3x4 cards.  I believe the card with the rainbow is cut down from a planner insert.  It is layered with the die-cut rainbow and the script word "love".  The left side of "love" is popped up while the right side isn't.  I did something similar with the yellow tag.  To add just a little journaling, I used my typewriter and some white cardstock.  Most of my journaling for this "event" will be on a spread that comes before this page (which is not yet completed), so I wasn't worried about adding a lot of text here.

And that's it for the first spread!  On to the next!!

This spread is actually next in order in my album!  There is a 6x12 photo of my daughter acting all moody and cute.  We had all woke up with colds this day and I think her face says a lot : )  Across the page I made a tag out of two of the planner inserts adhered back to back.  All I did cut cut the corners at the top and add an eyelet.  Below it is a close up of our flower bouquet.

Here you can see some of the pink thread I used around the border of my photo.

Love the quote Andrea used for this!

This is what you see when you flip the tag over.  I used a 6x8 planner insert and cut it into a 4x6 and two 3x4 cards.  The piece of paper with the pink stars on blue is part of a border strip that I added in between the yellow and blue of the 4x6 card.  I don't always play the rule of three, but the added pink from the stars makes a triangle of pink across this spread. Plus, it's more stars which goes great with the quote!

I also popped up a die-cut heart between the blue background and star strip.

And here's a closer look at the back of the tag.  How cute are those ice cream cones!?!  Anyways, I used my typewriter and white cardstock to add journaling about our bouquet and tucked the bottom under my little photo.  You can see there's pink thread around the border of this photo as well.

Since this is my first time having my photos printed on glossy paper, I wasn't loving all the fingerprints.  So, I made a custom size pocket for my mini photo using the Fuse tool.  It's closed on three sides and still open at the top so I can take it out if I want.  

And that's pretty much it.  Hope you enjoyed a look at some of my Project Life for January.  See ya next time : )

Cheers!  Carrie