

Hello Everybody, it’s Carrie here with some fun dimensional tags for decorating happy mail, wedding presents, birthdays, or even adding to a layout. I used the Beautiful Dreamer Kit to create these beauties, and here’s how I did it…..

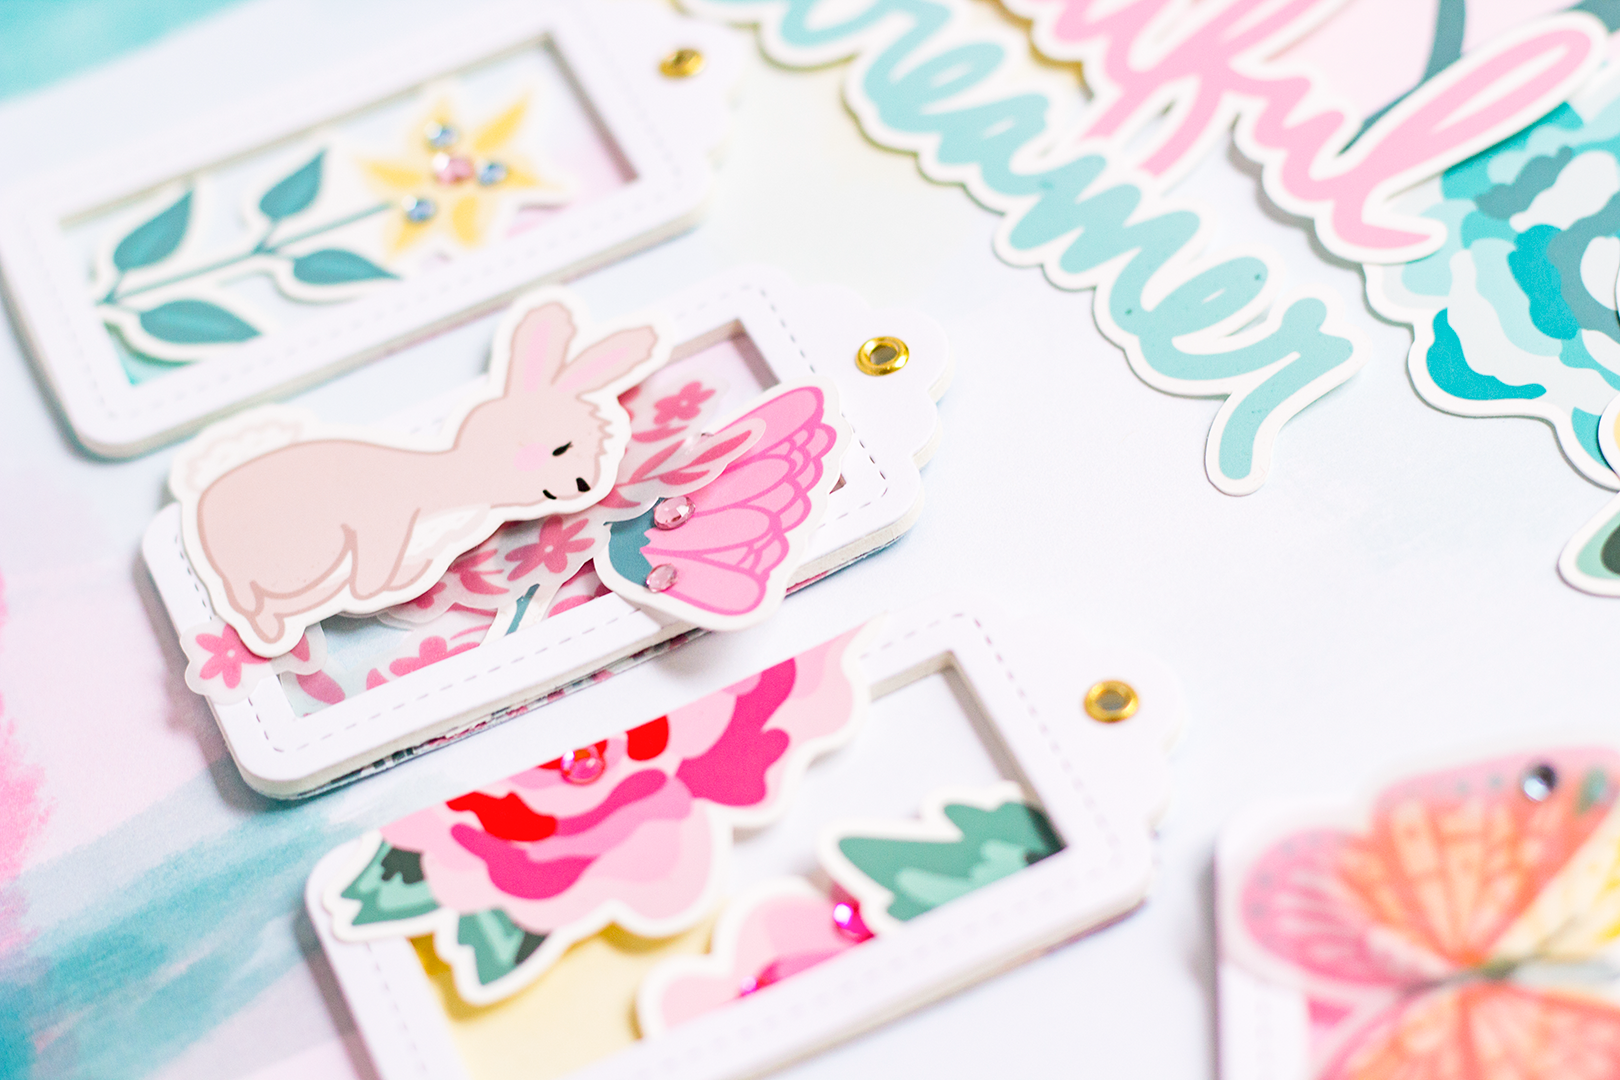
To start off I used plain white cardstock, white foam paper, the 12x12 “Flora, Fauna and Merryweather” paper from the kit, and THIS tag die from Lawn Fawn. The die cut foam window is sandwiched in between the patterned cardstock tag bottom, and white cardstock window using red line tape. This created the base for my tag. Once this step was complete I added small gold eyelets to the tag holes before embellishing.

For these first three tags I used die cuts from the regular die cut pack as well as the floral die cut pack. In some places I used foam adhesive for dimension when layering the pieces together. I also added a few small rhinestones for a little extra sparkle. These tags remind me of the perfect summer garden.

I really love the addition of vellum to the die cut pack, so for both these last tags I used some of the vellum pieces layered with cardstock pieces to make it look more like fluttering wings…..for the butterfly and the unicorn which I apparently made into a unicorn pegasus lol. I used foam adhesive again in some spots, and as a final touch added more small rhinestones.
That’s it for this project, I’ll see ya next time. Thanks so much for taking a look and have a lovely day.
: ) Carrie


