Hey everyone! Sharing a 12x12 layout I put together with Everyday Wishes. This one was something different for me. I love doing 12x12s but, for someone who's used to doing TNs, it's a lot of space. I also often have a lot of die cuts left over at the end of the month and I never get to use pop dots! So, today, I grabbed my 12x12, my pop dots and got to work!

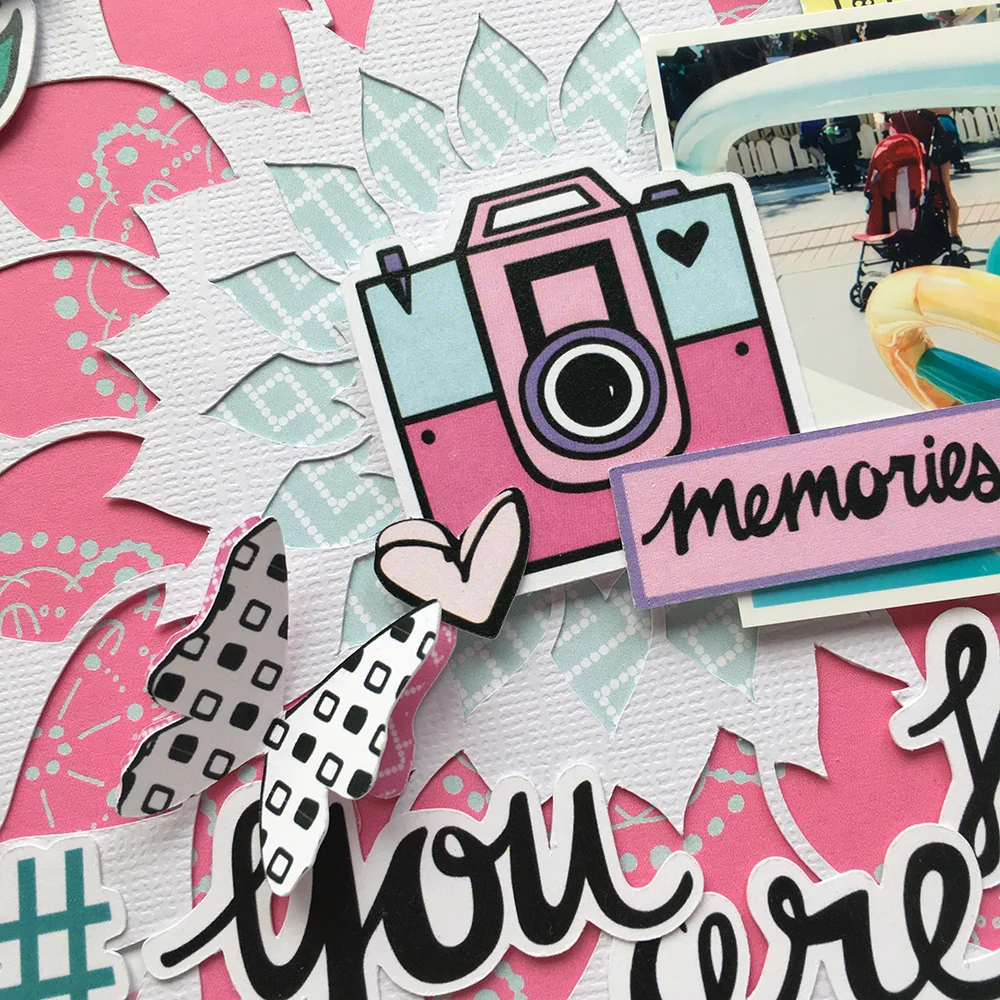
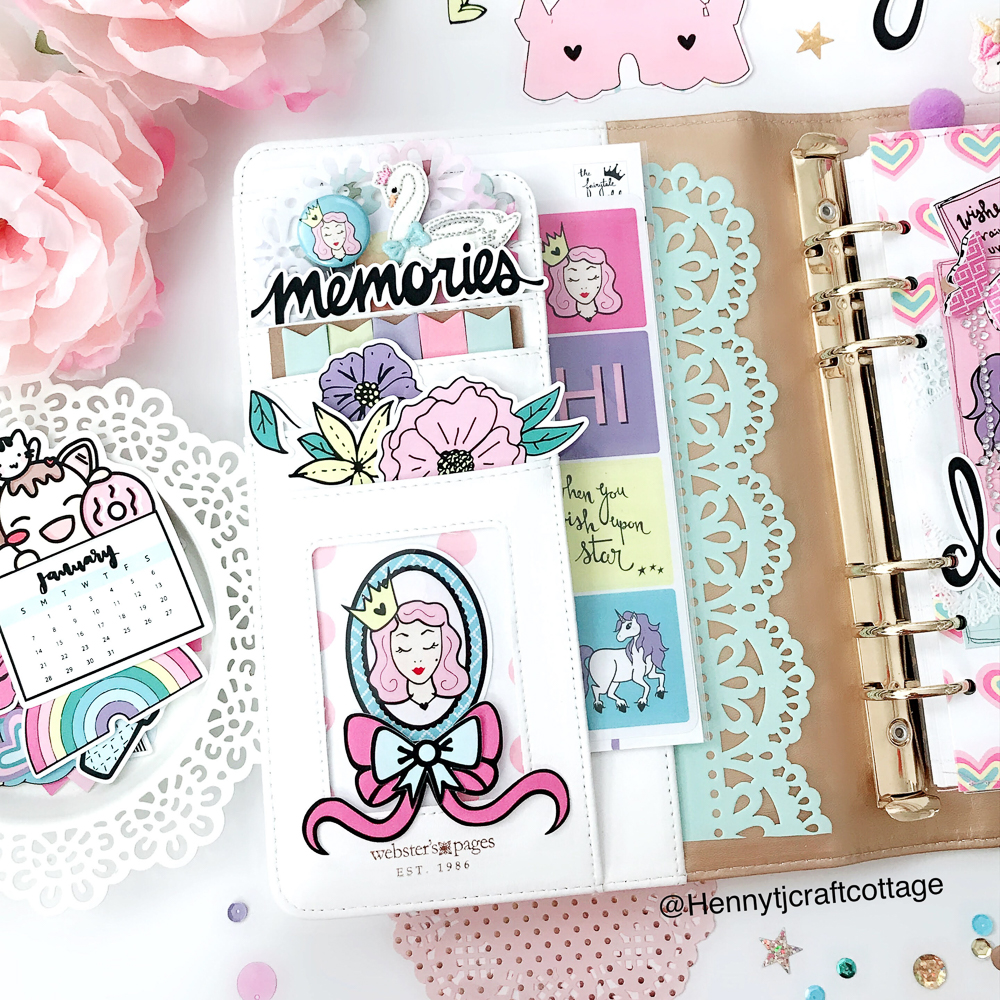
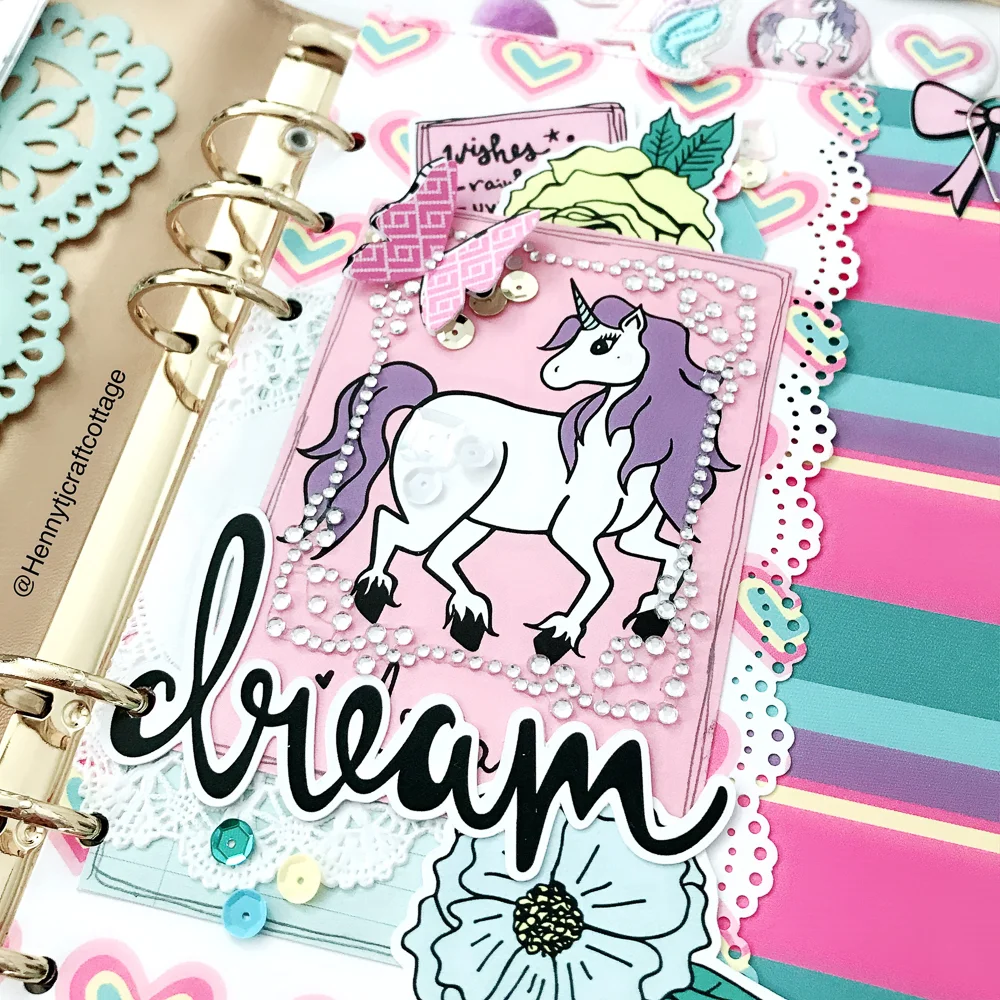
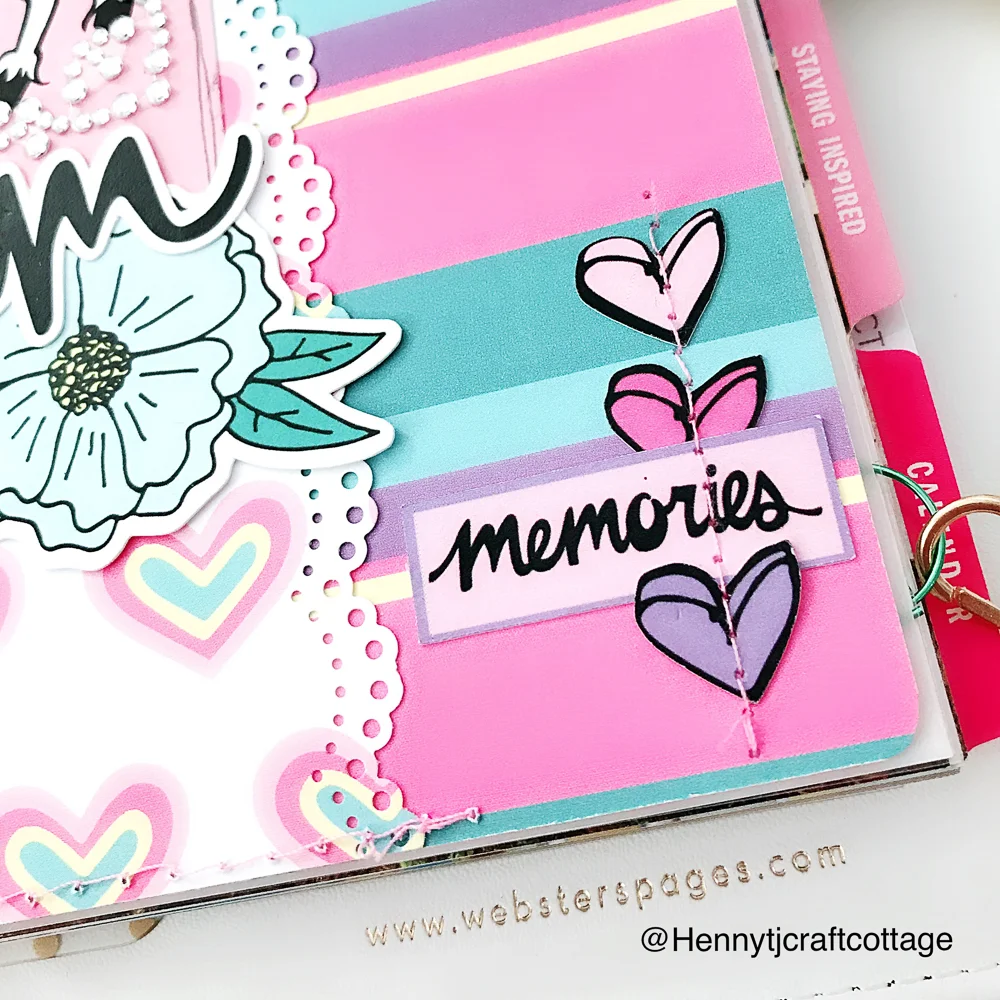
I cut a small strip of paper to add to the bottom. This print really made me think of the event this photo was taken at (Throwback Night at Disneyland) and so I wanted to integrate it into this layout. Then it was time to go crazy with the die cuts! You know me, I'm usually pretty minimalist but this spread was not the time for that! I created a good base of die cuts and then added foam to pop a bunch of pieces up. After that, I added a few sequins to add a touch of glitter to the mix. #maximalist, am I right?
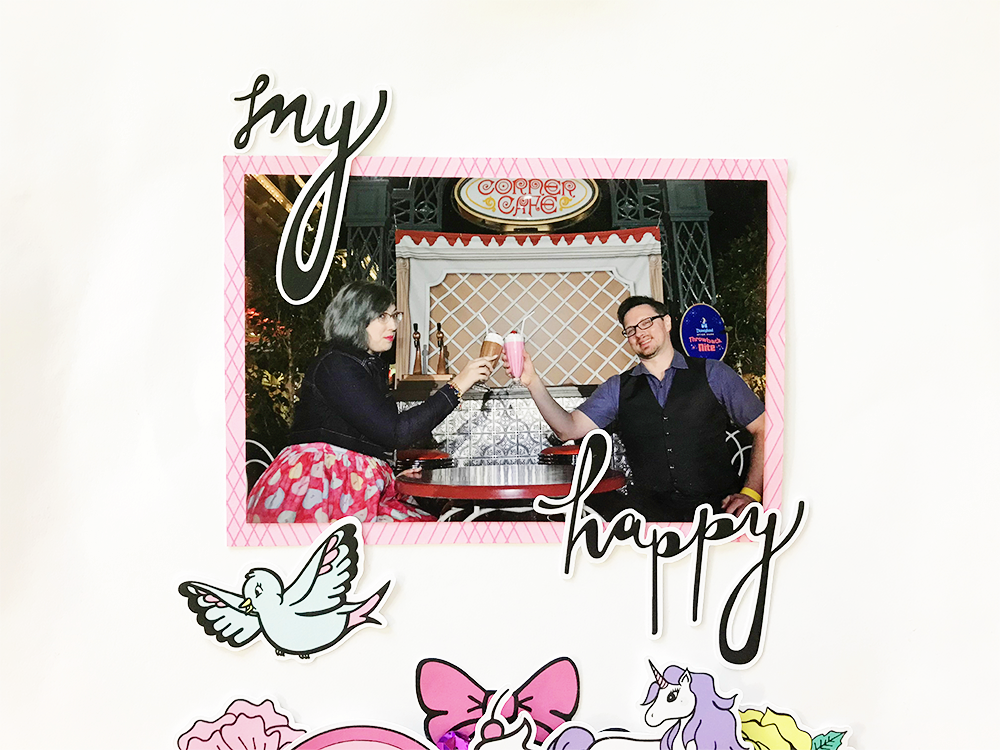
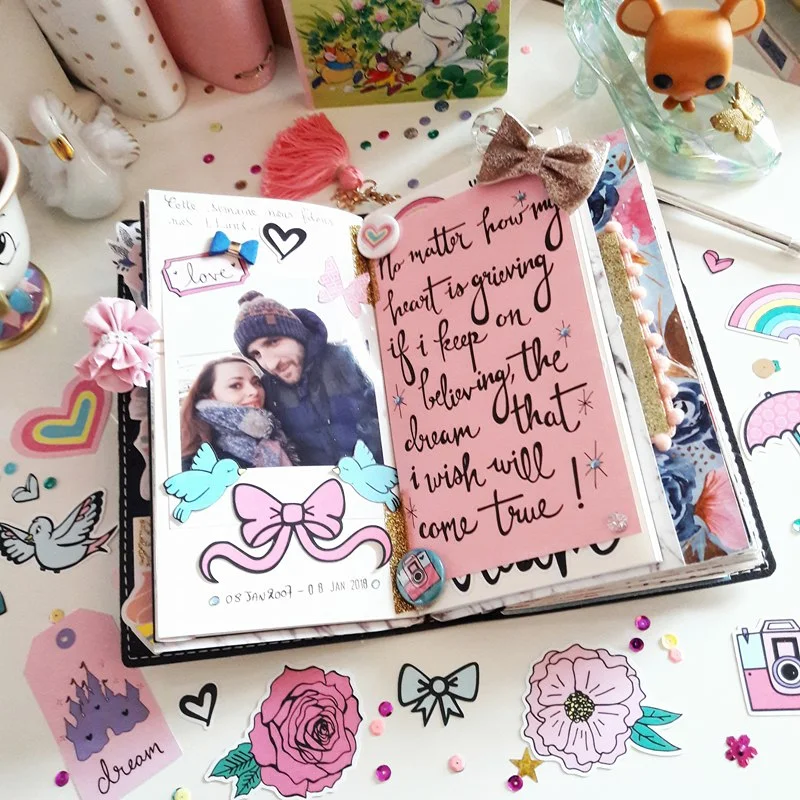
Finally, I added a picture of my husband and I at the event, backed with a bit of pink patterned paper. It's a subtle pattern, which is great with my bright dress but it doesn't get lost in the mess of die cuts below. Finally, my title. I love this guy, I love this place, this is my happy!
Thanks for checking out my layout, I hope you enjoyed it and it inspired you to break out and try something you never do. Until next time, happy crafting!