Kellie's Nap Queen Layout

TFC_KIRA_03
Hey there crafty people.  It's Kellie here with you again to share a mini layout in my pocket page notebook, using the NEW and gorgeous, Beautiful Dreamer kit.  I wanted to keep this rather simple to keep the focus on the photo and my daughters beautiful hair colour and this kit allowed for just that.
  TFC_KIRA_01For this layout I wanted to try something new, new to me.  There are so many amazing hearts in this kit and I LOVE that!  I decided to have three hearts on the pocket going down in a line, vellum in the front and the cardstock hearts backing them.
TFC_KIRA_01I then got out my old sewing machine and.................. the top one moved, ugh.  I didn't let it stop me and the other two hearts came out perfect.  The old, two out of three ain't bad.

The sticker, NAP QUEEN could not had been more perfect for this teen of mine.
TFC_KIRA_01
I decided to use the bottom strips of the 12 x 12 pattern papers as washi tape, they are truly perfect for that use.

Kellie's Pocket Page Notebook Dreamer Layout

TFC_MAY_02

Hi there Fairytale Club peeps, Kellie here with you today to share a mini layout I create in my smaller pocket page notebook.  I think if you've been following along here and would had noticed I have a thing for this style of crafting, FUN!

For this layout I've used the NEW Beautiful Dreamer kit, that is honestly just a dream to be able to create with.


TFC_MAY_02

My eldest has started taking photos again.  She's had an eye when it comes to photography and I benefit, because her favourite or only real subject that she can have on hand are her sisters, WIN for me.

Before this kit even arrived on my door step and I was checking the delivery update daily.....  Come on, I know I'm not the only one that stalks their Fairytale Kit right?  I already had plans in my head on what I wanted to create and these photographs were top of the list.


TFC_MAY_02

Did you see that this month there is something new?  The chipboard alpha's!  Are they not dreamy?  Confession time, I used the "q" as a "b", honestly it was a mistake and once I realised it didn't bother me as it just worked. I decided to keep these layout's pretty simple.  I'm loving the sentiments within the sticker sheet this month.


TFC_MAY_02

To do the pocket I got out my trusty fuse tool and once I was happy with where my photo was placed that I've gone back and front, I fused around it with a metal ruler.  Added sequins in and then fused it up.  BAM, done.  Sounds simple right?  You have no idea the amount of sequins I get everywhere, haha.  But the result is just too good not to lose or wear a few sequins.

i didn't want to sew straight into the pocket page paper.  So I decided to stick down the strips of paper onto a spare bit of cardstock, sew with my sewing machine, trim up and then stuck it down into my pocket page notebook.  This works really well for those hard to get to areas with your machine.


TFC_MAY_02

There you have it!  I have another layout coming next week that I can't wait to share with you all.  In the meantime if you haven't signed up for your kit yet, you can do so, HERE.

Adeline's "December Dreams" Traveler's Notebook

Hi my Fairy friends,

LRM_EXPORT_374321520754181_20181218_204847943.jpg

It's Adeline today for a merry, week layout in my traveler notebook. I use this traveler for my weekly planning so this week is the holidays : Christmas is coming! So let's see my week decor with the “December Dreams” kit - ephemera, paper, and flair buttons.

LRM_EXPORT_374498814569593_20181218_205145236.jpg
LRM_EXPORT_374383090423252_20181218_204949512.jpg

I hope you enjoyed it! I wish a very merry Christmas to you and your family.

Kiss from France,

Adeline

Carolee's Traveler's Notebook "Magical and Mischievous" Layout

Hey everyone! Carolee here with a new traveler’s notebook layout for you today using the new Magical and Mischievous kit Andrea created for Halloween!

My hubby and I took a quick afternoon trip to Disneyland to check out all of the decorations and Halloween items in the shops. We found this adorable popcorn bucket and picked one up. This picture makes me giggle. Someone told me that Ryan looks like he’s trying to get someone to try the poison inside! So, I figured using the Magical and Mischievous banner would work great as a title on this layout!

First up, I cut a piece of paper down so that I had two TN-sized sheets. Next up, I wanted to layer several papers underneath the Instax photo I printed. I love using the A5 inserts for this since the patterns are a bit smaller. I added a touch of pink as the mat and then haphazardly cut a bit of purple to go under that. Last, I added the title banner and glued it down to the page.

The cauldron square from the Hello October paper couldn’t have been more perfect so that went opposite the picture. I just glued that down and added a couple of staples to add a bit of gold to the layout.

Next, I wanted to add some orange. I used the pumpkin bucket die cut but while I was looking through, I saw the poison apple so I added that in there as well. Finally, I added some of the sequin mix to the page to add color and shine to the whole thing. I really like how well this quick and easy layout came together. I hope you have as much fun with the collection. Until next time, happy crafting!

Michelle's Halloween Traveler's Notebook

Happy Halloween, crafty friends! Michelle here, back with a project featuring the latest collection from The Fairytale Club, Magical and Mischievous! To be totally honest, Halloween is not my favorite holiday. And I would even say it’s not even in my top three. However, because this kit of goodies contains pastels and super cute designs, I’m actually really excited to do some festive crafting this year!

1010181818-01.jpeg

I love how everything in this kit is so cohesive! It all fits together so perfectly, and I knew I could make an adorable set up in my traveler’s notebook with these fun paper bits! I love really filling up the pockets of my TNs with cute pieces, so I started there.

I love how perfectly the cute haunted house card fit right in that front pocket! From there, I grabbed some of the die cuts from the pack and layered them with other elements to create a fun pocket set up!

As for the opening dashboard, I just knew that it had to be this quote card about the magic of Halloween! When I opened the kit and looked at all the pieces, this really stood out to me. It really captures the fun and childlike wonder that Halloween is all about!

And I don’t know about you guys, but October seems to kick off the busiest times of the year, which means that my planner and favorite planner accessories are always on the go with me. That’s also why I love this dashboard from The Fairytale Club that has the month of October on it! It’s the perfect size to go in my TN and will totally help keep me organized this month.

Also, being so busy, you never know when you might find a minute to add something pretty to a page, or do some journaling on the go! Because of this, I wanted to add a bunch of extra pockets so I could take these magical bits and pieces with me! So to do this, I made a pocket dashboard! I simply took one of the adorable 12x12 sheets, trimmed a bit off the top, and tri-folded it so that it would fit around the insert, and then fold out, where I added the pockets!

I love how this kit came together to make such a cute set up in my TN! It has all the Halloween classics like witches, bats, and pumpkins, but all of it has the cutest flair to it! This all has me feeling so festive and I can’t wait for Halloween! Happy crafting,

Michelle

Adeline's Red Patent Traveler's Notebook

Hi my fairy friends!  It’s Adeline today, with my second project of the month with the "Hello Beautiful!" kit.  If you remember, last time I shared with you the set up of my ice blue planner.  Today it is time for my red patent traveler's notebook, which is just as perfect for the design of this collection.  This time I made two covers for my notebooks and some flag paper clips, which are so in fashion right now.  So let's discover my beautiful decorations inspired by the universe of Snow White.

I hope you liked this project! I'll be back soon with another post!

Kiss from France,
Adeline

A Traveler's Notebook Layout from Aimee

Hi there, It’s Aimee. Today I am sharing a page from my Traveler's Notebook using the “Hello Beautiful!” kit.

I’m not a huge TN gal, but tend to make pages from time to time. I do love the small scale though. It’s basically scrapping a tiny photo on a tiny page. And since I love all things tiny this is just perfect for me. I also love being able to use my toy printers to print photos.  To create this tiny layout, I used the pink ledger and a scrap from the geometric patterned paper, and I made the pink tag out of the beautiful rainbow 12x12 paper.

I just layered them altogether with a piece of washi tape. With foam adhesive “popped” up the “magic” die cut word over my photo and tag. I added some jute to finish of my tag. I also used a pink bow and some butterfly wood veneer to complete this tiny layout.

After staring at this TN, I think the only thing I’m missing is the date!  I often realize these little details long after my project is done, photographed and I’m here writing my blurb. Do you ever finish a project and add to it days later?

Michelle's Portland Traveler's Notebook

Hi, everyone! This is Michelle from the design team, here to share with you my first project! When I first saw the “Hello Beautiful!” kit and read Andrea’s blog post on how the kit came together, it felt nothing short of magical. I found out that I was chosen for the design team the night before my husband and I left on vacation to Portland, and the timing was just perfect. There are so many aspects of this kit that followed themes of the trip, so I decided to use it to make a memory keeping traveler’s notebook for the trip!

The cover was the aspect of this project that I was most nervous about. I was meandering down jam-packed aisles of a vintage store in Portland among old graphic tees and mismatched pots and pans when I came across this beauty, a Pendleton wool notebook cover. As soon as I saw it, I just knew I could transform this old server’s book into the perfect traveler’s notebook!

In Andrea’s blog post revealing this collection, she wrote, “when you look at the collection as a whole, you can see that there is a lot of imagery that is very reminiscent of an enchanted forest... filled with adorable creatures and potential friends”. I was reading this blog post on the morning of our first full day in Portland and that description of the collection really struck me. Here I was, sitting in a beautiful, lush landscape and around every corner held the possibility of meeting new people willing to share their stories and their city with us. I wanted to capture the enchantment of these possibilities and the forest all around me and put it straight into my traveler’s notebook. 

For the inside cover, I decided to take bits and pieces from my adventures and make a pretty decorative page. I started with 2 postcards that I had picked up on my adventures, and a Starbucks gift card, which added the perfect touch! Next, I added the 2 lapel pins that I picked up at the International Rose Test Garden, where they grow various rose hybrids from all over the world! And I topped it all off with an adorable bow from the embellishment pack of the “Hello Beautiful!” kit!

The opposite page is a dashboard I made to go around the insert in the traveler’s notebook. I wanted to make a cover that really introduced the magic that lay behind it, and what is more magical than gold glitter and “beautiful fairytale life”?

Because this notebook was not originally intended to be a traveler’s notebook, it did not come with any pockets, so I added a pocket page to the back of the dashboard cover. I needed a place to store bits and pieces I picked up during my explorations. And I don’t know about you, but as a paper crafter, I hold on to everything; receipts, free postcards, paper bags, everything!

For the smaller pocket, I used a scrap piece of floral vellum that went just perfectly with this collection. This particular piece of vellum had logos on it and writing that did not go with the look, so that is where these adorable embellishments come in! I am all for adding something to a page that is both functional and adds to the cute factor, and this “Hello Beautiful!” tag does exactly that!

0512181802-01.jpg

The opposite page is the cover of the TN insert I made for this project. When I was first looking at the reveal of this collection, I knew that I wanted to use the “Enchanted Forest” pattern to make the insert. The roses are so dimensional and beautiful, and after all, Portland is the City of Roses!  I kept this cover pretty simple with the black and white polka dot page, and Snow White fussy cut from another page of the collection. And I then topped off the page with a Chinese fortune, given to me at the Lan Su Chinese Gardens in Portland, carried by two sweet die cut birdies!

Seeing this traveler’s notebook come together with the “Hello Beautiful!” kit was purely magical, and I cannot wait to begin using this new traveler’s notebook to fill with all the magical memories from my trip to an enchanting place. Thank you so much for following along on my crafty adventure! Until next time, 

Michelle

Memory Keeping Picture Overlay with Kim

Hello, it's Kim!  After a recent trip to Arizona I had a bunch of memory keeping brainstorming ideas on how to use my pictures. One of them was a picture overlay on to pattern paper!

1april sweet-2.jpg

What I mean is that I've taken some of the beautiful pattern paper from the 'Sweet' collection and cut it to size for my travelers notebook. Then I printed out one of my pictures and a couple of digital files, the "pretty" word and the hearts with the arrow through them, on clear sticker paper and placed it on top of the pattern paper. It leaves the picture as a fantastic focal point but the script words add just the right punch.

On the opposite page , I used some packaging from the collection and on top a small vignette of paper from the kit.  The cut-a-part lady is so west coast chill!

The quick layering highlighted by a date stamp is the perfect thing to off set the other page.  Let's not forget the puffy alphas!  They did come with the kit but you can grab a set yourself from the past collections for only $5.00!! She was very smart to include double vowels and popular consonants. That way you can use them for many different projects.  

Thanks for joining me today for this quick project!

xoxox

-Kim

Adeline's Self-Care and Memory Traveler's Journal

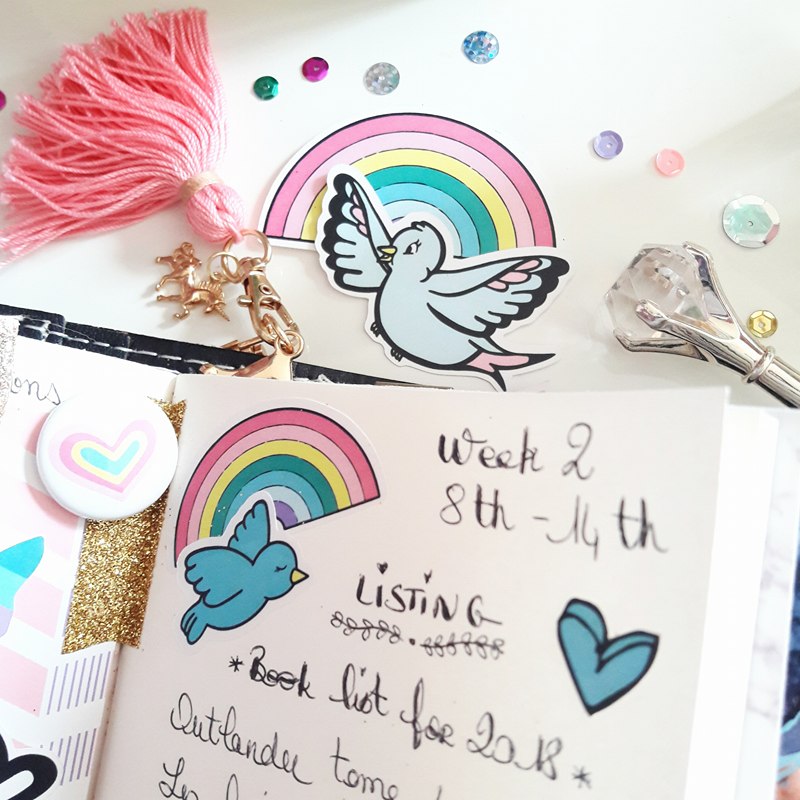
Hi my Fairy Friends, It’s Adeline for the Fairytale Club blog today, I am so happy to see you.  I wish you a Happy New Year for 2018, so much love, and good health for your family and you.  For this new post, I decided to share with you a part of my self-care and memory traveler's journal.
 

27294381_595200174153091_1196694822_n.jpg

I follow a challenge named The Happy Place Club created by The Reset Girl, and each week I make my self-care homework!!!!!!!

I decorated my week with the Everyday Wishes kit. I love it for the colors and my favorite Disney movie, Cinderella, inspired it!!!!! 

So let’s discover my second week of January with a special event!!!!!!! My love and I's 11th love birthday.

I hope you have enjoyed it, and I will see you later for a new planner set up post with the Everyday Wishes kit.

Wish, love and dream!!!!!

Kiss from France,
Adeline