Solange's Embroidery Hoop Pocket Decor

Hey guys, Solange here with a super fun, easy and fast project using the “Magical and Mischievous” kit! I was super excited when I got this kit and anxious to work with colors that are out of my comfort zone.

image1.jpg

For this project you will simply need an embroidery hoop that you can find in any craft store and your “Magical and Mischievous” kit.

To start out, I chose the papers that I wanted to use for the front and the back of the hoop. For the back of the hoop, I simply traced the outline onto the stripe blue paper and cut it out. I then glued it with hot glue to the back of the hoop. For the front piece I followed the same exact process and then just cut it in half instead so we can form a pocket.

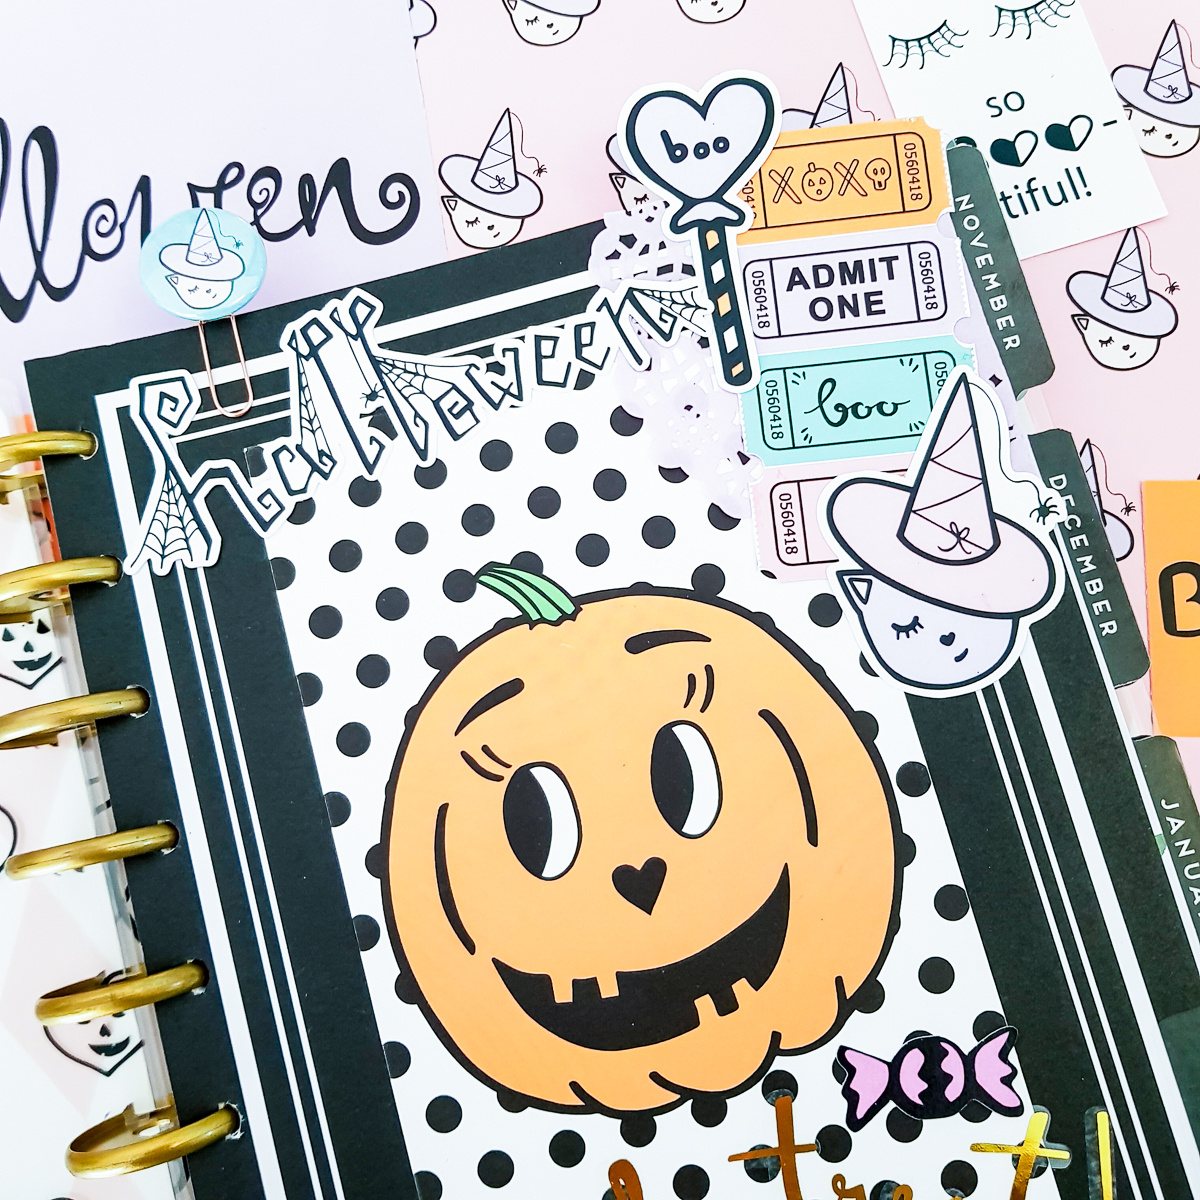
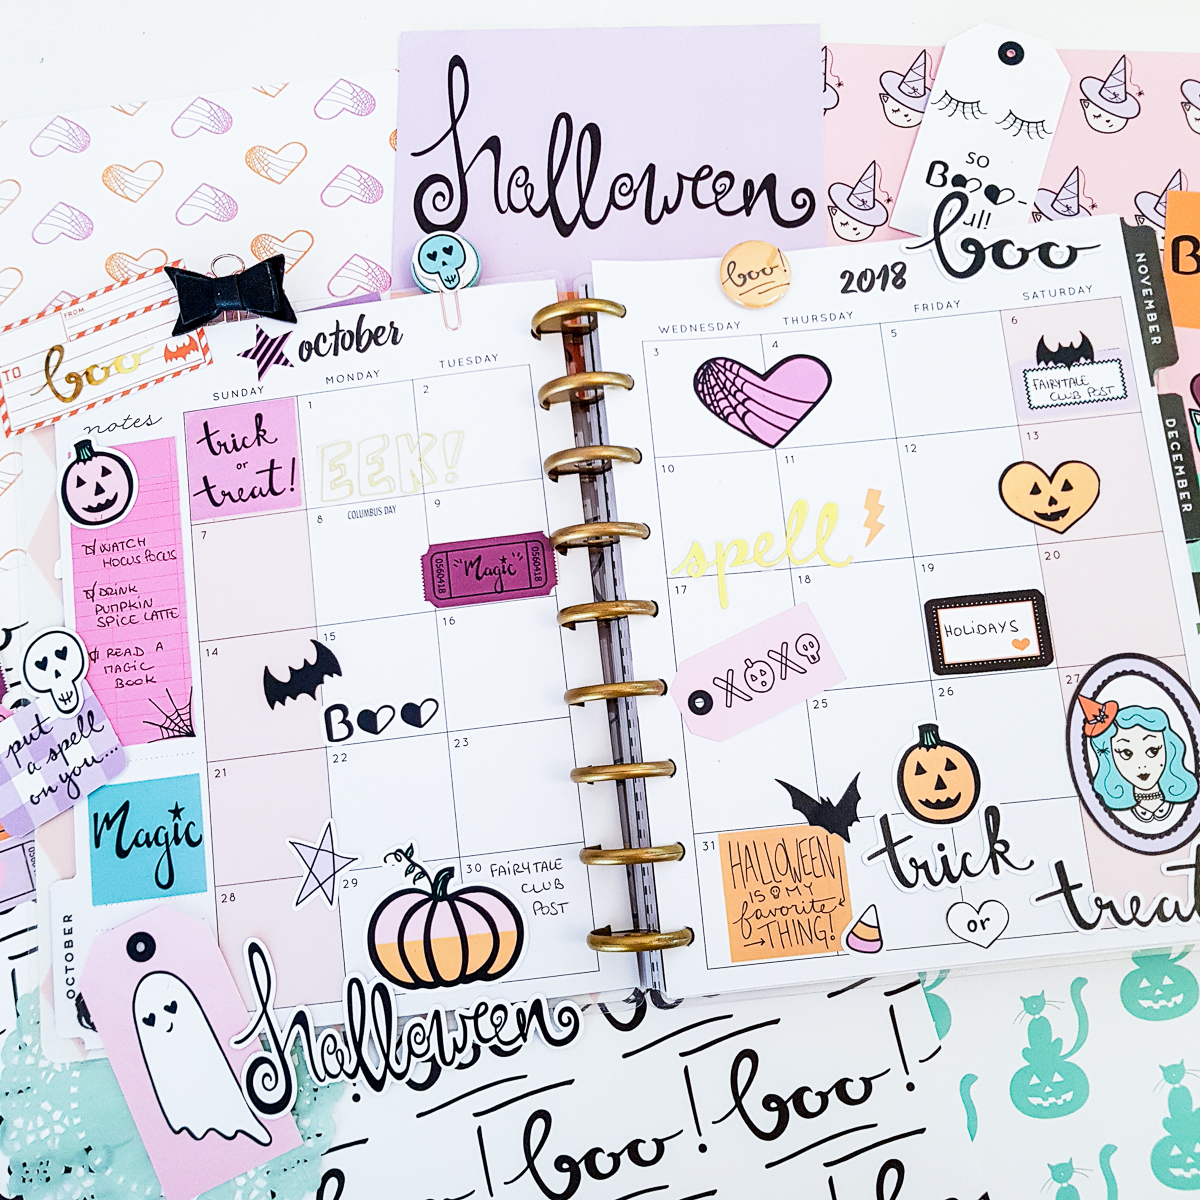
Then the fun part, embellishing ! I used some of the ephemera pieces but I also fussy cut some of the images in the dashboards to use as ephemera.

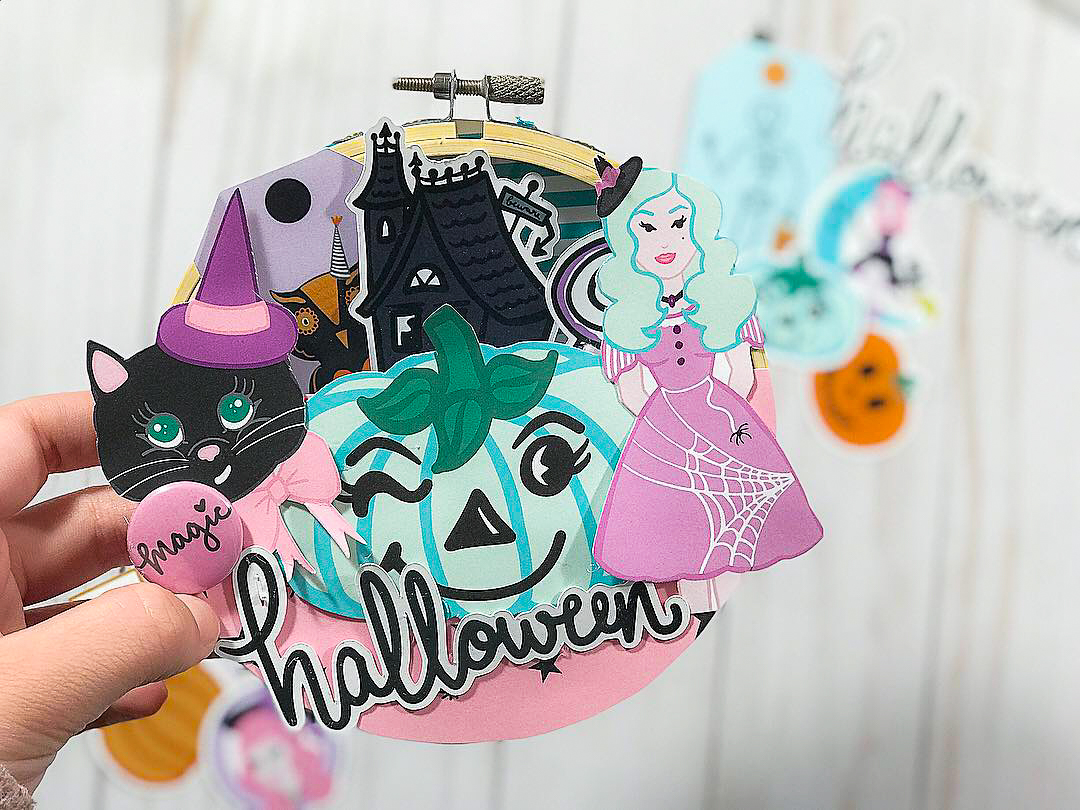
The last step is to stuff the pocket with some crinkle paper and then add goodies inside! You can use this idea to send gift cards or to share your handmade embellishments, and maybe some treats as well!

That’s it! Super simple, easy and cute project to send to your penpals, give as gift or hang in the wall for the decor!

I hope you guys got some inspiration and I can’t wait to see what you’ll create. Xoxo.

Kellie's 4x4 Mini Album Mini Layout

Hello everyone, it's Kellie here to share a mini layout I created in a 4x4 mini album using the Magical and Mischievous collection.  These little albums are the best for documenting your memories.  They can be used for the one theme or many.  I decided that since my girls are getting older I would use one to document all their book week dress up days.

2018-10-11 13.18.41

We don't celebrate Halloween in Australia, not like it's celebrated in the USA.  But my girls once a year have book week where they get to dress up as a book character. It's so much fun to dress them up and see how excited they are and now that I only have one of three daughters doing it, as one daughters has finished her schooling and the other started high school where they no longer take part in dress ups.  So I thought it was time to have them all in the one place, like a mini album.

2018-10-11 13.18.48

Do you know what I love about the Magical and Mischievous kit?  EVERYTHING.  The acetate sheet that comes with the kit is silver on one side and a purple on the back.  I used the purple as a backing the this little layout of my girls dressed up day from a few years back.  Harry Potter and a witch, the perfect match.

2018-10-11 13.24.23

I then layered around the instax photo with the die-cut shapes ephemera pack and used some left over strips from the card I made and shared previously strips.  I also used one of the little pom pom paper clips, HOW stickin CUTE are they?  I'm trying not to hoard the rest of the three from the packet of four.


2018-10-11 13.19.05

I grabbed a pocket that has 4 mini squares and cut up the 12x12 pattern papers and again used some of the die-cut shapes ephemera pack with a flair button.

2018-10-11 13.24.27


Kat's Halloween Shadow Box

Hello Spooky Friends!

My name is Kat, and I am the guest designer for the month of October. I am so excited to share with you the awesome and spooky cute crafts I have created using the “Magical and Mischievous” collection. The first project I wanted to conjure was a shadow box/memory keeping box.

IMG_7541.jpg

I adore shadow boxes because they are tiny time capsules that capture your work of art and simultaneously displays it in a bootiful fashion. For this shadow box I wanted to merge scrapbooking with it as well.

I love this ghoulish picture of my Wolfie and I, and I really wanted to capture the magic of it and preserve it for years to come. The “Magical and Mischievous” collection paired so beautifully with it and showcased the whimsy of this moment.

I started off with a 6x6 shadowbox (you can purchase them at any hobby store) and cut out a square of my favorite patterned paper, the super spooky cute pumpkin pail with sweet treats. I glued this to the backboard of the frame. I printed out the photo 2 ½ x 3 ½ and added 6 layers of foam squares to give it dimension. Tilting your image gives it even more whimsy.

I then picked some ephemera pieces from the collection, two candies, a lollipop, the black bat, and the Halloween word. I propped these up with 6 layered foam squares cut to size. This allowed all my pieces to be the same dimensional size. I paired the collection with some paper roses to finish off the inside of the memory shadow box.

IMG_7545.jpg

Finally, for the exterior of the box I added some ruffled trim in blush to complete my Spooktacular memory shadow box. I added the trim using hot glue. Incorporating fun elements, such as trim, gives your projects textures that bring it life.

IMG_7548.jpg

I hope you also create your very own “Magical and Mischievous” memory shadowbox this Halloween season. Bring a little spooky cute into your crafty space or office desk. Stay spooky cuties!

Kellie's 6x8 Halloween Layout

2018-10-10 17.18.01

Hi all, Kellie here with you again this month to share a layout I created using the NEW kit, Magical and Mischievous.  I started in paper crafts only scrapbooking, then moved to cardmaking and then back to scrapbooking and pocket page albums.  I love everything paper crafts.  Now let me show you the layout I created.

2018-10-10 17.20.55

I like to create layout in the size 6x8.  It's a size I tried when a friend of mine, Emma, showed me her amazing work and I just loved the size.  I've always found 12x12 a little too big for me, while 9x12 isn't overly large, but 6x8 is just perfect.  I've used a instax photo from a snap chat photo I took of myself around this time last year.  It fitted in perfectly with this kit as we don't celebrate Halloween down here in Australia.  Although even that wont stop me from creating a few more layouts with this kit.

2018-10-10 17.17.42-1
Starting with a plain white cardstock I love to layer when creating a back drop. So I grabbed the pattern paper to create a background.  It's either I create a background or plain white space, one extreme to the next when it comes to my style sometimes.

2018-10-10 17.15.06I then grabbed out the ephemera die cuts and layered up.  This is my FAVOURITE part when it comes to creating a layout.  Sometimes I have to stop myself as I just want to add it all.  I'm really happy with the final result and the way the layout turned out.  It gave me the itch to create even more layouts again.

2018-10-10 17.17.52

Want a little tip?  You might even do this yourself.  Often when creating anything I lay everything out, move things around till I'm happy with it.  Then of course you have to stick it all down, which means taking it all off.  Now this is where I can forget what went where, get distracted, walk away and come back and think, ugh where did it all go?  I take a quick snap on my phone and then I have a reference.  This also works well when you can't decide should that pumpkin go there or the black cat?  Take a snap and you'll get your answer.

Michelle's Halloween Traveler's Notebook

Happy Halloween, crafty friends! Michelle here, back with a project featuring the latest collection from The Fairytale Club, Magical and Mischievous! To be totally honest, Halloween is not my favorite holiday. And I would even say it’s not even in my top three. However, because this kit of goodies contains pastels and super cute designs, I’m actually really excited to do some festive crafting this year!

1010181818-01.jpeg

I love how everything in this kit is so cohesive! It all fits together so perfectly, and I knew I could make an adorable set up in my traveler’s notebook with these fun paper bits! I love really filling up the pockets of my TNs with cute pieces, so I started there.

I love how perfectly the cute haunted house card fit right in that front pocket! From there, I grabbed some of the die cuts from the pack and layered them with other elements to create a fun pocket set up!

As for the opening dashboard, I just knew that it had to be this quote card about the magic of Halloween! When I opened the kit and looked at all the pieces, this really stood out to me. It really captures the fun and childlike wonder that Halloween is all about!

And I don’t know about you guys, but October seems to kick off the busiest times of the year, which means that my planner and favorite planner accessories are always on the go with me. That’s also why I love this dashboard from The Fairytale Club that has the month of October on it! It’s the perfect size to go in my TN and will totally help keep me organized this month.

Also, being so busy, you never know when you might find a minute to add something pretty to a page, or do some journaling on the go! Because of this, I wanted to add a bunch of extra pockets so I could take these magical bits and pieces with me! So to do this, I made a pocket dashboard! I simply took one of the adorable 12x12 sheets, trimmed a bit off the top, and tri-folded it so that it would fit around the insert, and then fold out, where I added the pockets!

I love how this kit came together to make such a cute set up in my TN! It has all the Halloween classics like witches, bats, and pumpkins, but all of it has the cutest flair to it! This all has me feeling so festive and I can’t wait for Halloween! Happy crafting,

Michelle

Making a Halloween card with Kellie!

Hi there everybody, it's Kellie here with you today and I'm here to share a card I created using the new Magical and Mischievous kit.  Now most of us down here in Australia don't celebrate Halloween, but that doesn't mean I don't absolutely love working with Halloween theme.  The pumpkins, witches, black cats, bats and so much more, what's not to love?

2018-10-10 15.04.08-1
The pattern paper in this kit is so good.  Did you know that the 12 x 12 papers come with patterns on the bottom part of each sheet where the name of the sheet is located?  I always love cutting them off my The Fairytale Club kits and using them almost as a washi tape look.

2018-10-10 11.53.51-1

Here is how I created this card.  First of all I started with a base of kraft cardstock, my favourite and then worked my way through the strips of off cuts, as I mentioned from the bottom of the 12 x 12 papers included within the Magical and Mischievous kit.  Once laying them out and moving them around and happy with the layout. I got out the CUTE to boot ephemera packets, because this month the kit comes with two.  One set is all silver foiled and spooking awesome.

2018-10-10 12.00.18

After having fun with all the ephemera I popped on a flair button, BOO.  Then called it done and I really love the end result. 

2018-10-10 12.00.25

So don't throw out the off cuts along the bottom, cut them out and make a fun card with them!

Do you enjoy making Halloween cards?

Lilly's "Magical and Mischievous" Embellishment Book

Hey Guys, Welcome back to the blog!! Happy October!! Who’s super duper excited for Fall and all the holidays to come?! I totally am! October is def one of my favorite months - not only because of Halloween but because it’s my daughter and mom’s bday month, 🤗 so there’s lots to celebrate! 🎉 Well enough about me lol. Today I have a spooky embellishment book to share with you guys, using the latest kit released by The Fairytale Club, “Magical and Mischievous.”

IMG_4568.jpg

If you guys haven’t gotten your hands on this kit to play with during this season, what are you waiting for?? It’s a super cute kit and easy to create with.

I incorporated tons of the papers and ephemera from the kit to decorate the book. If you want to see a tutorial on how I create these books, I have one up on my channel. They are super easy and fun.

I filled it with a bunch of embellishments I created for Halloween happy mail.

Well I hope you guys enjoyed the pics! Be sure to try out this form of happy mail for your own pals.

Happy Spooky Crafting guys.. See you on my next post 🧡

October Daily Day 1 with Carrie, featuring "Magical and Mischievous"

Hello Everybody! Carrie here using the new “Magical and Mischievous” kit for scrapbooking day 1 in my October Daily!! This is my favorite and biggest project of the year! I do also participate in Andrea's Holidaily, however, my album for that is always much smaller since I don't take as many photos. October is my favorite month of the year and I take LOTS of pics this month lol!

10082018-OctDaily-01.png
10082018-OctDaily-07.png

For October 1st I have a bunch of photos of my front garden. I worked really hard on it this summer and didn't really get any photos of the garden in it's prime, so I wanted to make sure to cover all my bases and get pics of everything. The left side of the spread is just three 4x6 inch photos. The middle photo is cut in half since that's the format of page protector I chose. For the right side, I cut one of the 12x12 inch papers down to 6x12 inches and chose this AMAZING hand drawn spider web print for my background. I used my typewriter to add the journaling onto a 3x4 inch light pink notebook ruled card, which I cut from one of the planner inserts. I chose to use the typewriter since there was so much to fit into a small space. The card is slightly popped up using some foam paper and adhered with red line tape.

10082018-OctDaily-08.png

The "OCT" above the card are Thickers from American Crafts in the font Maggie. I love these for Halloween since they're black glitter with orange foam peeking through. To make the "OCT" stand out just a little bit more I added some purple paper cut from one of the planner inserts.

Below the journal card I used the square number 1 from the number cut apart sheet to label this as October 1st. I popped up the banner from the die cut pack that says "A Magical Day" just below the 1 with thin foam dots. The square number one is also slightly popped up using a little foam paper. To finish off this page and add a little more color and embellishment I tucked in three of the die cut leaves and called it good ; )

Since I have even more photos for Day 1, I decided not to exclude them and just add in another spread. For the left side I chose to use the backside of the spiderweb paper which is this gorgeous dainty orange floral. This fits in PERFECTLY with the theme of my garden photos....I LOVE IT! LOL! Anyways, first I added the "Home Sweet Home" title using the same Thickers. I used the same purple paper to back the empty space in the "O"s. Next, I added my 4x6 inch photo which is slightly popped up onto a thin foam paper. Then I added the silver foil "spooky" to change the saying to "Home Sweet Spooky Home."

Lastly, I layered two pumpkins from the die cut pack on top of each other and tucked them slightly under the "spooky". The way they're layered together almost looks like a rainbow which I think is super cute!

For the opposite page I used the flair button with the orange pumpkin face heart and placed it in the empty space of the bottom photo, in between our rain boots. The cute haunted house filler card from one of the cut apart sheets fit in perfectly with my "house" theme for this spread so I added it in the left center pocket. To add just a little dimension, I popped up the moon with bats from the die cut pack. For the center pocket to the right I made a shaker card using some of the sequin mix from the kit, as well as the three candy corn die cuts from the die cut pack. The see through effect is a favorite technique of mine. To finish this spread off I added the purple pom pom paper clip to the top photo. It looks ADORABLE popping out of the top of my album!! I will probably use all four in this project because it's so cute!

Thanks for taking a look at my project, and I'll see you next time for more of my October Daily! : ) Carrie

"This is Halloween" Sale and October Planner Dashboard and Calendar Setup

“This is Halloween” Sale! In addition to our beautiful new "Magical and Mischievous" collection that we put out for this Halloween-time, we also have a few goodies left in stock from last year's "This is Halloween" collection. So, right now for a limited time, we are having a special sale on last year’s Halloween goodies! All products from "This is Halloween" are 40% off (no code required)...and as an added, spooktacular bonus, if you also purchase a "Magical and Mischievous" kit or paper set along with your “This is Halloween” goodies, you get 15% off of that with the code "HALLOWEENSALE"! Yaaaaaay! NOTE: For us to honor the code, you must have “This is Halloween” product(s) as part of your purchase!

Oh, and here is a cool little planner project our DT member Adeline made using last year's Halloween kit...it’s so cute, right? Get yourself some "Magical and Mischievous" and some "This is Halloween" goodies today! They will totally coordinate together and look so creepy cute!!!


Hi my fairy friend,

It's Adeline today for the blog, I am happy to see you for a new post! And not just any post, but a post on one of my favorite themes. Autumn is my favorite season, and, after Christmas, the holiday I love most is Halloween! So, you guessed it! My post for today will be on this theme.

This is halloween1.jpg

So I decided to use the kit from last year called “This is Halloween” and my Happy Planner to achieve two decorations. First of all, I made a dashboard.

For that, I cut the acetate sheet from the kit and added it to the happy planner (on the left). Then, on the right-hand side planner insert I adhered one of the personal-sized dividers from the kit (pumpkin with black on white polka dots). Then I added some embellishments like gold foil stickers, die cuts, doilies, and a paper clip done with a flair button.

Don’t you find this pumpkin so cute?

And the second thing I decided to do, and I did not do it often enough, was to decorate my monthly double page to make it really fun and boo-tiful!!!!

This is halloween1.jpg

For that I used some die cuts from the “This is Halloween” kit and also some regular stickers and some gold foil ones .

I created a little Halloween Bucket list which is :

  • “Watch Hocus Pocus” - I love the Sanderson sisters, don’t you?

  • “Drink a pumpkin spice latte” - It’s not traditional in France, but I want to taste it.

  • “Read a magic book” - They’re my favorite.

This is halloween6.jpg

I hope you enjoyed this post, and I cannot wait to see you for the next Halloween-themed post with the new kit “Magical and Mischievous.”

Kiss from France,

Adeline