Hey gang! Today begins our "Wonderful" Memorial Day Sale! We're offering a 25% discount on any order on the entire site. This includes whole kits, past kit components, classes, digital collections, and the first month of any new kit subscription, which would begin with "Hello Beautiful!"
Of course, the sale also applies to registration for our upcoming June 3rd event, "The Wonderful World of Disney" Papercrafting Party!
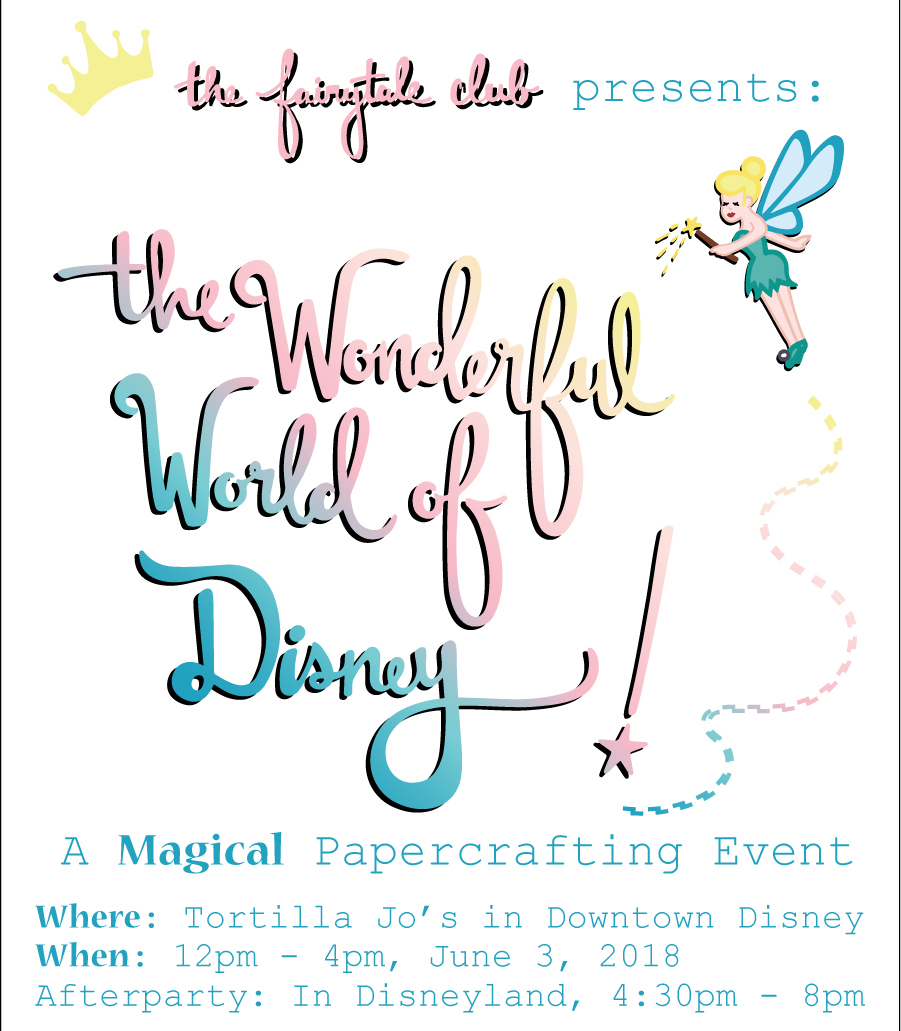
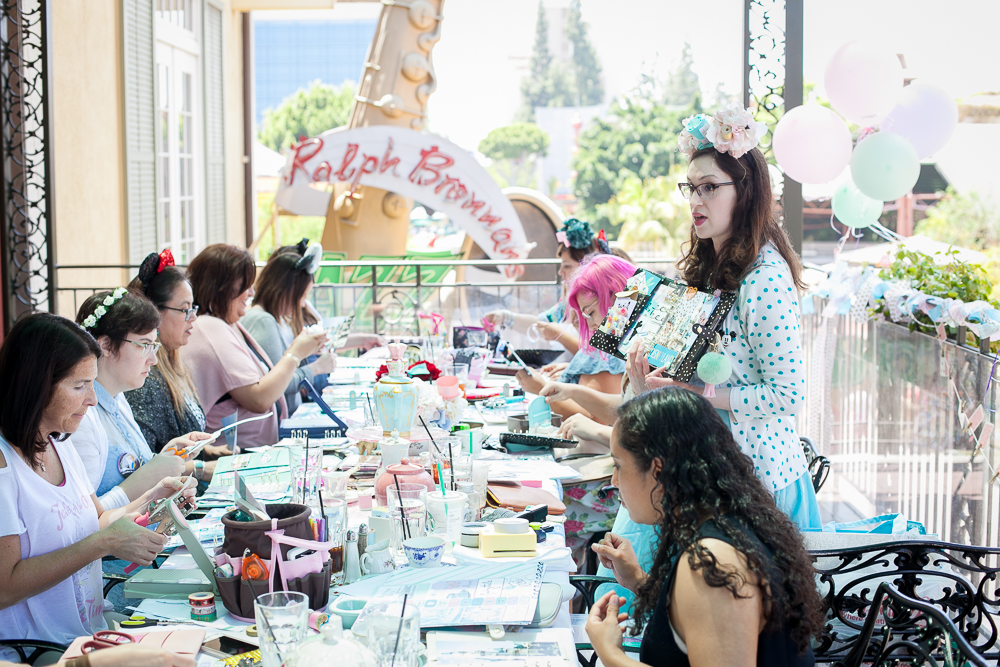
There are still spaces available, but we're only about a week away, so you must act quickly. And to entice you further, I've posted below some pics from last summer's "Mad Tea Party" event. It was a blast and an absolute dream! We really hope to see you there next Sunday!