Making a Tag Album with Kellie

Hi there everyone, Kellie here.  I'm back again to share a little creation I made using the new "Hello Beautiful!" Kit.

2018-05-12 16.19.55

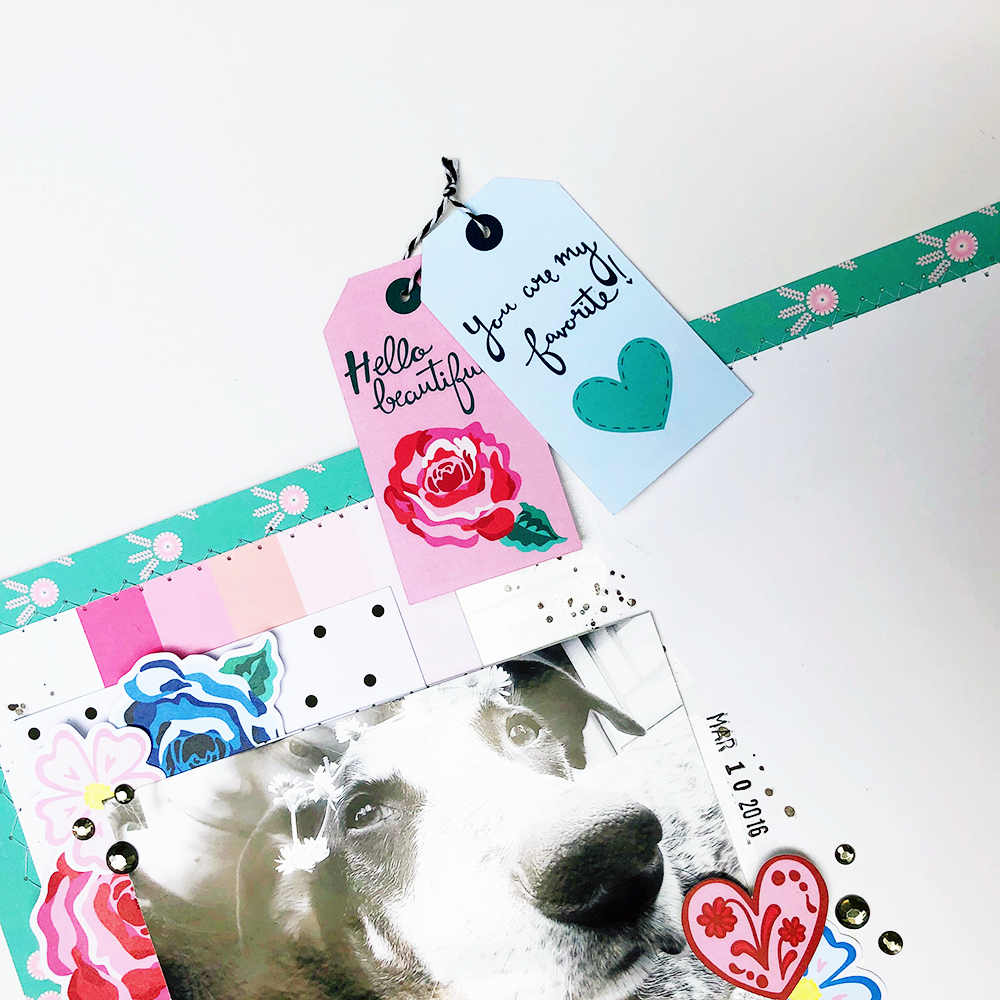
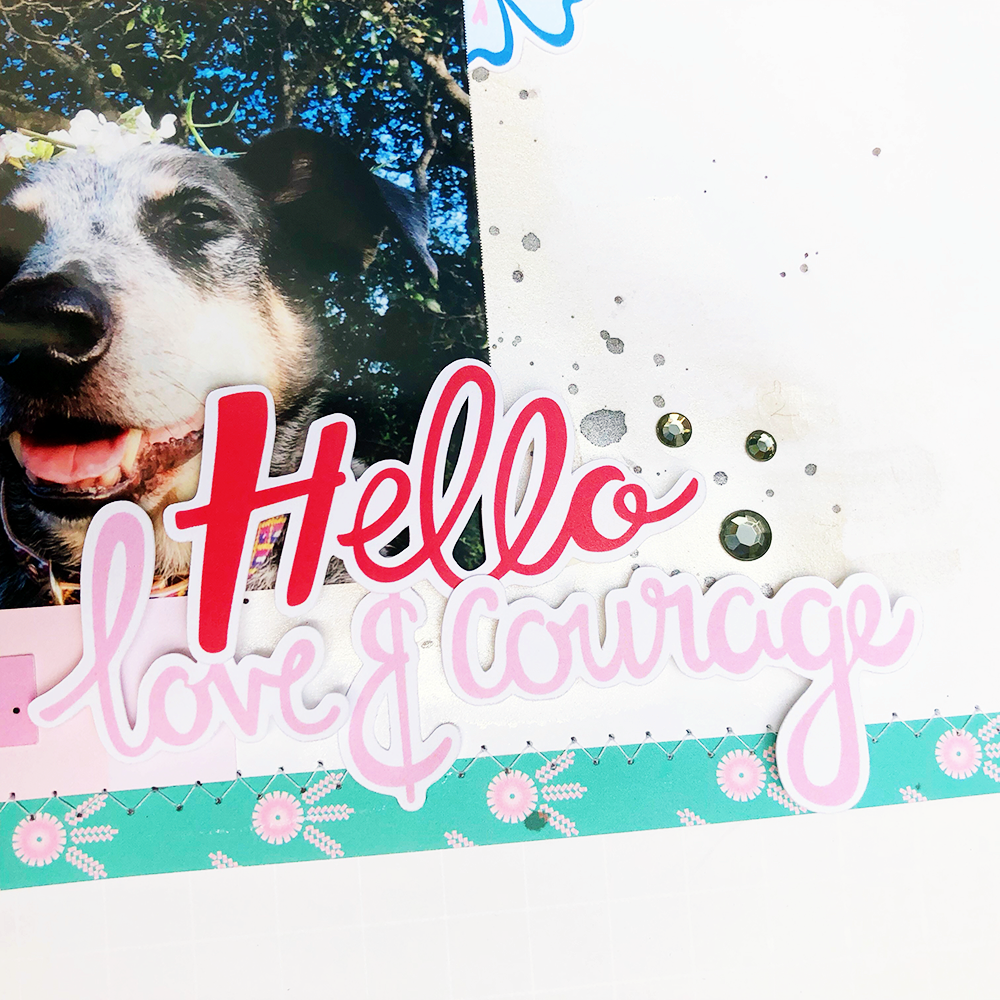
A little tag album!   Have you tried one of these?  They are so fun to make.  This is only my second time making a tag album and won't be my last.  Not only that, I also got to use a bunch of older instax photos I'd been hoarding for years of my three girls.  Almost all were taken with my instax camera before I got the instax printer that, may I add, I absolutely LOVE to bits.

2018-05-12 16.21.14

Where do you start when making a tag album, you might ask?  for me it was all about the photos first. I start by grabbing a bunch of photos.  After I know I have enough photos, I sit with the kit and photos and work out what suits what and which matches and get the idea on how I want to go about it.  Then the fun part really starts - cutting up the pattern papers to make the tags!

2018-05-12 16.21.47

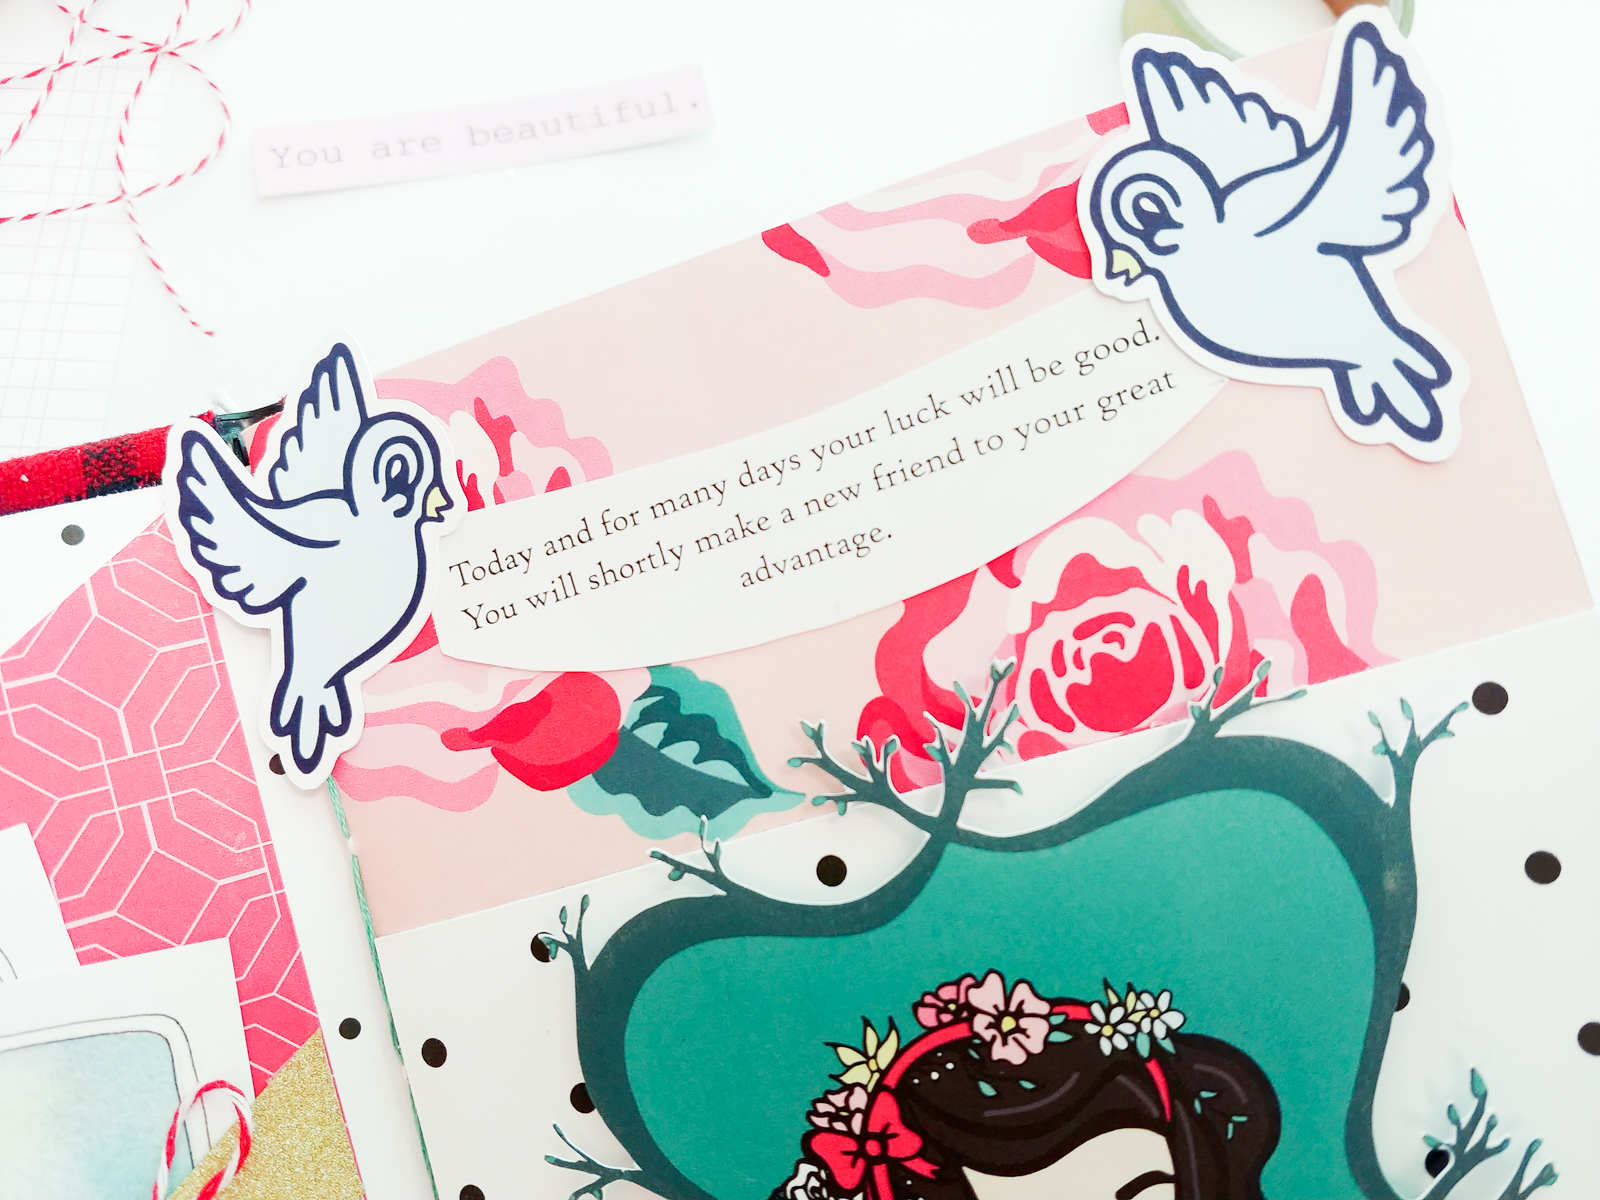
I work section by section or tag by tag.  I like to have everything laid out in front of me on my desk - all the ephemera, die-cuts, stickers and flair.   I really do make quite the mess, but having everything laid out helps to see what I have, making it easier to move things around until I'm happy with the result.  The "Hello Beautiful!" kit all works together so beautifully, I loved working with it to make this album.

2018-05-12 15.59.48

This mini tag album came together so well and the kit is absolutely beautiful, which made working with it super easy. 

Single-Photograph Layout with Aimee

Hi there, it’s Aimee and today I am sharing how you can make a boy-friendly layout with the “Hello Beautiful!” kit.


Even though The Fairytale Club tends to be pretty girly, I was able to create a semi-masculine layout and document a recent trip.  I used a photo of my husband that I recently took on our trip to Charleston SC.  Using a piece of 8.5x11 white card stock {my got to}, I matted my photo on top of the teal geometric patterned. I cut it down from one of the 12x12 sheets in the kit.

Once I figured out where I wanted my photo and matting to go, I ran my cardstock through my printer and printed my journaling straight on to my white cardstock.

The back ground of the photo kinda had a forestry feel, so I layered the woodland creatures with different thicknesses of adhesive foam over my photo and matting.

I absolutely love using the strips at the bottom of the 12x12 papers. Here I layered one under my photo and on top of my matting.  I then stapled with my mini stapler 3 corners of my photo and matting. I then was able to slip one of the blue bird stickers under the top left corner of my photo.

Now for the title. I used some foam adhesive on the die cut words “Hello” + “Beautiful”. The two words just fit on my 8.5” wide cardstock.

I love how I was able to create a masculine layout out of this kit.  Have you tried making a boy friendly layout with any of The Fairytale Club kits?

Dianna's Monthly Planner Spread and Tag Place Holder

Hello beauties! It’s Dianna, and I’m back this week to show you how I used the “Hello Beautiful” kit to decorate my monthly spread. I also made a tag page marker!! Here we go: 

For the left side of my monthly spread I started by filling the empty spaces with some yummy layers of paper from the kit!  At the top I used a piece of the Fairytales paper and two die cuts (the pink flower and the word die cut "Spring"). At the bottom I used some of the vellum and layered it with aqua and a “You are beautiful die cut”. The vellum is a new addition to the kit this month! It’s gold foiled and gorgeous! Under that I glued some frilly laces and then added some washi above and a couple of stickers where I had important dates. 

On the right side of the monthly calendar I used those flower die cuts. They are my all time favorite!  Under them I layered more of the Fairytales paper (both sides! It has a wonderful handwritten look text). Some more trims below, washi and a bow die cut I used as a sticker to mark a date! Here’s a look at the full spread: 

I also created a tag page marker! 

This tag is super cute! Used my favorite Fairytales paper again! I just measured it to be a little smaller than my actual pages. Layered on some of the black polka dot and the back of the aqua paper. This flower I cut from the “Enchanted Forest” paper and of course added some more lace! Above the layers I added the word die cuts and that cute birdie(another fave!)  I punched a hole in the top after adding a heart punched from one of the papers and strung some pretty trims through! These look lovely coming out the top of my planner!!! 

Here are a few detailed shots: 

Happy Friday! Hope you all have a beautiful weekend!! 

Xoxo,
Dianna
 

"Hello Beautiful" Pocket Page, with Kellie!

Hi there everyone, Kellie here from Australia!  I'm so excited to share my first project and creation with the stunning "Hello Beautiful!" kit and my very first post as part of the new team, YAY!

2018-05-13 15.15.36

When the "Hello Beuatiful!" kit arrived in my crafty, eager hands I couldn't wait to get to work.  What I did notice was on the 12x12 pattern papers the strip along the bottom has the name of the paper as well as a little pattern.  I knew INSTANTLY I wanted to cut them all up and use them in my pocket page notebook.


2018-05-13 15.08.53

I don't know about you but I have a whole drawer almost full of photos.  Some are old and from my own childhood, some I printed myself at home and never used or doubled up, and some are from when I used to use my instax camera all the time.  One thing I'm TRYING really hard to do is to grab a photo from the drawer instead of printing new ones all the time.  This photo of my little "Bowbie" [nickname], has always been a favourite of mine and I knew it would suit the papers from the kit perfectly.

2018-05-13 15.08.49

On the opposite side I wanted to keep it rather simple to not take away from the photo and the pattern papers.  This is where the die-cut words and ephemera comes into play, and, can I just add, they are absolutely amazing quality.  I added, took away, added and took away.  Then this was the final result.

2018-05-12 16.26.26

I hope that you've enjoyed my first creation using and showcasing the "Hello Beautiful!" kit.

"The Wonderful World of Disney" Event Kit Sneak Peek!

Hello there everyone, it’s Andrea here today and I want to share with you something really special — the sneak peek for our special event collection, “The Wonderful World of Disney”!

It is the collection/kit that will be given to the guests at our special papercrafting event at Disneyland on June 3rd! I’m so excited! Have you gotten your ticket yet?! If you haven’t, there are still a handful of spots left open! But get them while you can! “The Wonderful World of Disney” kit comes as part of the event and was created specially for our event..so all who come are definitely going to get it (plus a few other awesome goodies just for them). However, there will be a limited quantity of the kit available after the event for whoever can’t attend and would like to purchase it. Just make sure to get yours fast once they go on sale on June 3rd!  Or, if you are a subscriber, you will have the opportunity to reserve your special event “The Wonderful World of Disney” kit and have it sent as an “add-on” to your regular kit subscription...yay!!! This collection/kit is so beautiful and vintage and inspired by Walt Disney’s show “The Wonderful World of Disney,” which he created in order to build hype for the opening of the new Disneyland park back in 1955. This kit has that same nostalgic feel as the show and includes lots of references to vintage rides in the park like “Small World” and “Dumbo” and also that famous group, “The Mousketeers”! I just love this collection! It takes you back to a special time in Disney history — which is just what we will be doing in real life at our event on June 3rd ...taking you back in time for a fabulous vintage Disney experience! And with all the special things and surprises we have in store for our upcoming event at the park, including this beautiful kit (wait til you see the rest!), it really is “The Wonderful World of Disney” over here at The Fairytale Club headquarters! Can’t wait to show you more! And I hope to see you at Disneyland!!! See ya real soon everyone! Xoxo — Andrea

Lilly's Tag Flip Book

Hey guys!! This is Lilly coming to you with my very 1st design team project!! Yay!!! "Hello Beautiful!" has def made me step out of my comfort zone. I don’t normally use reds and blues in my creations... But you guys, I love how it turned out, and I hope you guys do, too.  I decided to create a tag flip book since those are always so much fun to make.

So for the first tag I used the white and black polka dot paper and inked the edges with pink because I love doing that to a bunch of my projects. I added a mint green doily in the center to give it a pop of color, then placed the the die cut words “hello beautiful“ on top and also added some ephemera pieces. I took 2 butterflies and sewed them together for some dimension. I almost forgot! I also sewed a zigzag line all around the tag - I just liked how it looked. To finish the tag off I added some enamel dots and bright yellow pom pom trim..

Next tag I decided to go with a sewn tulle shaker because it’s quite popular in the crafting community, so why not.  I used the pink with red roses card stock because I love it so much and it stands out. Finished it off with a cute bow and a Pom Pom in the middle and the die cut word "fairytale."

Tag #3 is a pocket I created with the gold foiled vellum sheet and added two ephemera pieces to decorate it .. I also added some gold sequins to the middle of the rose. Doesn’t it look so cute??

Tag #4 I used the lovely deer paper.  I also inked the edges like all the other tags and decided to give a pop of color using royal blue crepe paper, some rhinestones, and a bow ephemera piece. Then I added a mini doily and placed the big deer on top. Finished it off with enamel dots and the word "beautiful."

The last tag is pretty simple but I still love it so much!  It’s using the script card stock paper, with one of the card stock cut-aparts and a mini yellow doily sneaking behind.  Finishing touches are word cut aparts and some enamel hearts..

Well I hope you guys enjoyed my 1st project! Stay tuned for many more.. Happy Crafting you guys!

Adeline's "Enchanted Forest" Planner Set-Up

Hi my Fairy friends!  It’s Adeline today, so happy and proud to be part of the 2018 Fairytale Club’s design team.

Last Friday I finally received my new Fairytale Club kit called “HELLO BEAUTIFUL! “
I say finally because I was very eager to receive it, in view of the sneak peek that Andrea had given us!!!!!

Hello beautiful cover.jpg

I made a new set up in my ice blue, perforated, KIKKI K. planner that I have loved since the beginning of my planner addiction!!!!!!  It's a planner that I took some time to find a use for but sometimes you just have to be patient!!! LOL! When I discovered the "Hello Beautiful!" kit, it was obvious: it was going to embellish this planner!!!!!

I made a dashboard (cover page) with a small shaker (I love glitter & sequins!!!!).
My set up is so pretty, girly, and colorful with this awesome kit - I have a huge crush for it!!!!

I make my shakers without any specific method or device (in scrapping I always manage to be inventive without too much material!! lol). I simply used the transparent paper packaging that we often have from scrapbooking products.  I put a project life card in the background that hid the sticky part of the paper, and then I added my glitter and sequins ... And now you know my secret!

Hello beautiful 7.jpg

I love decorating the interior cover of the planner, and I love when there is a ton of embellishments.  Some may prefer a more refined style, but I think this ultra loaded side is my trademark.  I like the superposition of embellishments, the addition of pretty paper clips, rhinestones, etc.

Hello beautiful 5.jpg

If you want to see the kit in more detail, I made an unboxing video of “Hello Beautiful !” on my channel:

I hope you enjoyed my post, and I'll see you again soon  ;)
Kiss from France,
Adeline

Michelle's Portland Traveler's Notebook

Hi, everyone! This is Michelle from the design team, here to share with you my first project! When I first saw the “Hello Beautiful!” kit and read Andrea’s blog post on how the kit came together, it felt nothing short of magical. I found out that I was chosen for the design team the night before my husband and I left on vacation to Portland, and the timing was just perfect. There are so many aspects of this kit that followed themes of the trip, so I decided to use it to make a memory keeping traveler’s notebook for the trip!

The cover was the aspect of this project that I was most nervous about. I was meandering down jam-packed aisles of a vintage store in Portland among old graphic tees and mismatched pots and pans when I came across this beauty, a Pendleton wool notebook cover. As soon as I saw it, I just knew I could transform this old server’s book into the perfect traveler’s notebook!

In Andrea’s blog post revealing this collection, she wrote, “when you look at the collection as a whole, you can see that there is a lot of imagery that is very reminiscent of an enchanted forest... filled with adorable creatures and potential friends”. I was reading this blog post on the morning of our first full day in Portland and that description of the collection really struck me. Here I was, sitting in a beautiful, lush landscape and around every corner held the possibility of meeting new people willing to share their stories and their city with us. I wanted to capture the enchantment of these possibilities and the forest all around me and put it straight into my traveler’s notebook. 

For the inside cover, I decided to take bits and pieces from my adventures and make a pretty decorative page. I started with 2 postcards that I had picked up on my adventures, and a Starbucks gift card, which added the perfect touch! Next, I added the 2 lapel pins that I picked up at the International Rose Test Garden, where they grow various rose hybrids from all over the world! And I topped it all off with an adorable bow from the embellishment pack of the “Hello Beautiful!” kit!

The opposite page is a dashboard I made to go around the insert in the traveler’s notebook. I wanted to make a cover that really introduced the magic that lay behind it, and what is more magical than gold glitter and “beautiful fairytale life”?

Because this notebook was not originally intended to be a traveler’s notebook, it did not come with any pockets, so I added a pocket page to the back of the dashboard cover. I needed a place to store bits and pieces I picked up during my explorations. And I don’t know about you, but as a paper crafter, I hold on to everything; receipts, free postcards, paper bags, everything!

For the smaller pocket, I used a scrap piece of floral vellum that went just perfectly with this collection. This particular piece of vellum had logos on it and writing that did not go with the look, so that is where these adorable embellishments come in! I am all for adding something to a page that is both functional and adds to the cute factor, and this “Hello Beautiful!” tag does exactly that!

0512181802-01.jpg

The opposite page is the cover of the TN insert I made for this project. When I was first looking at the reveal of this collection, I knew that I wanted to use the “Enchanted Forest” pattern to make the insert. The roses are so dimensional and beautiful, and after all, Portland is the City of Roses!  I kept this cover pretty simple with the black and white polka dot page, and Snow White fussy cut from another page of the collection. And I then topped off the page with a Chinese fortune, given to me at the Lan Su Chinese Gardens in Portland, carried by two sweet die cut birdies!

Seeing this traveler’s notebook come together with the “Hello Beautiful!” kit was purely magical, and I cannot wait to begin using this new traveler’s notebook to fill with all the magical memories from my trip to an enchanting place. Thank you so much for following along on my crafty adventure! Until next time, 

Michelle

A Whimsical Flipbook! with Solange :-)

Hey crafty friends! It’s Solange here with my first ever Design Team Project for The Fairytale Club -- a whimsical flipbook using the new "Hello Beautiful!" collection, that will make your fairytale dreams come to life! 

image1 (1).jpeg

For the cover of this flipbook I decided to use all of my favorite pieces together to tell the story of Snow White! The main focus was obviously the princess herself but I also wanted the cover to speak for itself! I used Snow White as the main focus and surrounded her by the beautiful florals that I fussy cut from the 12x12 paper.

5.jpg

I then added the beautiful tag from the ephemera pack and to make it more magical I added the whimsical animals that brought it all together. I especially love the bunny peeking through, he is just darling. I also added the apple because what’s Snow White without the apple, right? To top it off I added lots of foam tape to make everything pop and to give the illusion of dimension.

image5.jpeg

For the inside of the flipbook I used some of the cut aparts and more florals, you can never have enough florals, am I right ladies? 

image2.jpeg

To add some texture and fun I decided to add some confetti and put it in a glassine bag which toned down the colors to make it even more magical. 

3.jpg

I had so much fun creating this flipbook and using this amazing collection! Thanks for joining me today! Hope this inspires you to make your own whimsical flipbook! See you later! -- Solange