Hello Everybody. Carrie here with an insert for my October Daily album using the I’m In Wonderland Kit along with some Halloween treat bags from Target.
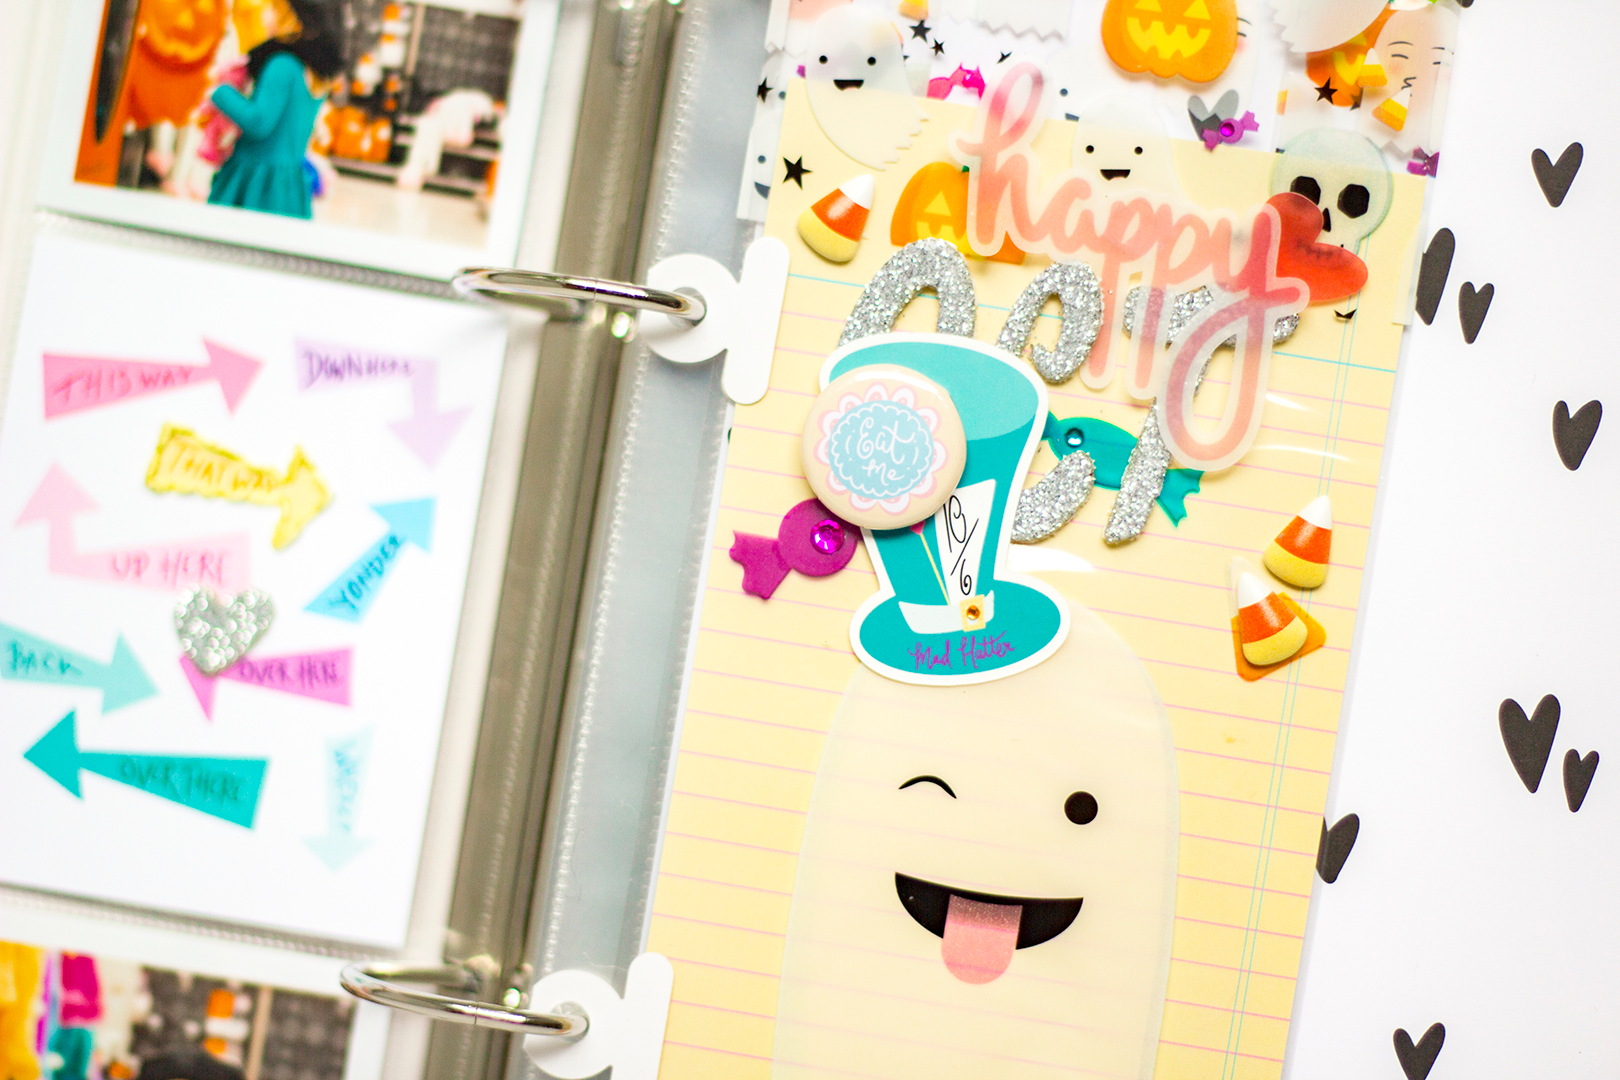
I have a few different treat style bags and always enjoy when I’m able to add them into my scrapbooks. When I saw these Halloween treat bags at Target this year I was hoping I’d find a way to add them into my October Daily. It just so happens that the small planner pages will fit inside the bag if you trim the width ever so slightly. So I picked out the small planner page with the yellow notebook paper design and placed it inside my bag. This is where I’ll add some journaling to go with the adjoining photos. I”ll probably also add a photo to cover the whole back as well.

Next, I knew I wanted to use the silver glitter aphas from the kit, so I added “OCT” directly onto the front of the bag. I also found the vellum “happy” and vellum red heart from the ephemera packs and layered them using glue dots with the glitter alphas.

To embellish the little ghost on the front of my bag, I tried a few different die cuts from the ephemera pack (which all looked super cute), and ultimately decided on the Mad Hatter hat. For a little extra embellishment I layered the “Eat Me” flair towards the top of the die cut. I used glue dots again to attach both to the bag. To finish off the bag I placed some different colored rhinestones and puffy candy corn stickers from my stash.

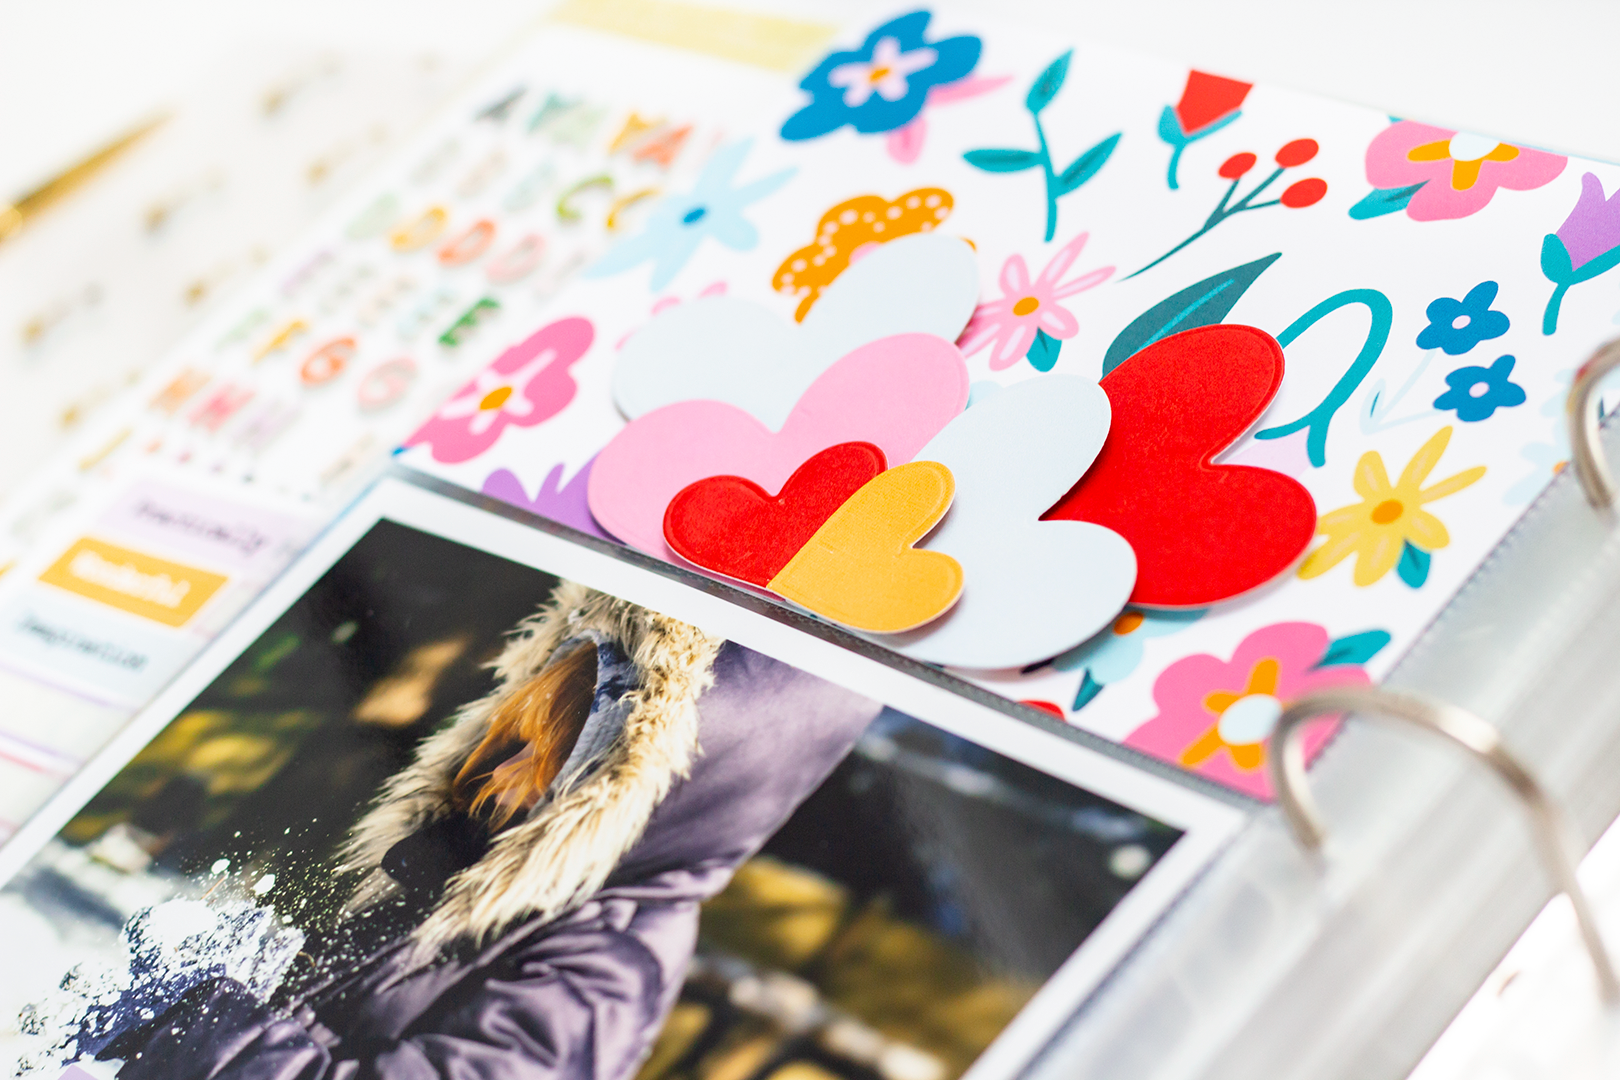
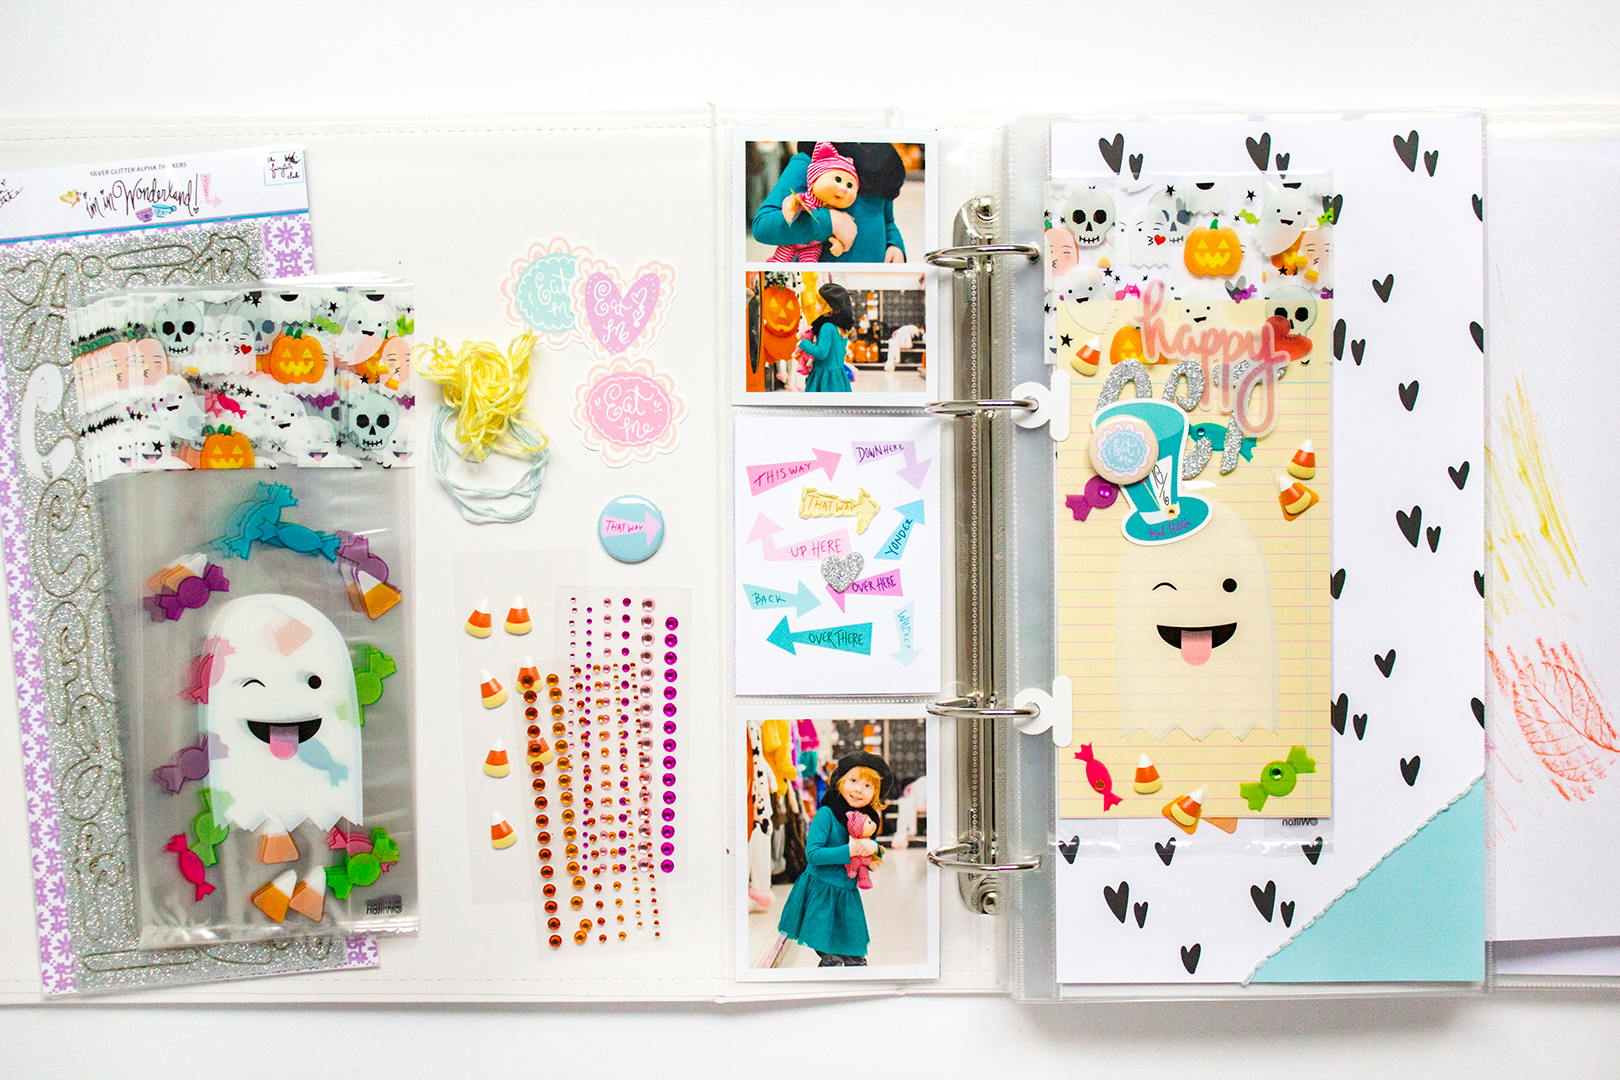
On the opposite page I placed a 3x4 card from one of the cut apart sheets and added a sliver glitter heart from the alphas to the center. Next, I used yellow embroidery thread and sewed around the yellow arrow on the card. The photos on this page are from last year, and just serving as place holders until I add photos from this October. Adding in this 3x4 card now should help me tie in and use the bag insert later.

For the same reason I also added the black and white heart with blue color block paper from the kit and cut it down to 6x12. Adding it in behind the bag helps tie it all together too. I may end up doing a layout on this paper or just adding a number for the day. To coordinate with the embroidery thread on the opposite page I also added in some blue thread along the line where the blue meets the white and black hearts…..and that’s it for this project for now.
Thanks for taking a look and I’ll see you next time : ) Carrie