Kellie's "December Dreams" Manufacturer's Strips Card

Kellie here with you to share a card I made with the strips along the bottom of each 12x12 patterned paper that comes with the December Dreams kit.  I did this last month with the Magical and Mischievous kit.  I'm planning to try and build a little card collection ready at hand when I need.  Best of all they are SUPER easy to make.

TFC_CARD_4

Always make sure to cut off those strips at the bottom - don't go throwing them away thinking you won't use them, because OH boy you will once you start!

TFC_CARD_1
Here is how I created this Christmas card. First of all I started with a base of white cardstock. Then I worked my way through the strips of off-cuts, as I mentioned, from the bottom of the 12x12 papers included with the December Dreams kit. Once laying them out and moving them around, and I was happy with the layout, I got out the ephemera packet that comes with every kit. 

TFC_CARD_2

Ephemera are my favourite thing to use and always the first thing I look through when my kit arrives.

TFC_CARD_3

Add on a flair from the kit and BAM you have yourself an easy, beautiful card!  See what I mean?  Super easy.  Give it a try!

-Kellie

The Fairytale Club presents... "Fairytale Christmas Workshop" with Andrea and Carolee

THE FAIRYTALE CLUB PRESENTS…

“FAIRYTALE CHRISTMAS WORKSHOP” WITH ANDREA AND CAROLEE


Hello there everyone! Today I want to share with you an exciting announcement! Are you ready?! Ok...I have a new class coming out for Christmas-time! And that is not all! In fact, it is a special Fairytale Christmas Workshop with not just one, but two classes, with a couple super fun and creative projects and lots of cool new tips, tricks, and techniques, taught by myself AND my dear friend, Carolee Flatley (Design Team Leader for The Fairytale Club and owner of One Crafty Potato)! Yaaaaaay! I'm so excited!

The workshop will take place in person, on Friday, December 21st, in Diamond Bar, California. There are two classes and 6 and a half hours of crafty/scrappy/planny/paper-loving fun, and there will be lots of beautiful and magical Christmas decorations, one of our amazing Fairytale Photo-booth set-ups, an awesome professional photographer who will be taking lots of cool pics of all attendees during the event (while you craft, at the photo booth, etc) which you will get and be able to print from an online gallery, yummy food and drinks, lots of cool prizes (everyone gets at least one), and, of course, an amazingly beautiful and super special kit that is made just for the event (sneak peek of the kit to be revealed later this week, but here is a clue...it's Christmas and it's Disney)!!! And pre-order for our super special Fairytale Christmas Workshop starts today, so that those of you who sign up now, for a limited time, can get the great early-bird special sale deal of 25% off!!!

So here is a run-down of all the details (including price, place, time, etc):

WHEN: Friday, December 21, 2018 - 2:30 pm - 9 pm

WHERE: 2029 Shaded Wood Rd., Walnut, CA 91789

EARLY BIRD SPECIAL PRICE: $75 (Price returns to normal $100 after this pre-order special)

Here's what we've got planned for everyone in attendance:

  • Two classes and 6 and a half hours of crafty/scrappy/planny/paper-loving fun

  • A crafty party with lots of beautiful and magical Christmas decorations

  • One of our amazing Fairytale Photo-booth set-ups and an awesome professional photographer who will be taking lots of cool pics of all attendees during the event (while you craft, at the photo booth, etc) which you will get and be able to print from an online gallery

  • Yummy food and drinks

  • Prizes!... such as adorable "fairytale ears" (decorative floral Minnie ears), scrapbook goodies, planner goodies and other cool Disney themed items. Everyone gets at least one prize...some people go home with several!

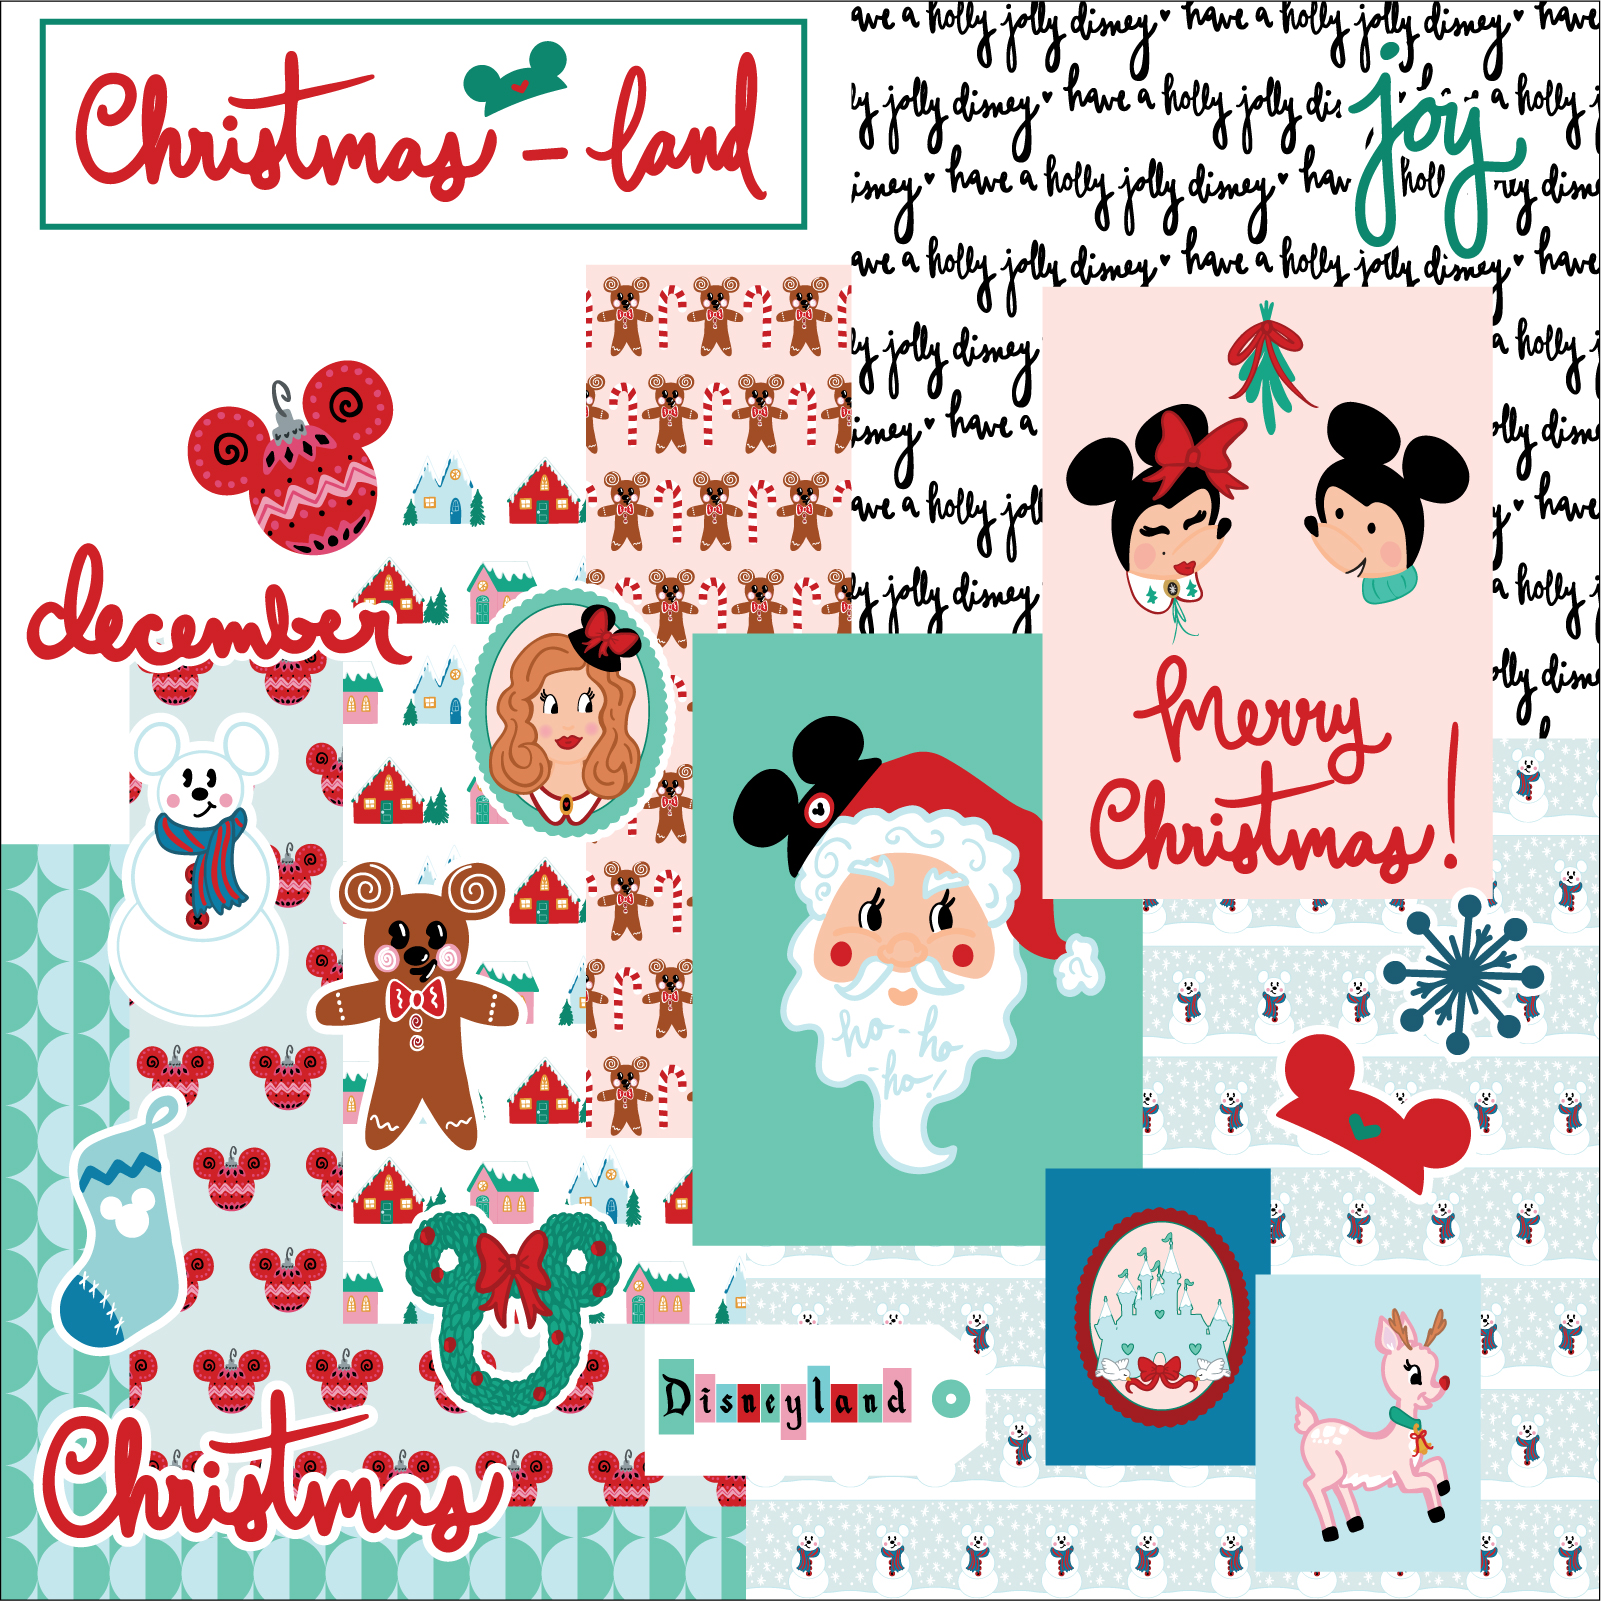
  • An amazingly beautiful and super special kit that is made just for the event (sneak peek below)!!!

Sign up now, don't delay! There are limited spots available! Celebrate the Holidays with The Fairytale Club Crew -- me and Carolee...and my hubby and partner in crime, Ryan, too -- as we create a special Christmas Crafting day just for you! It will be a Winter Wonderland of creativity filled with lots of magic, imagination, and fairytale fun!!! I'm so excited!!! I can't wait to see you there!!! Happy Holidays everyone!!!

01-December Planner 2017.jpg

Below are some pictures of a mini-album similar to the one we’ll be working on in this class, featuring some of the techniques you’ll be learning. A different Disney collection, exclusive to The Fairytale Club, will be used.

48-December Planner 2017.jpg

If this sounds fun to you, get your ticket now, on sale for a limited time!  There is limited availability, so if you want to make sure you have a spot, act now! Hope to see you at our event for a truly magical time!!!

--Andrea Bethke, Founder/Owner of The Fairytale Club

Xoxoxo!


Aimee's "December Dreams" Layout

Hi there, Aimee here! Hope you are having a wonderful Monday, lol. Today I’m sharing a layout using “December Dreams.”

12-3-18.jpg

While I was out of town for the Thanksgiving holiday, my husband and I drove around and found some fun places to take photos. We came across this half-decorated tree, and I was all, “husband STOP this is a perfect photo opp!”

So, with fashionable style we took photos with a half decorated tree with a tub full of ornaments behind us. I highly recommend learning how to use the timer on your camera and have a tripod handy. I took some pretty awesome photos this way.

Keeping it simple as always I used my go to 8.5 x 11 white cardstock for my base. I cut a piece of “Oh Christmas Tree” just smaller than my cardstock. I layered my photo on one of the A5 dashboards, and cut it down to mat my photo.

3.jpg

I used 3-d foam to pop my matted photo of the page. I fussed around with some die cuts and settled with the 3 snowflakes, the Nutcracker, Sugar Plum Fairy and of course the Christmas Tree.

I also used the printed strip at the bottom of the 12x12 sheet of “Oh Christmas Tree” to create the ribbon flag, and layered it with the “joy” flair.

Of course, I stamped my layout with the date the photo was taken {Date roller stamp from Heidi Swapp}.

2.jpg

And to take my layout to the next level I add sparkles to my die cuts. I dug into my old supplies and pulled my box of Stickles, I haven’t used these in ages. I love this extra sparkly touch!

I love this silly photo of my husband and I. Do you every stop at random places to take photos? Thanks for stopping by the blog today!

XOXO Aimee

Michelle's "December Dreams" Christmas Cards

Hey there, crafty friends and welcome to the most wonderful time of the year! I’m back with another craft, this time using the December Dreams kit from The Fairytale Club. I love the recent trend of using pastel colors for all things Christmas, and so this kit was just perfect for all my crafting needs! First up, I need to knock out Christmas cards.

1202181004-01-01.jpeg

I think sending cards at the holidays is such a fun way for me to be crafty, and also send someone a little mail to remind them that I’m thinking of them. The first item that caught my eye was the sparkly silver snowflake ornament, of course! Then as I dug into my kit more, I came across the die cuts where I found the tree cup, cupcake, and the sugar plum fairy! I used foam squares to add height and dimension to it, and the first one was finished.

For the next card, I knew that I wanted to use a lot of red. The pink and red polka dot paper made the perfect base! From there, I mounted the red bow paper on to a piece of craft paper, and used red tinsel around that! I love how sparkly the tinsel is. It also reminds me of vintage christmas decorations, which matched perfectly with the Nutcracker die cut piece! Finally, I finished it off with a tag.

1202181007a-01-01-edit.jpeg

Lastly, I knew that with all the sweets and candies in this kit, I just had to do one with that theme! The blue paper with candy designs was just perfect! This card was a bit easier since the pattern on the paper was so cute! Next I fussy cut the candy cane out of one of the pages and added a bit of shimmer with iridescent embossing powder! Then I finished it up with the gingerbread house and a couple die cuts, and there you have a sweet Christmas card!

I love this kit from The Fairytale Club so much, and I can’t wait to work with it some more! Hope you all have a happy and crafty holiday season!

-Michelle

Solange's "December Dreams" Happy Mail Tag Flips

Hello crafty friends! Today I am showing you guys a happy mail project using the “December Dreams Kit”.

Tag flips are one of my favorite ways to send happy mail because it’s easy, fun and super cute! All you’ll need to make your own is a metal ring and your “December Dreams” kit, that’s it !

If you do not have any metal rings on hand you can just tie the tags with some pretty trim which will work just as well.

To make this tag flip I used the dashboards that come in the kit and fussy cut some of my favorite images such as the ballerina, the house and the pretty blue Christmas tree. For the pieces that I fussy cut, I simply punched a whole and added it to my tag flip, simple and super cute.

image3.jpg

Then I added some extra pieces that I cut into tag shapes and decorated them up using the beautiful ephemera pieces.

image4.jpg

Super easy and cute project, can’t wait to see what you guys will make with your kit. Until next time, Solange.

Carrie's "December Dreams" Push Pop Gifts

Hello everybody! Carrie here, and today I'm sharing some adorable push pops decorated with the amazing December Dreams kit.

They are filled with goodies like bath bombs and candy, and I'm giving them as some fun and festive Christmas presents this year : )

To start decorating these push pops was difficult for me because I'm so in love with this kit that I wanted to use everything LOL! Eventually I did decide, though, on three of the planner inserts for the paper that wraps around the base. One paper is covered in whimsical Christmas trees, another lots of adorable gingerbread men, and the third is a section of a large, handsome deer. Before using red line tape to attach these papers to the base of my push pops, I cut each paper down to 3 inches tall by 6 inches wide. Then I used a 1 inch circle punch on the matching paper designs and added circles to the top of each push pop lid using a glue dot. At this point I stopped with the deer because it looked too perfect already, but I thought the other two could still use a little extra something.

For the gingerbread men themed push pop I decided to also add some homemade aqua and pink crepe paper fringe. I created the fringe by layering 4 strips of crepe paper together, sewing down the middle with my sewing machine, and using my scissors for the fringe cuts. I find it's super easy to attach the fringe to my push pop with hot glue.

For both the Christmas tree and gingerbread pops I also decided to make rosettes for the front. I chose the paper with the blue snowflakes on one side and red and white wave on the other for this. To assemble the rosettes I cut a strip of the paper down to 1 inch wide and kept it 12 inches tall. Then I used my bone folder to score every 1/4 inch. Once the whole strip was done, I folded on every score line using a mountain and valley fold. Next I placed a strip of red line tape on the end of the paper strip and attached it end to end creating a circle. Then I punched out a 1/2 inch circle to use on the backside of my rosette. As the final step i pushed the center of the paper strip circle down creating the rosette, and attached the punched circle to the middle using hot glue.

Now that my rosettes are done I added them to the front of my pops with hot glue. I chose the snowflake side for the Christmas tree pop, and and red and white side for the gingerbread pop. To give them a more finished look I decided to cover up the hole in the center of each rosette (it's the center of the back of the rosette that is covered at this point), and so I punched another 1 inch circle out of the base paper for each and attached it again using hot glue. Lastly, I added the gingerbread flair to the gingerbread pop using red line tape, and the crystal looking snowflake from the variety pack to the Christmas tree pop with hot glue. And that's it! Three down, maybe 10? to go lol!!

Thanks for taking a look at my project, and I'll see you next time! Carrie

Laura's 6x8 December Dreams Layout for December Daily

Hi Everyone, it's Laura here to share a 6x8 layout I made using the December Dreams collection for my December Daily this year. One of my favorite things to incorporate is stories from past Christmases, mixed in with stories from the current year. I love having a flash from the past included in my album.

01-Laura-2018-11-27.jpg

I always start my album on Thanksgiving day, and I've found that week before December 1st to be the perfect time to tell some of these stories. This year I was inspired by the cute gingerbread die cuts in the kit to tell a story about a tradition from when I was a kid of making gingerbread houses with my mom.

02-Laura-2018-11-27.jpg

I worked with a digital version of this kit, so I played around with printing on different types of paper. For my background I printed out the snowflake personal planner page onto vellum, and the die cut gingerbread house was printed onto iridescent paper to add a bit of sparkle.

I also used past kit components to pull the page together. I used a die cut frame and a title from the Hello Beautiful Kit. I love that this collection plays together so well with December Dreams.

Thanks for looking and I hope you're having an enjoyable holiday season!