Michelle's "December Dreams" Christmas Cards

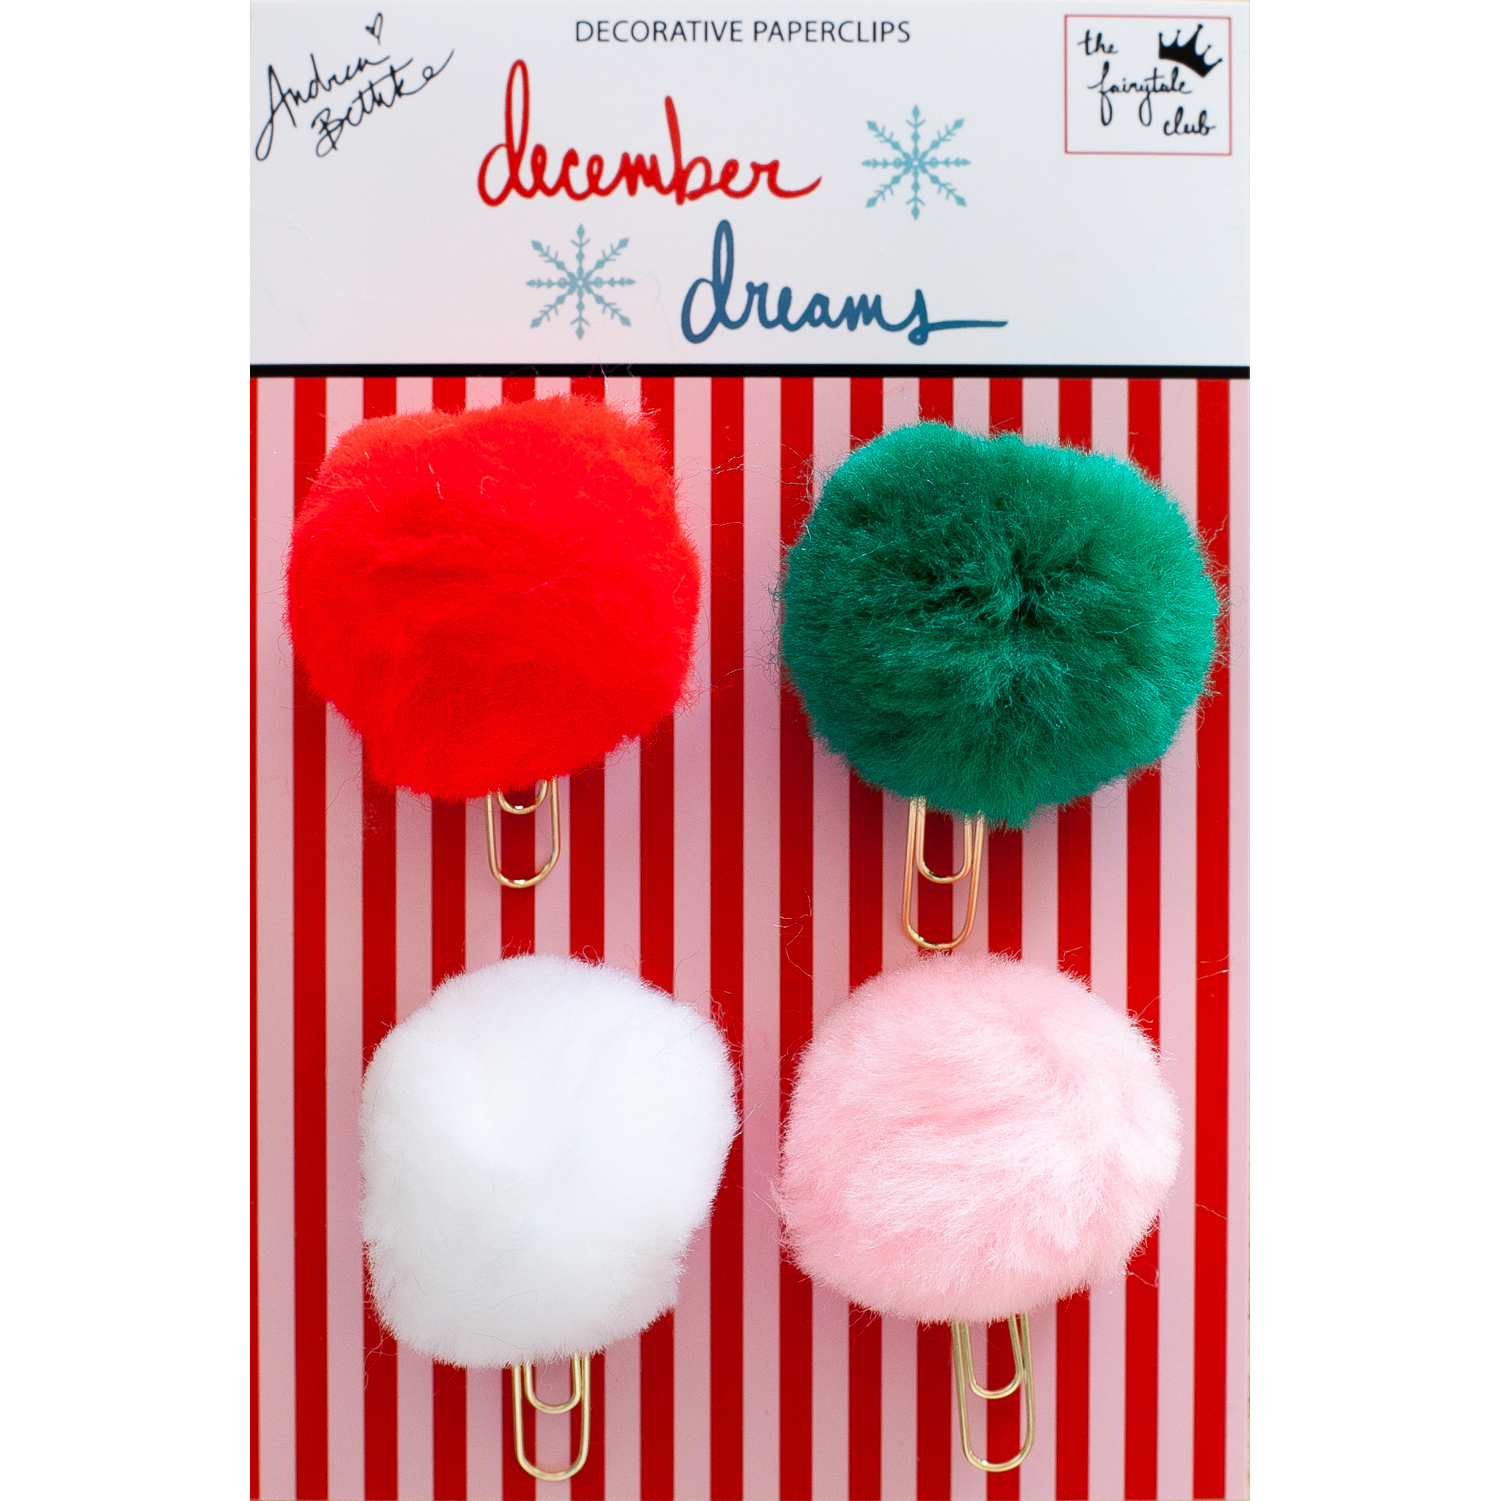
Hey there, crafty friends and welcome to the most wonderful time of the year! I’m back with another craft, this time using the December Dreams kit from The Fairytale Club. I love the recent trend of using pastel colors for all things Christmas, and so this kit was just perfect for all my crafting needs! First up, I need to knock out Christmas cards.

1202181004-01-01.jpeg

I think sending cards at the holidays is such a fun way for me to be crafty, and also send someone a little mail to remind them that I’m thinking of them. The first item that caught my eye was the sparkly silver snowflake ornament, of course! Then as I dug into my kit more, I came across the die cuts where I found the tree cup, cupcake, and the sugar plum fairy! I used foam squares to add height and dimension to it, and the first one was finished.

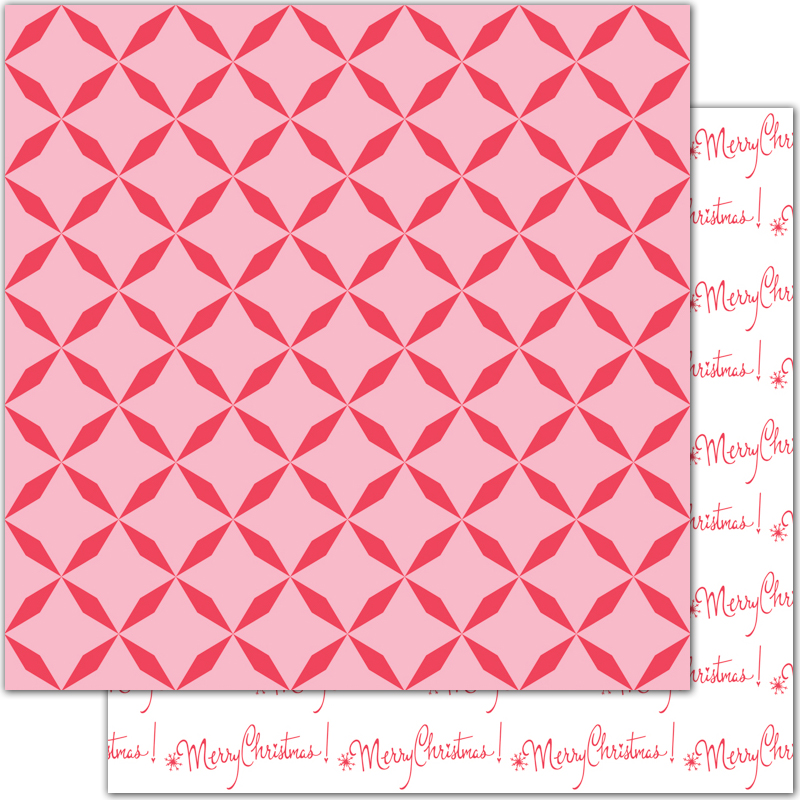
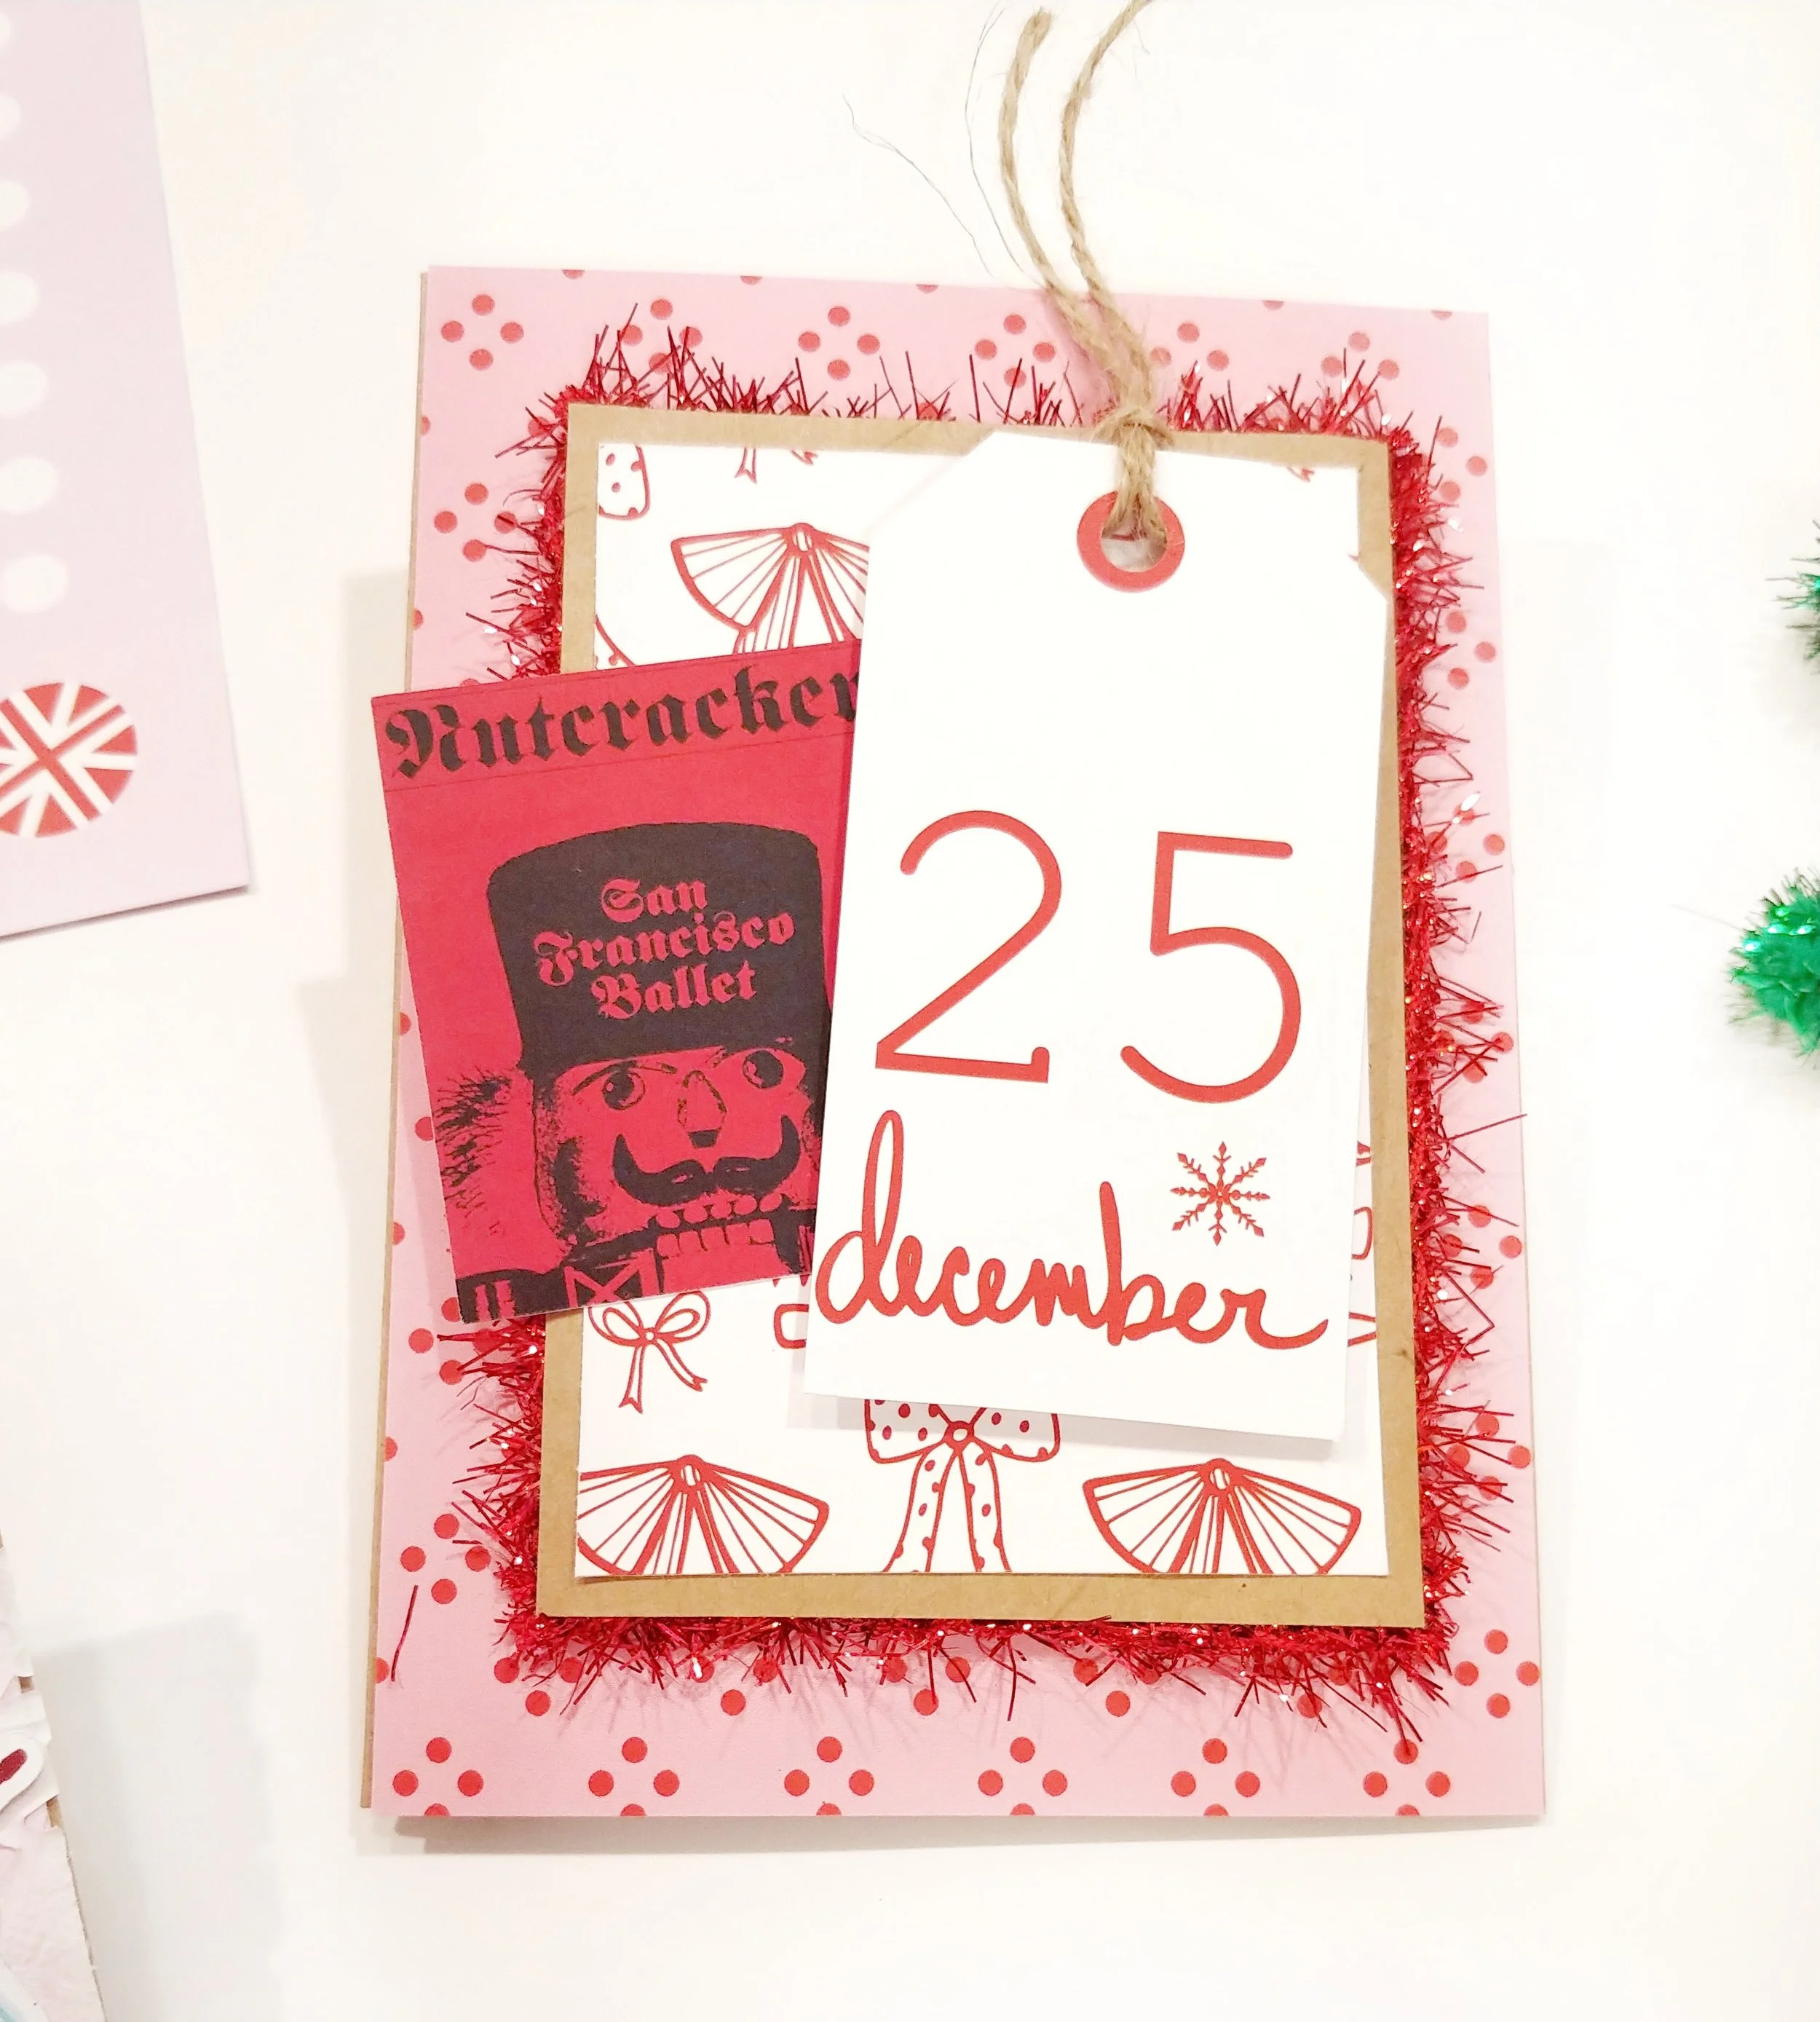
For the next card, I knew that I wanted to use a lot of red. The pink and red polka dot paper made the perfect base! From there, I mounted the red bow paper on to a piece of craft paper, and used red tinsel around that! I love how sparkly the tinsel is. It also reminds me of vintage christmas decorations, which matched perfectly with the Nutcracker die cut piece! Finally, I finished it off with a tag.

1202181007a-01-01-edit.jpeg

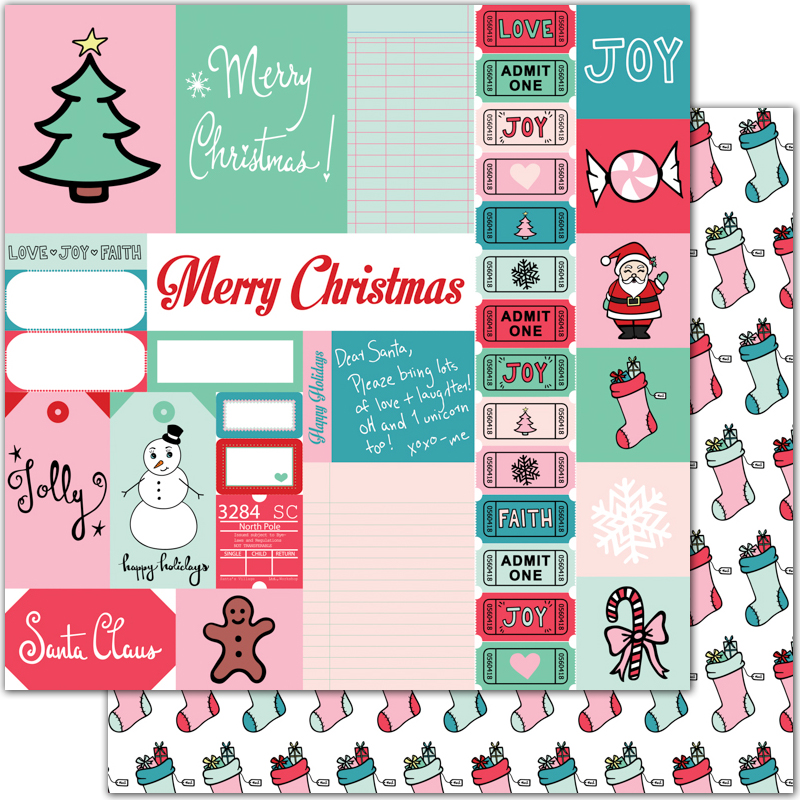
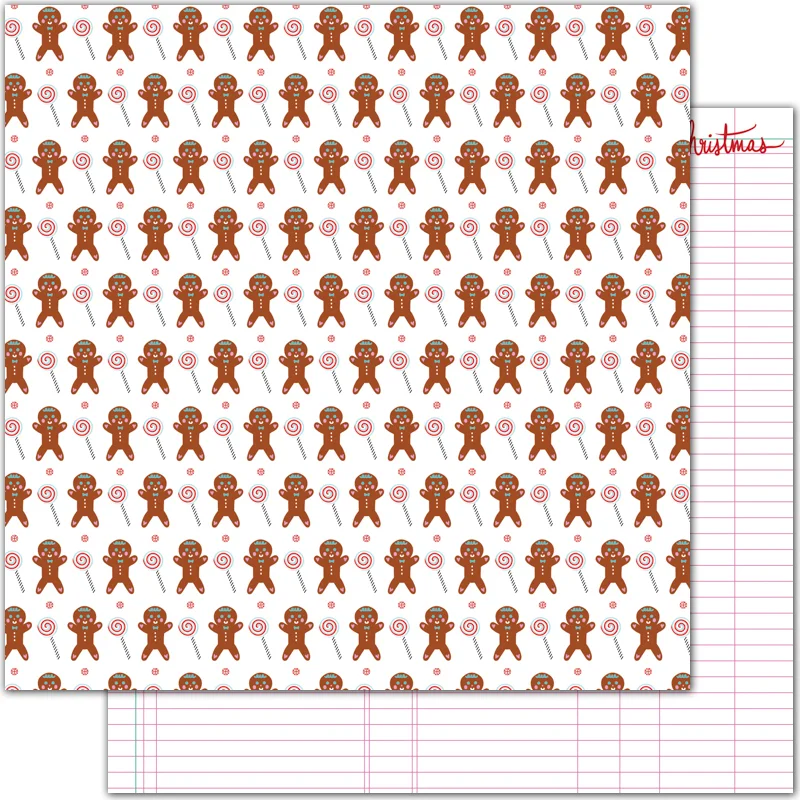
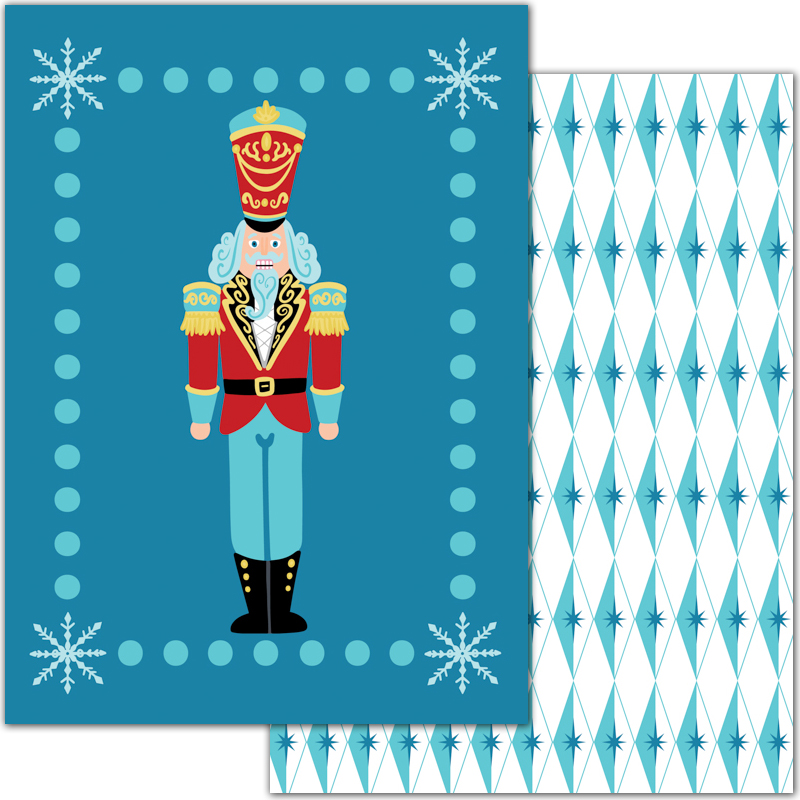
Lastly, I knew that with all the sweets and candies in this kit, I just had to do one with that theme! The blue paper with candy designs was just perfect! This card was a bit easier since the pattern on the paper was so cute! Next I fussy cut the candy cane out of one of the pages and added a bit of shimmer with iridescent embossing powder! Then I finished it up with the gingerbread house and a couple die cuts, and there you have a sweet Christmas card!

I love this kit from The Fairytale Club so much, and I can’t wait to work with it some more! Hope you all have a happy and crafty holiday season!

-Michelle

Solange's "December Dreams" Happy Mail Tag Flips

Hello crafty friends! Today I am showing you guys a happy mail project using the “December Dreams Kit”.

Tag flips are one of my favorite ways to send happy mail because it’s easy, fun and super cute! All you’ll need to make your own is a metal ring and your “December Dreams” kit, that’s it !

If you do not have any metal rings on hand you can just tie the tags with some pretty trim which will work just as well.

To make this tag flip I used the dashboards that come in the kit and fussy cut some of my favorite images such as the ballerina, the house and the pretty blue Christmas tree. For the pieces that I fussy cut, I simply punched a whole and added it to my tag flip, simple and super cute.

image3.jpg

Then I added some extra pieces that I cut into tag shapes and decorated them up using the beautiful ephemera pieces.

image4.jpg

Super easy and cute project, can’t wait to see what you guys will make with your kit. Until next time, Solange.

Carrie's "December Dreams" Push Pop Gifts

Hello everybody! Carrie here, and today I'm sharing some adorable push pops decorated with the amazing December Dreams kit.

They are filled with goodies like bath bombs and candy, and I'm giving them as some fun and festive Christmas presents this year : )

To start decorating these push pops was difficult for me because I'm so in love with this kit that I wanted to use everything LOL! Eventually I did decide, though, on three of the planner inserts for the paper that wraps around the base. One paper is covered in whimsical Christmas trees, another lots of adorable gingerbread men, and the third is a section of a large, handsome deer. Before using red line tape to attach these papers to the base of my push pops, I cut each paper down to 3 inches tall by 6 inches wide. Then I used a 1 inch circle punch on the matching paper designs and added circles to the top of each push pop lid using a glue dot. At this point I stopped with the deer because it looked too perfect already, but I thought the other two could still use a little extra something.

For the gingerbread men themed push pop I decided to also add some homemade aqua and pink crepe paper fringe. I created the fringe by layering 4 strips of crepe paper together, sewing down the middle with my sewing machine, and using my scissors for the fringe cuts. I find it's super easy to attach the fringe to my push pop with hot glue.

For both the Christmas tree and gingerbread pops I also decided to make rosettes for the front. I chose the paper with the blue snowflakes on one side and red and white wave on the other for this. To assemble the rosettes I cut a strip of the paper down to 1 inch wide and kept it 12 inches tall. Then I used my bone folder to score every 1/4 inch. Once the whole strip was done, I folded on every score line using a mountain and valley fold. Next I placed a strip of red line tape on the end of the paper strip and attached it end to end creating a circle. Then I punched out a 1/2 inch circle to use on the backside of my rosette. As the final step i pushed the center of the paper strip circle down creating the rosette, and attached the punched circle to the middle using hot glue.

Now that my rosettes are done I added them to the front of my pops with hot glue. I chose the snowflake side for the Christmas tree pop, and and red and white side for the gingerbread pop. To give them a more finished look I decided to cover up the hole in the center of each rosette (it's the center of the back of the rosette that is covered at this point), and so I punched another 1 inch circle out of the base paper for each and attached it again using hot glue. Lastly, I added the gingerbread flair to the gingerbread pop using red line tape, and the crystal looking snowflake from the variety pack to the Christmas tree pop with hot glue. And that's it! Three down, maybe 10? to go lol!!

Thanks for taking a look at my project, and I'll see you next time! Carrie

Laura's 6x8 December Dreams Layout for December Daily

Hi Everyone, it's Laura here to share a 6x8 layout I made using the December Dreams collection for my December Daily this year. One of my favorite things to incorporate is stories from past Christmases, mixed in with stories from the current year. I love having a flash from the past included in my album.

01-Laura-2018-11-27.jpg

I always start my album on Thanksgiving day, and I've found that week before December 1st to be the perfect time to tell some of these stories. This year I was inspired by the cute gingerbread die cuts in the kit to tell a story about a tradition from when I was a kid of making gingerbread houses with my mom.

02-Laura-2018-11-27.jpg

I worked with a digital version of this kit, so I played around with printing on different types of paper. For my background I printed out the snowflake personal planner page onto vellum, and the die cut gingerbread house was printed onto iridescent paper to add a bit of sparkle.

I also used past kit components to pull the page together. I used a die cut frame and a title from the Hello Beautiful Kit. I love that this collection plays together so well with December Dreams.

Thanks for looking and I hope you're having an enjoyable holiday season!

Free Thanksgiving Printable!!!

Hello everyone! It's Andrea here, and since Thanksgiving is just around the corner, I thought I would create a fun freebie 6x8 printable for you to use in your planner, mini album, or to even frame and put out on your Thanksgiving table! I think it would make a beautiful centerpiece...with maybe some pumpkin pie beside it...yum! Alright, well enjoy your printable! And enjoy your Thanksgiving holiday-time with your family!

Just left-click the graphic, and then right-click and select "Save Image As..." to download it.  Hugs, and remember to live your life as a fairytale!!!  :)

-Andrea (Founder, The Fairytale Club)

Andrea's "December Dreams" Holiday Planner Set-up

Hello there everyone! It’s Andrea here, and today I want to share with you a fun planner set-up using the new "December Dreams" collection/kit!

I absolutely love setting up my planner for the holidays and since I start my holiday season in November (because I like to include my Thanksgiving plans in with my "holidays" stuff), I decided to go ahead and set up my planner using "December Dreams" now so that I could start getting things ready for my holiday-time!

I used the A5 decorative planner pages and punched them to go in my platinum Carpe Diem planner. For the front dashboard page, I used the Sugarplum Fairy planner page and added a clear transparency on top, and between the two sheets I sandwiched some of the matching sequins that come with the "Happily Ever After" kit version of "December Dreams." I did this so I could create a fun shaker page! I love shaker pages like this for my planner! They are easy to make, and all you have to do to close everything up is just stitch around the edges. I used a zig-zag stitch on my sewing machine and some red thread. I think this dashboard came out really cute!

And to finish things off on my dashboard, I just added a little paperclip with a little label from the cut-apart sheet and some ephemera pieces (like the gingerbread man, the word "merry," and a little peppermint) to it on the bottom right corner. This just adds a cute, extra jolly detail!

For the pockets in the front of my planner, I just used different 3x4 cards from the cut-apart sheet and placed them here and there to my liking, and then I also added in some of the smaller cut-apart pieces as well as some pretty die-cuts from the ephemera pack. I added a few paperclips to keep things in place how I wanted, and also to add some more dimension and texture.

For added depth, I placed a decorative pink pom-pom paperclip at the top (from our decorative paperclips pack) and I also created a few of my own decorative paperclips by attaching some of the adorable flair that comes in the collection to some simple gold paperclips.

And for some extra glitz and glam, I added in the big glitter-snowflake that comes in the variety pack to the front bottom pocket...and I added in the little silver snowflake charm to one of the top pockets as well...so cute!

There are more decorative pom-pom paperclips as well as some of the flair paperclips that I made added here and there in my planner, marking different pages. They are all along to top and you can see from the front how they look like pretty tabs...choose one to turn to particular and important pages in my planner.

And finally, I added to the rings the beautiful gold key to the four realms that comes in our new variety pack. It looks so gorgeous and special! I added a December 25 tag from one of our cut-apart sheets to it by just threading it through the pink tassel that comes with the key and I also created a little snowflake charm dangle using a gold paperclip and one of the clear crystal snowflake beads that comes in the variety pack too!

And for a last and lovely touch, I placed the gold key transparency sheet in the back of my planner...just because I think it looks so cool and magical!

Alright, I hope you like how I setup my planner for this holiday season and that I gave you some good tips, tricks and ideas for your planner set up (or maybe for a Christmas mini album, or a December Daily)! Hope you all are having a happy holiday-time!!! Hugs and remember to live your life as a fairytale (especially during this magical time of year)!

-- Andrea

Founder/Creator/Owner of The Fairytale Club :-)